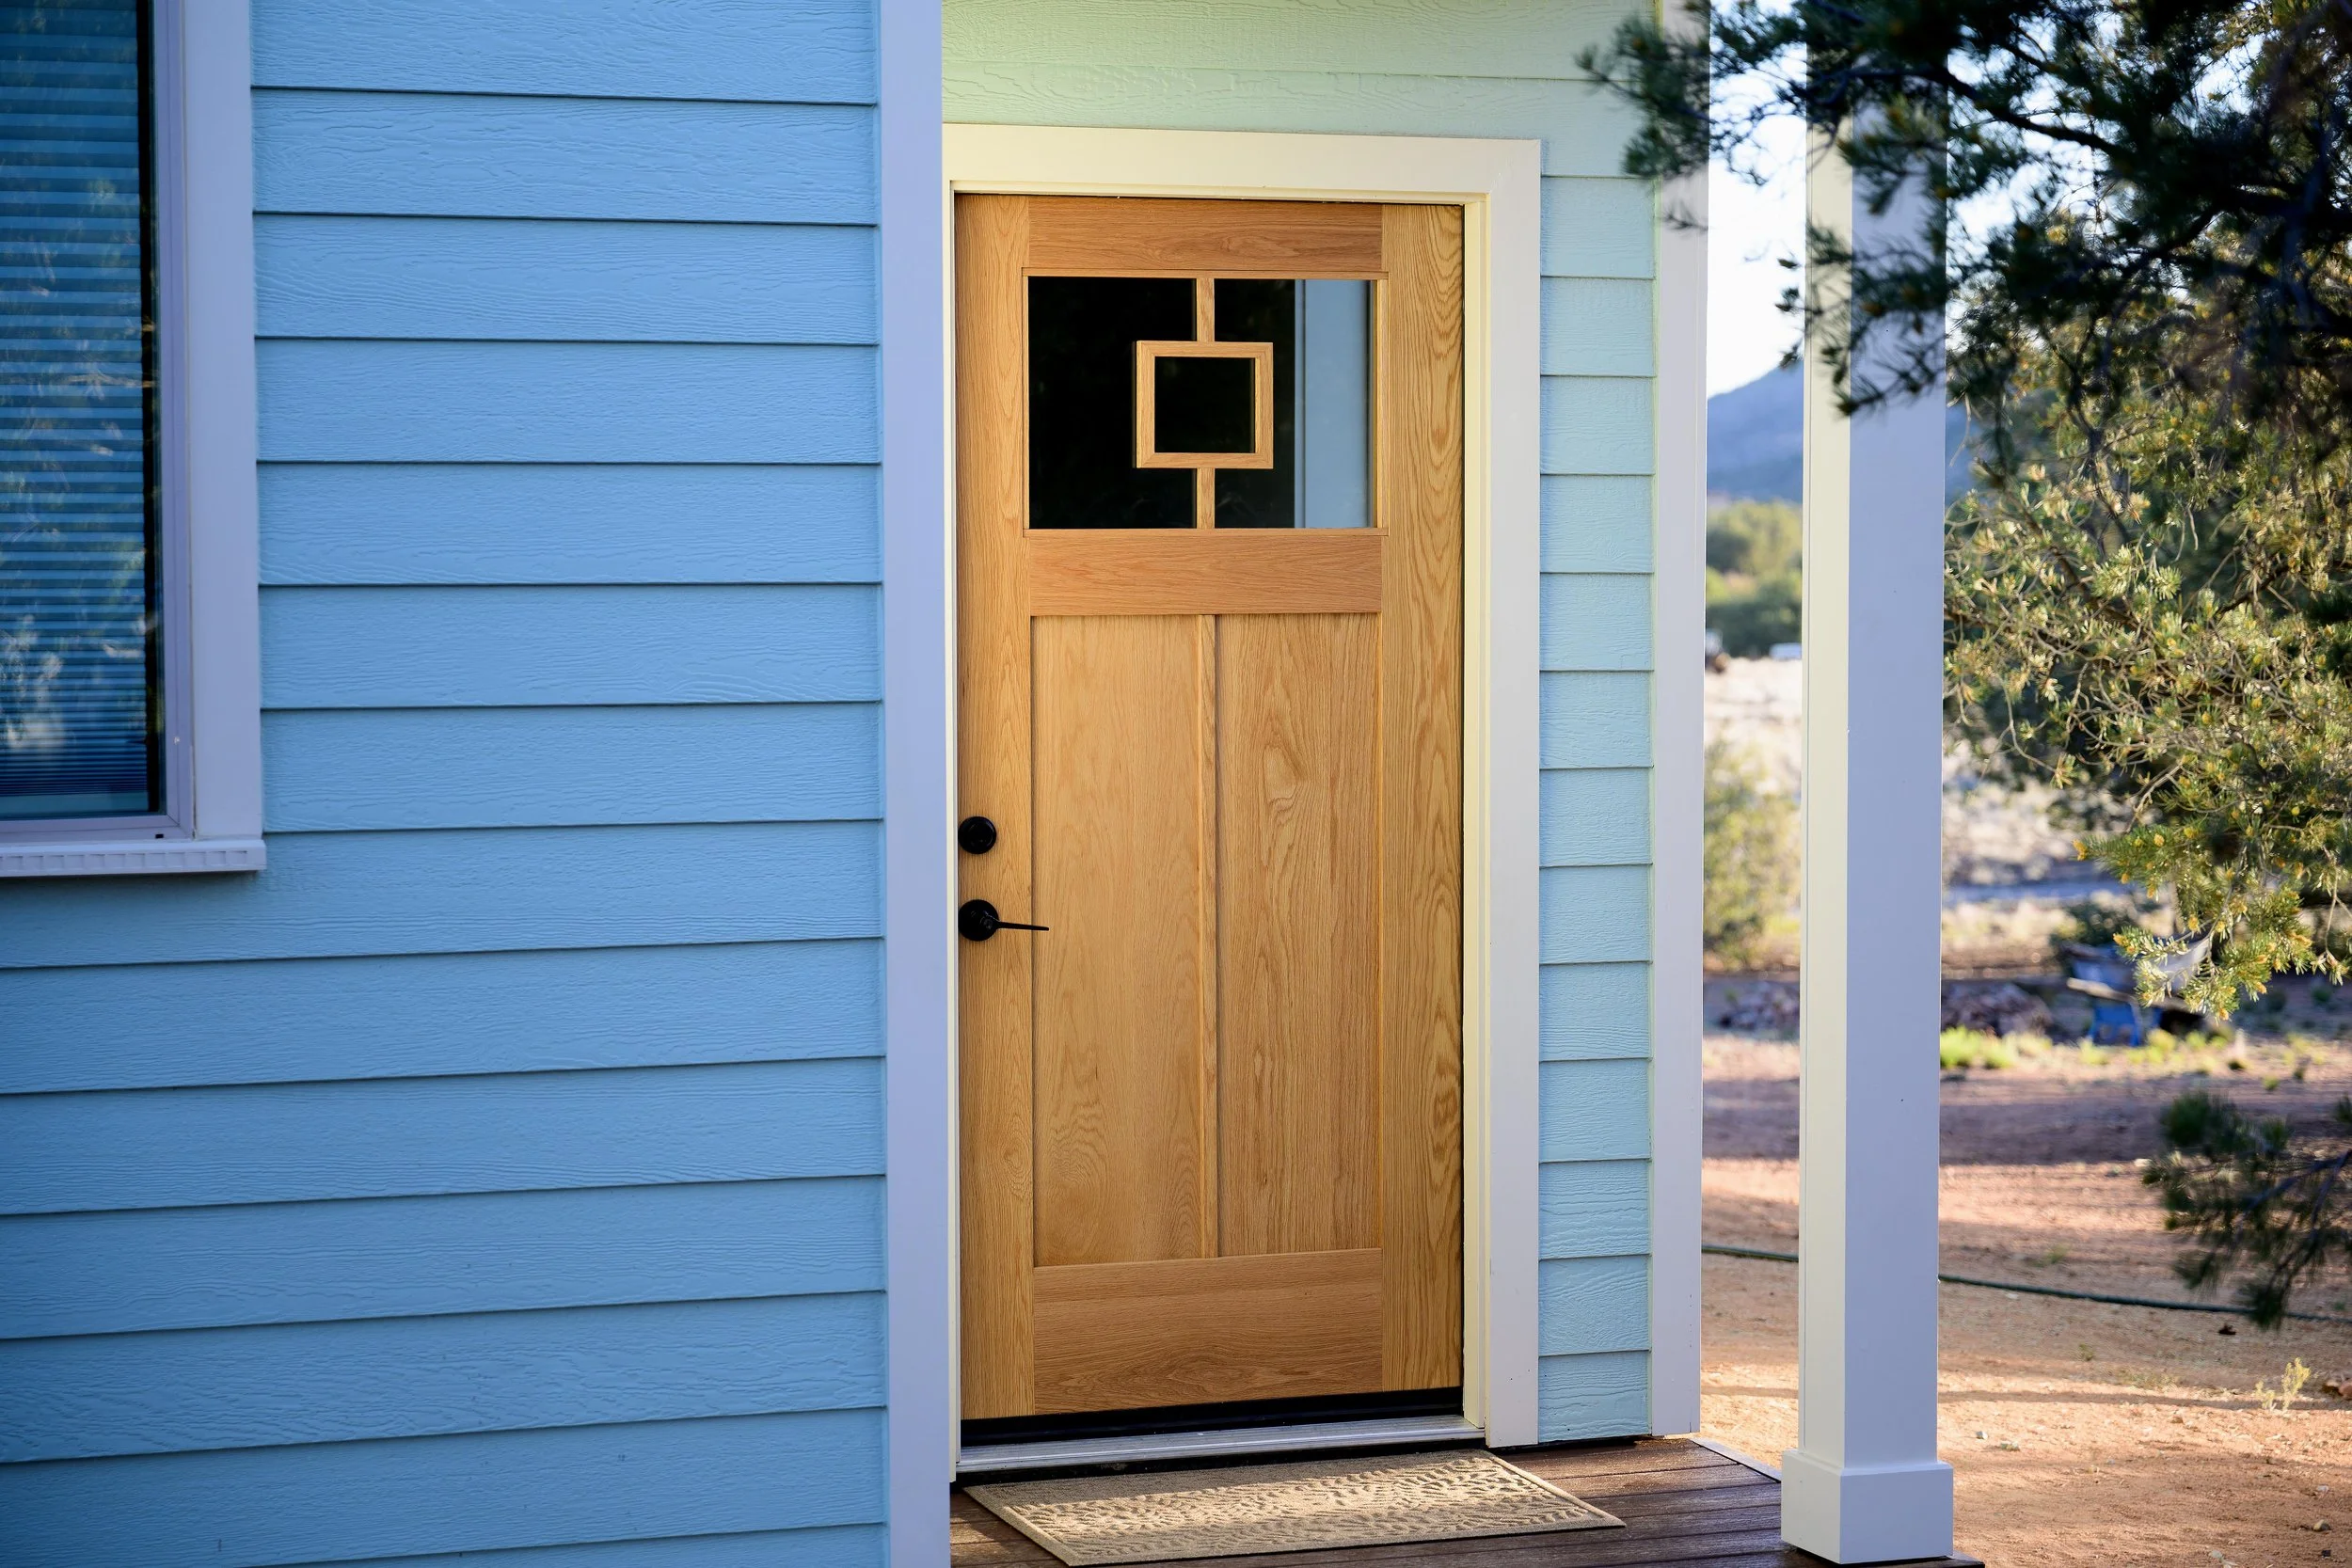
A Solid White Oak Entry Door Part 2: Built, Installed, Done
This is part two of my white oak entry door series. If you missed the first post — design, material choices, joinery, and finish plan — you can find it here.
This one's a little different. Rather than walking through the build step by step, I'm going to answer questions about it. Some came from readers, some I came up with myself. Either way, here's what happened.
How did you select the lumber?
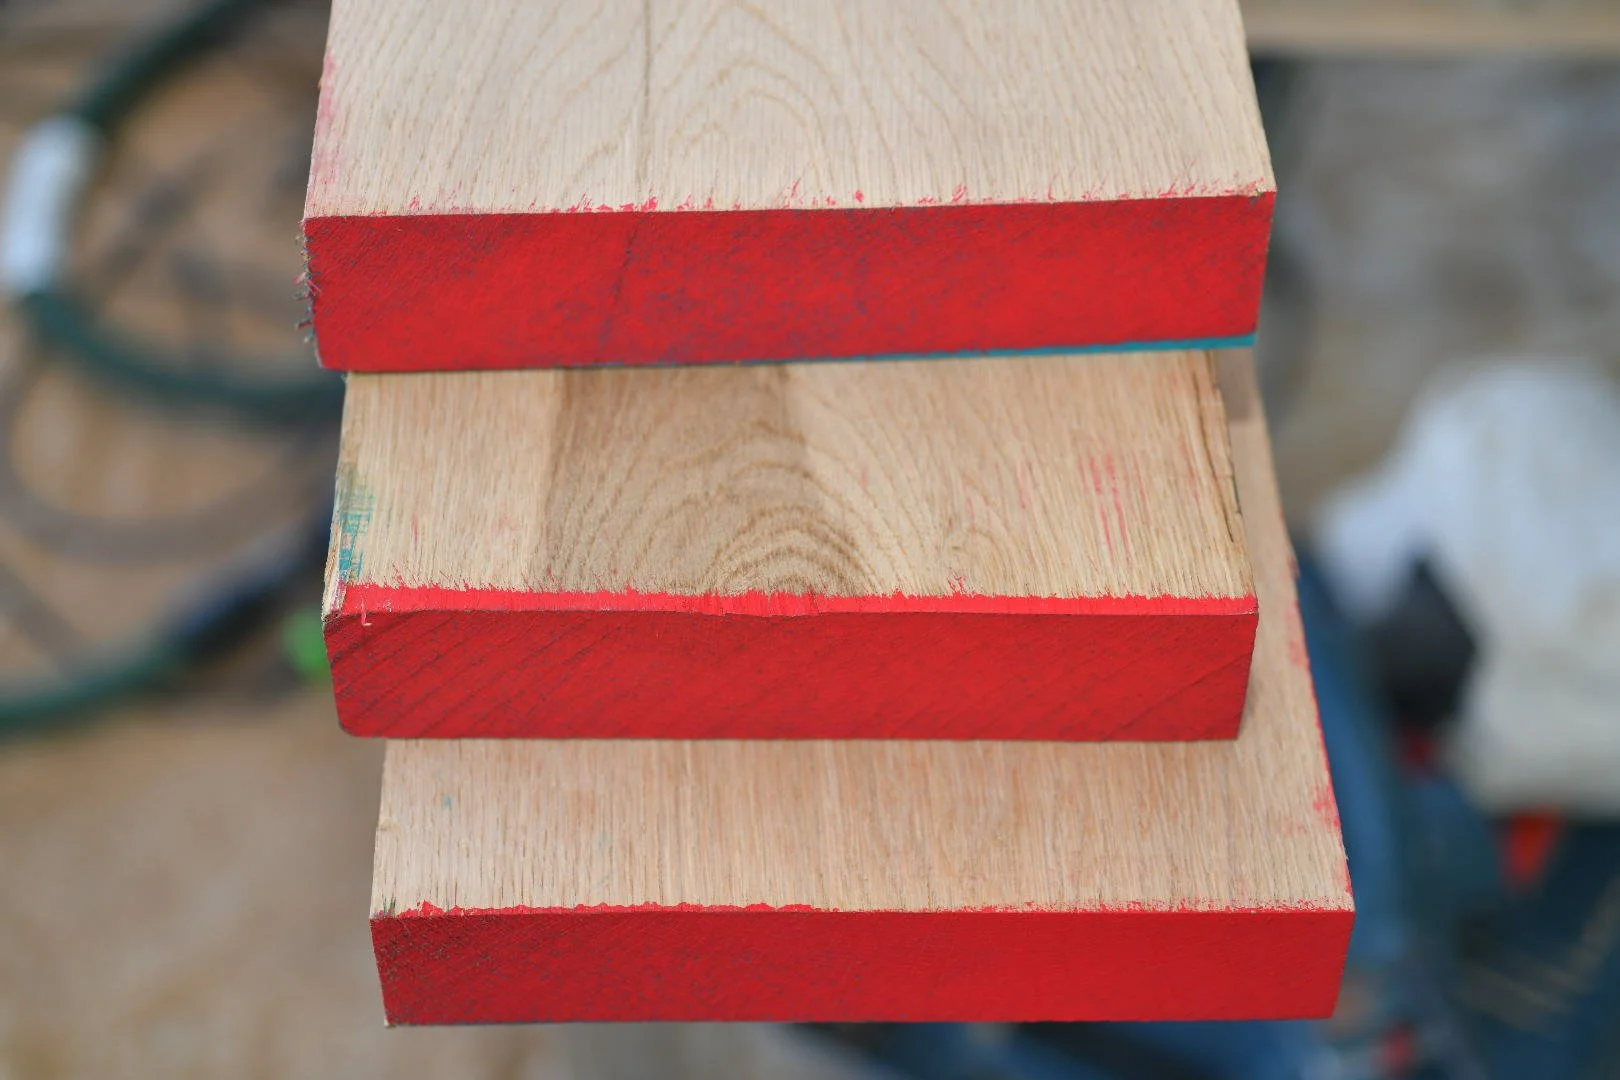
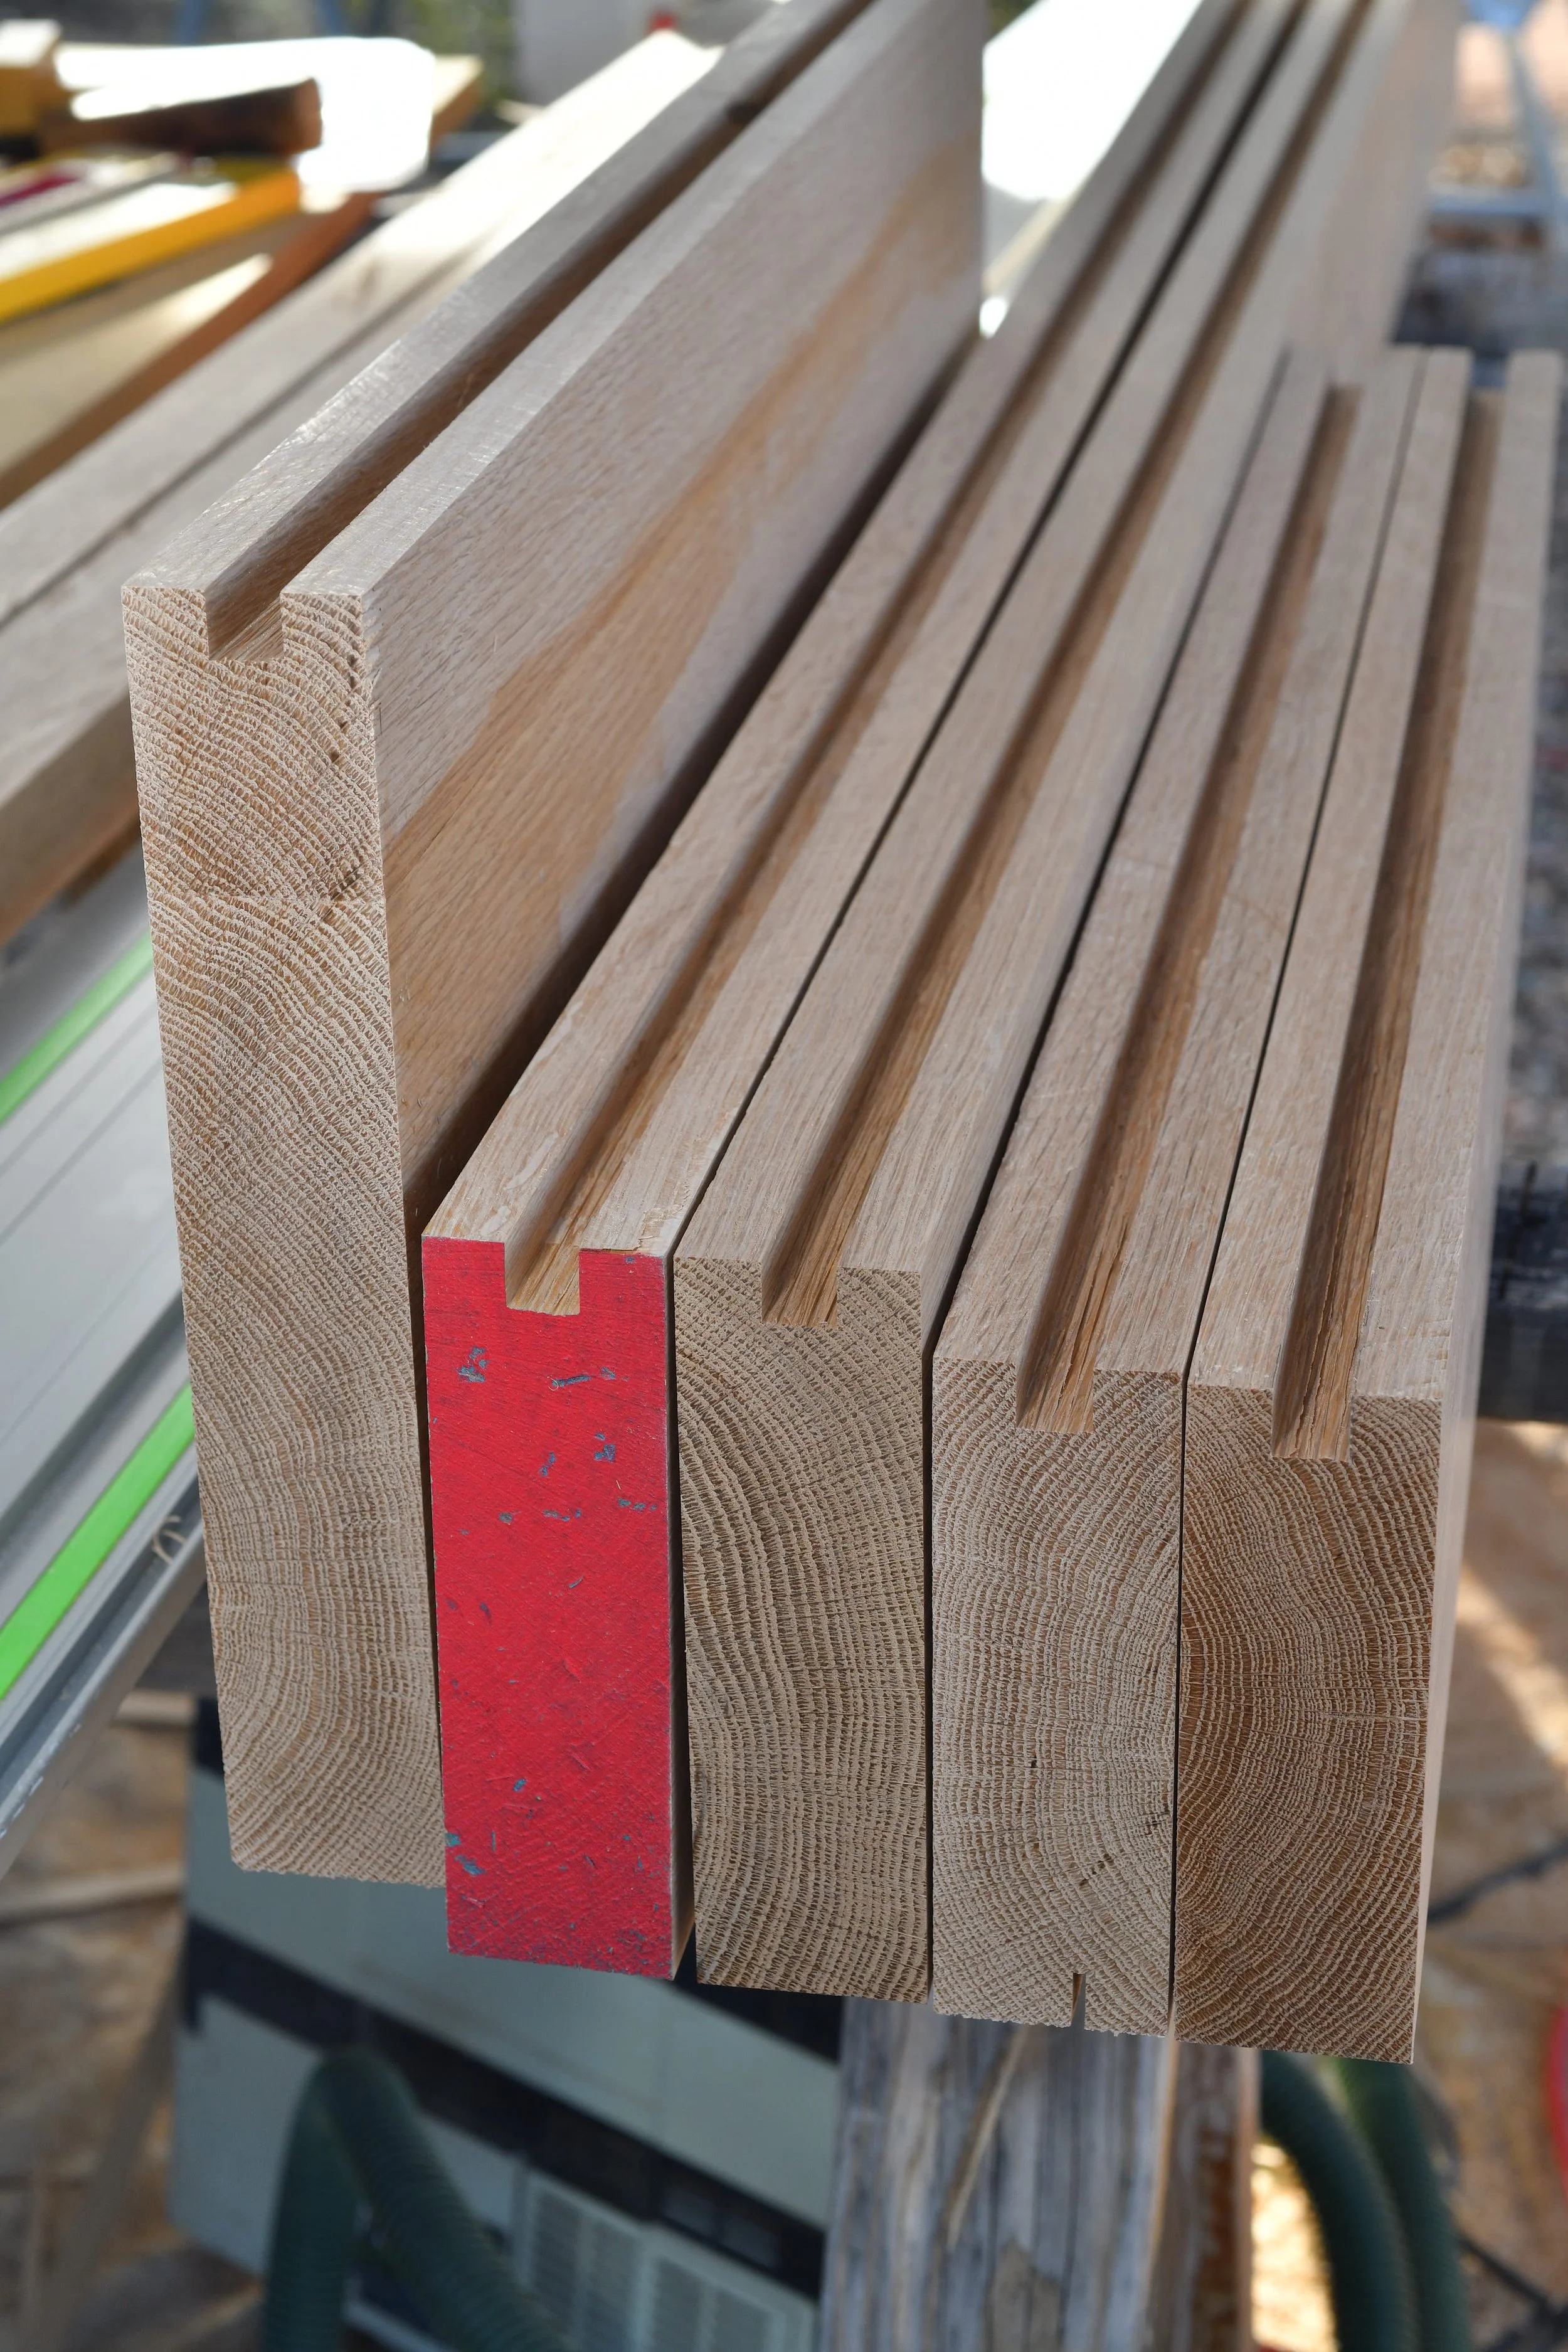
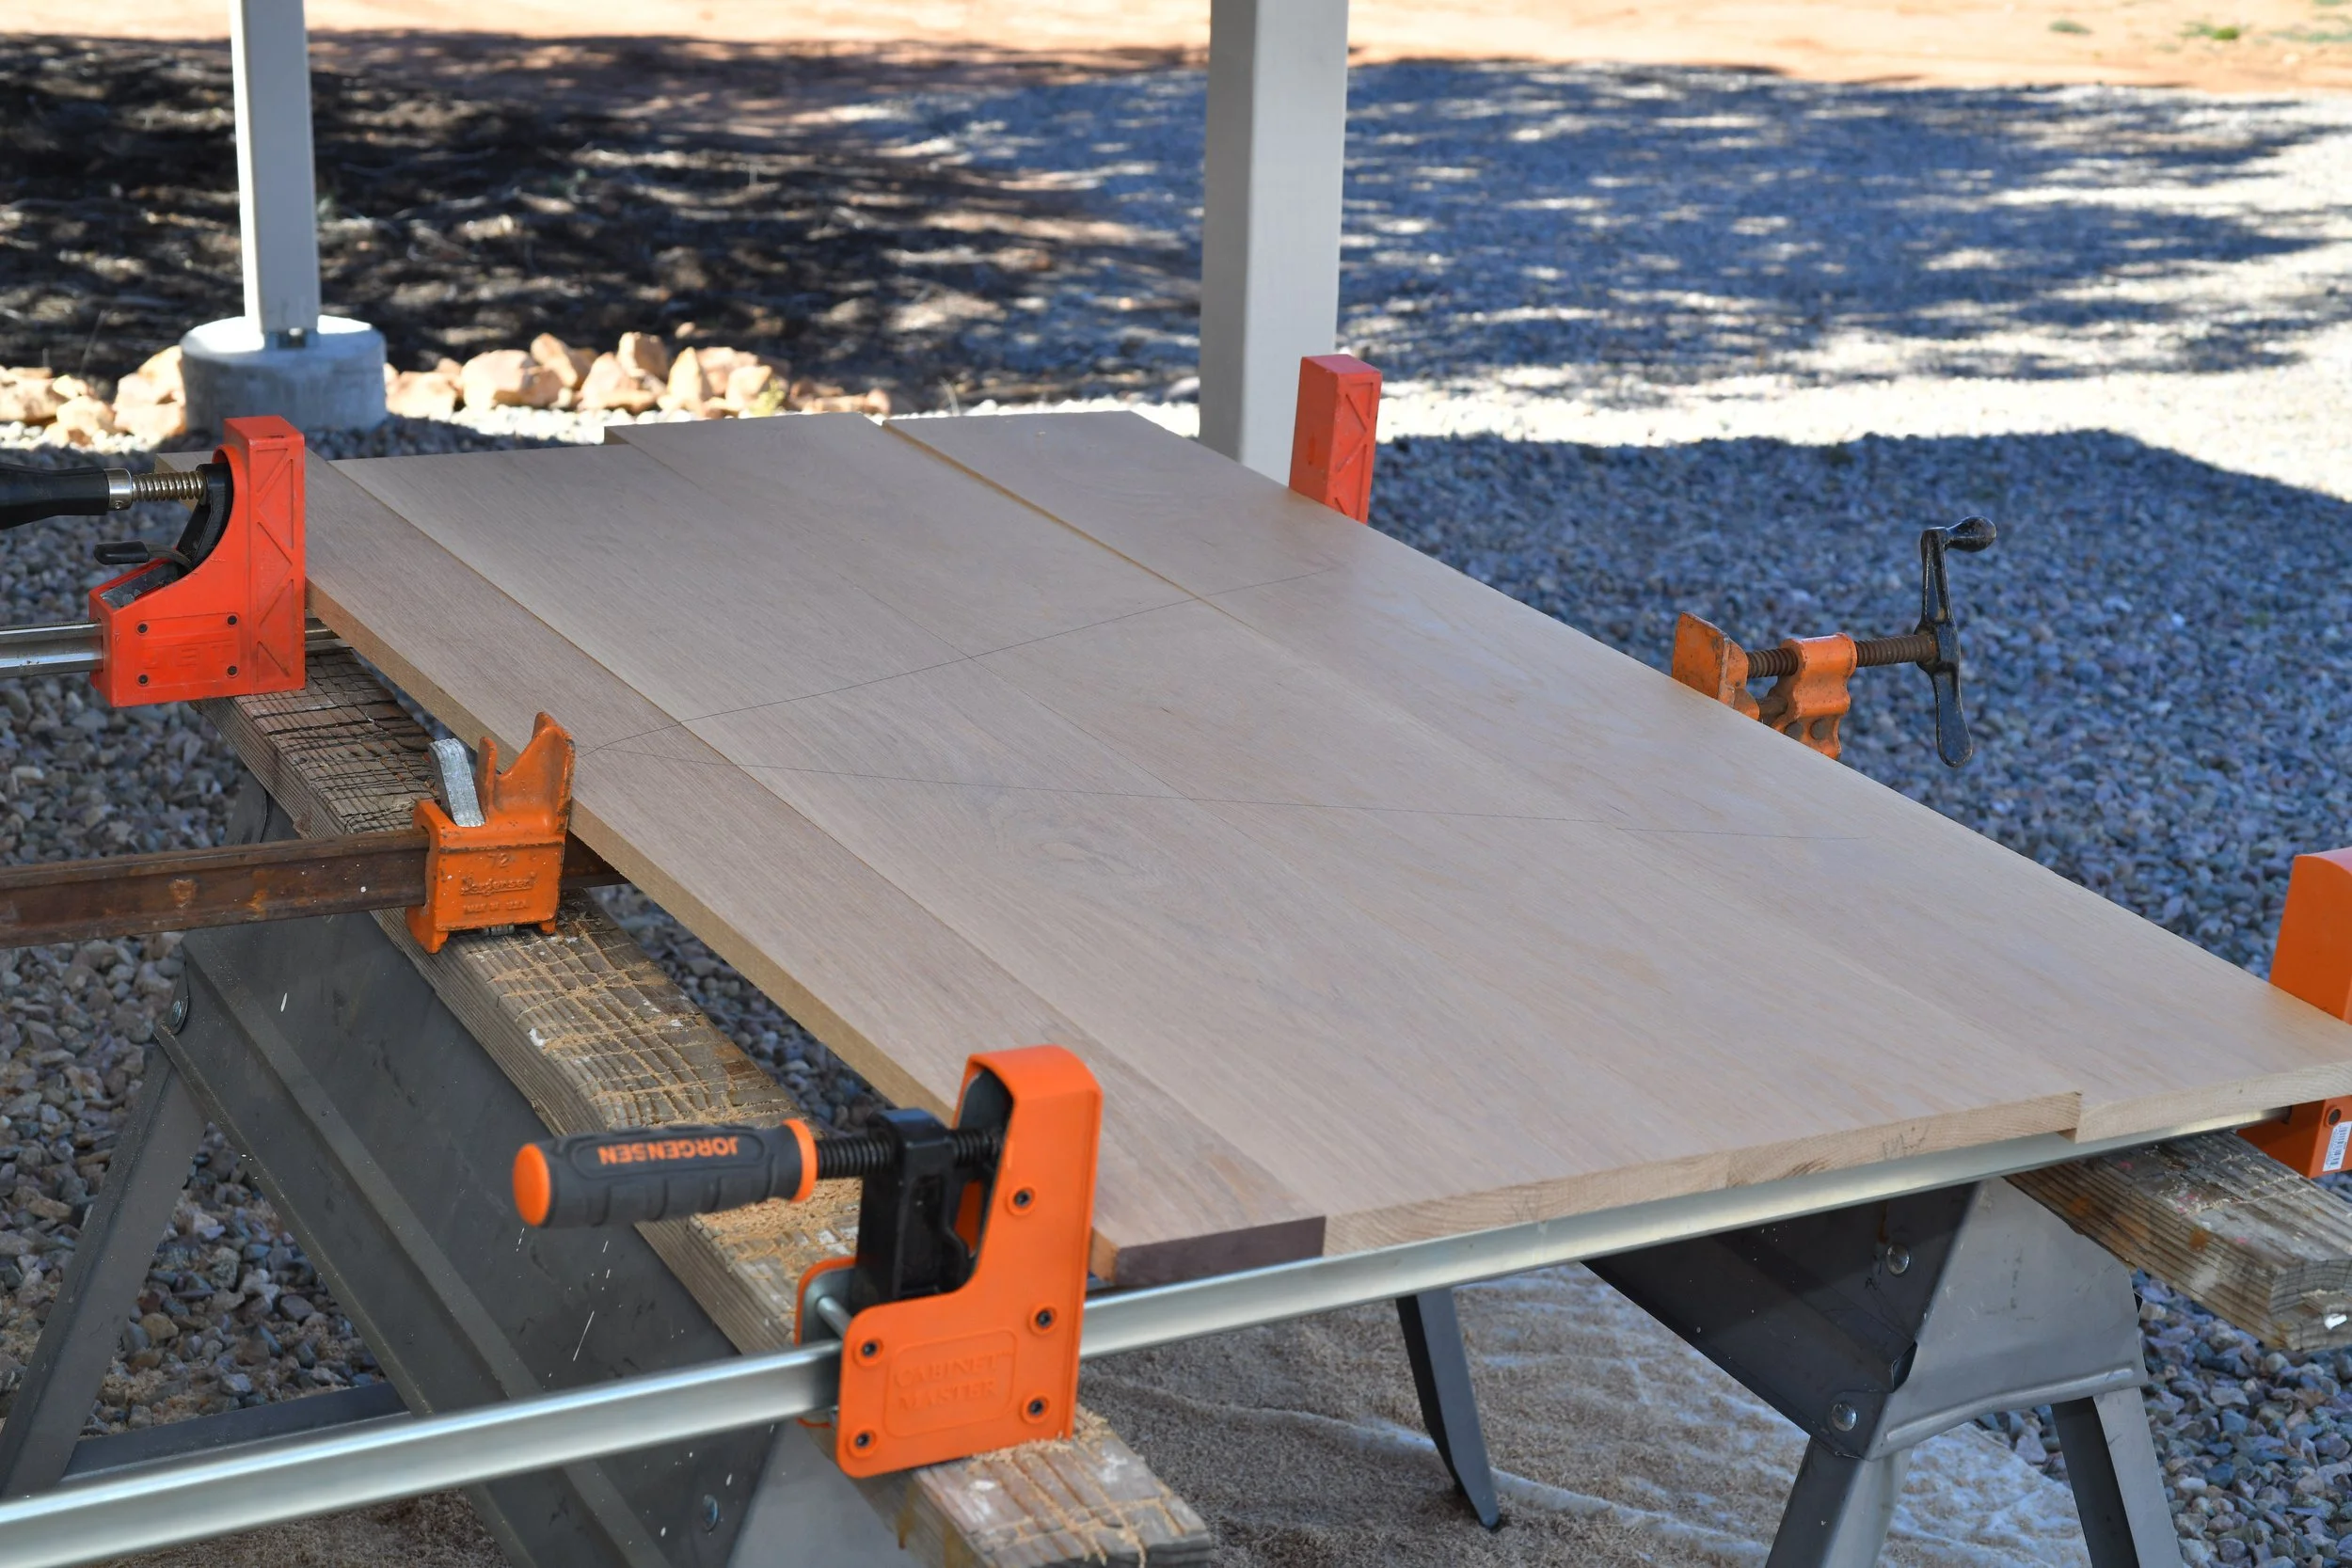
I live in a small town, so the local hardwood supplier is fine for emergency boards, but the selection is limited. For a project like this I went to the big city — Phoenix — where they have bundles and bundles of 8/4 white oak I could actually look through.
First thing: ask to go outside and select the boards yourself. This matters especially for an entry door. A warped stile means the bottom hits the frame before the top, or vice versa, and you've got light showing through. That's no bueno.
Here's how I approach it:
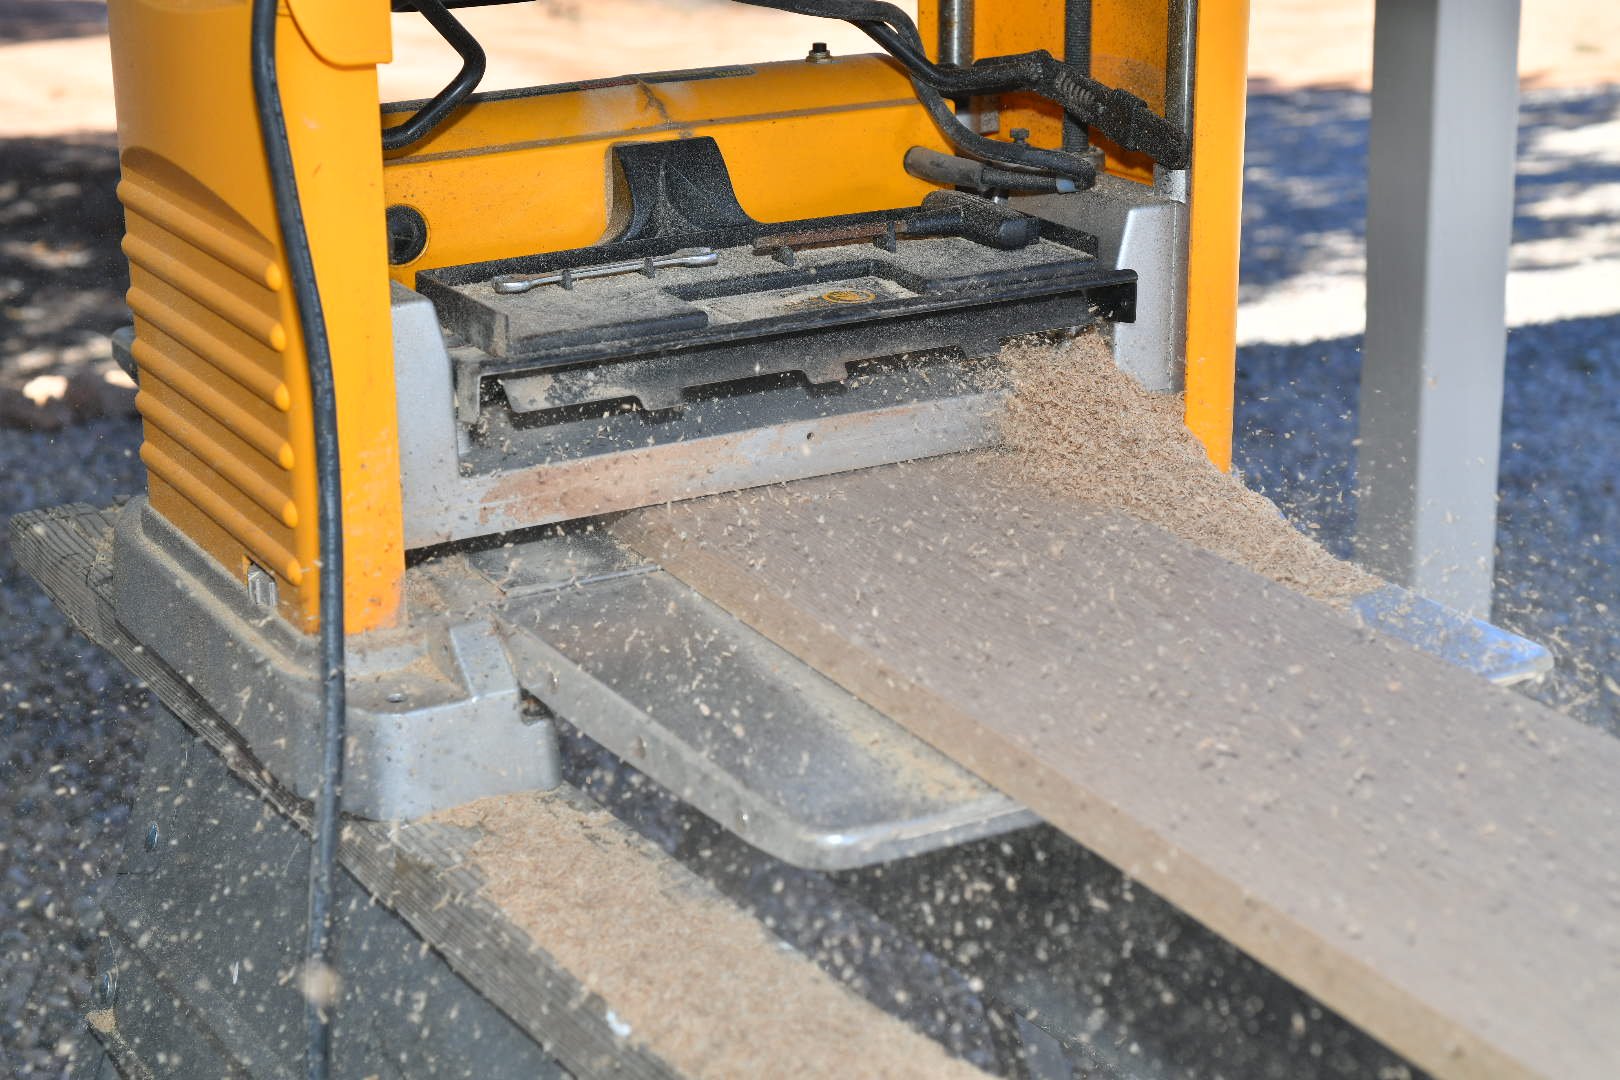
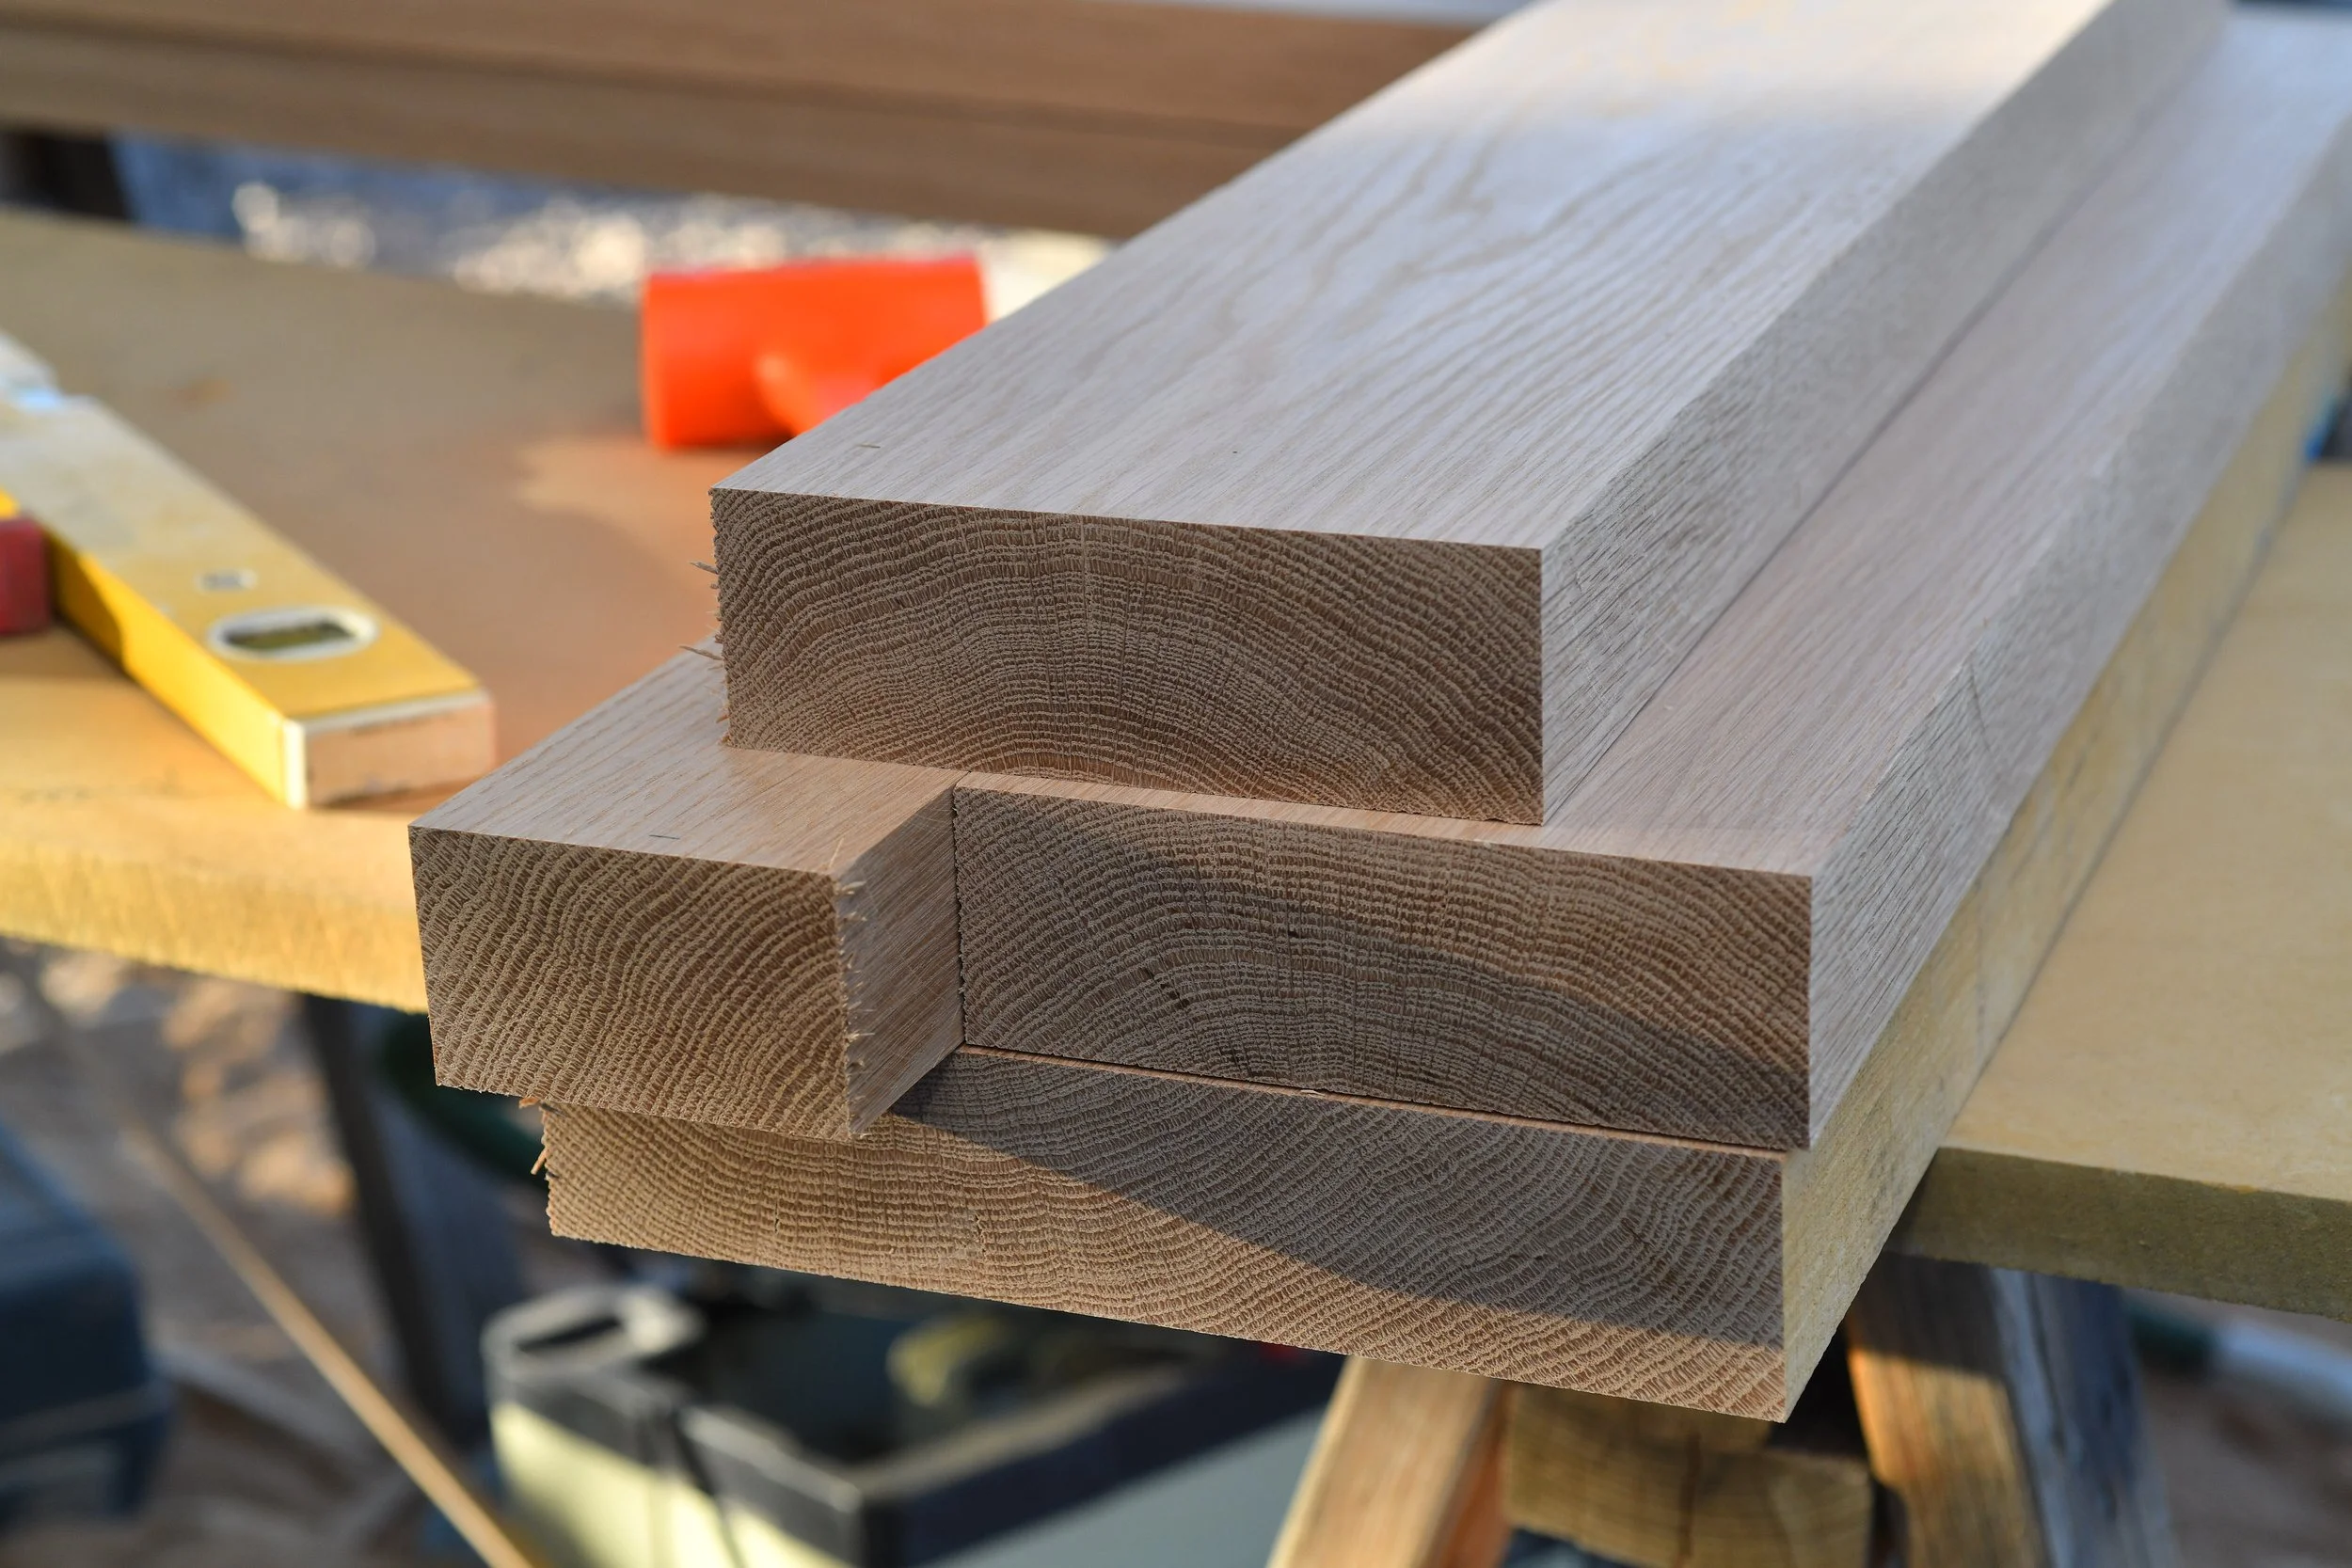
Stiles (the two long sides) — I want the straightest boards I can find. A little cup is okay on 8/4 because you're going to plane off a quarter inch anyway, but anything more than that is a problem — especially if you don't have a big jointer. I was building this under my covered carport with a temporary shop setup, so straight boards made the whole job easier.
Rails (top, middle, bottom) — You can work with more curve here because you're chopping the board into thirds. A nine-foot board becomes three 30-inch pieces, and you naturally straighten it out in the process.
Color — White oak has a lot of variation. Some boards run yellow, some brown, some have heartwood involvement. People say heartwood gives a piece character. I don't agree. A consistent tone is always better, if you ask me. If it's a fresh bundle from the same stack — ideally from the same tree — you'll get more continuity. That's the goal.
Checking — Look at the end grain on both ends of every board. Cracks running in from the ends are common and you'll lose six inches of scrap on each end in most cases. Make sure those cracks don't run deep enough to affect your usable length.
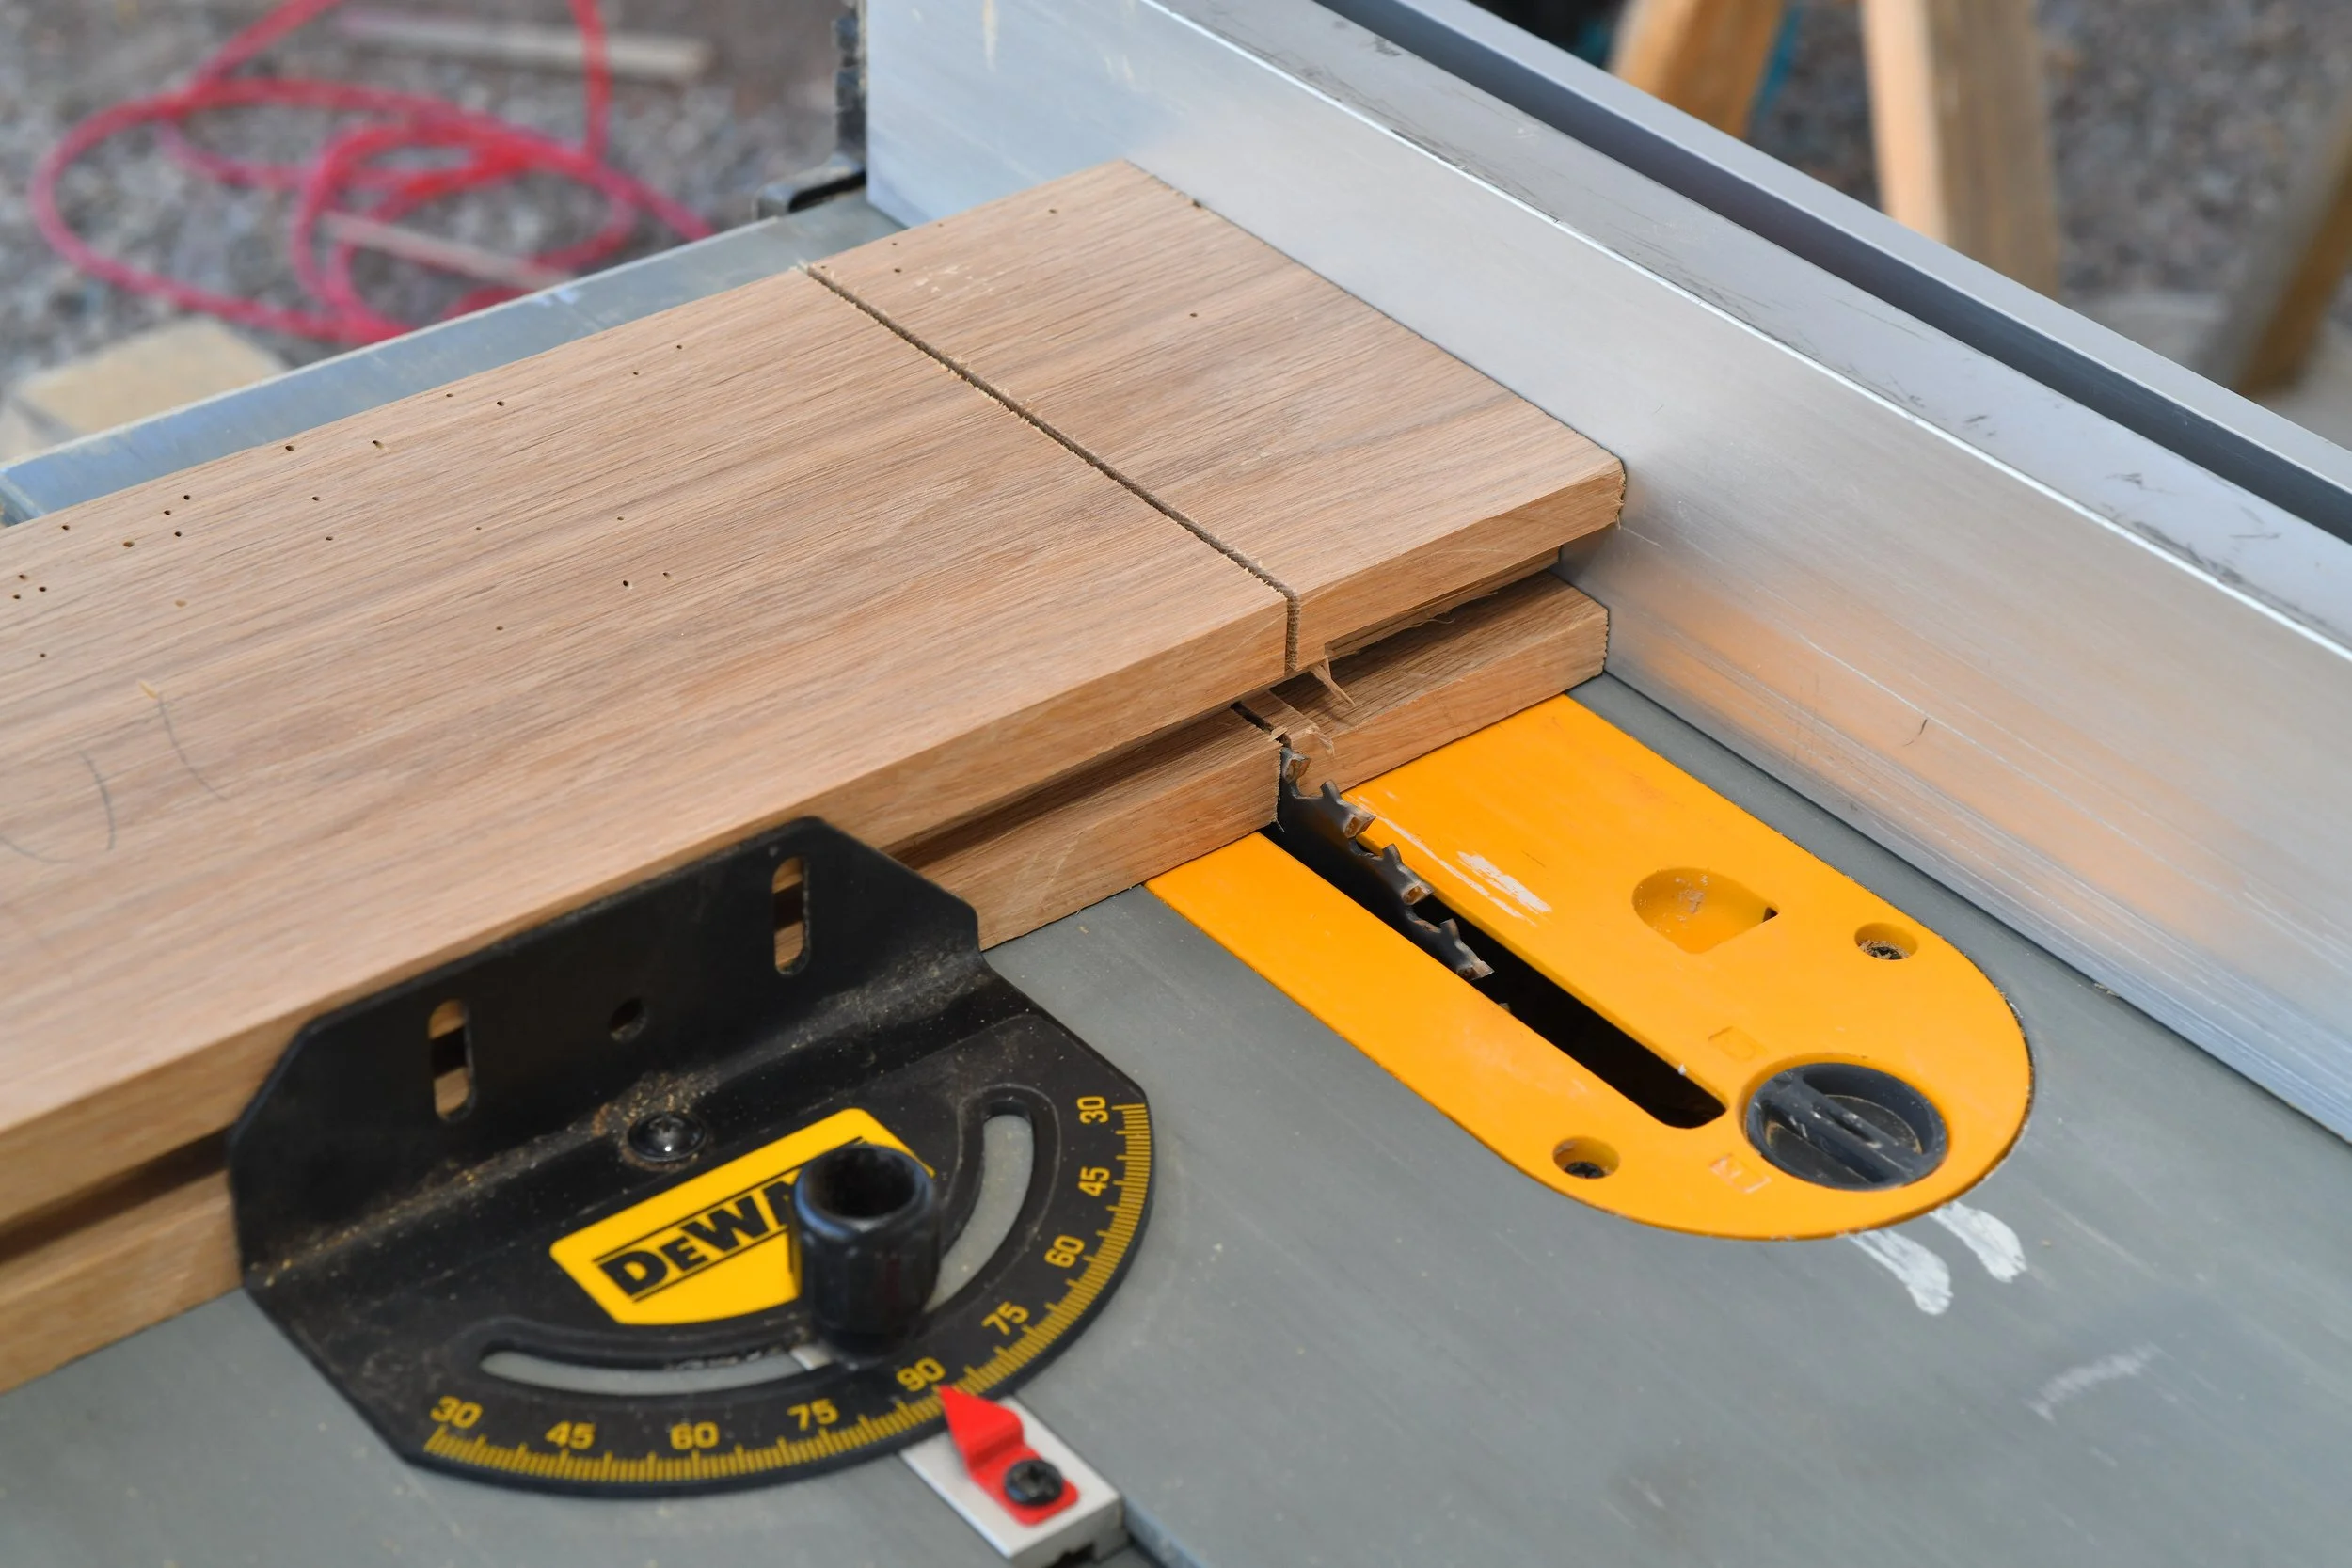
Width — Don't stress too much about finding the perfect width. I had to glue up a second board for the bottom rail because I couldn't find a wide enough single piece at 10–11 inches. That's fine. Join it up and move on.
Twist — Hold the board up to your eye and look down the length. Any visible twist is a problem. An eighth inch is pushing it. Twist is a pain to deal with later, so catch it at the yard.
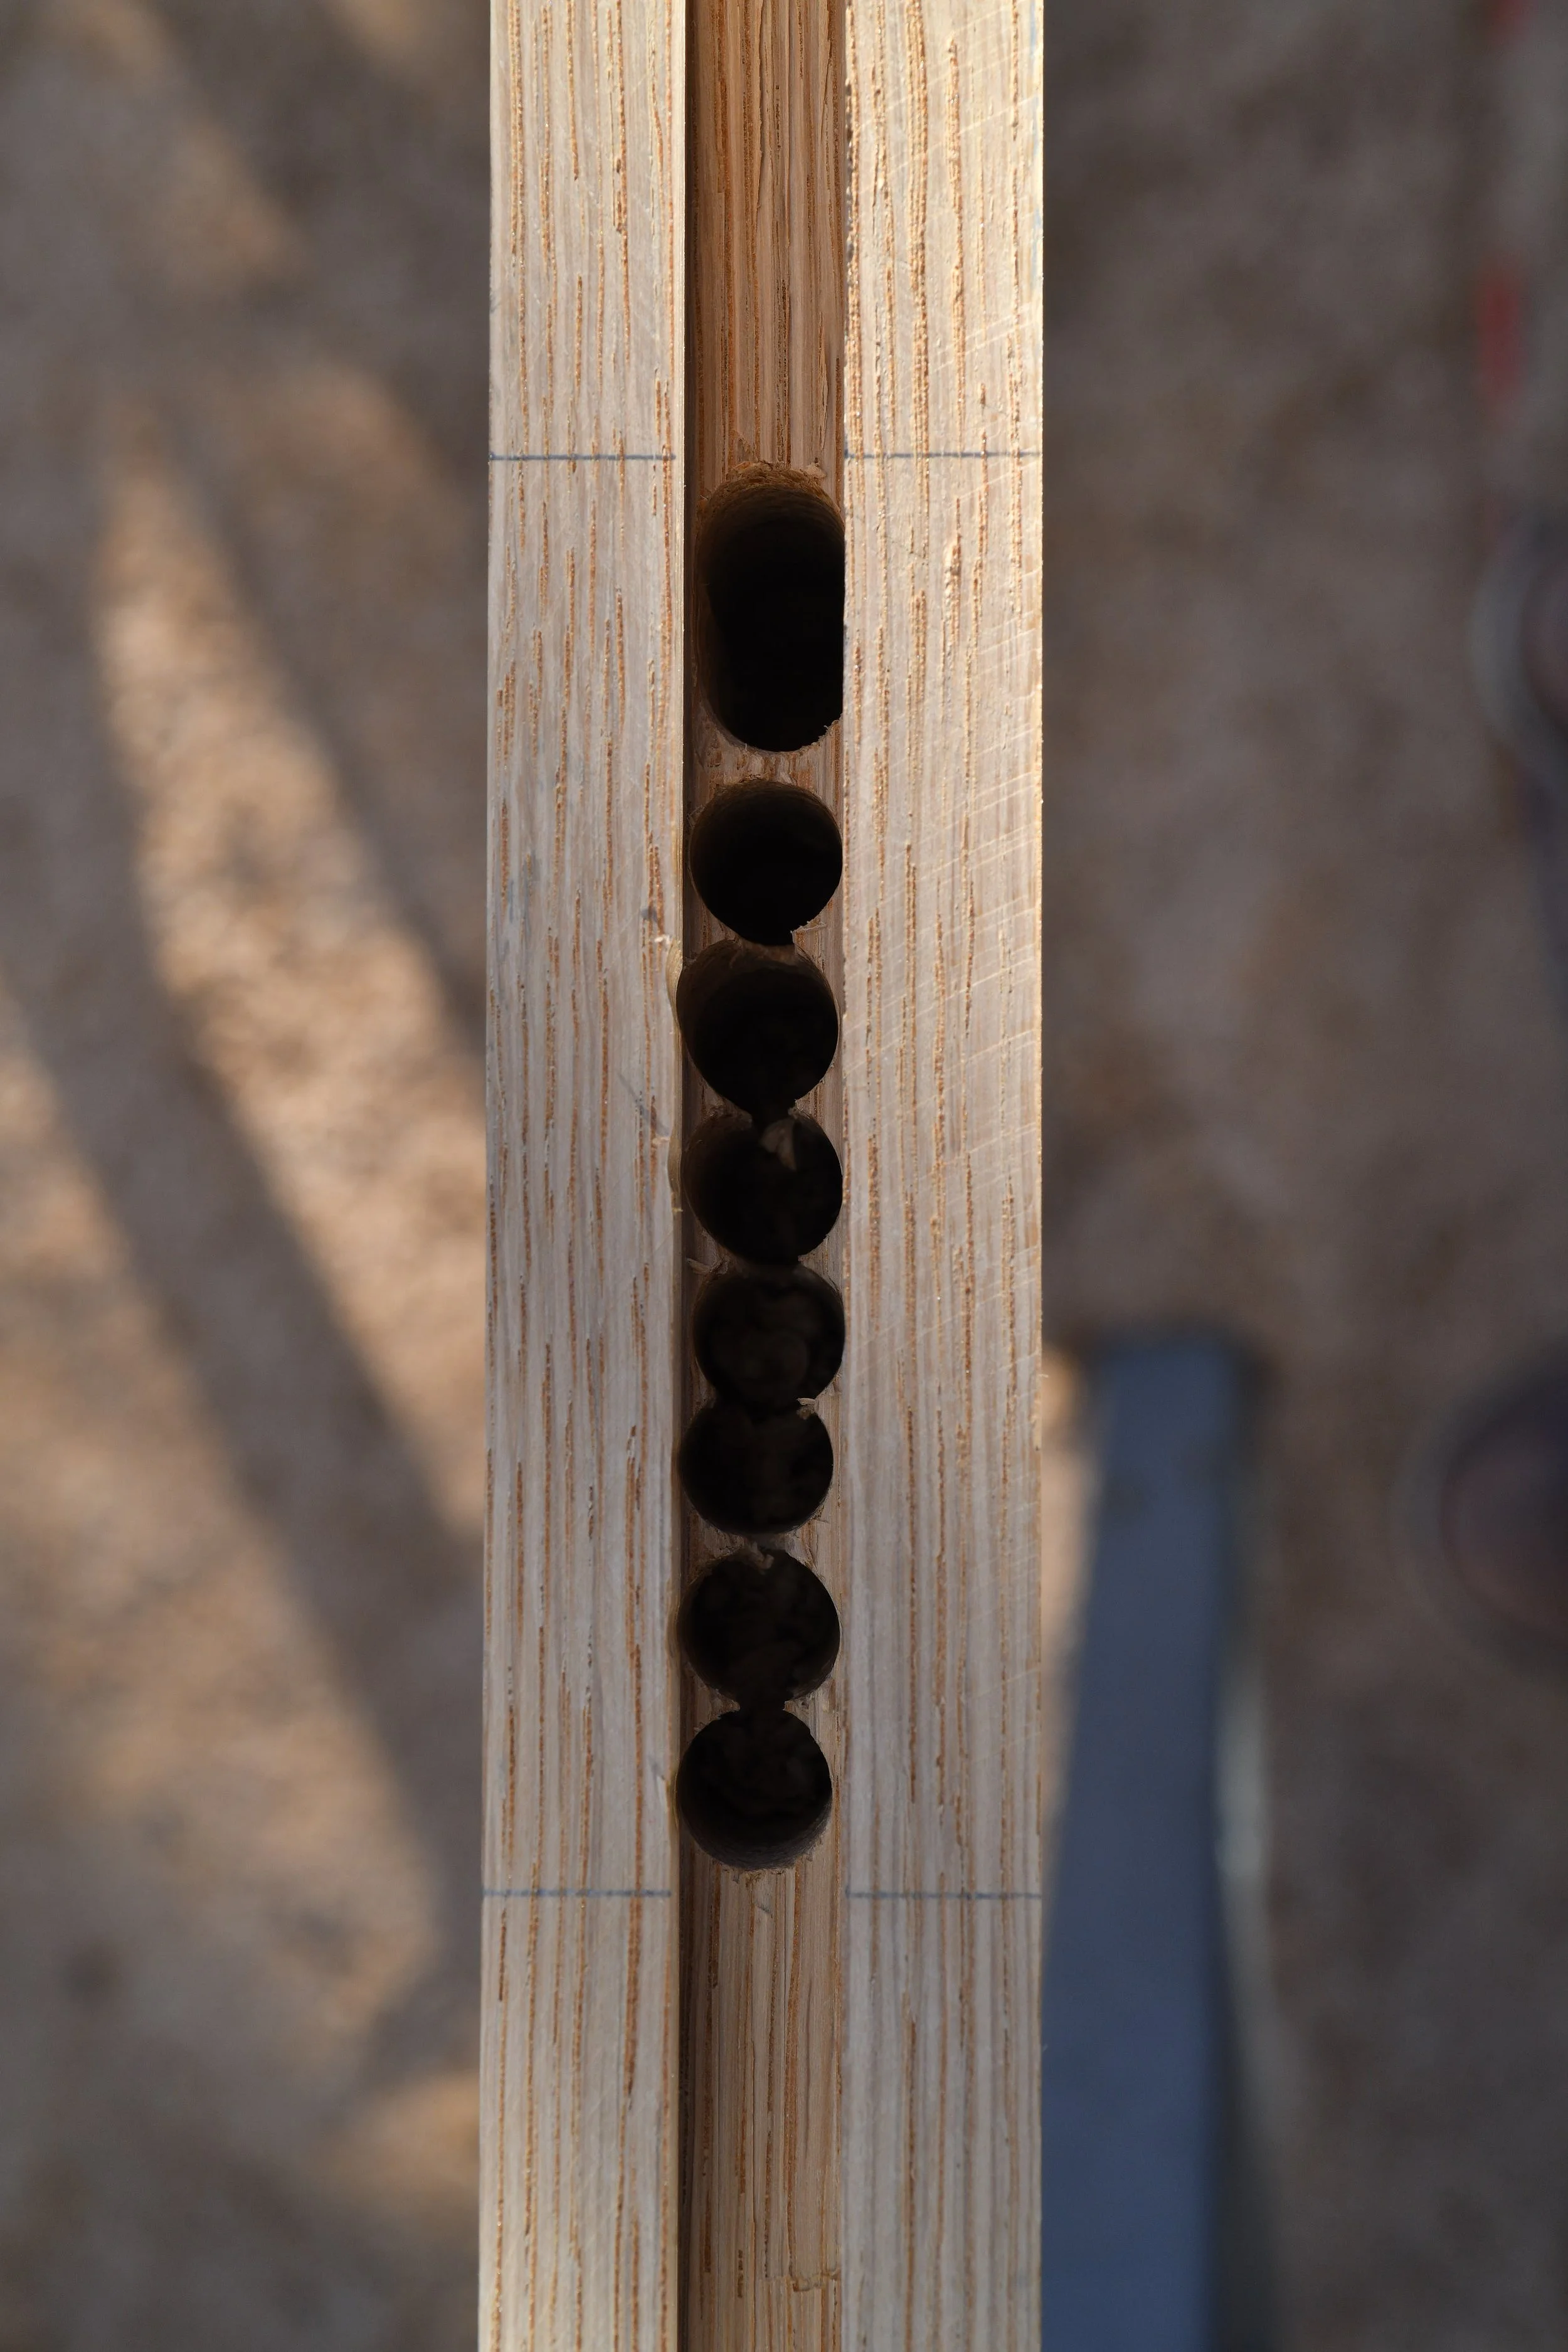
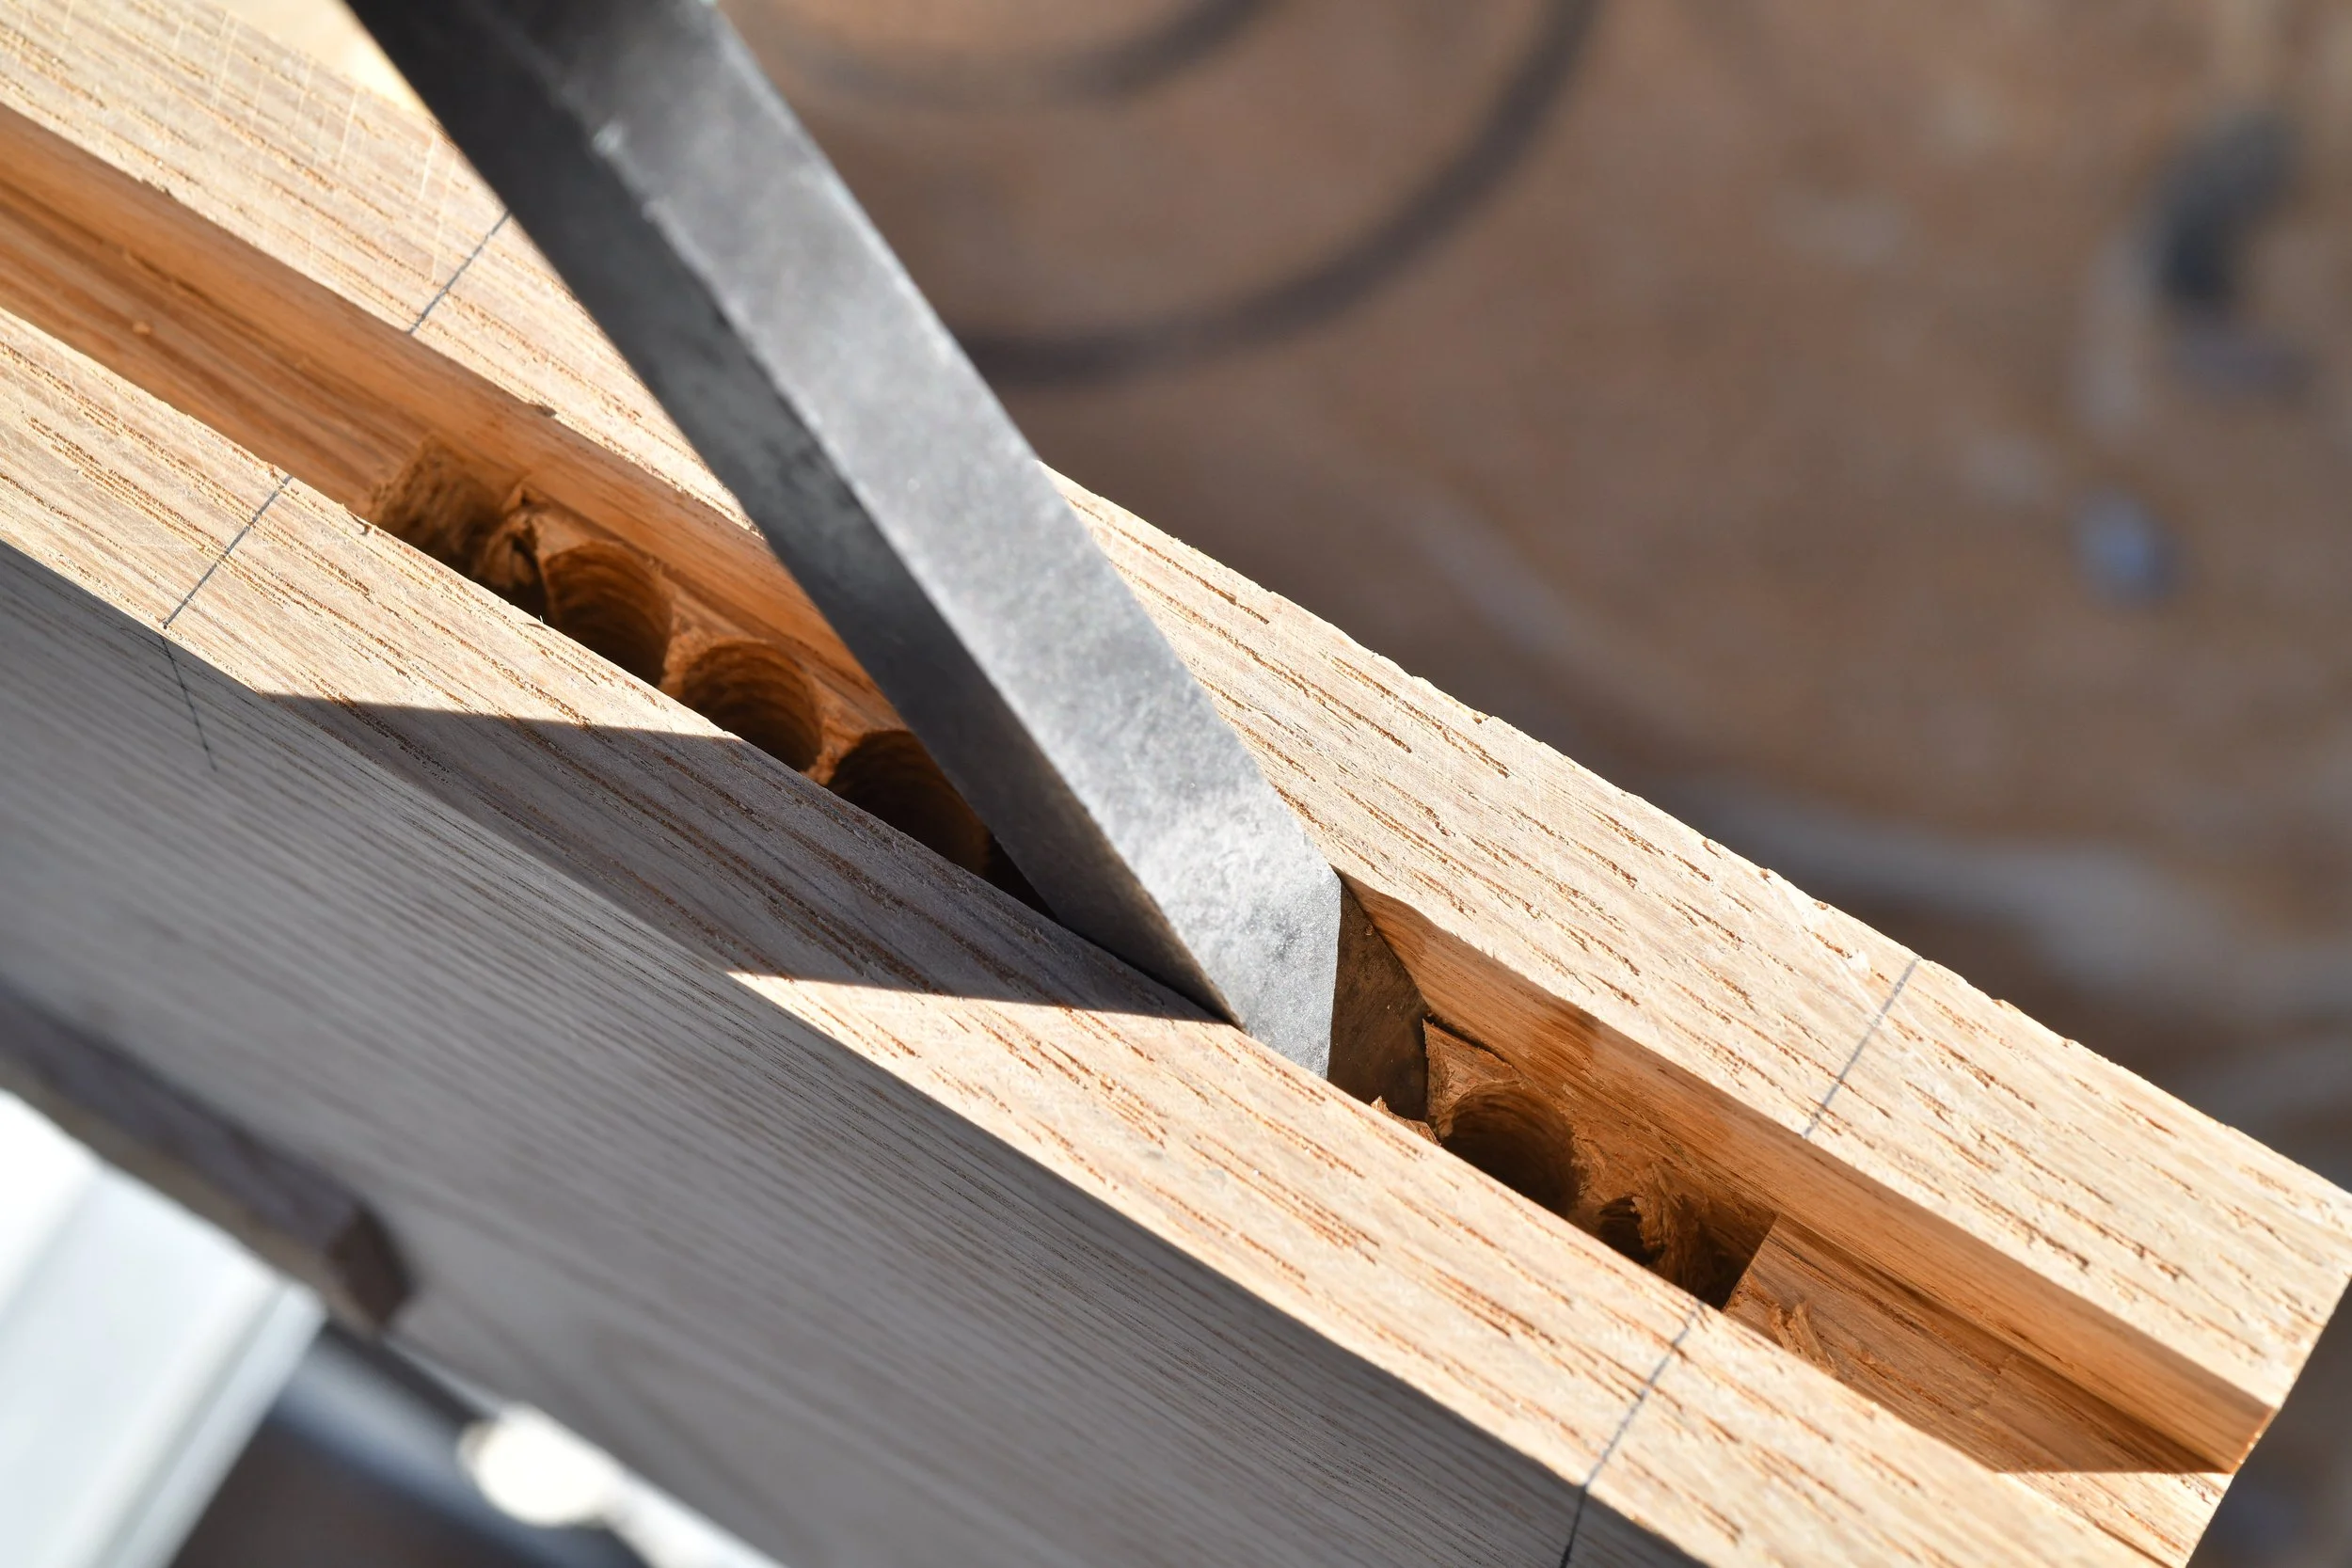
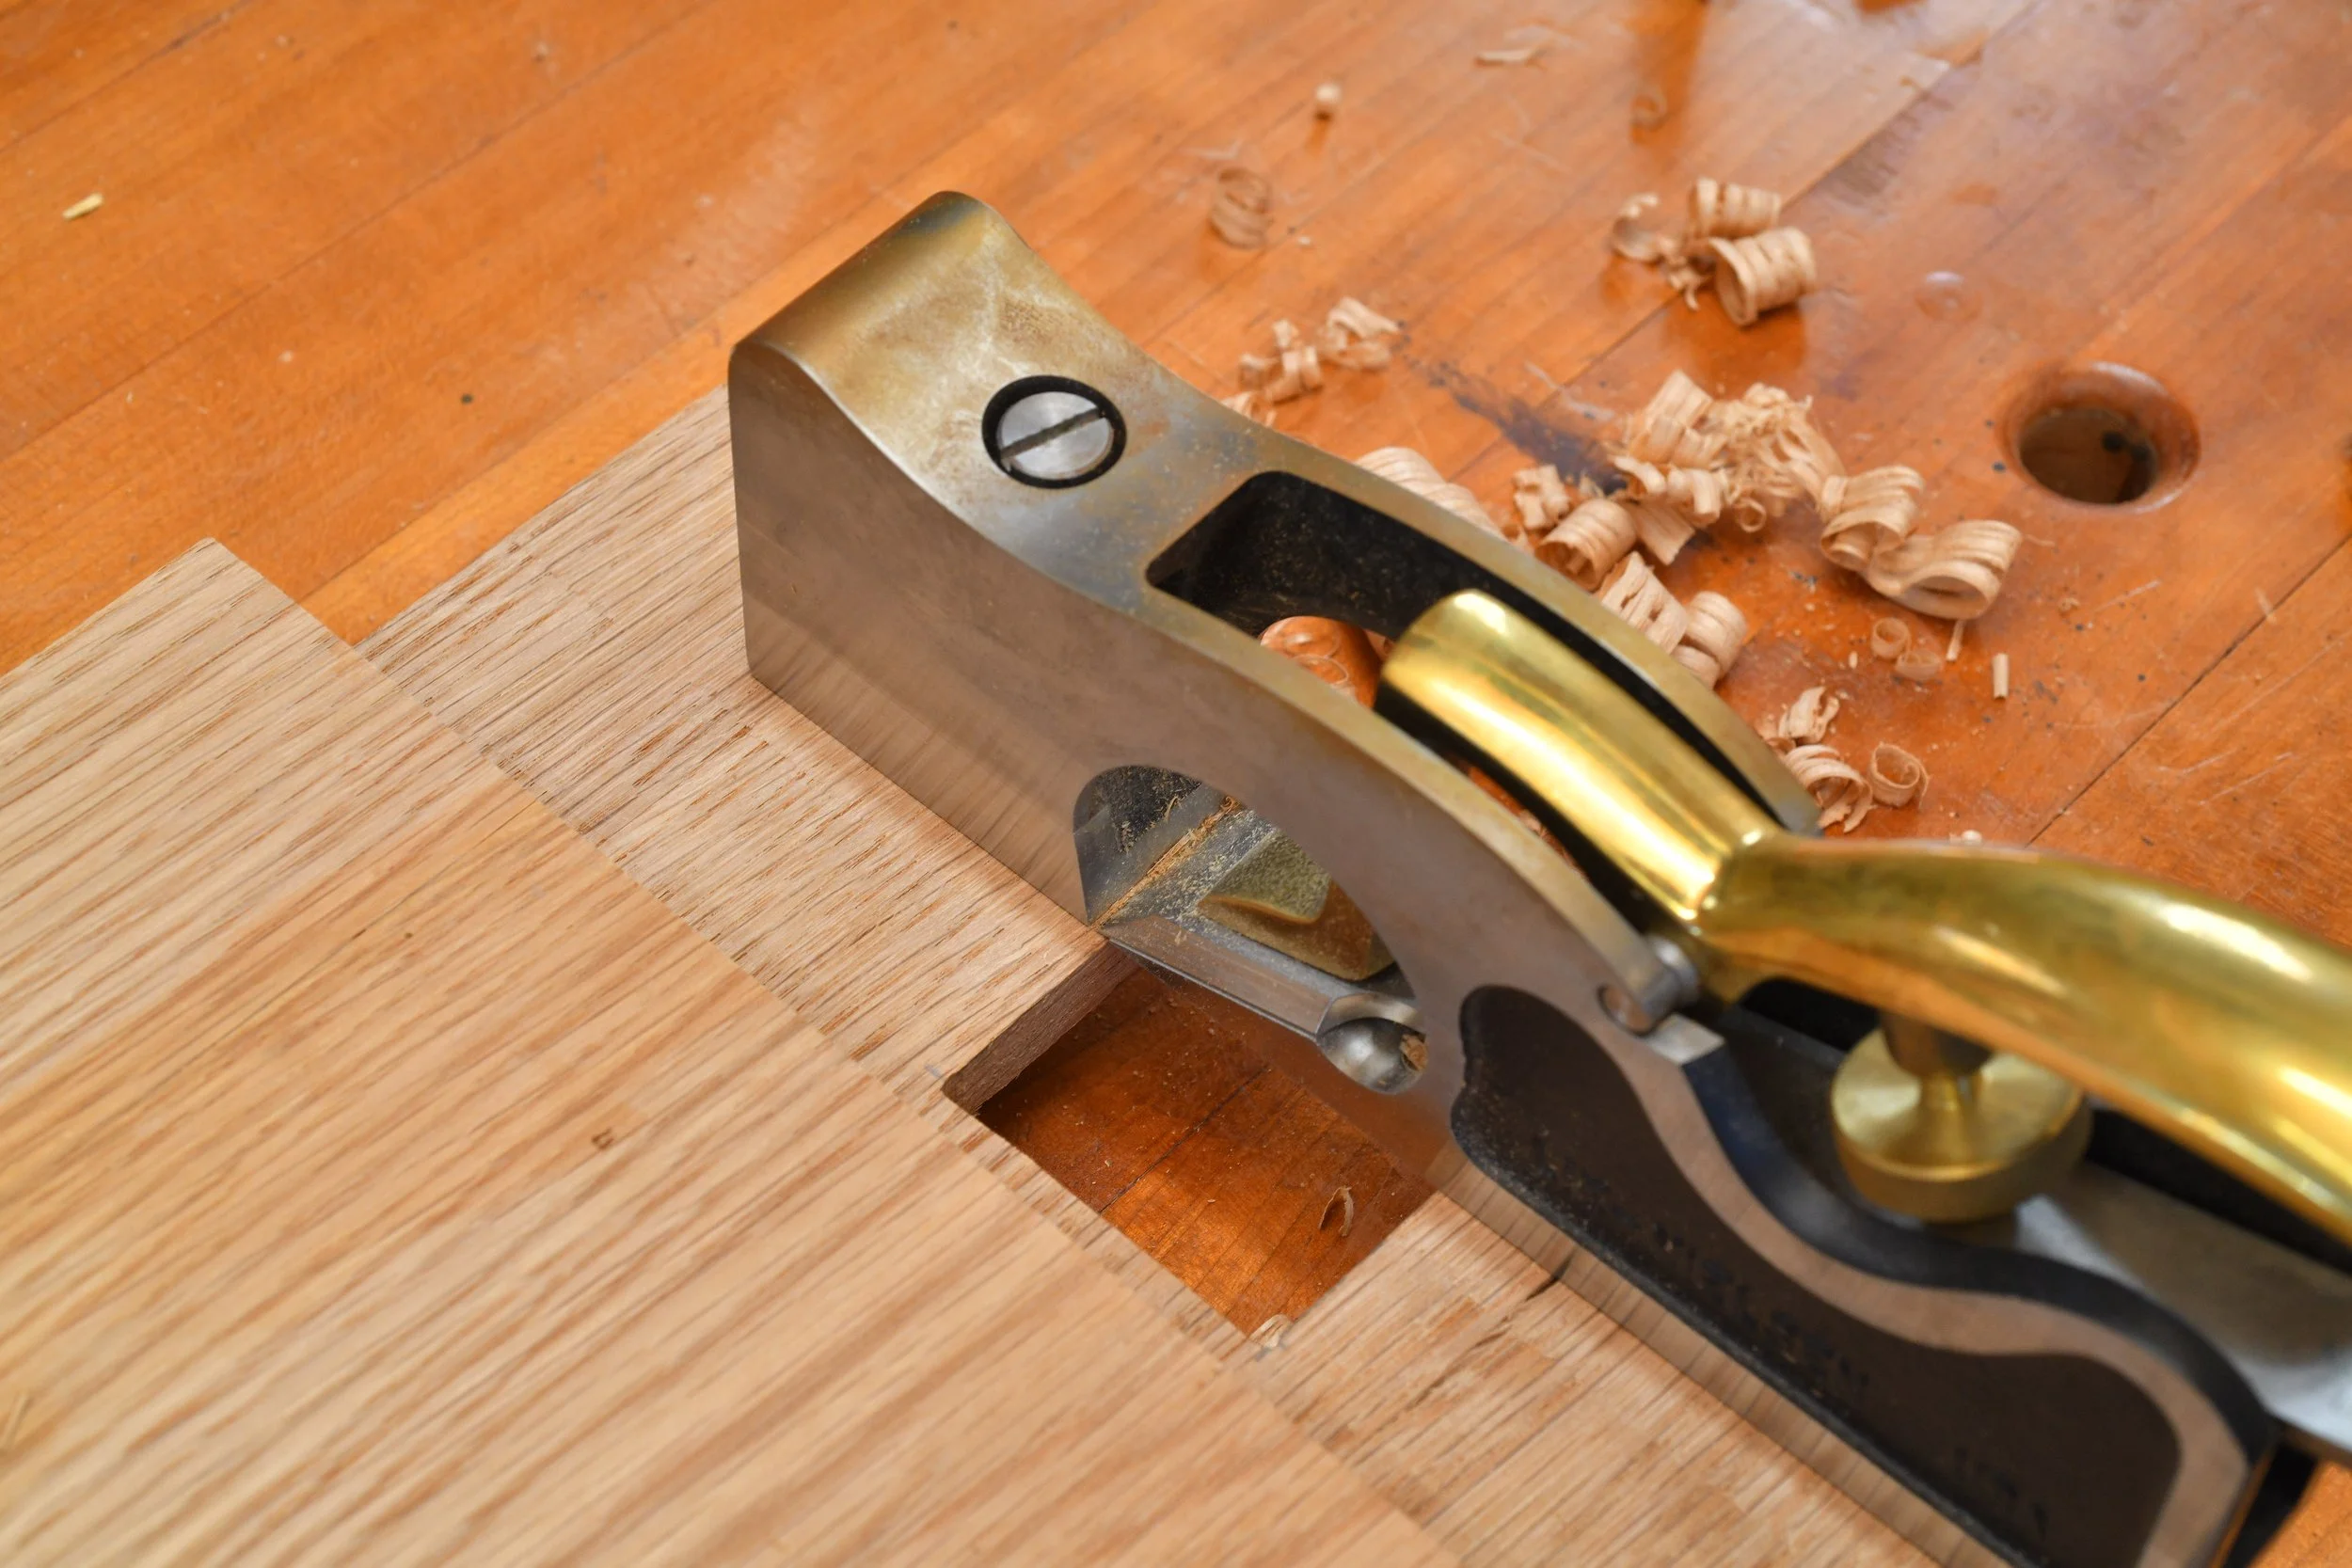
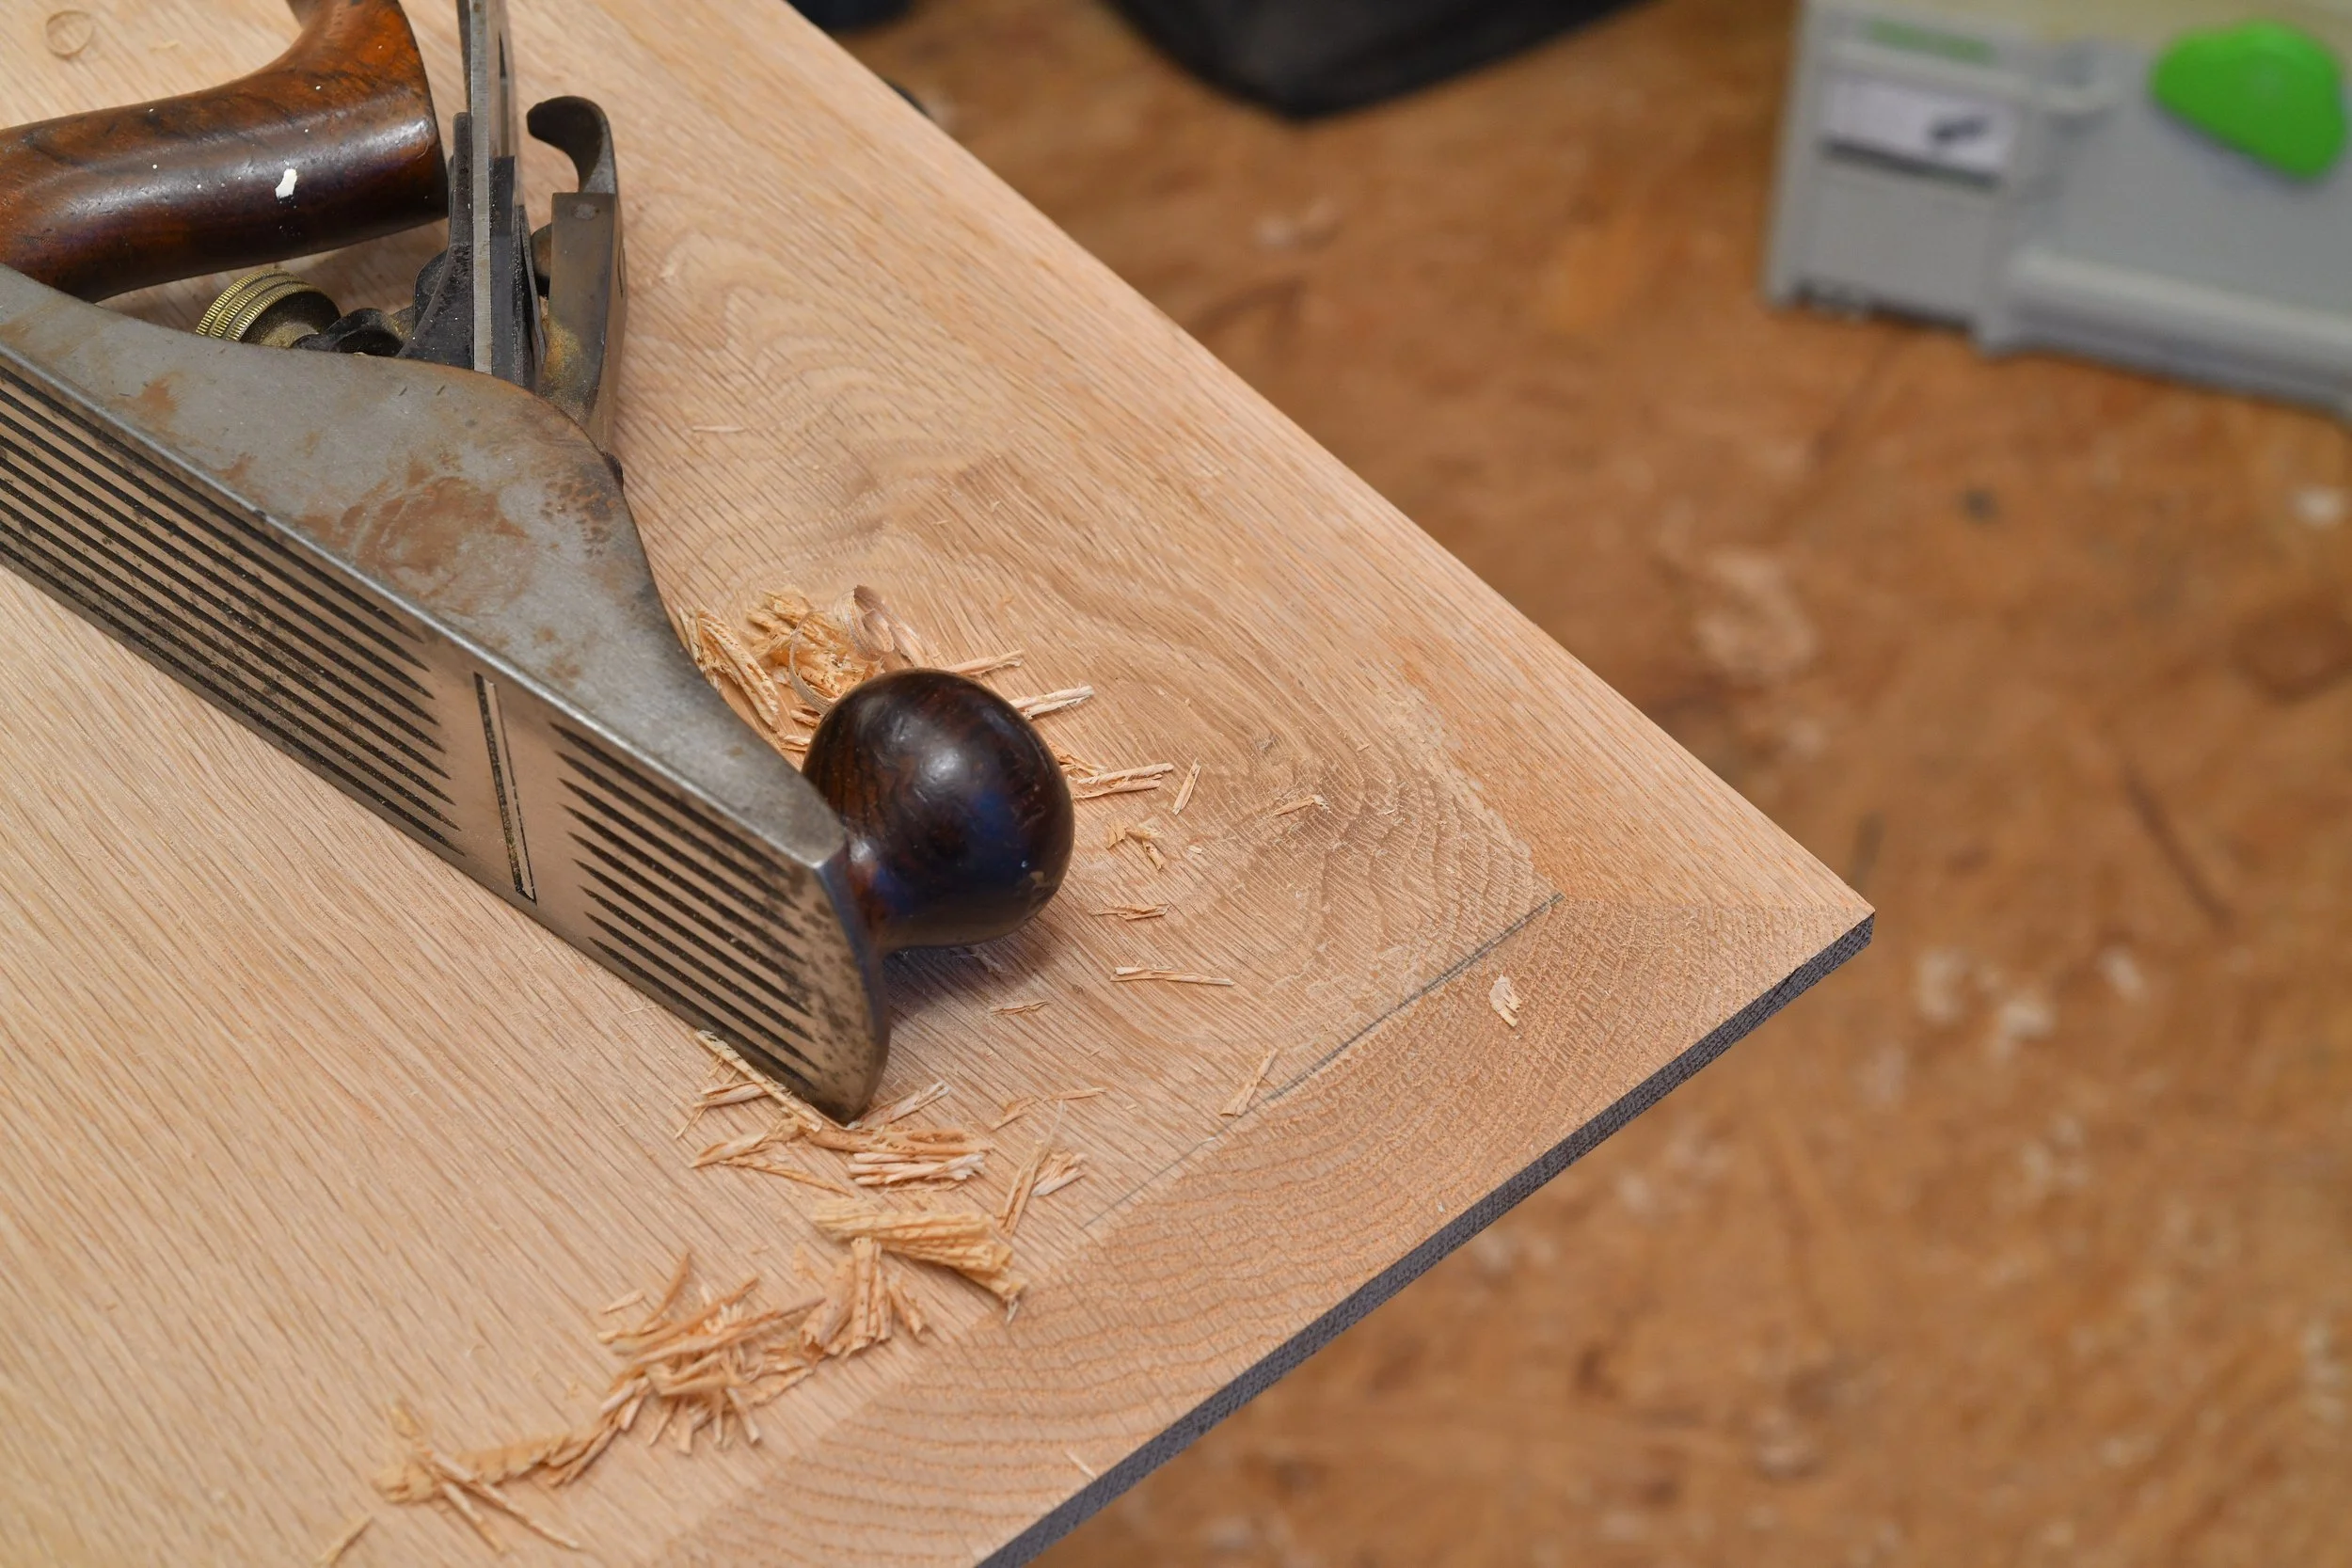
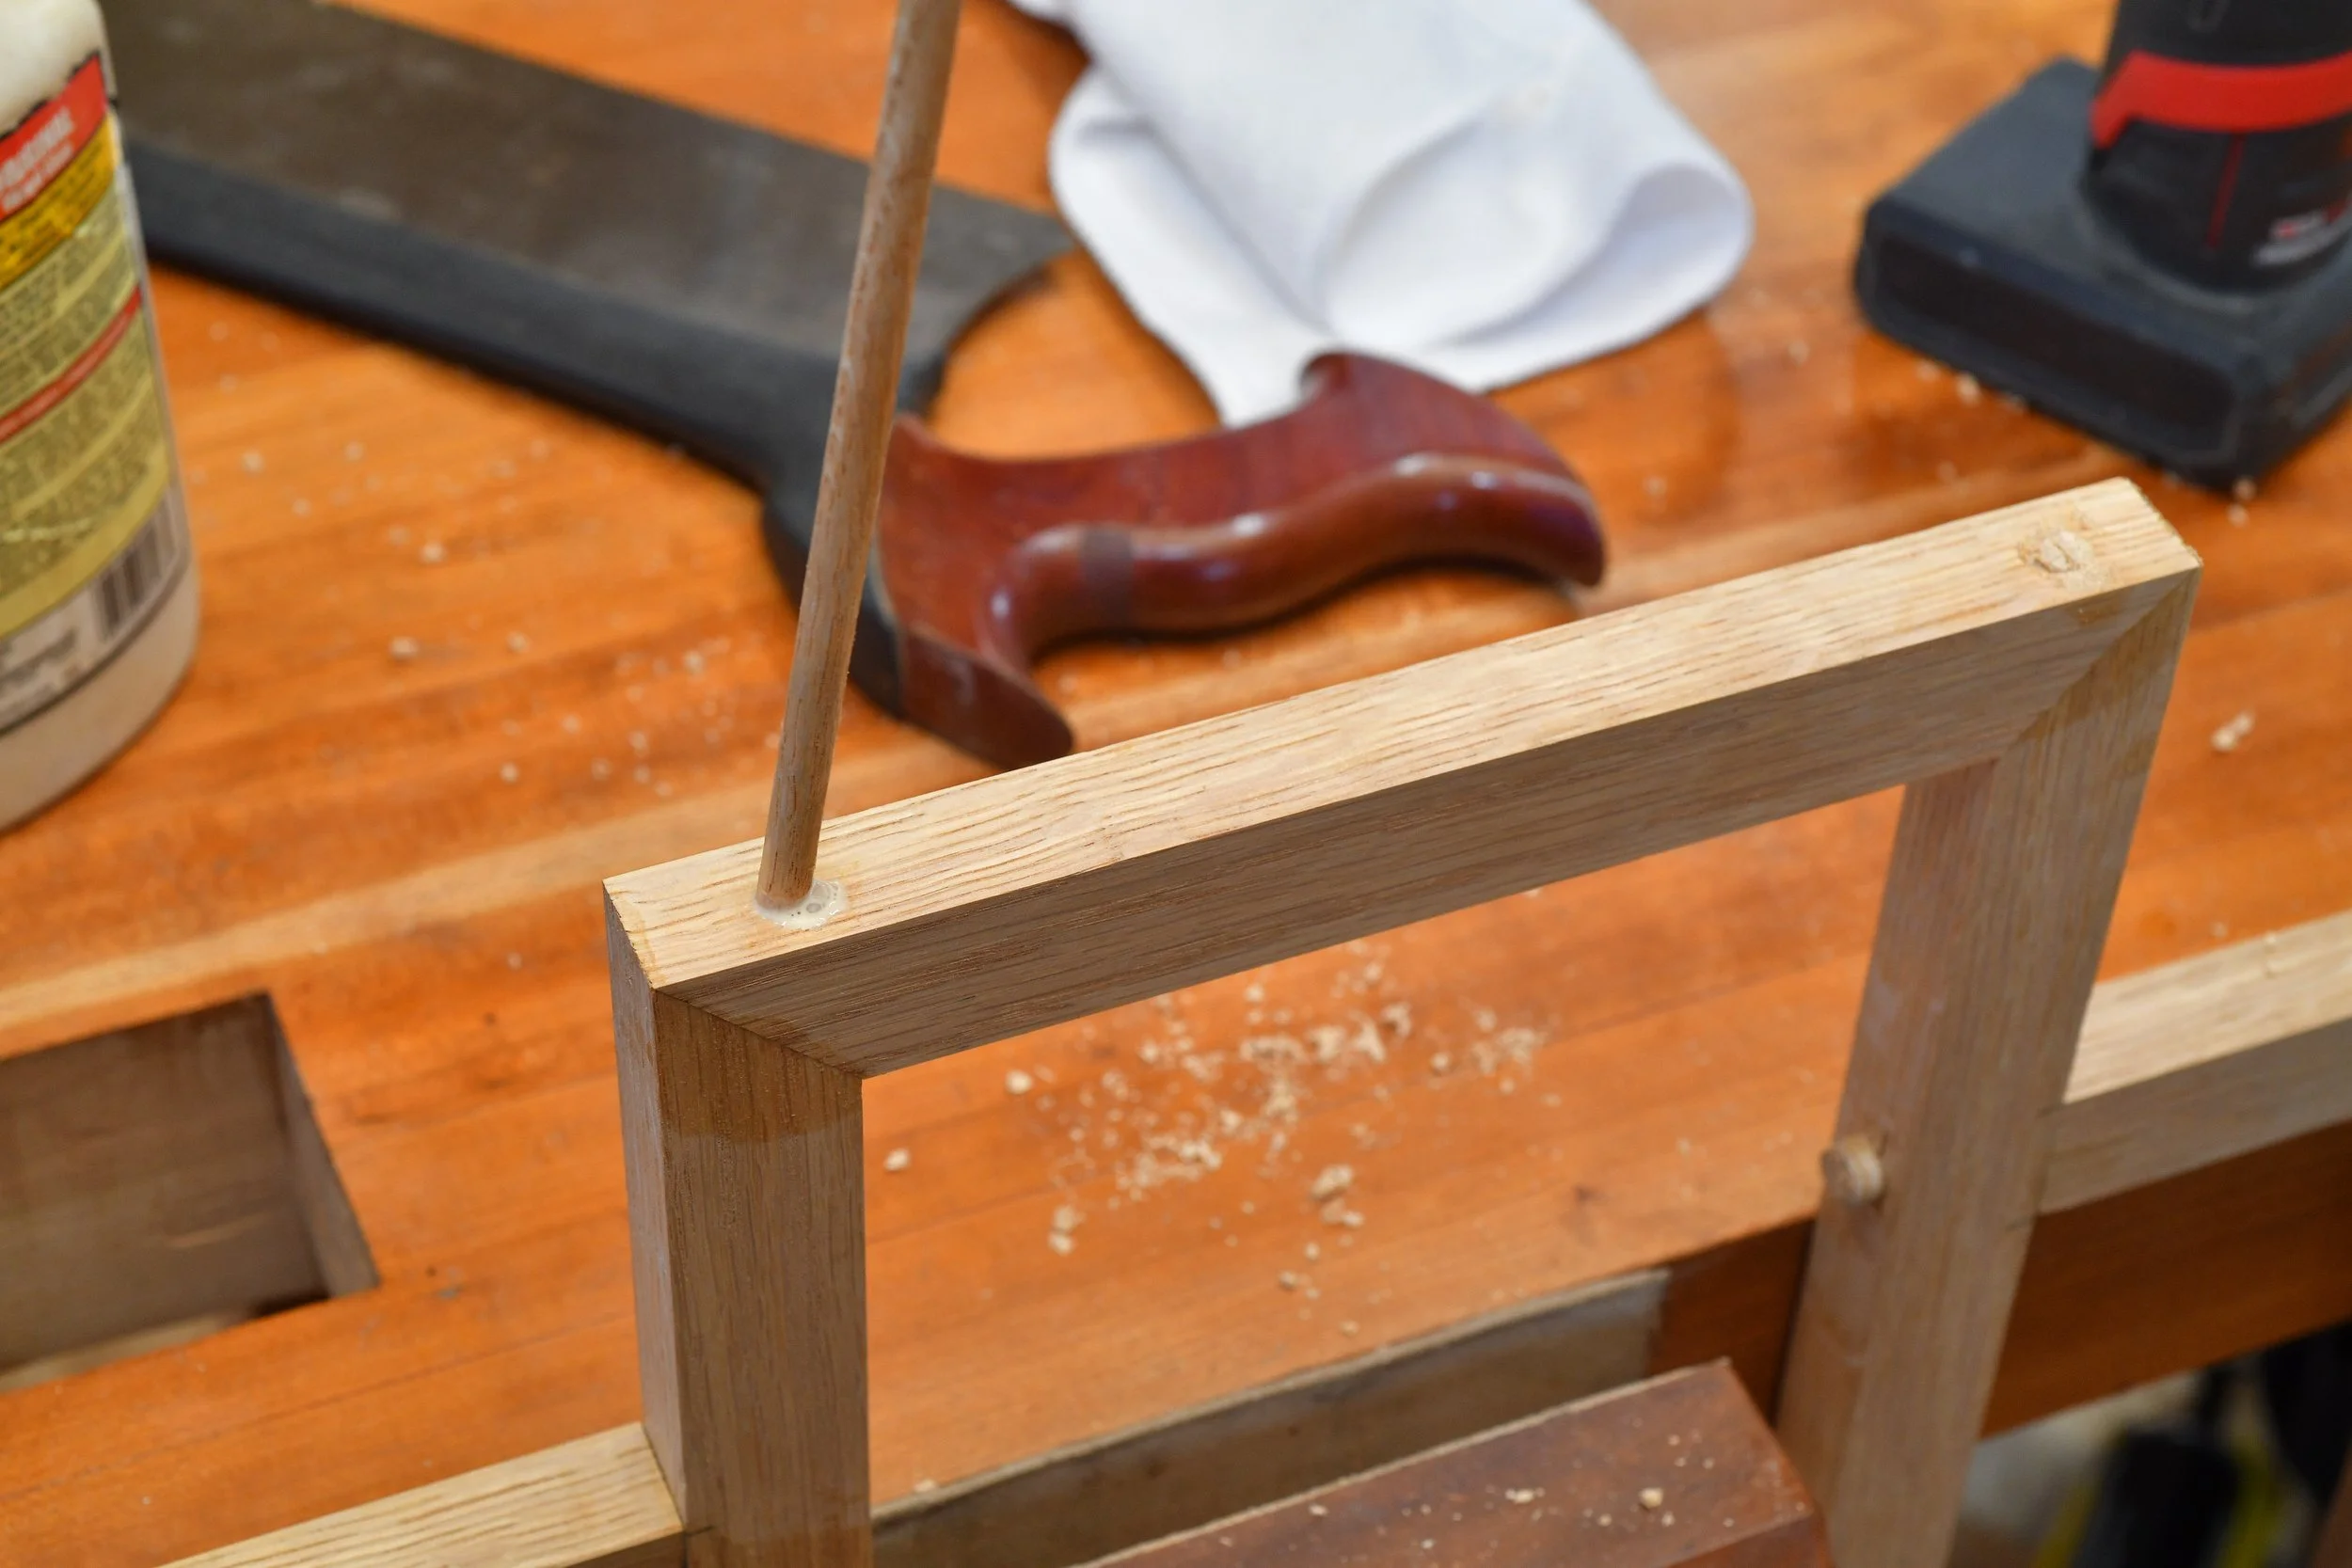
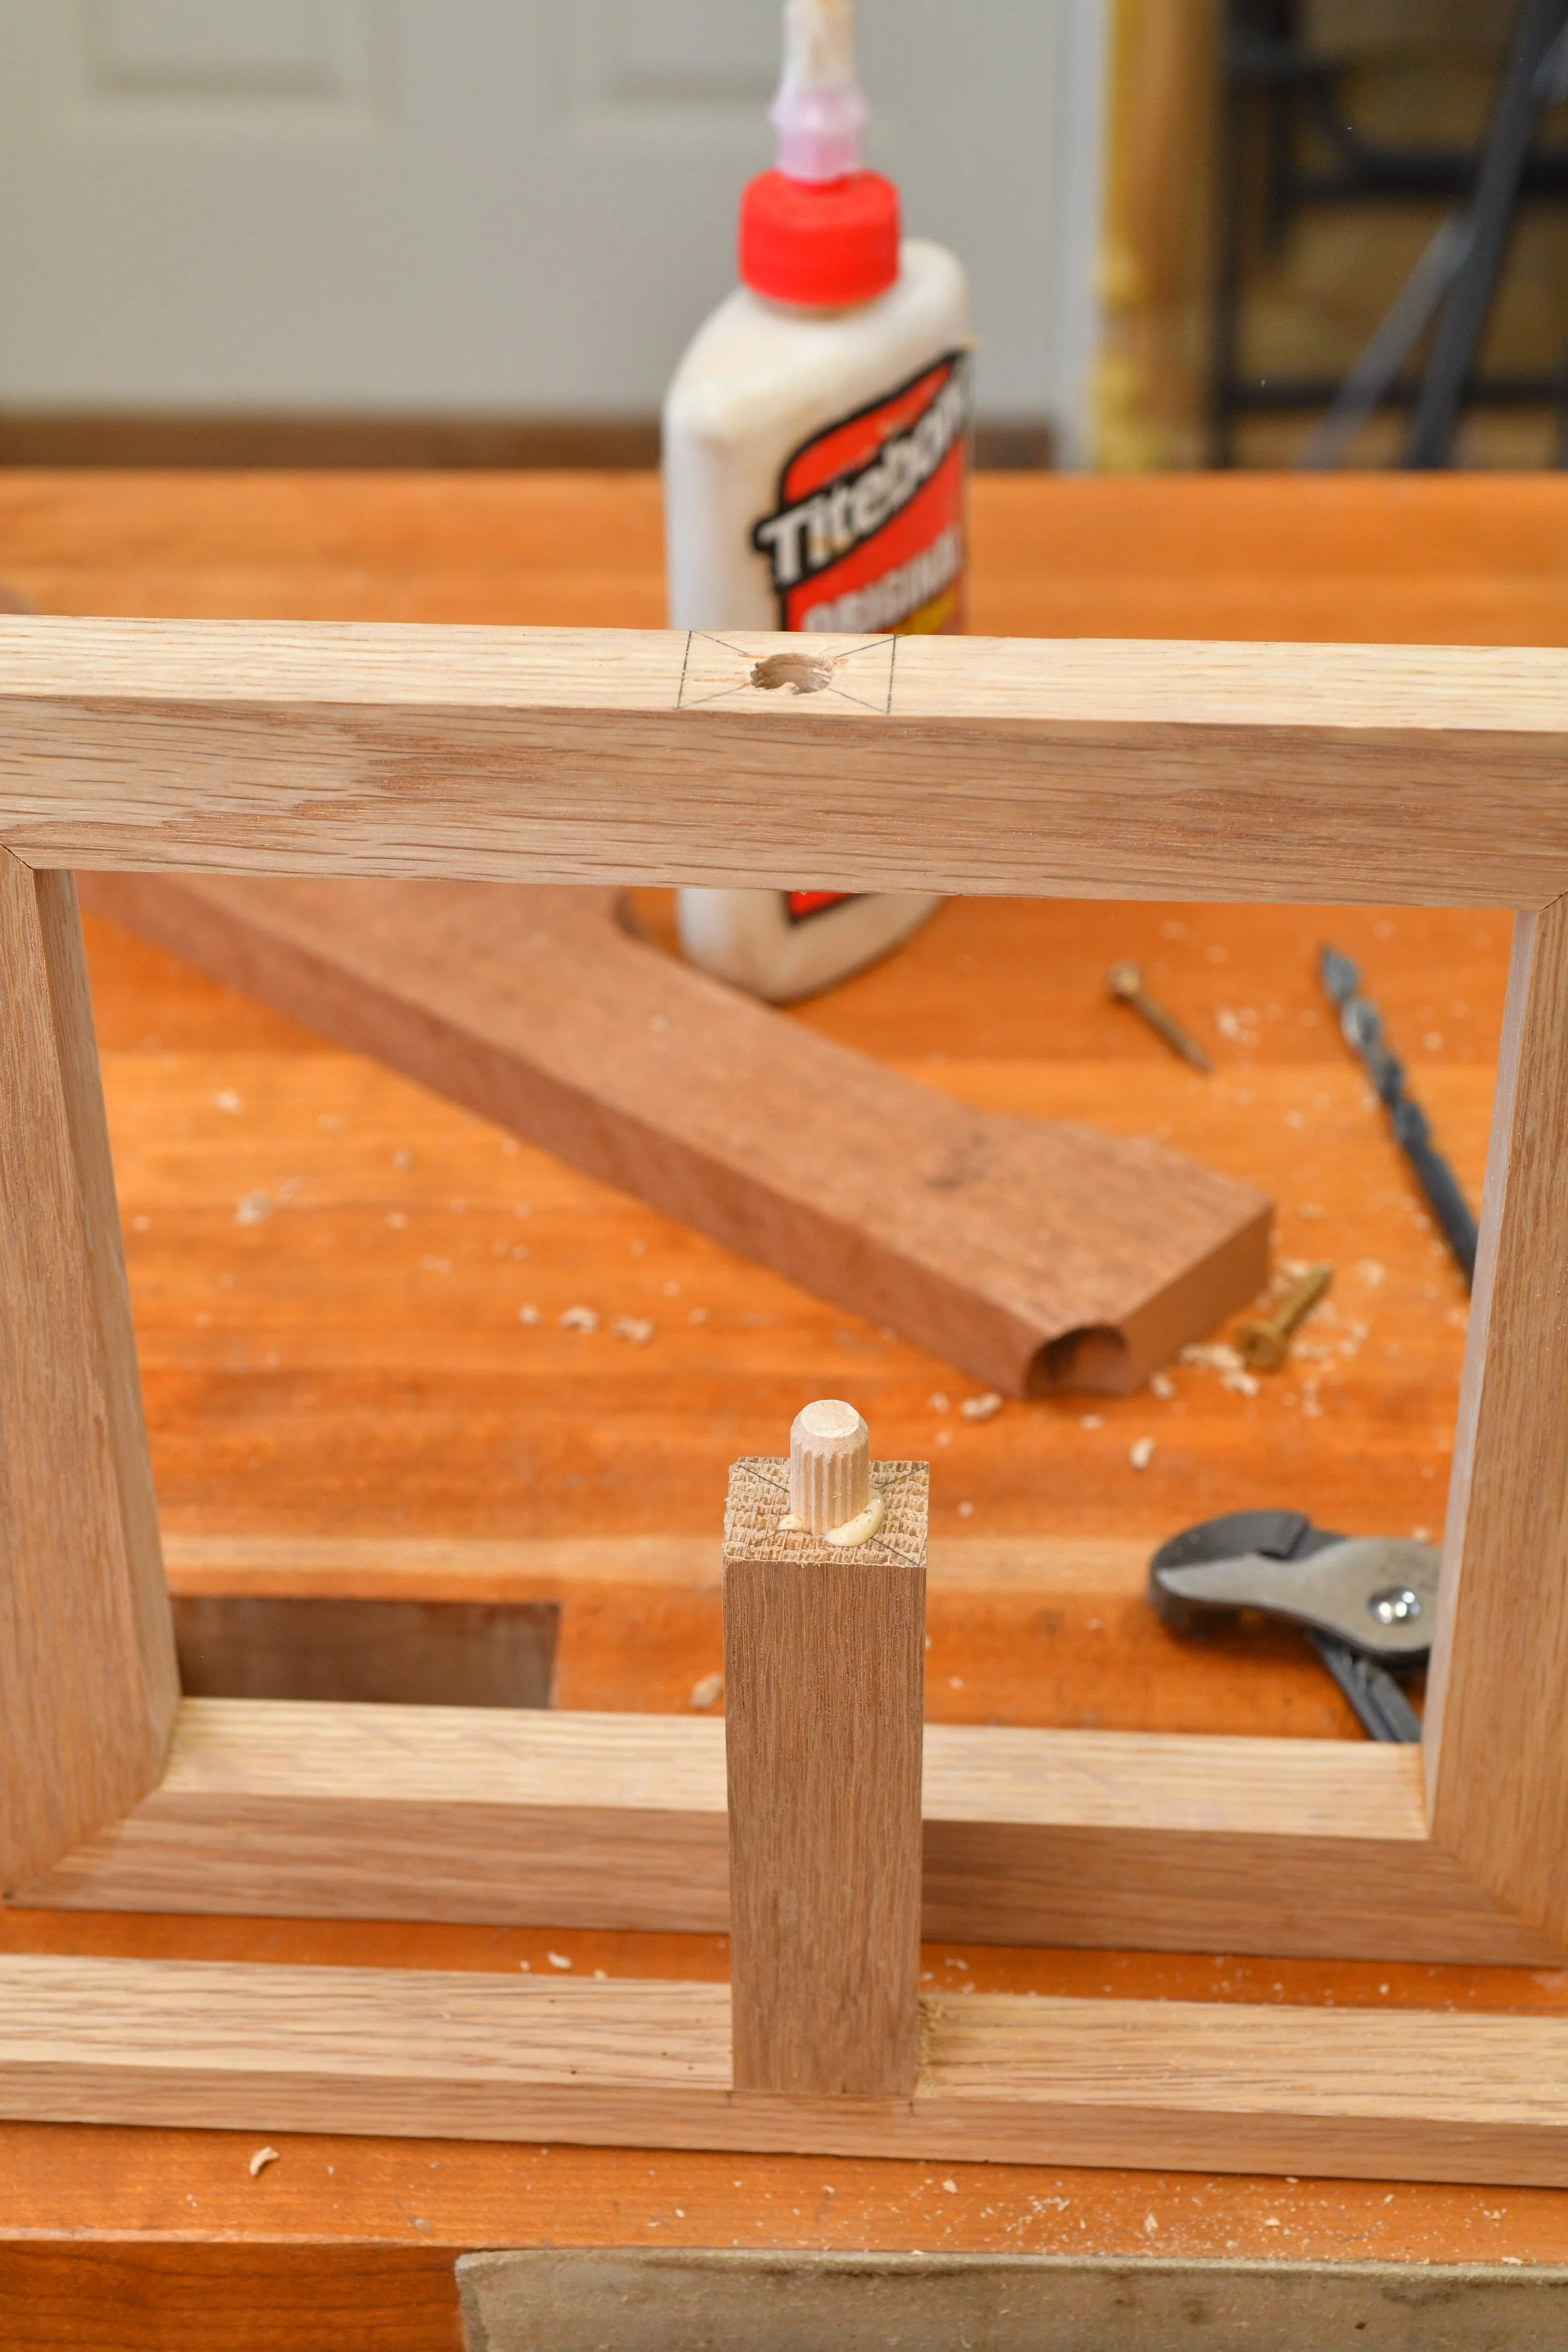
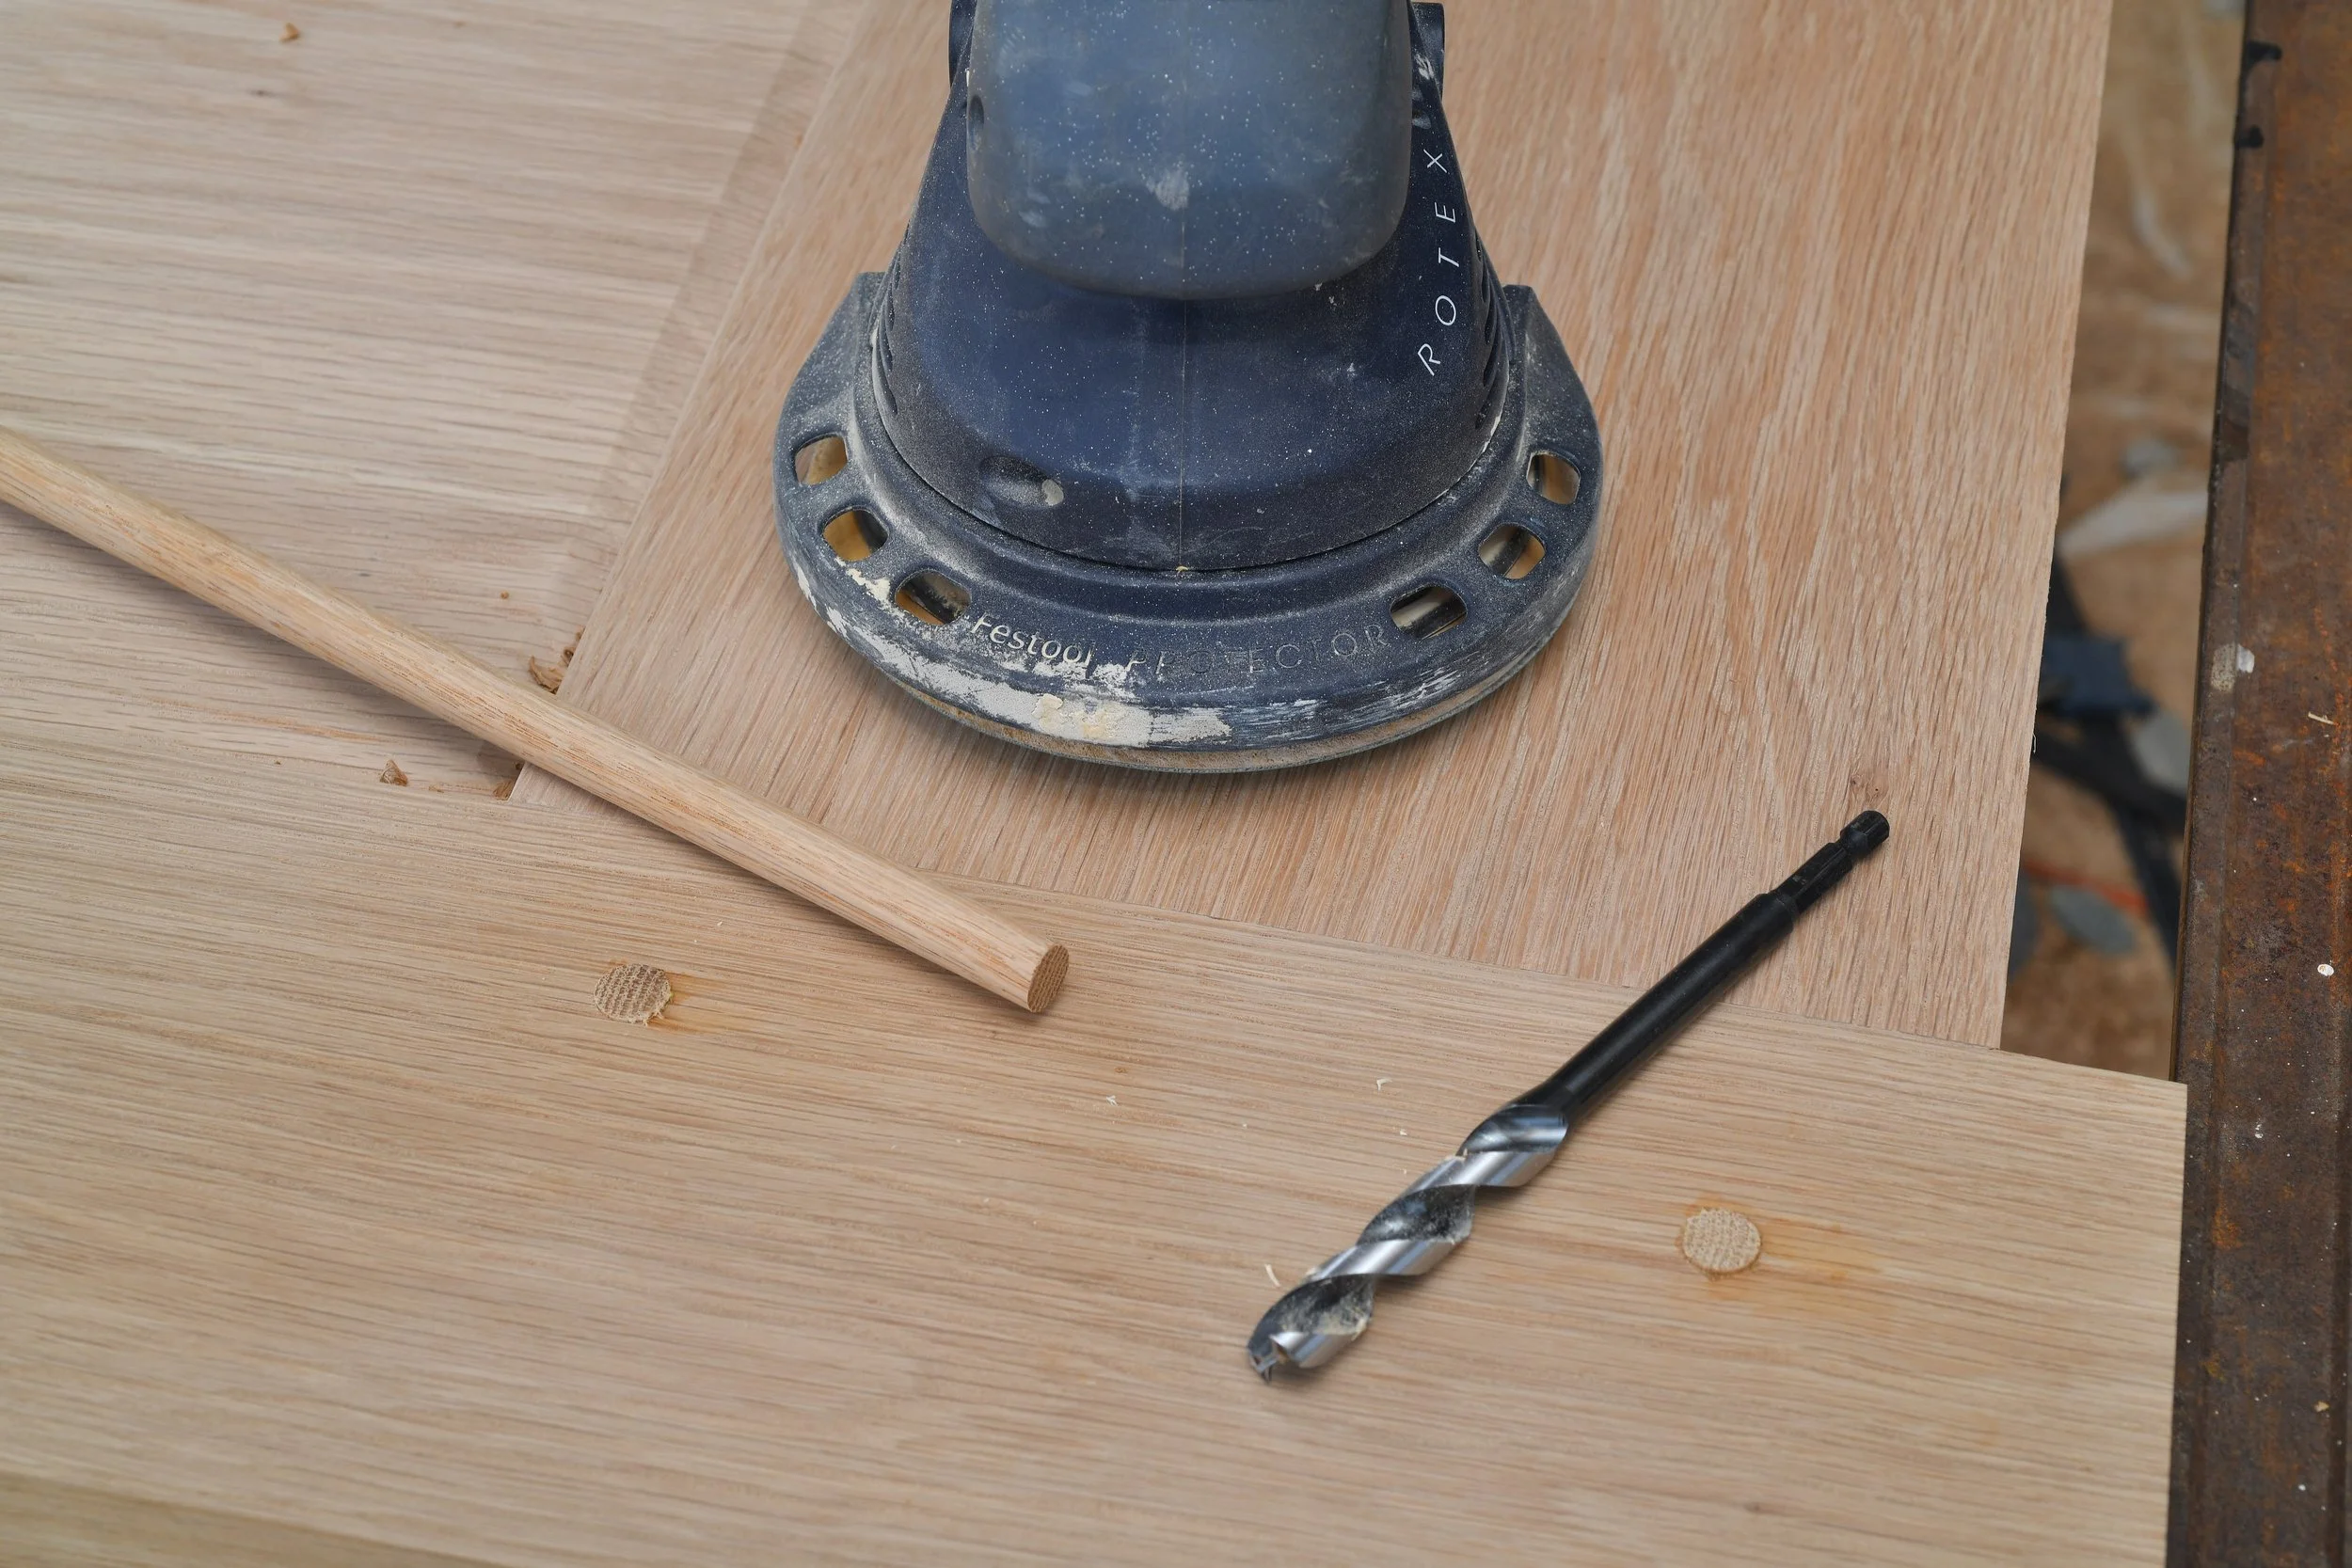
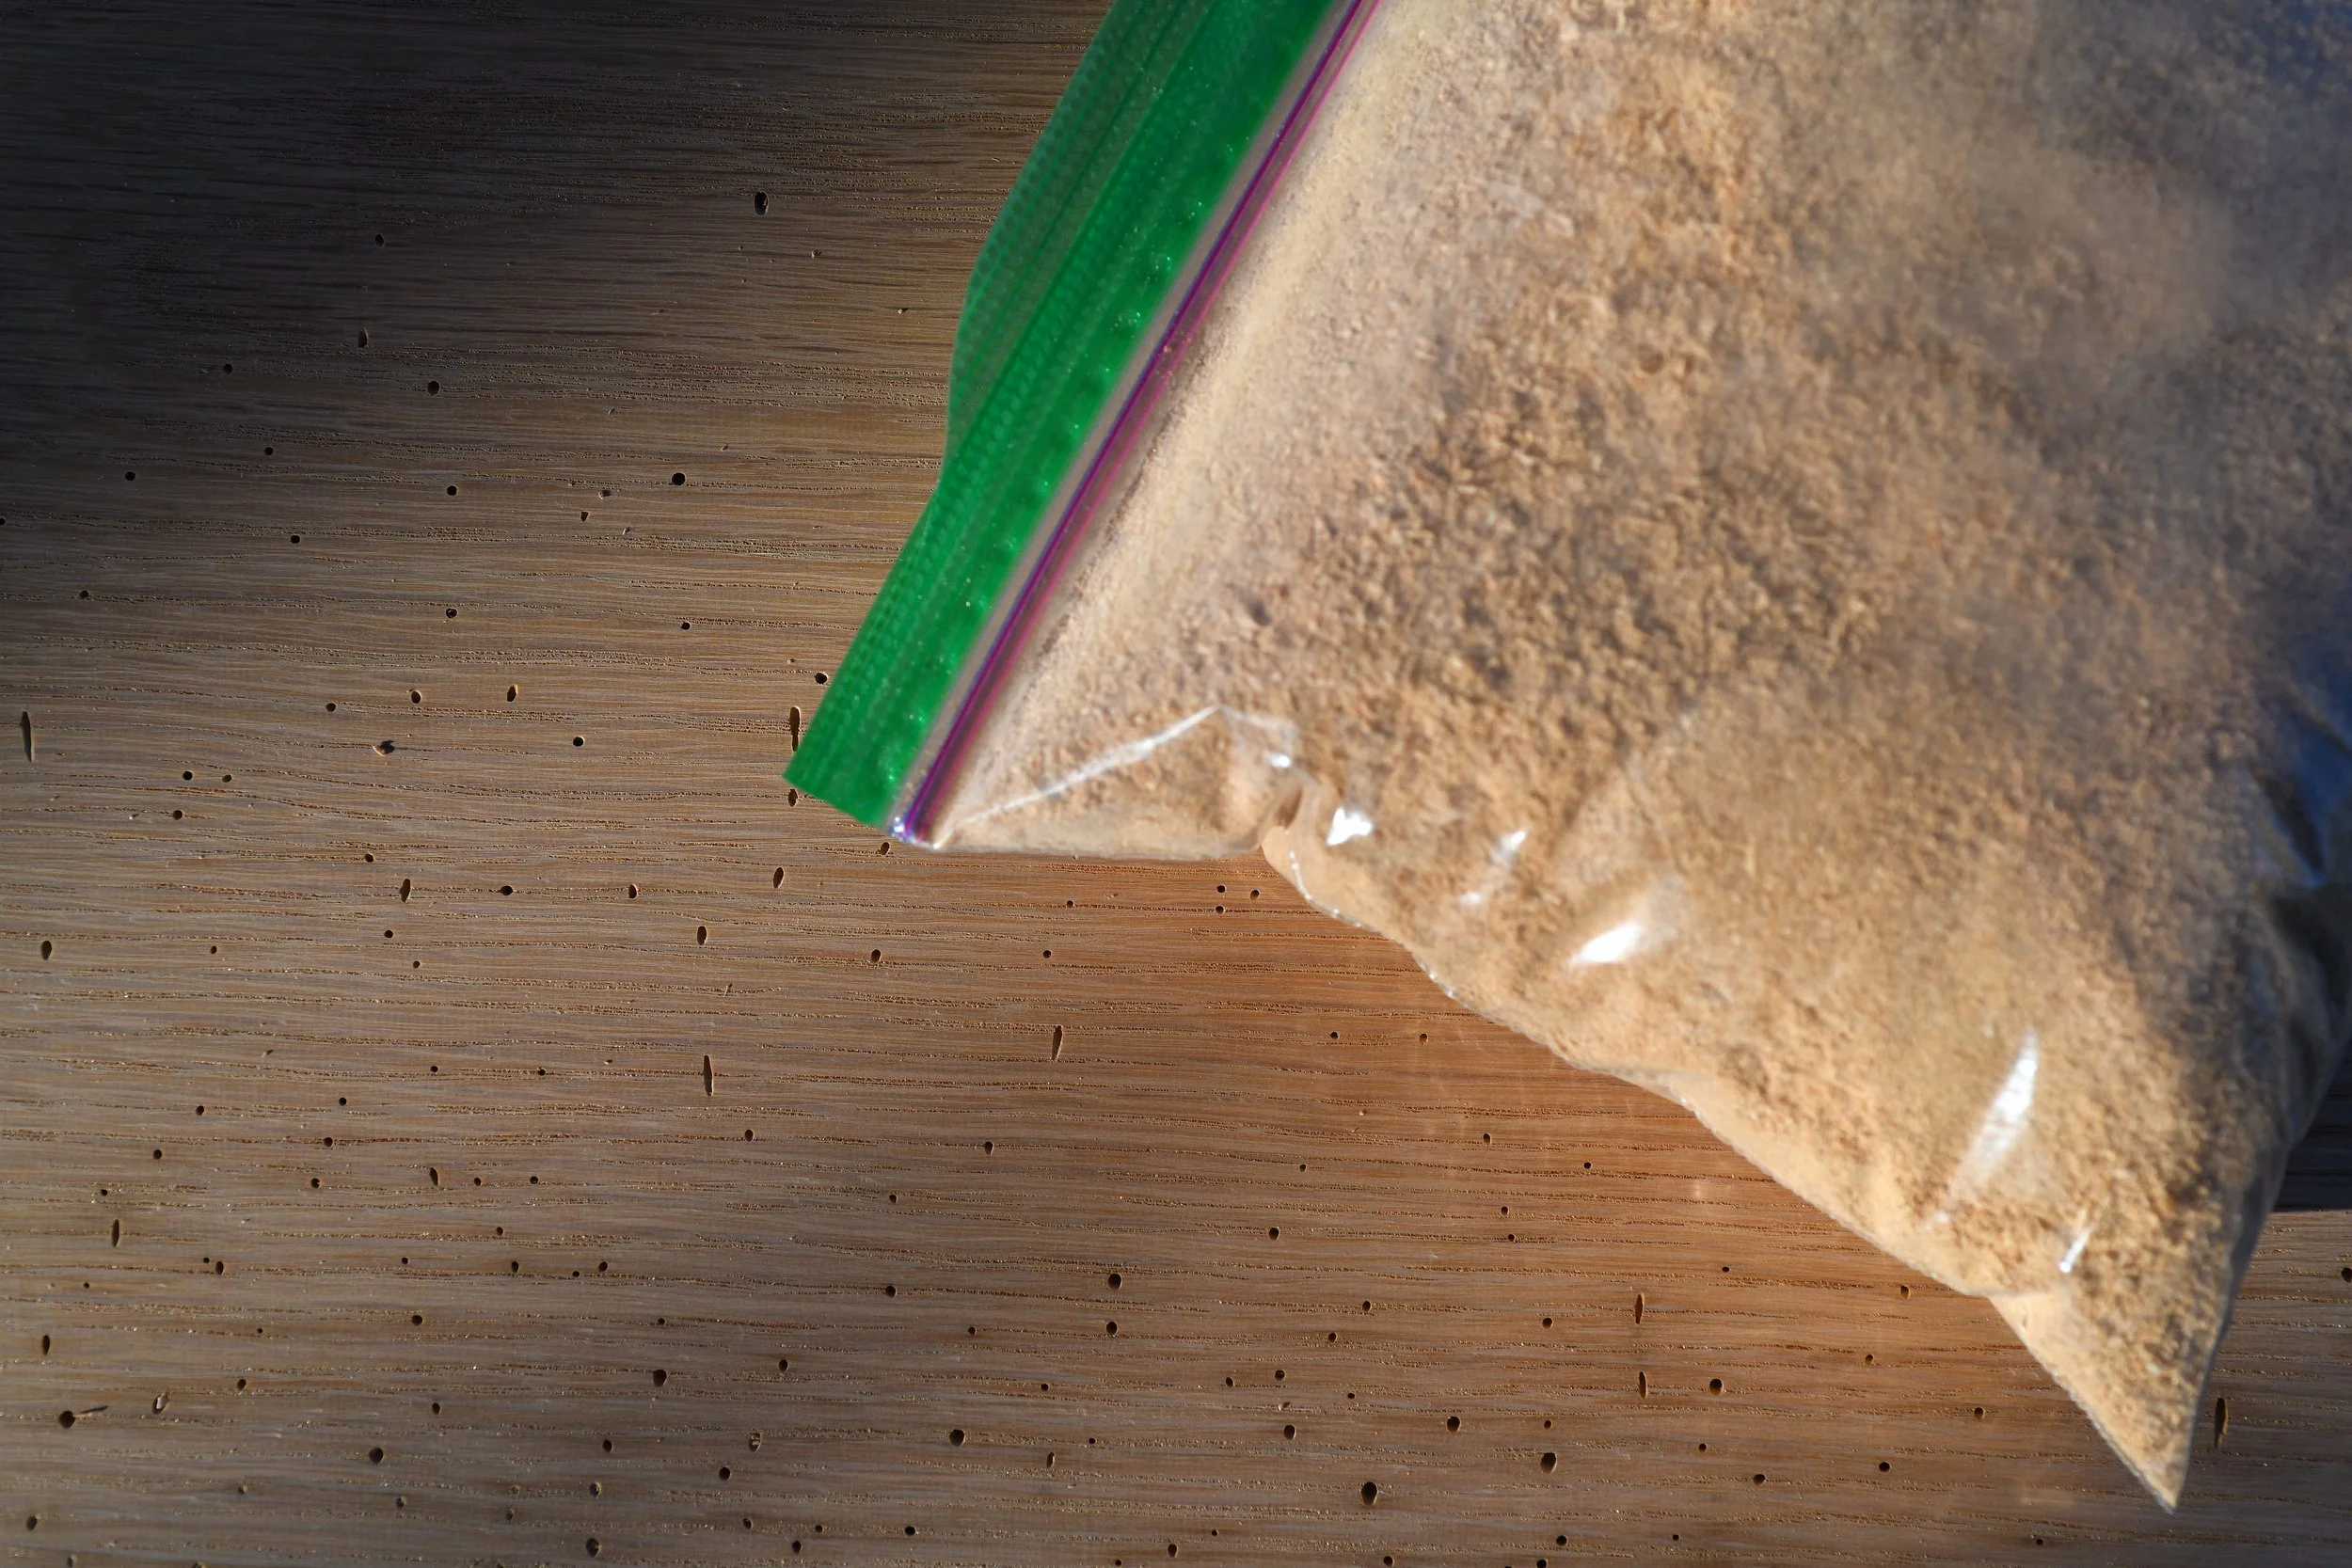
Fill Worm holes with matching saw dust mixed with glue
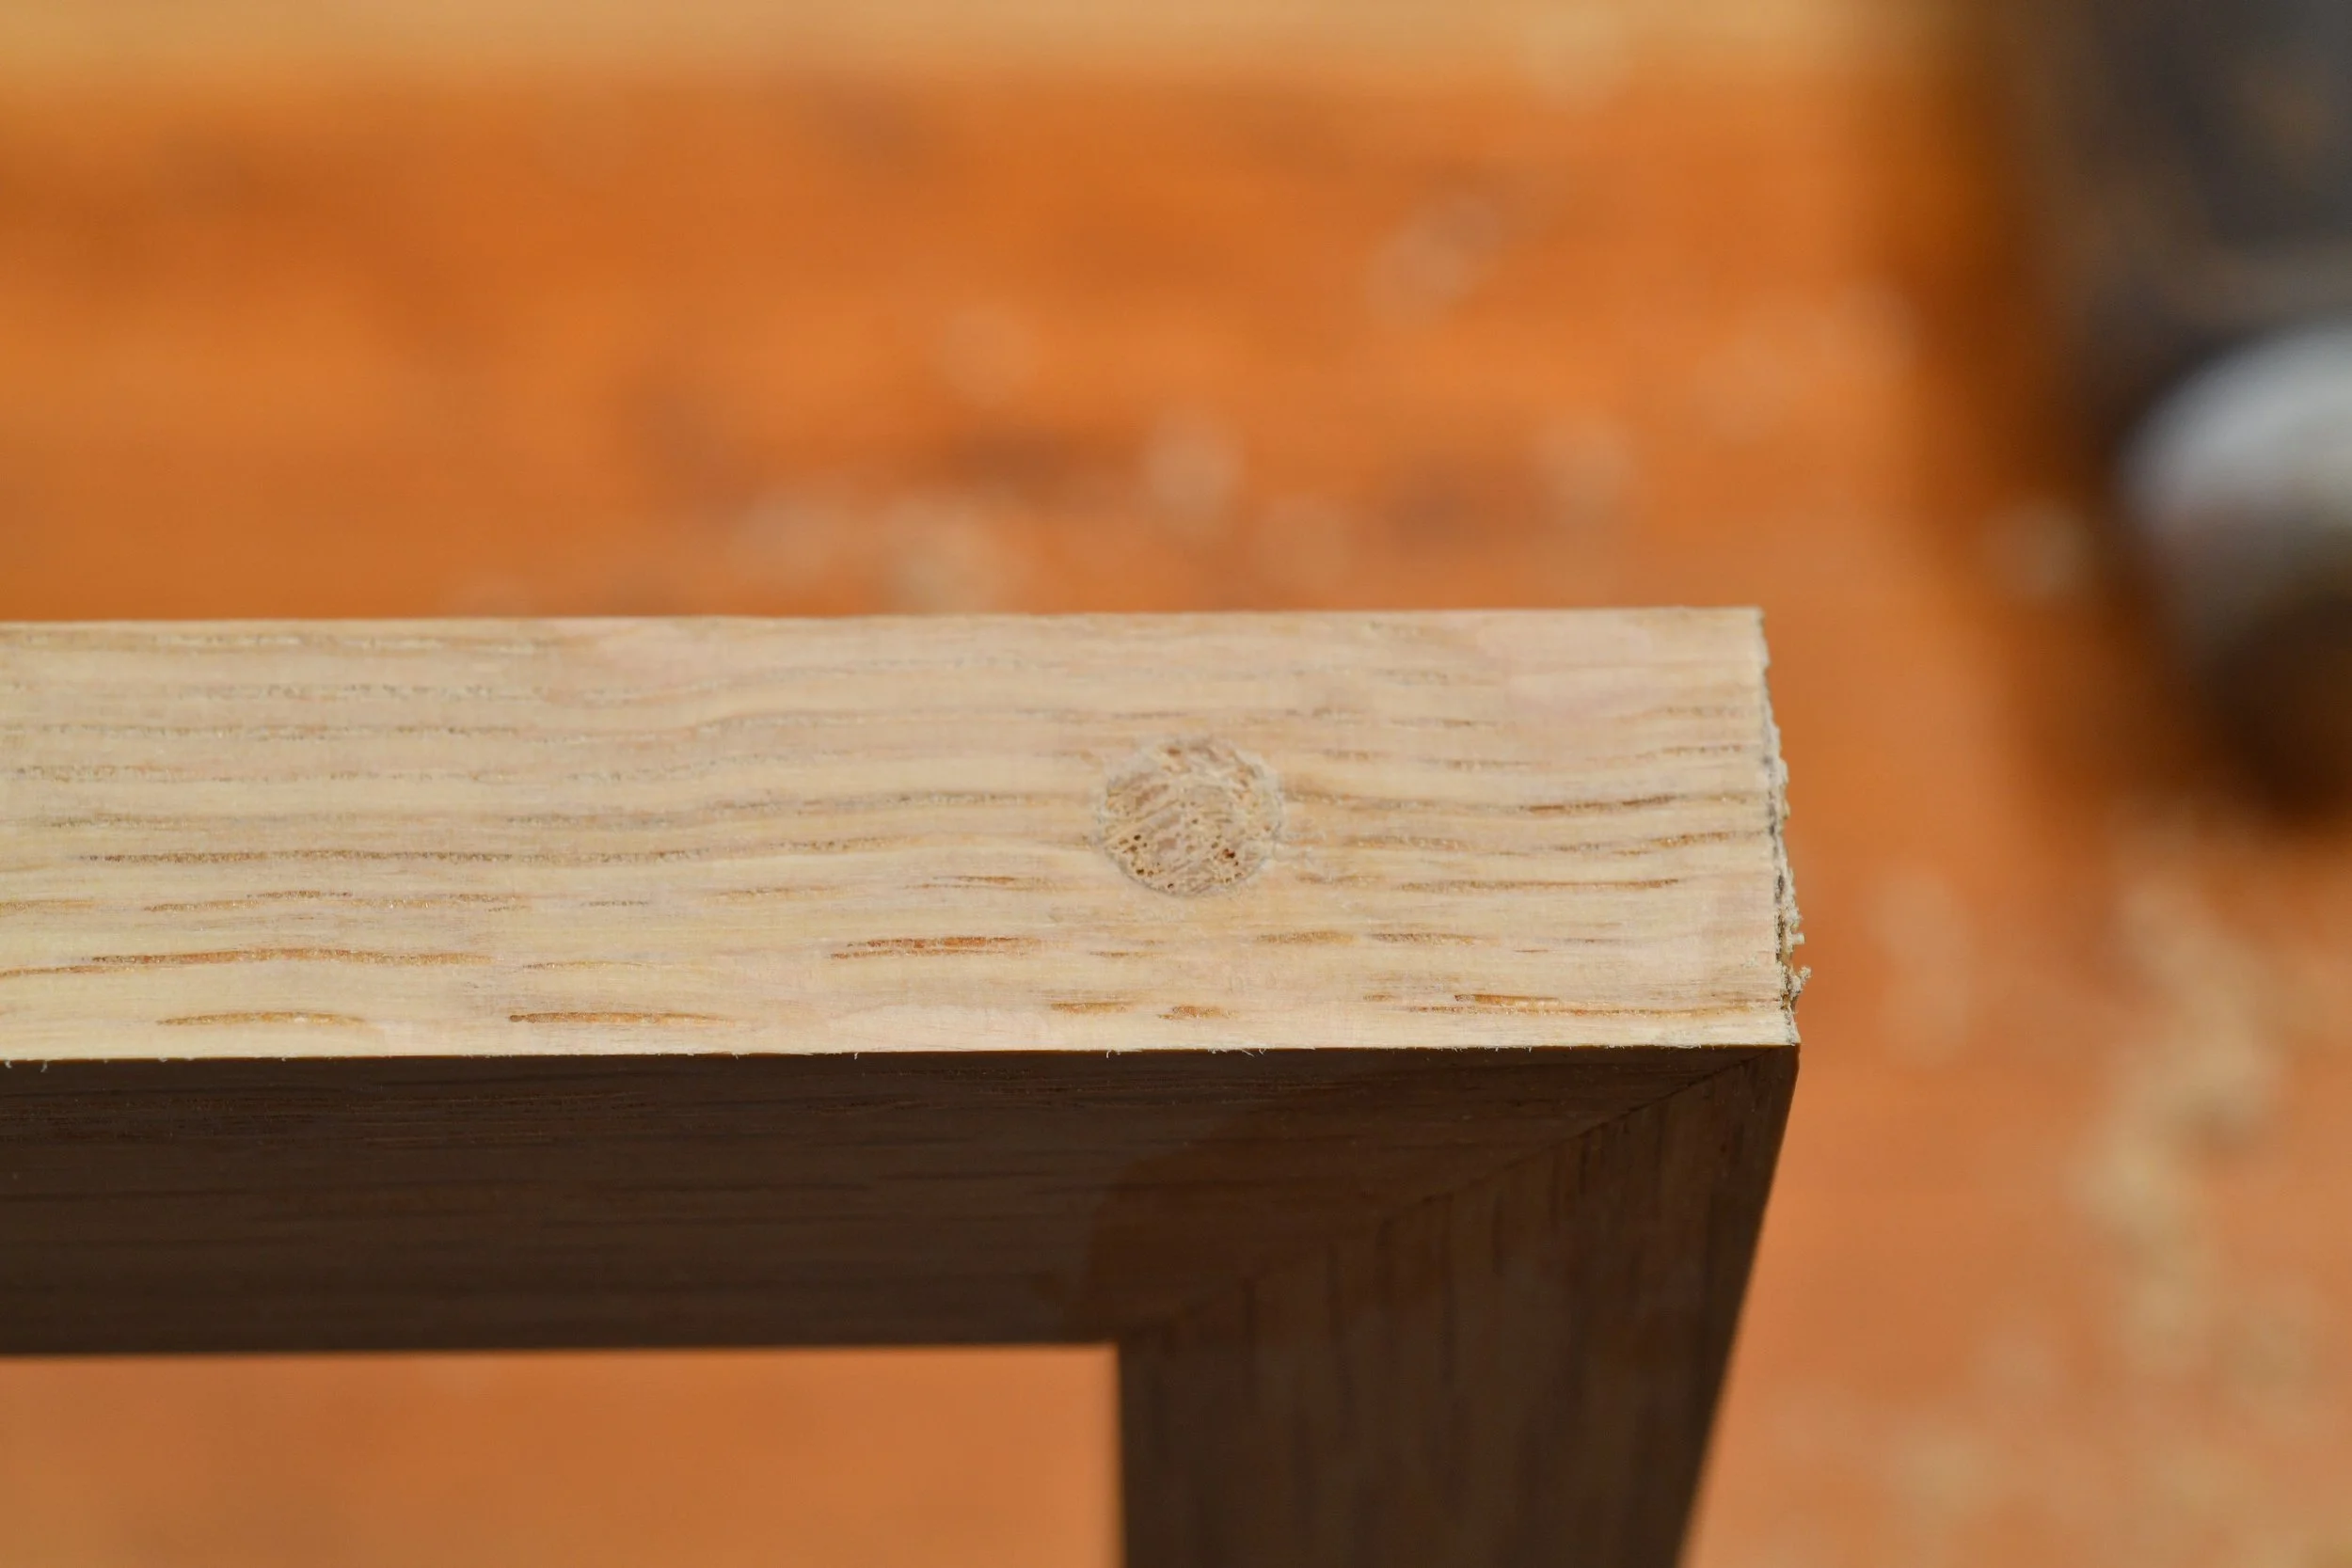
Worm holes — Usually not structural, but worth noting. Something to keep an eye out for.
Moisture — Most kiln-dried hardwood from a reputable supplier will be in the right range, but if you have a moisture meter, test the boards before you buy. Anything well above 12% means you'll need to acclimate those boards in a climate-controlled space before you can build with them.
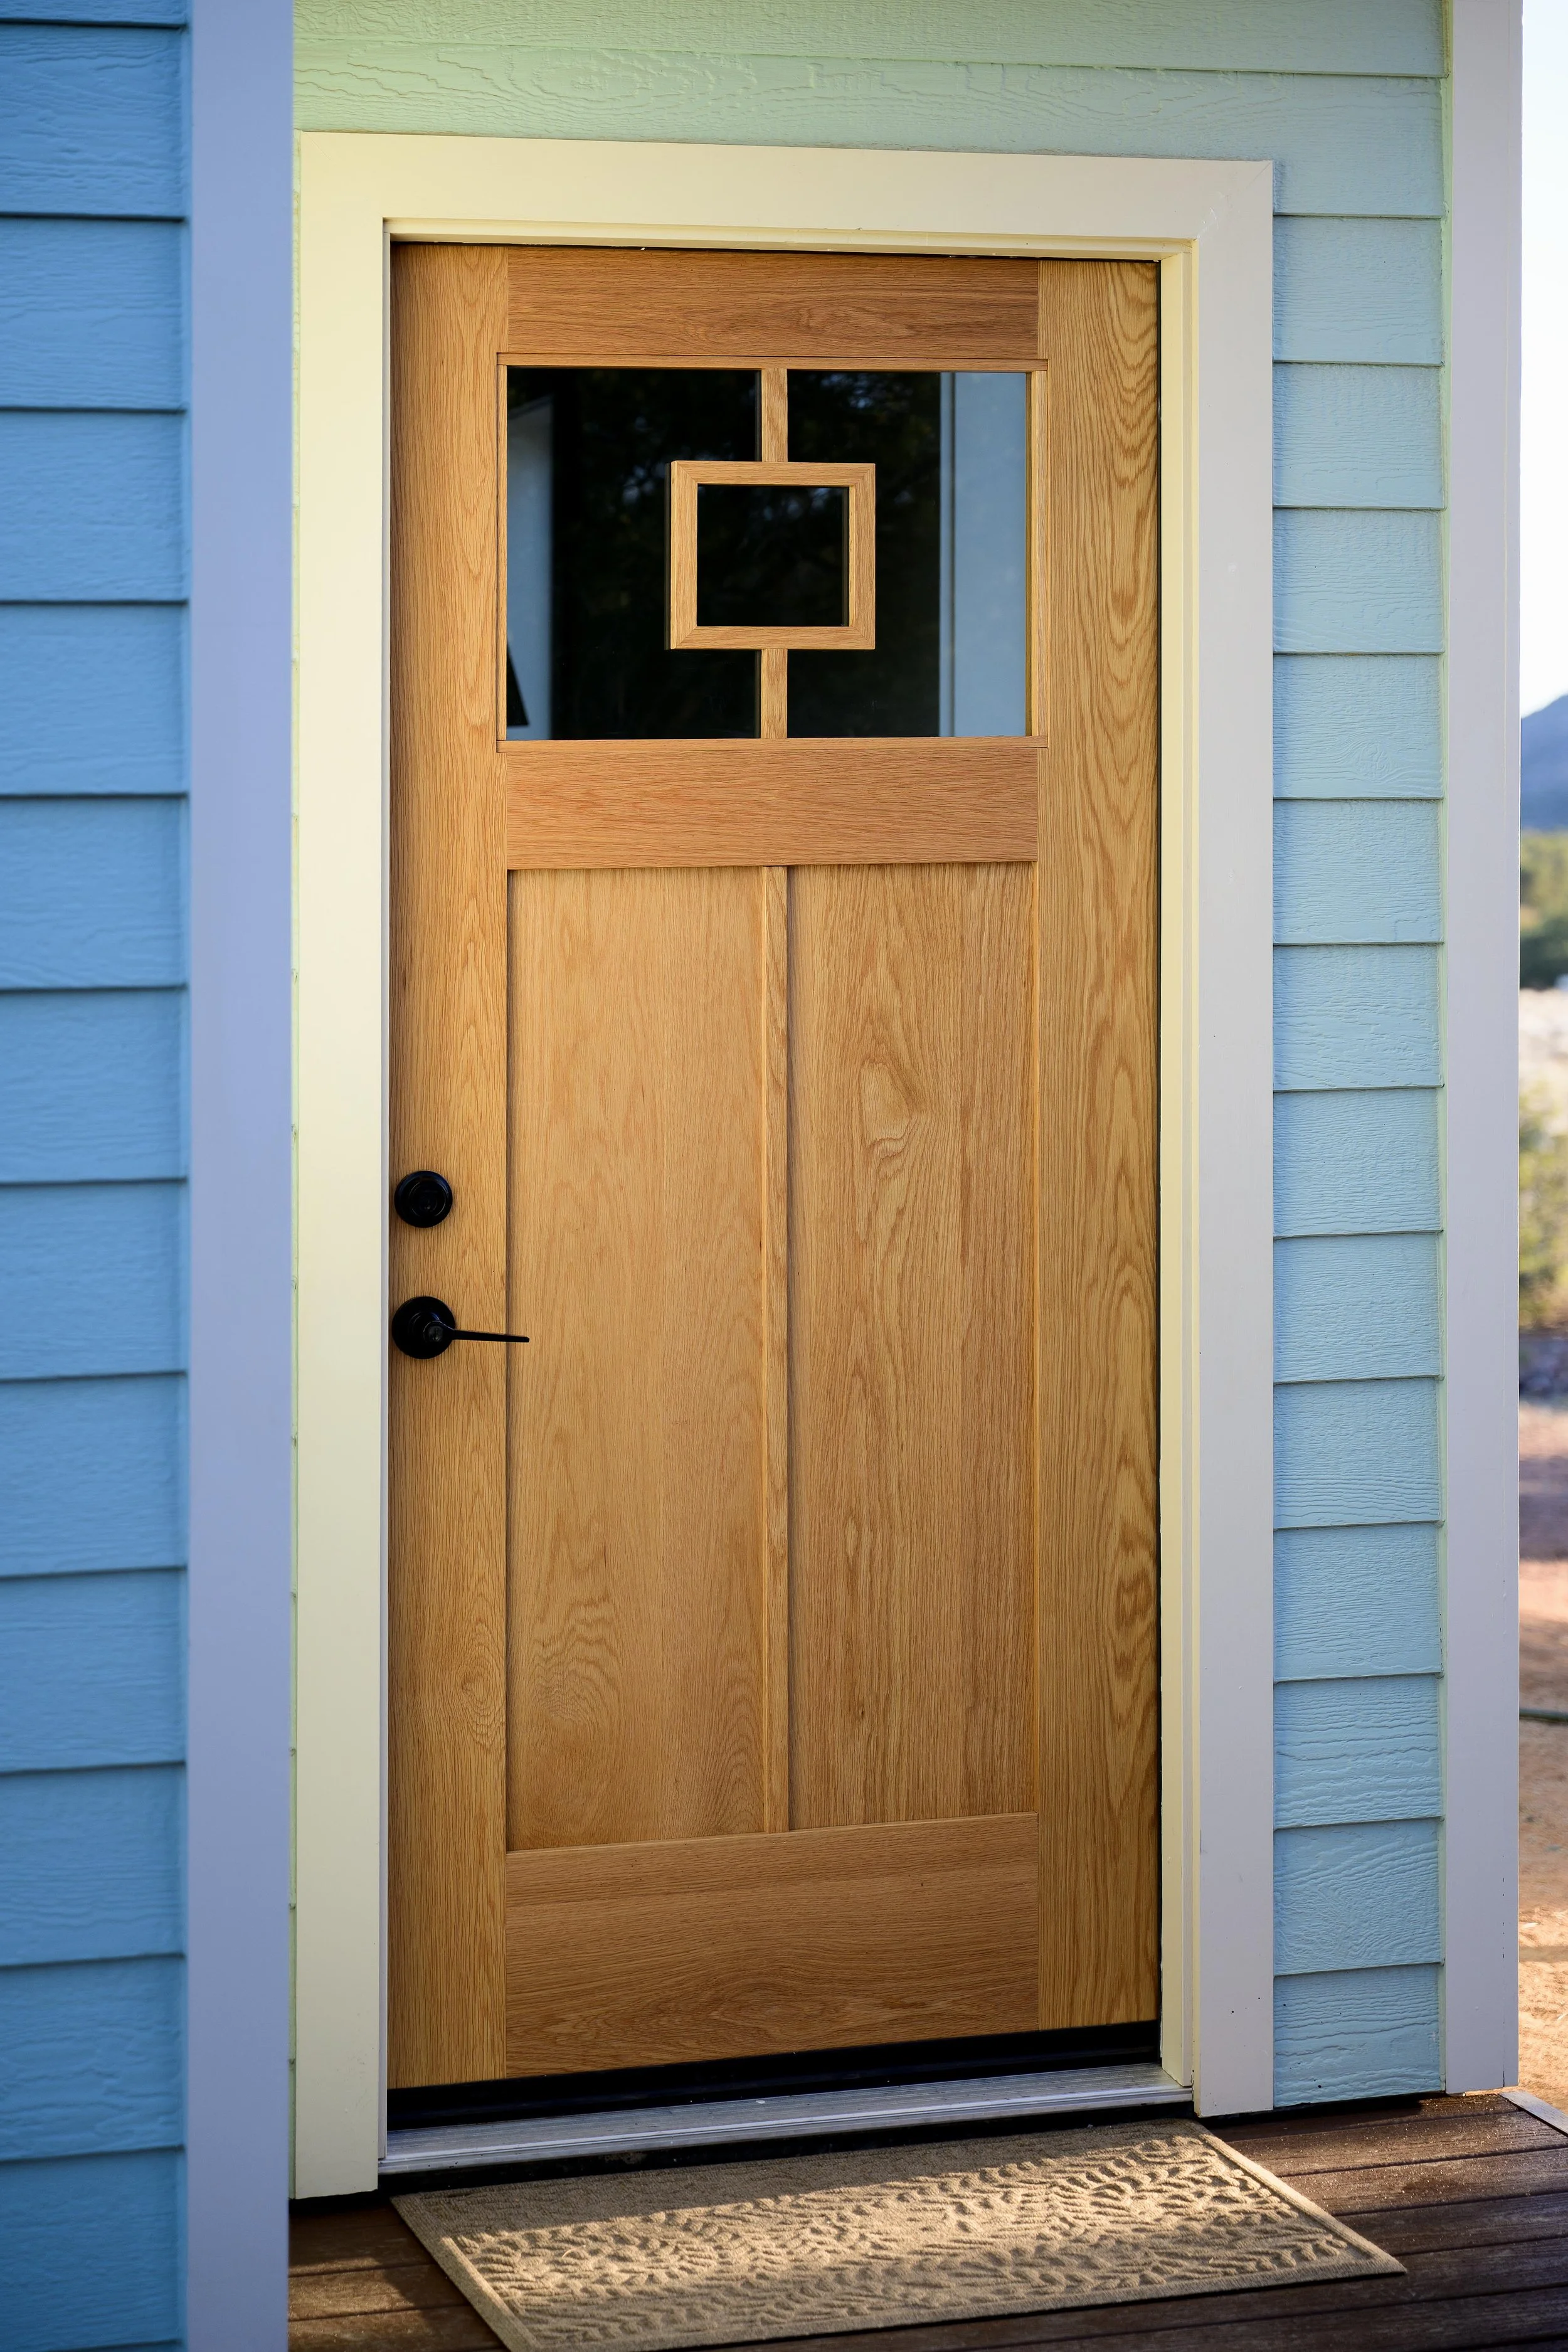
Cut type — You can find plain sawn, quarter sawn, or rift sawn white oak, and white oak is actually a good example to understand all three. My door is plain sawn purely because that's what the yard had in 8/4. Quarter sawn is nice — tight straight grain, that distinctive ray fleck — but it's the most expensive because it's the most wasteful way to break down a log. Rift sawn sits somewhere in between. Both quarter and rift will expand and contract more uniformly than plain sawn, which is worth knowing if your door is going to take a beating from moisture. Mine is in a covered entry in a dry climate, so plain sawn was fine.
What's the most critical part of the build that people wouldn't think about?
Moisture content — and more specifically, the relationship between the moisture in your wood and the climate where the piece is going to live.
This doesn't bite you right away. It can be a month, two months, six months before you see it. Drawers don't close. Gaps change. Finish fails. In the case of a door, a panel can shrink and start showing light through.
Build to your climate. A moisture meter is a reasonable investment and it gives you information you can actually act on before the project is done, not after.
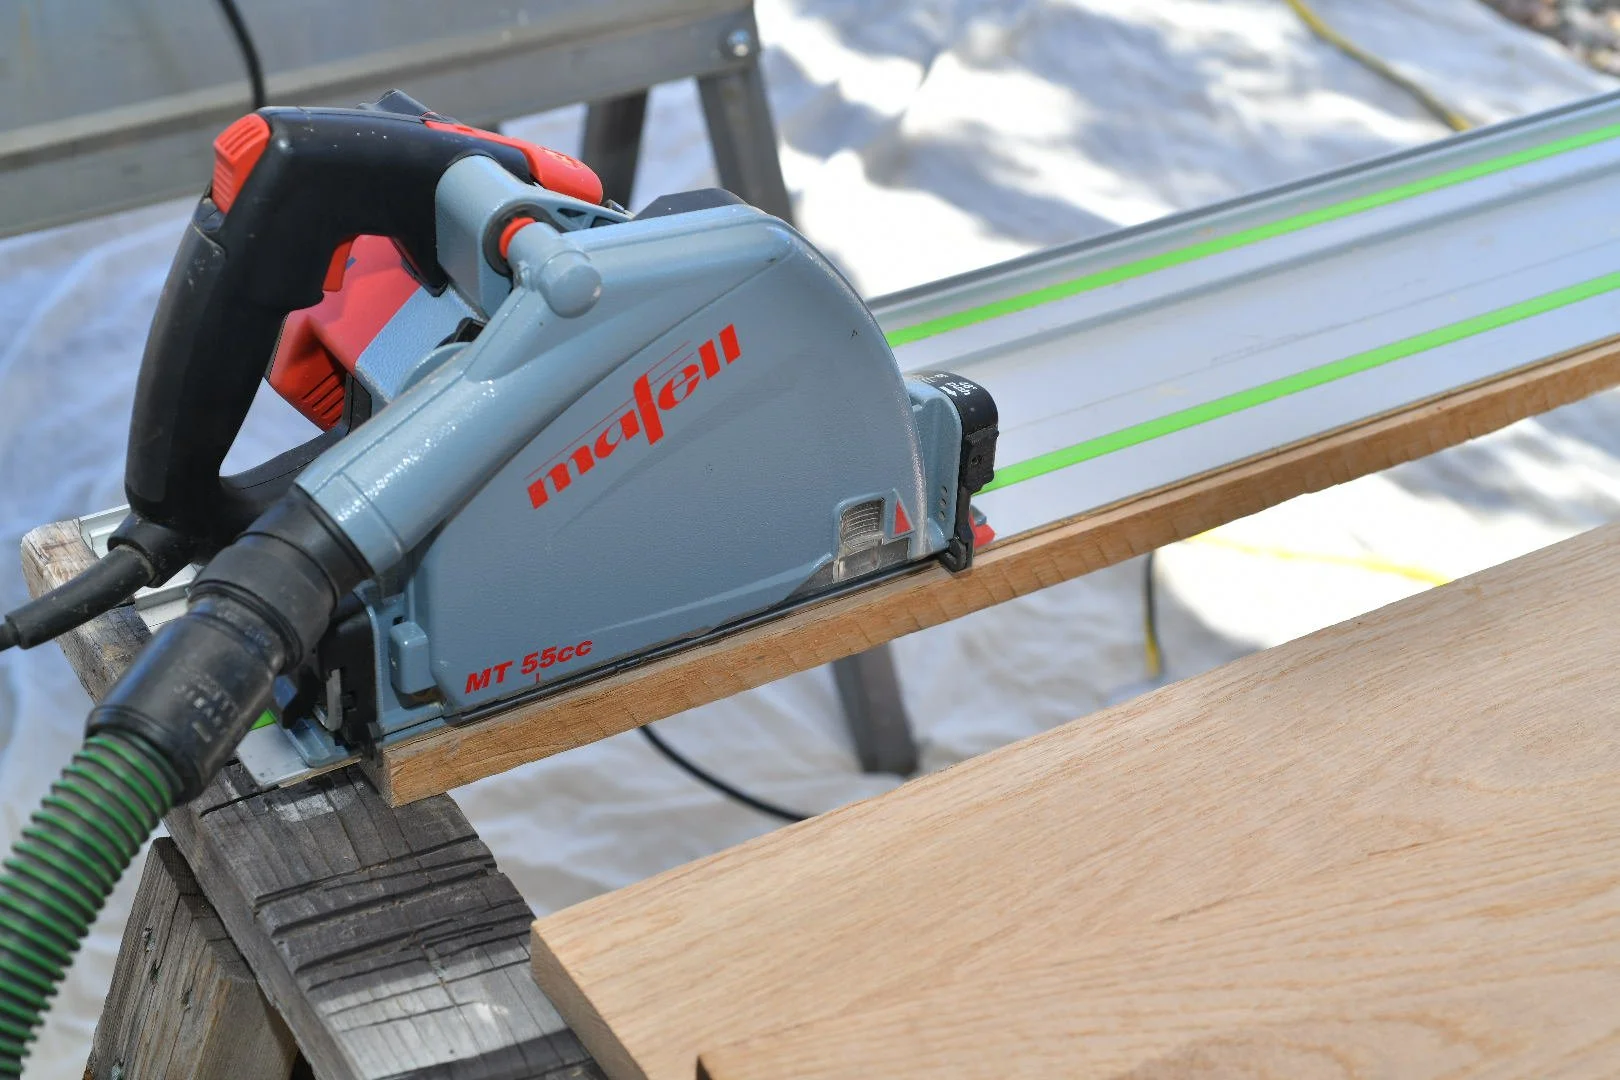
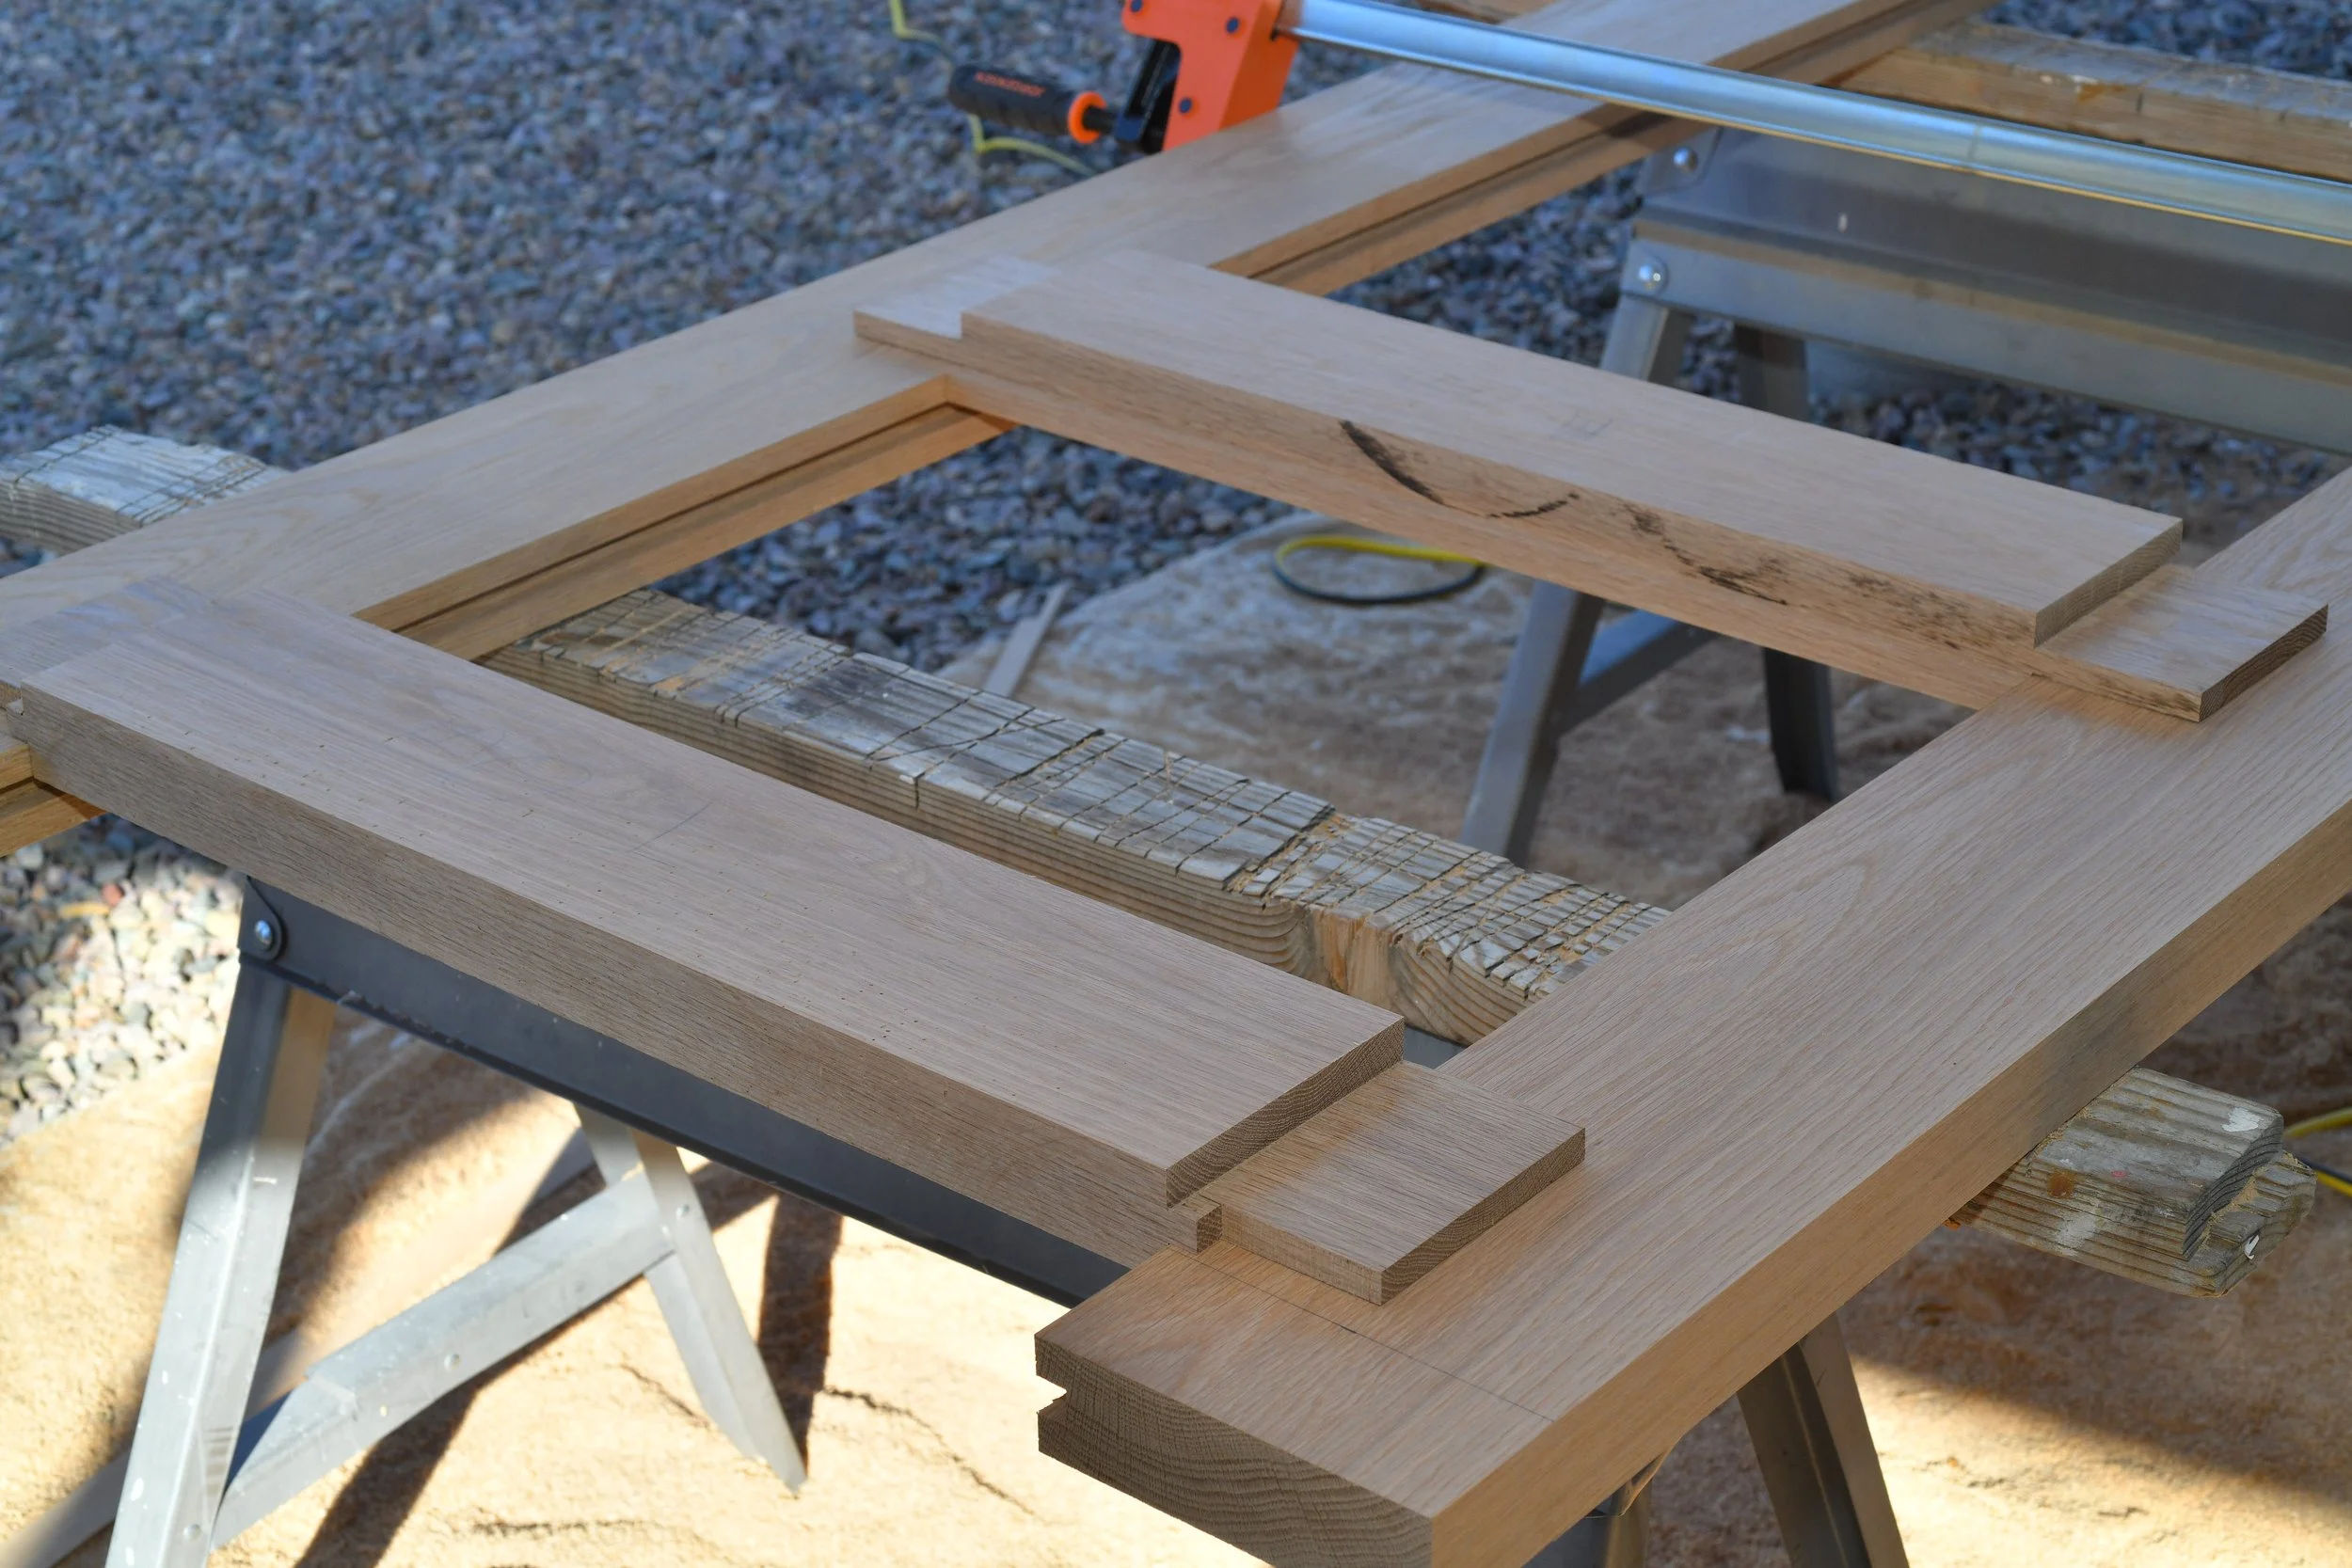
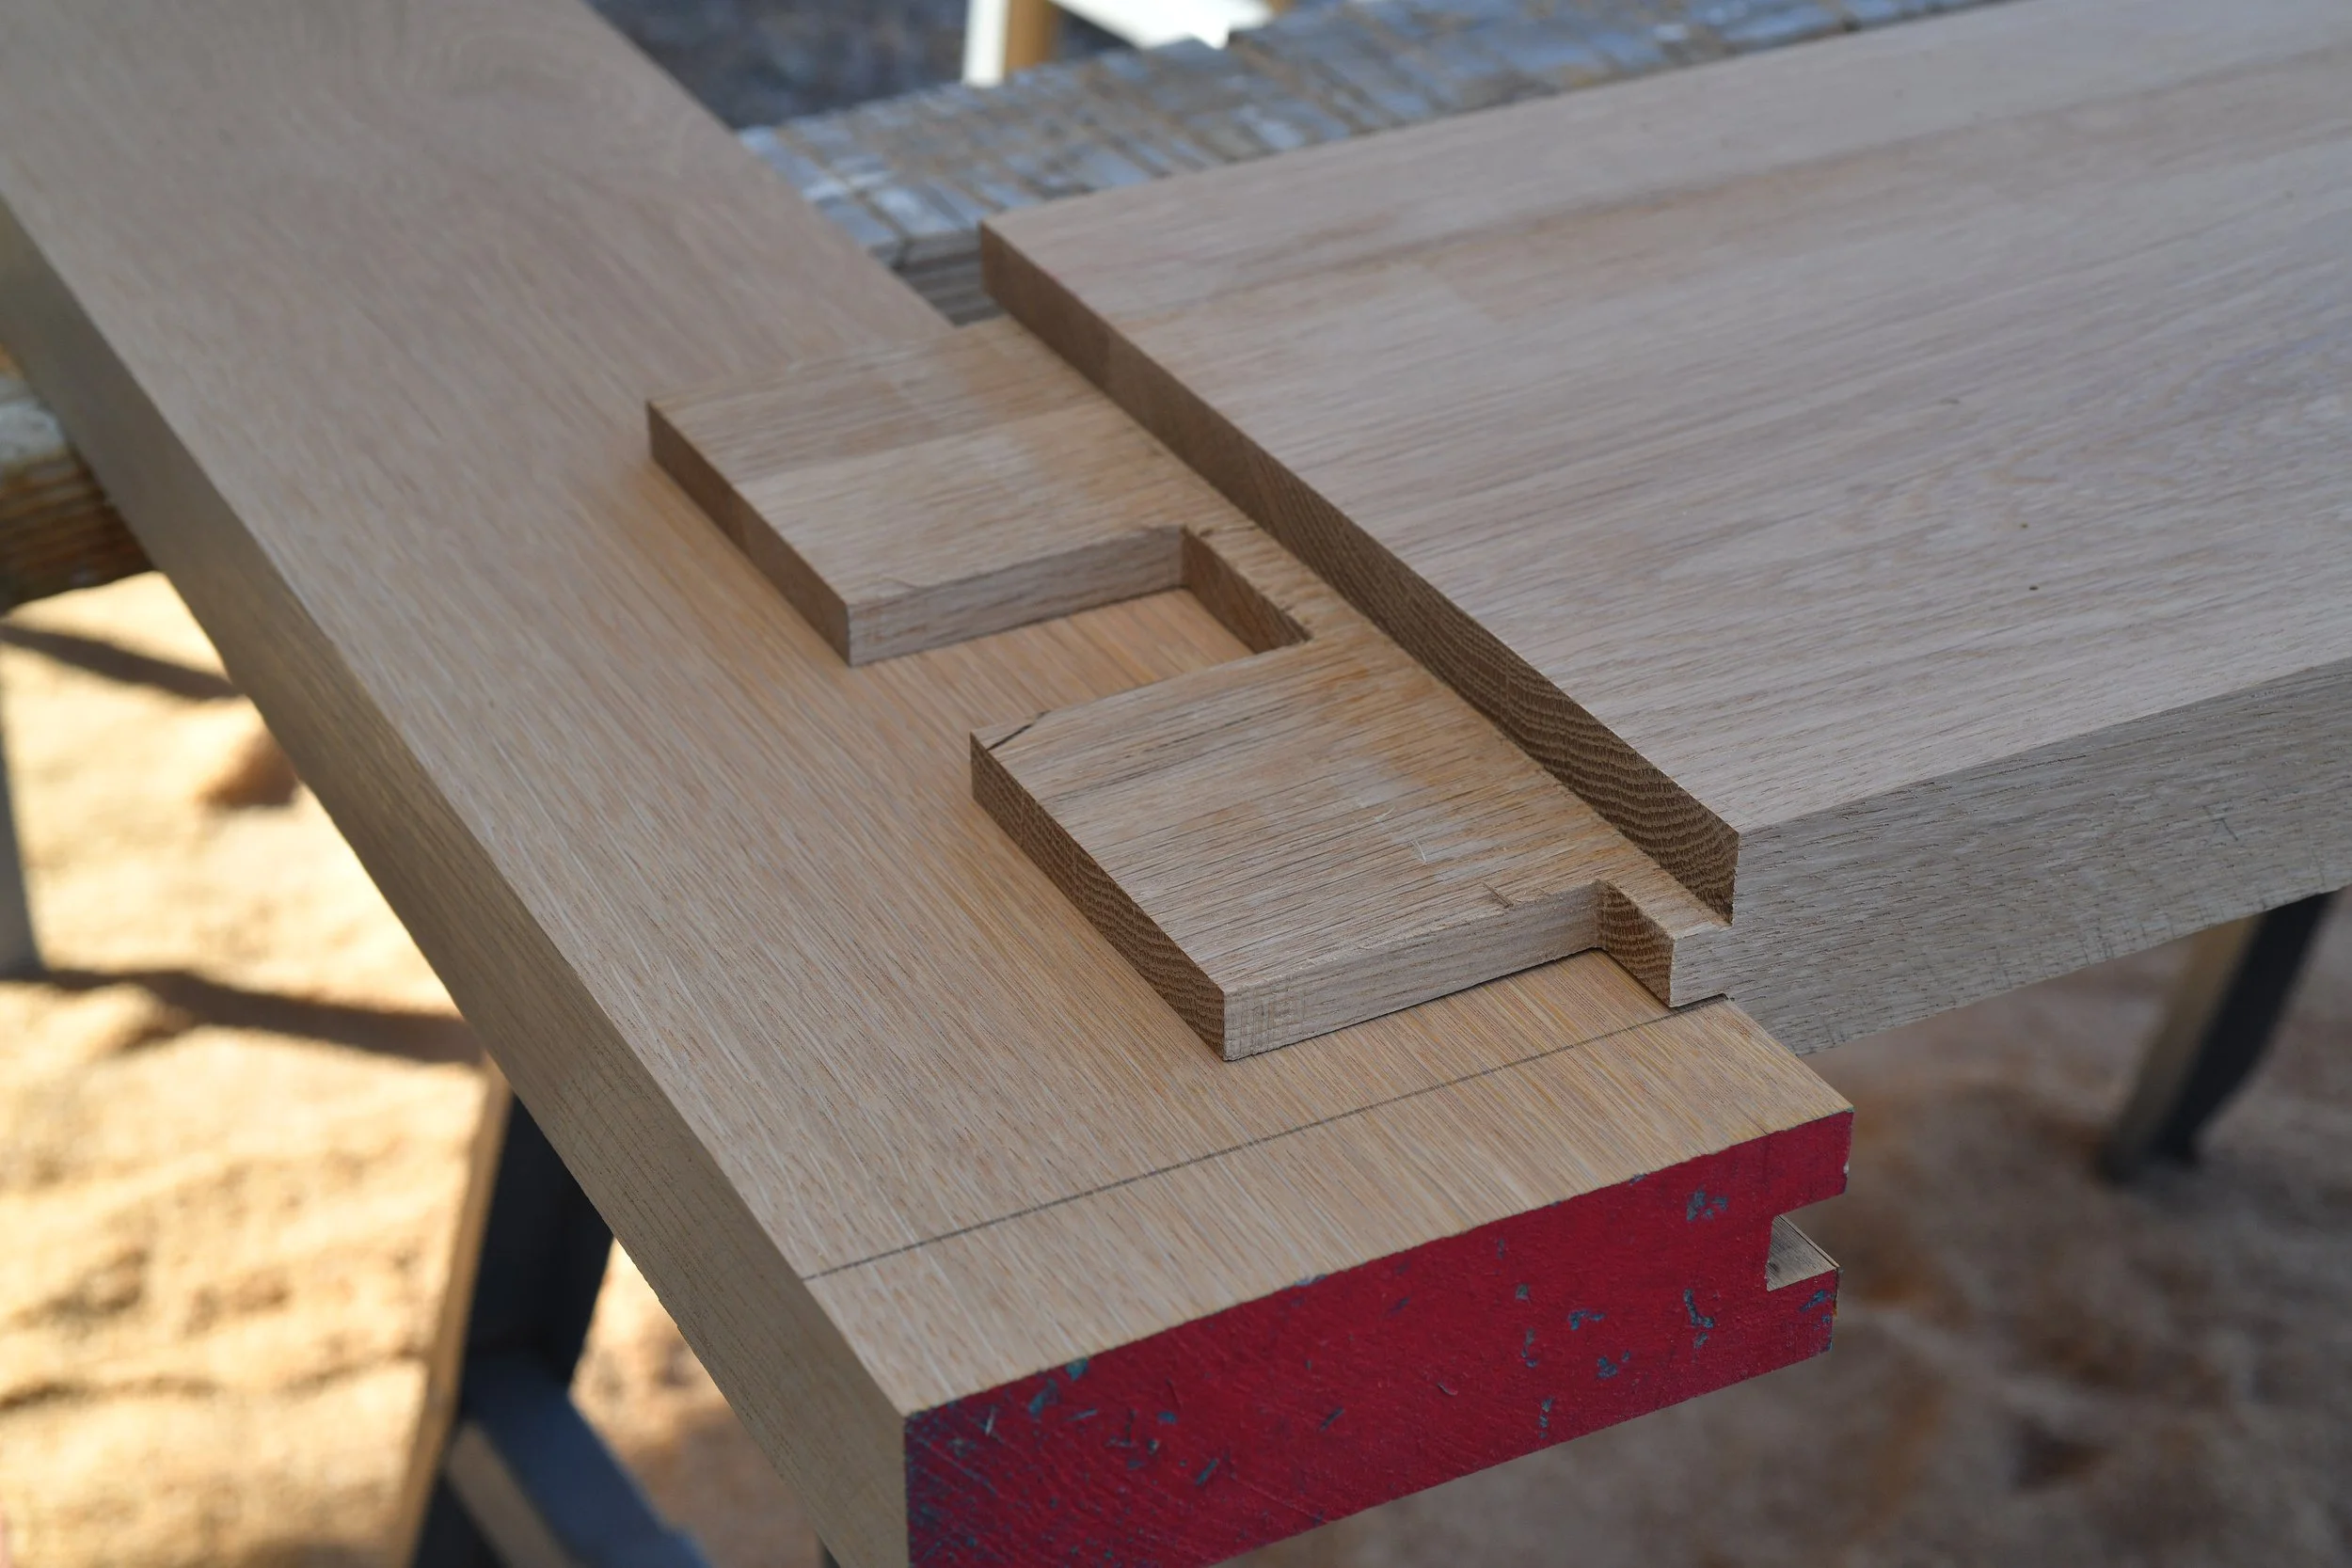
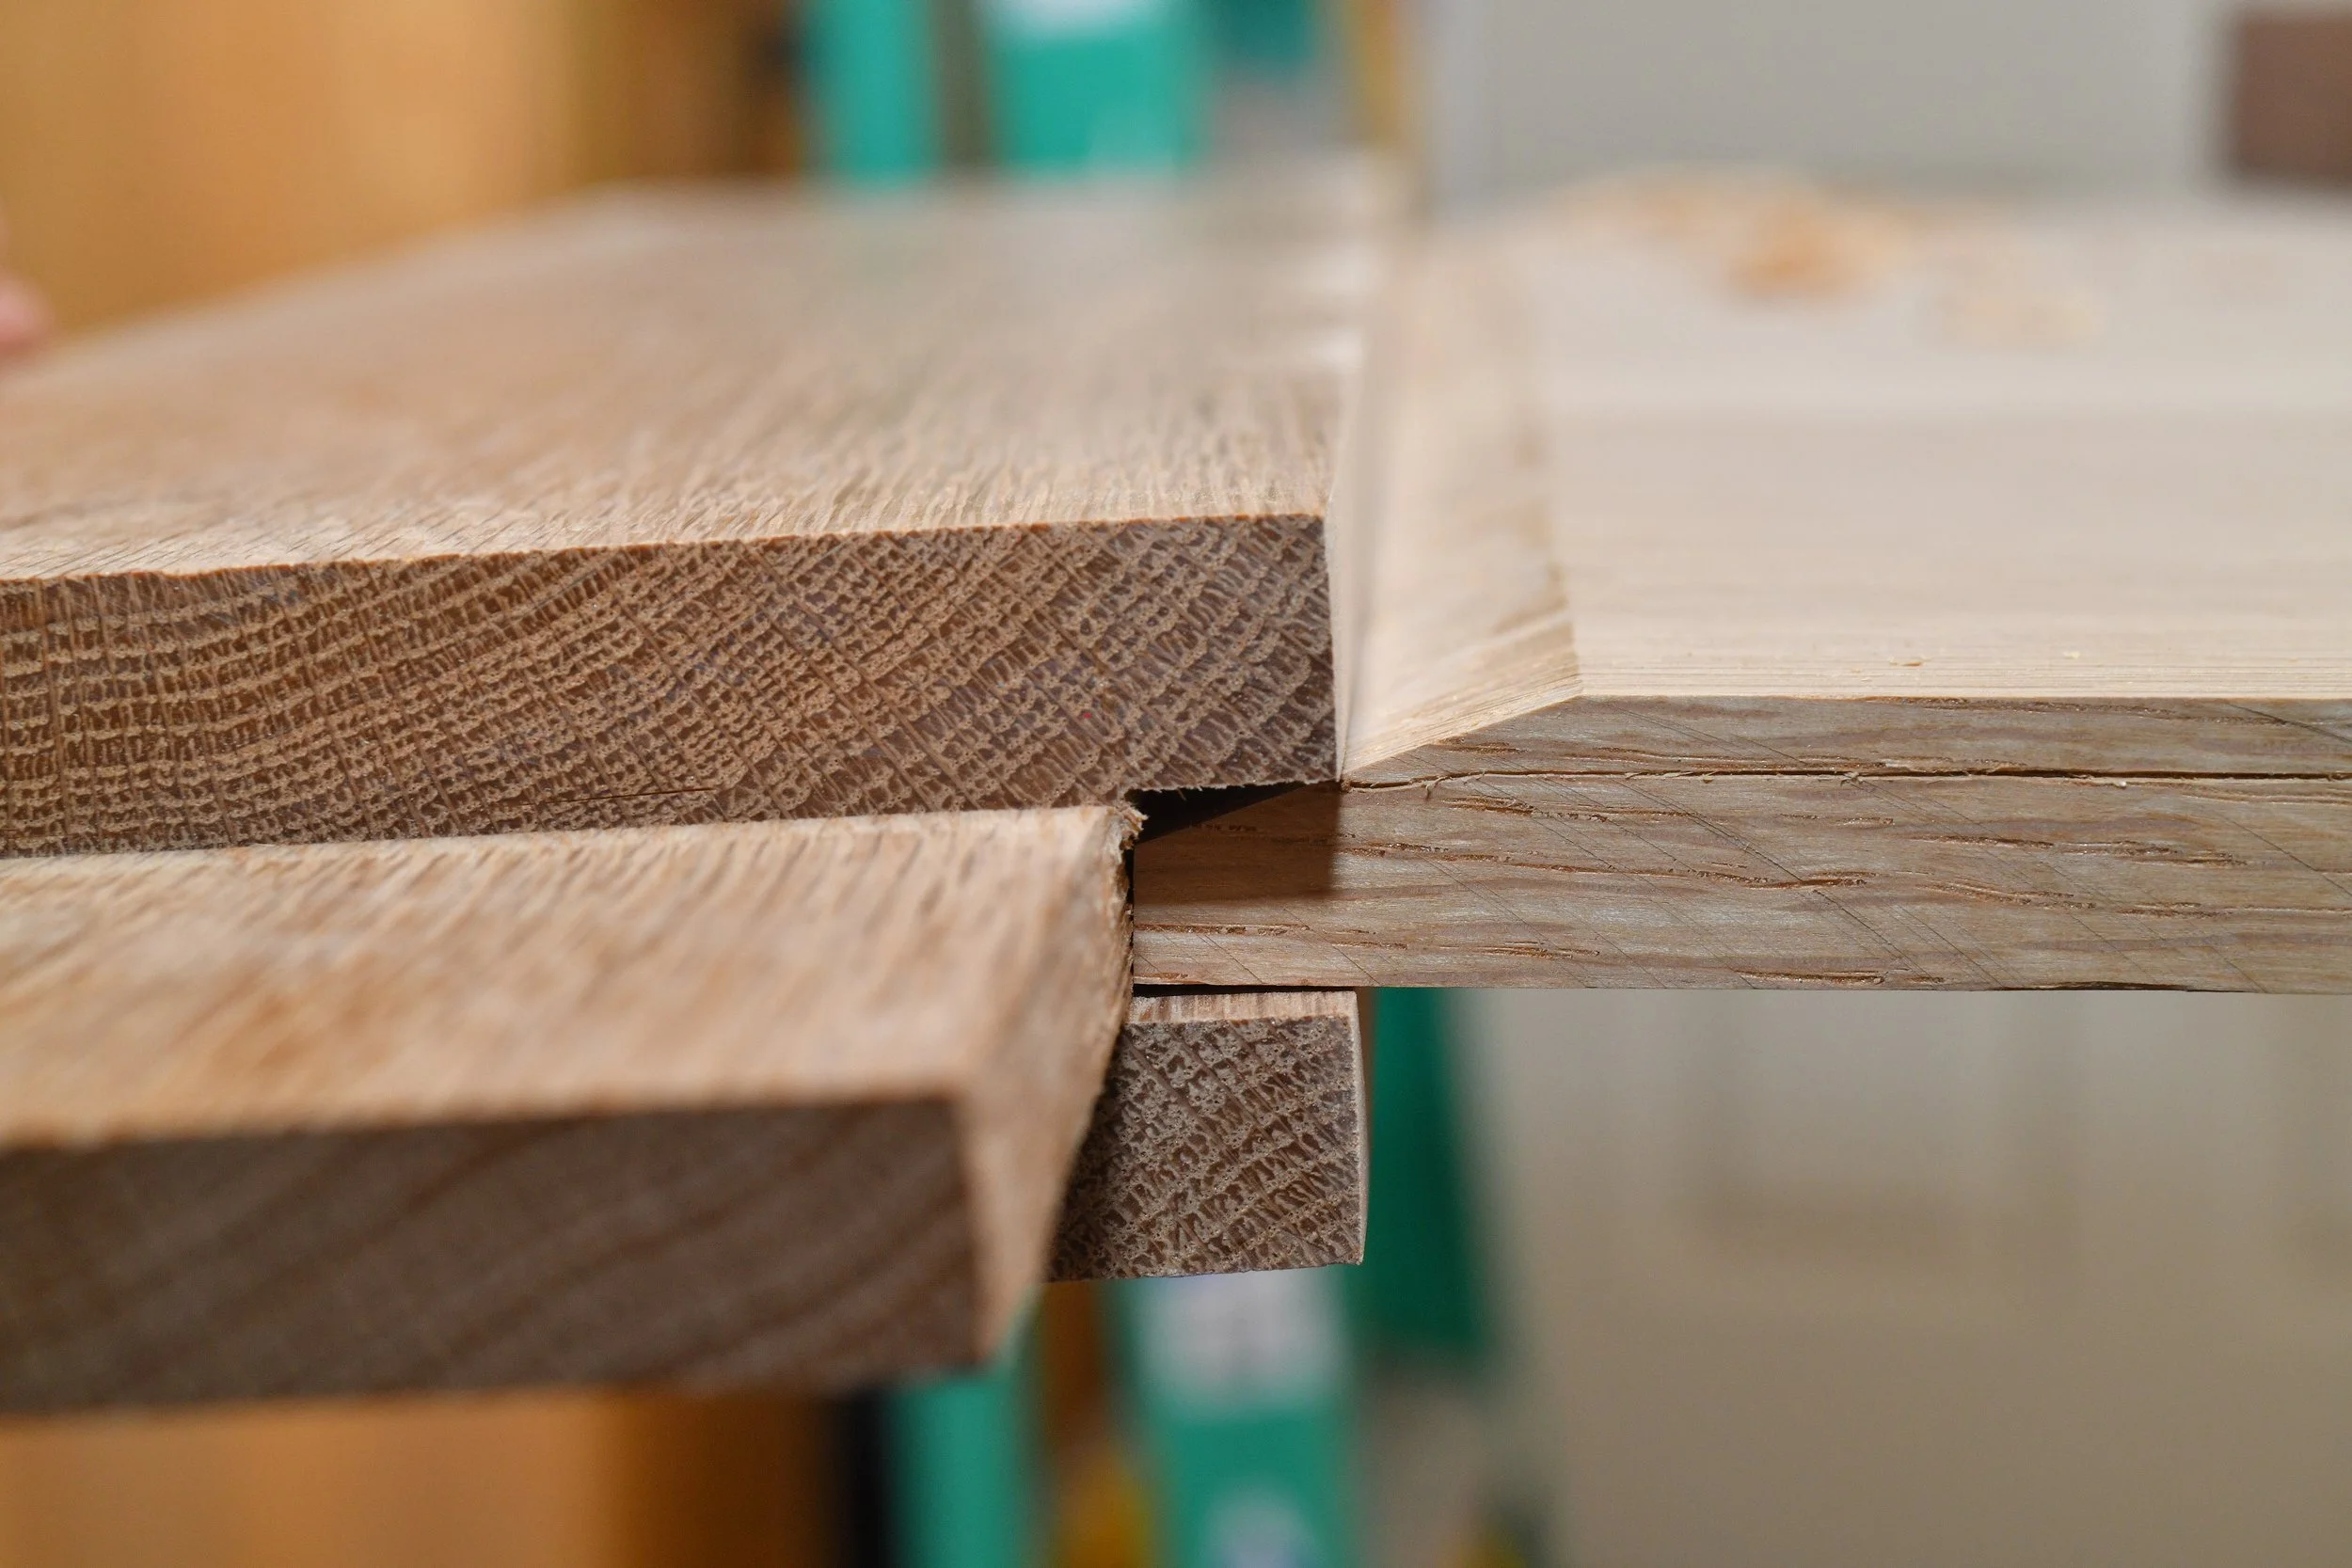
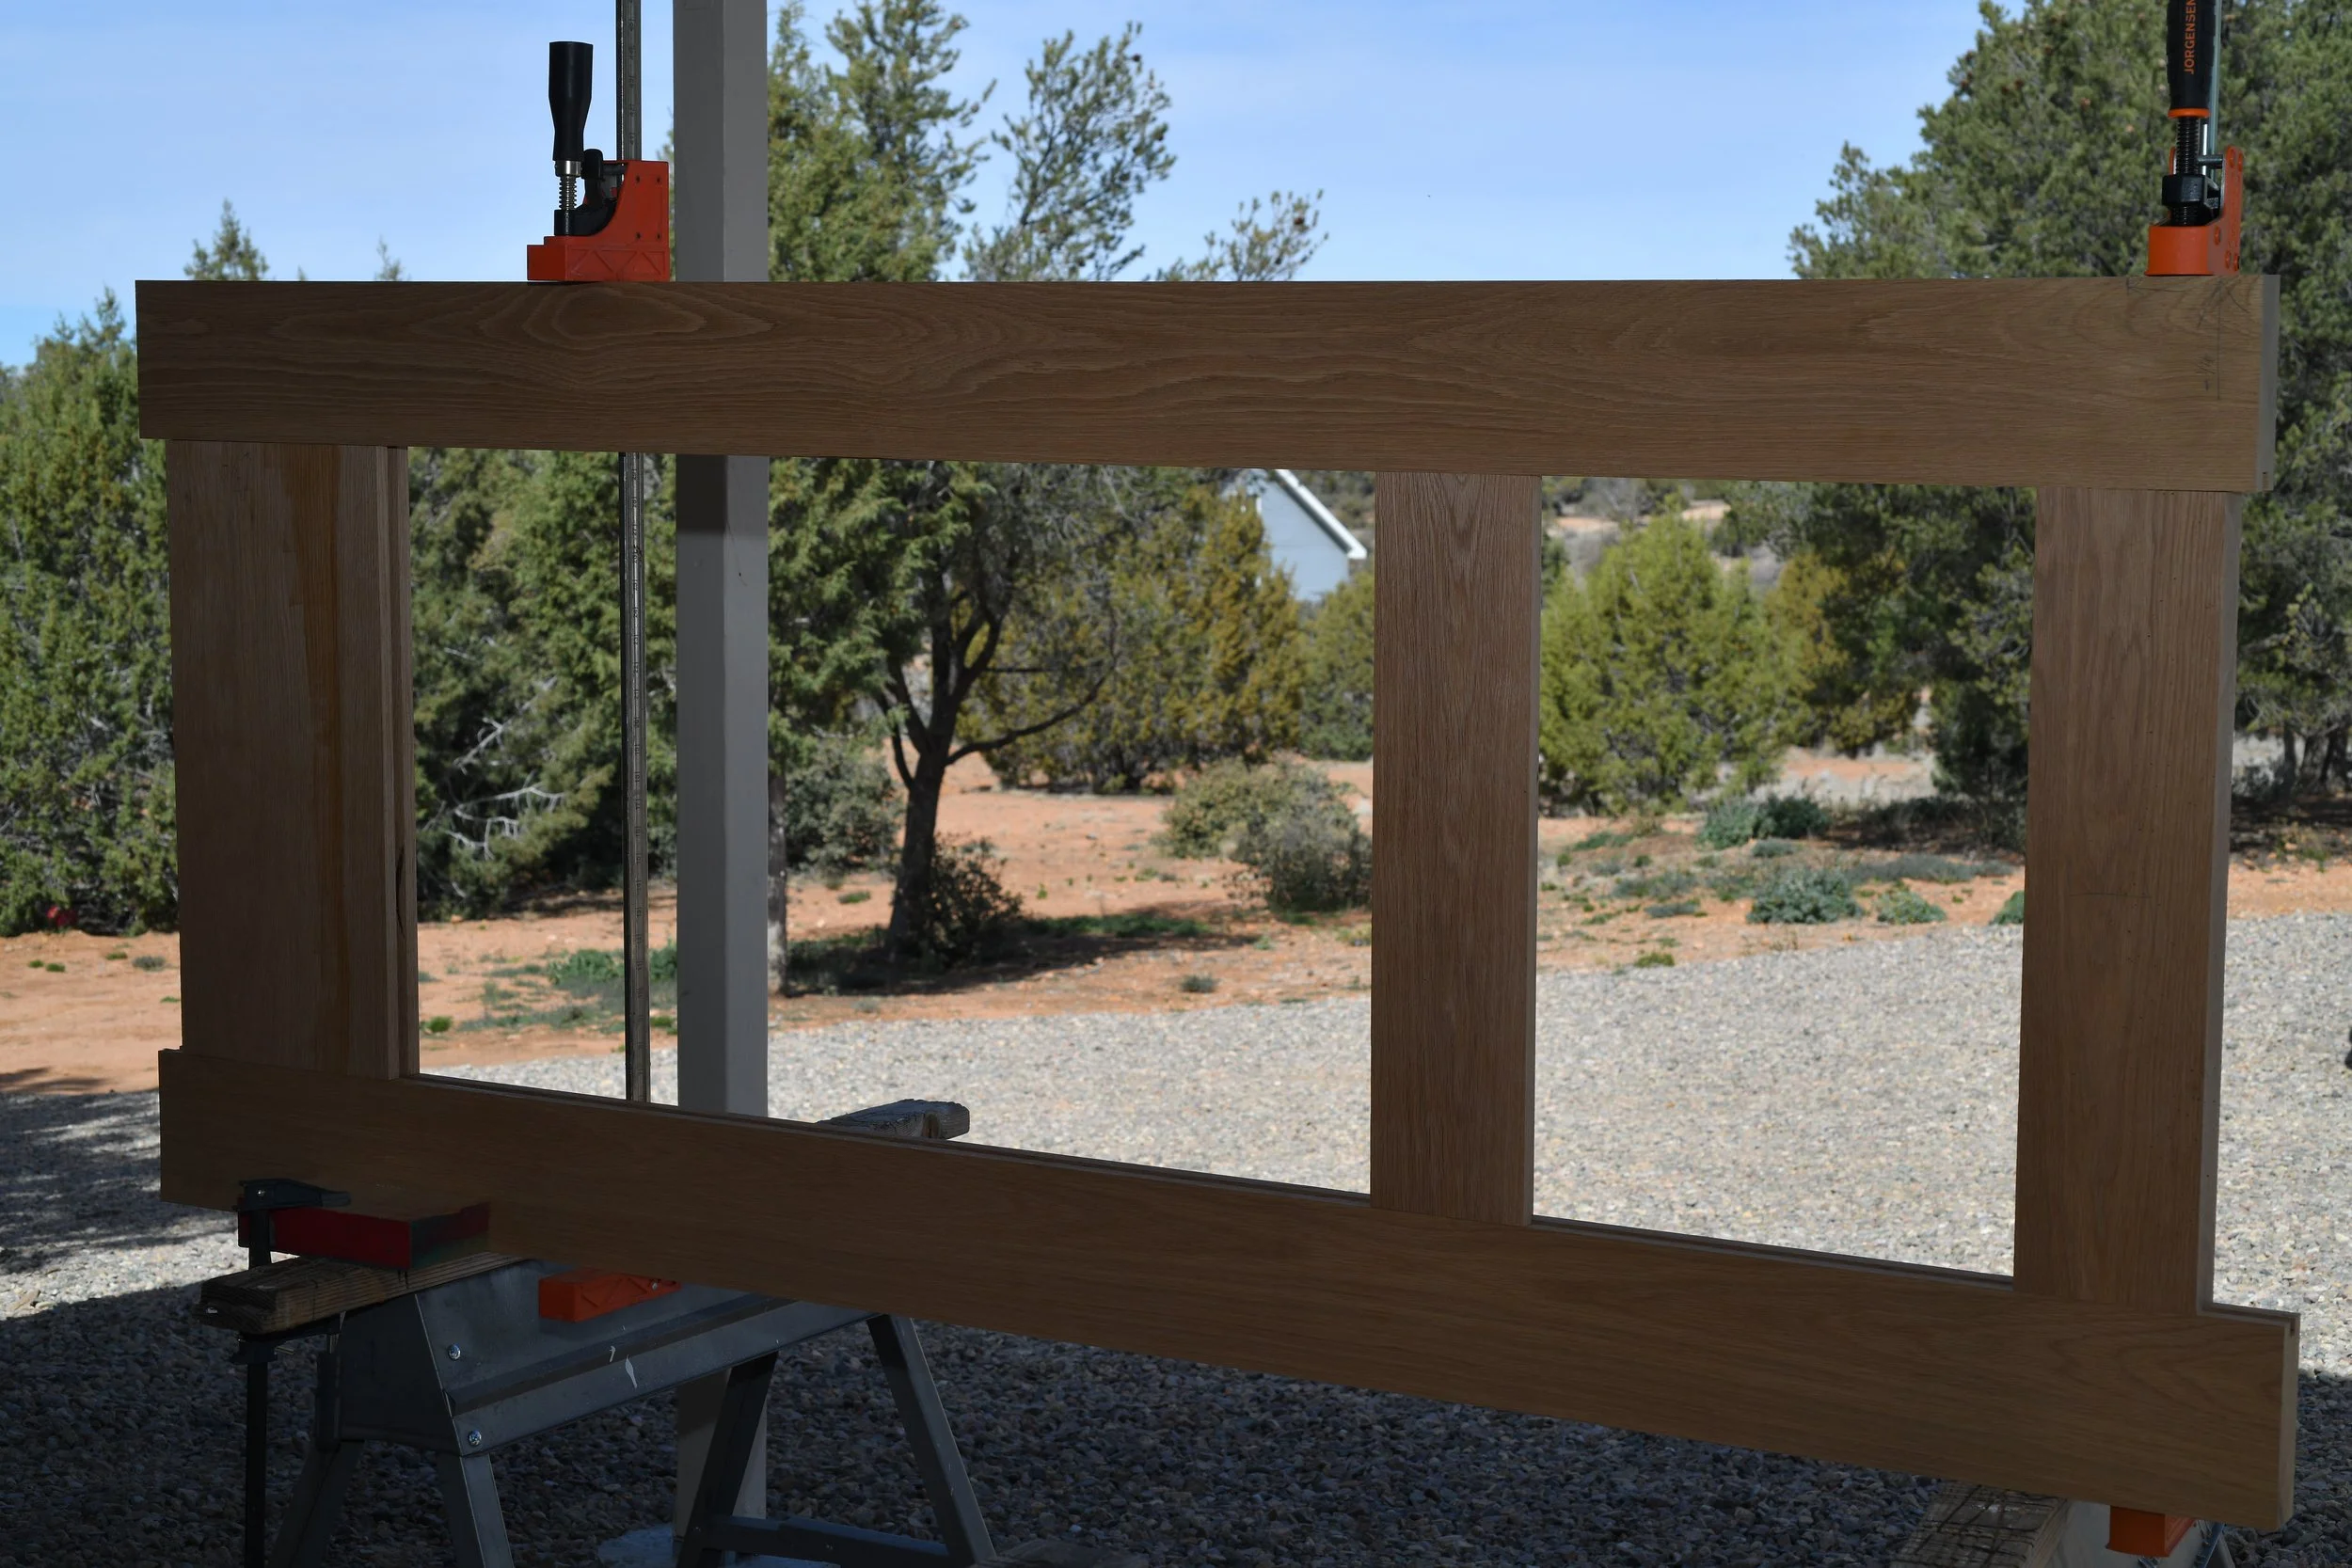
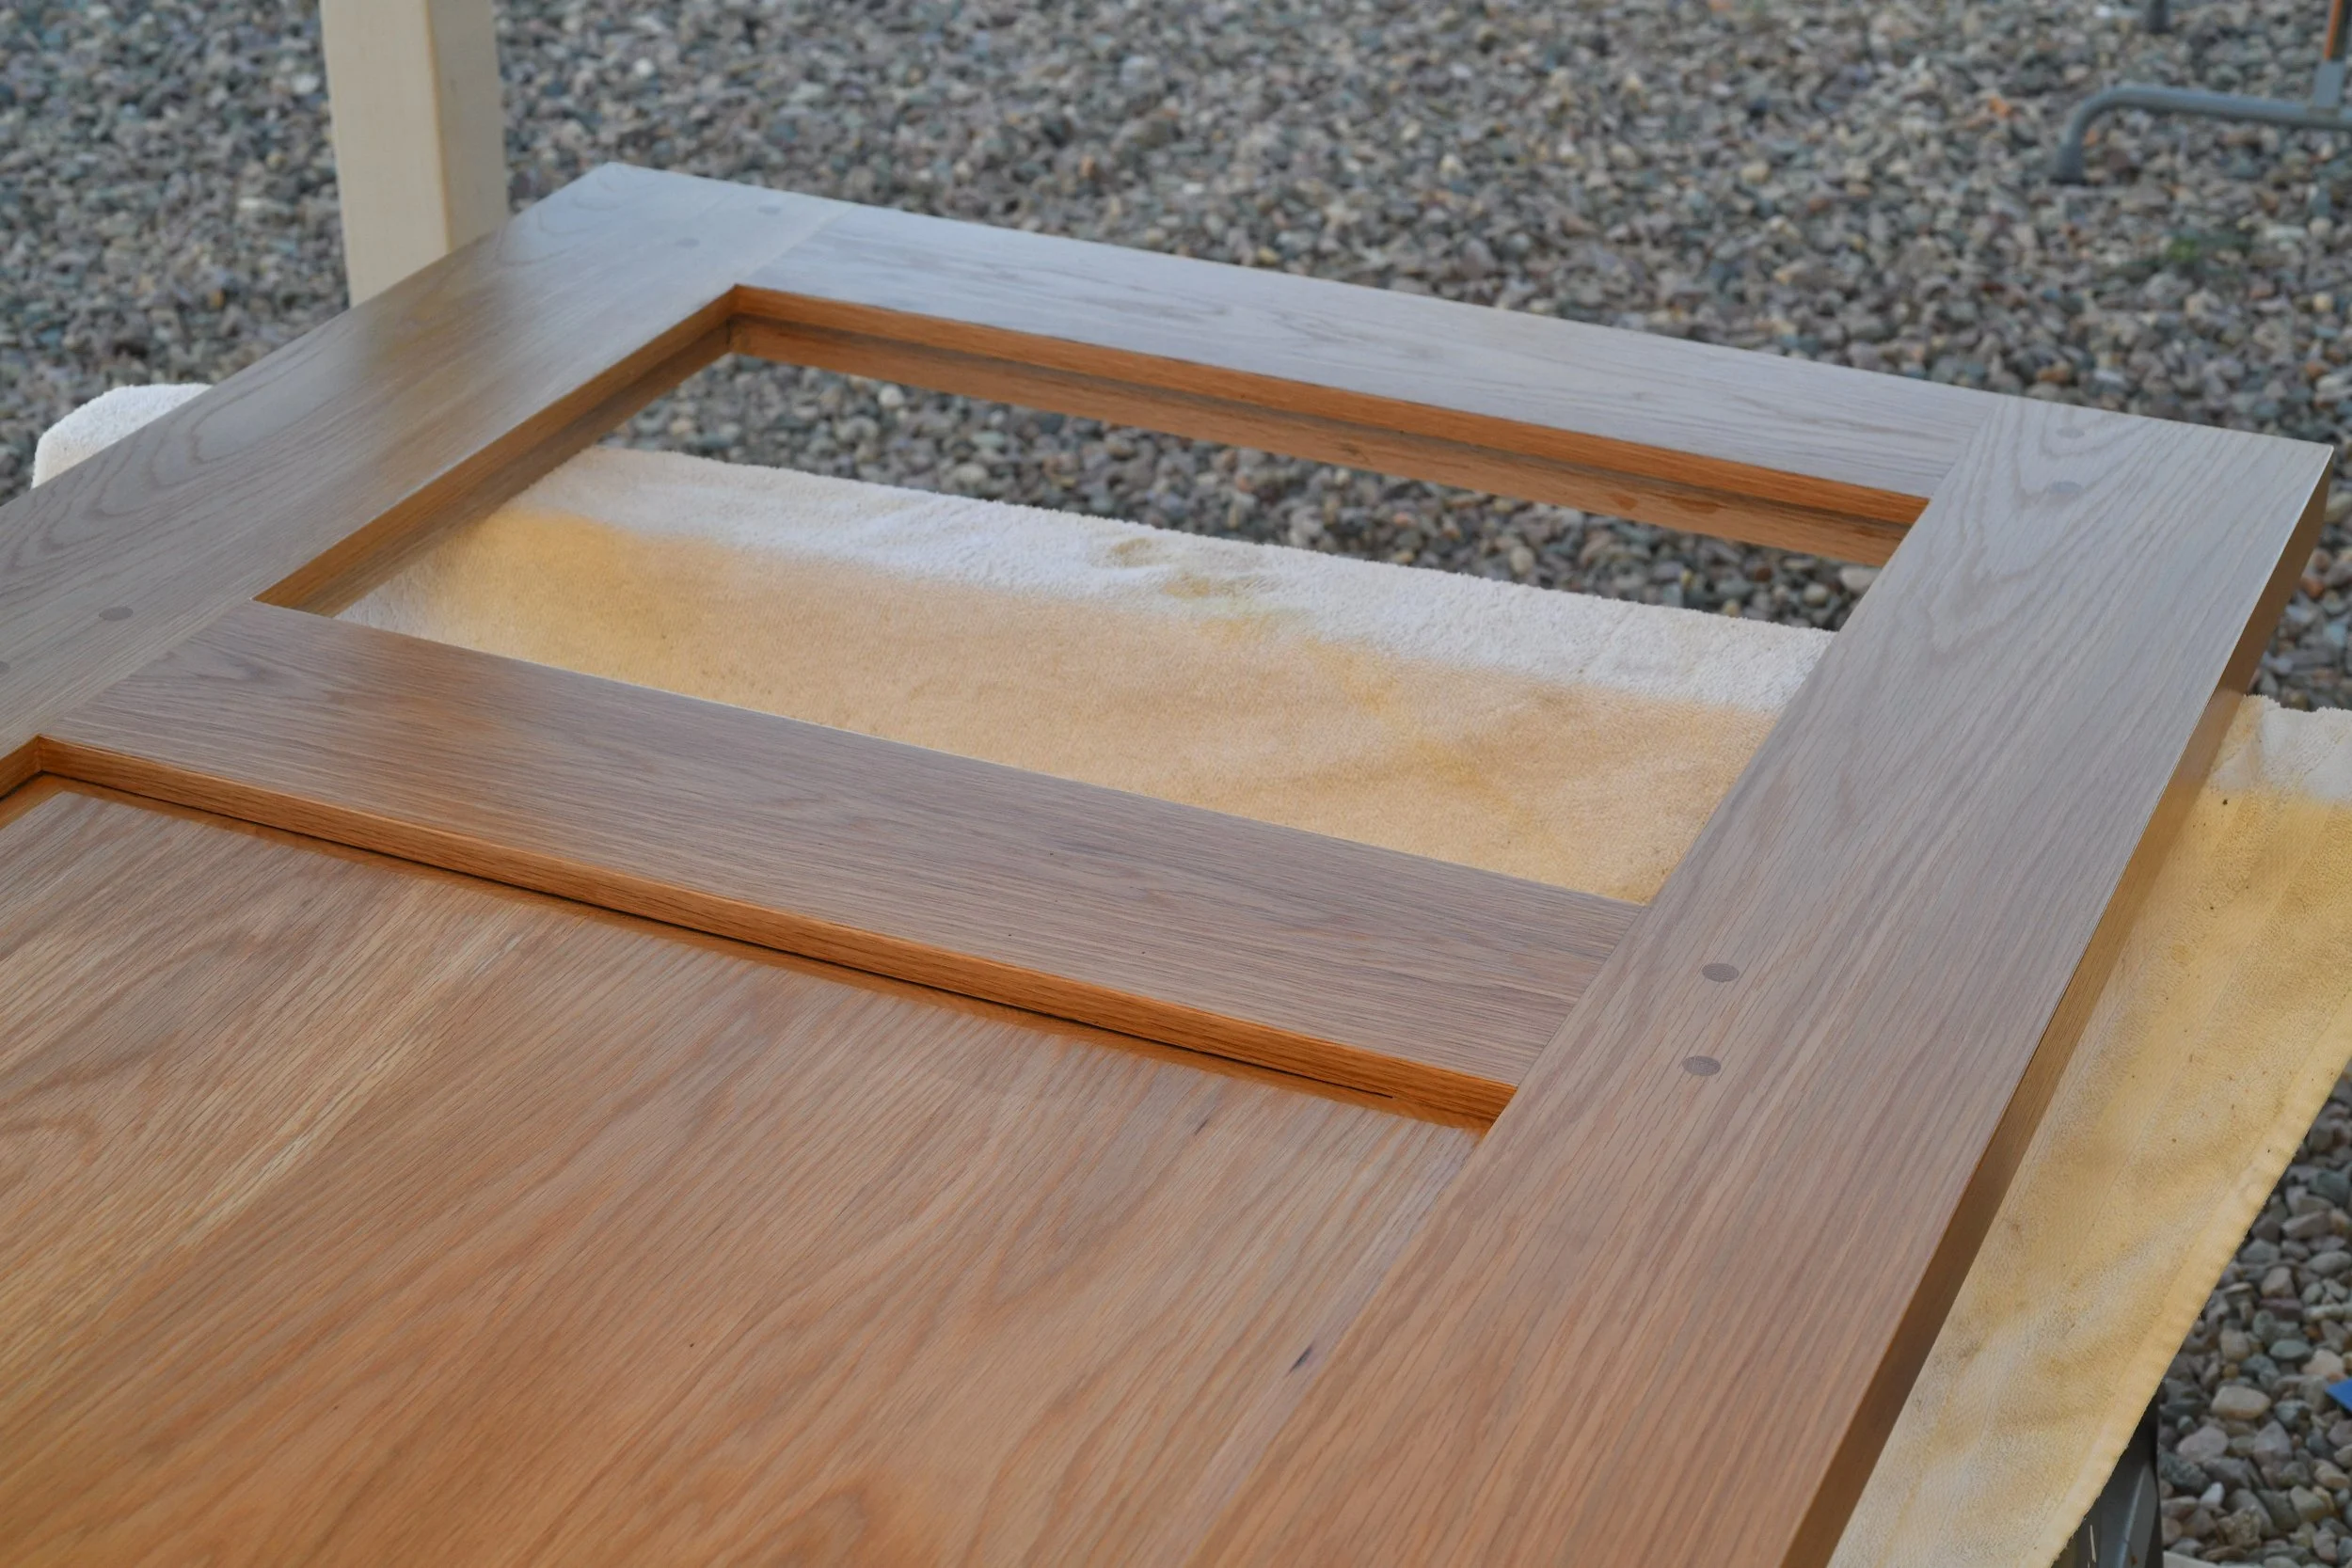
Walk me through the glue-up on something this size.
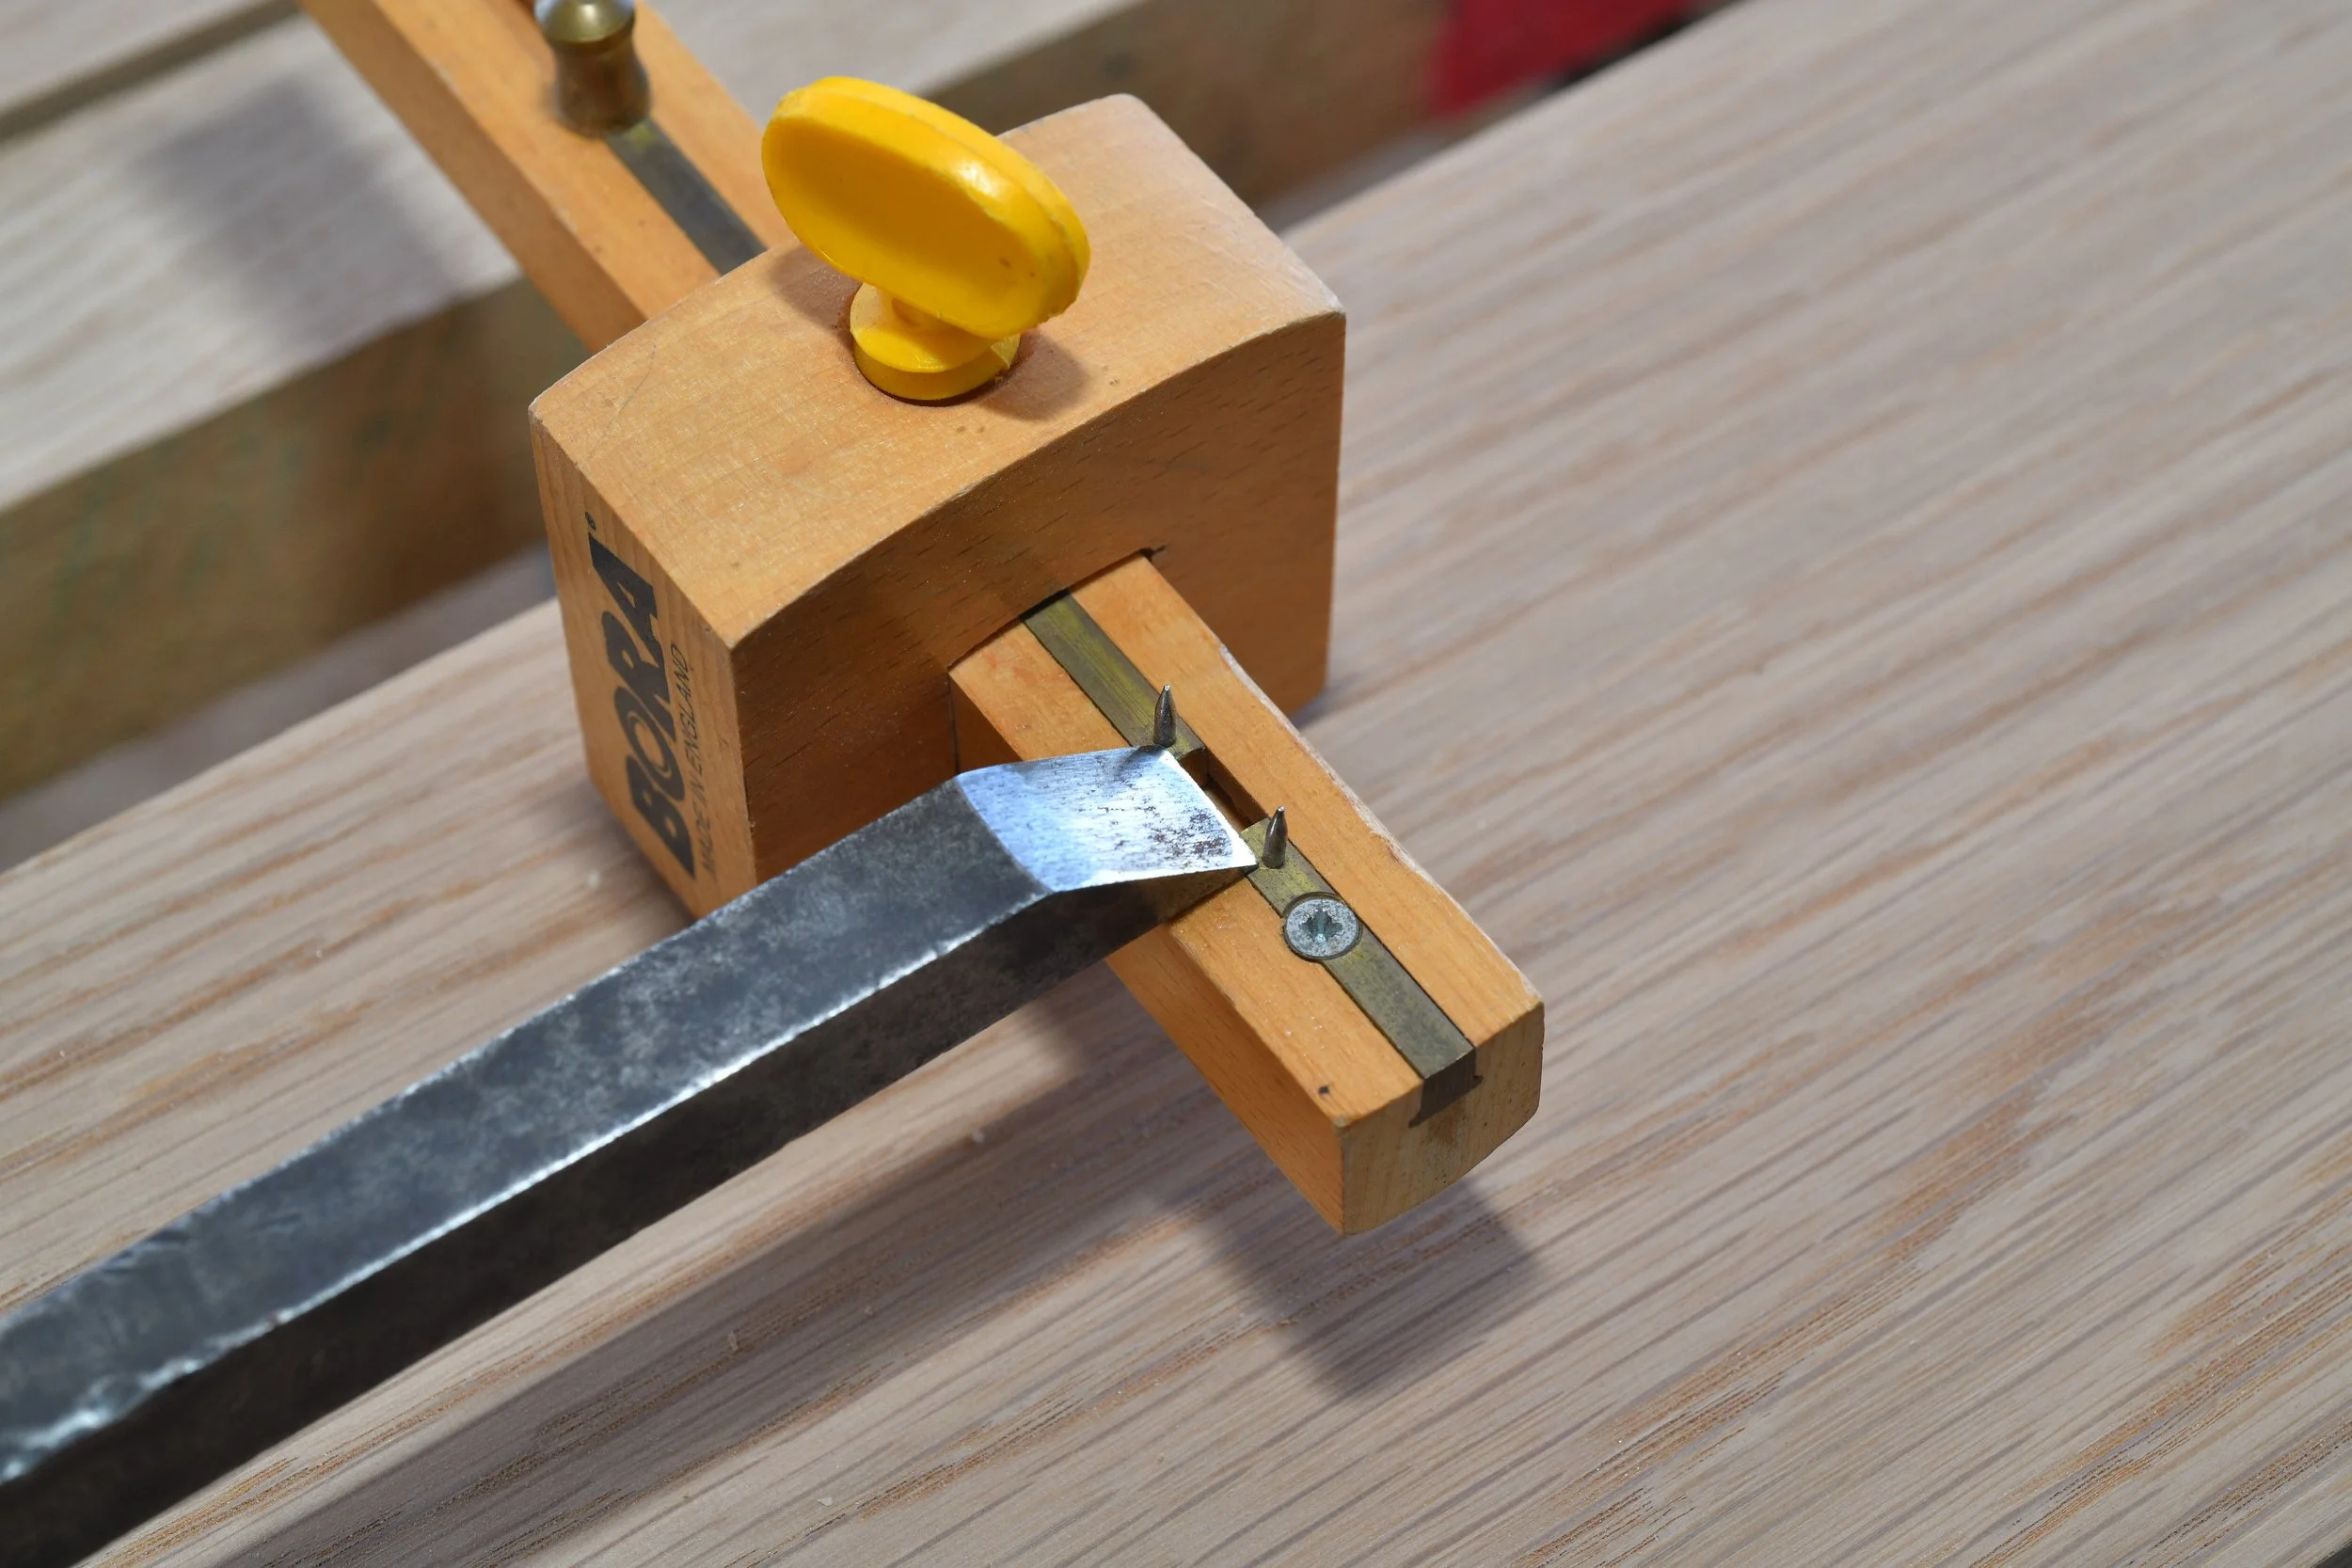
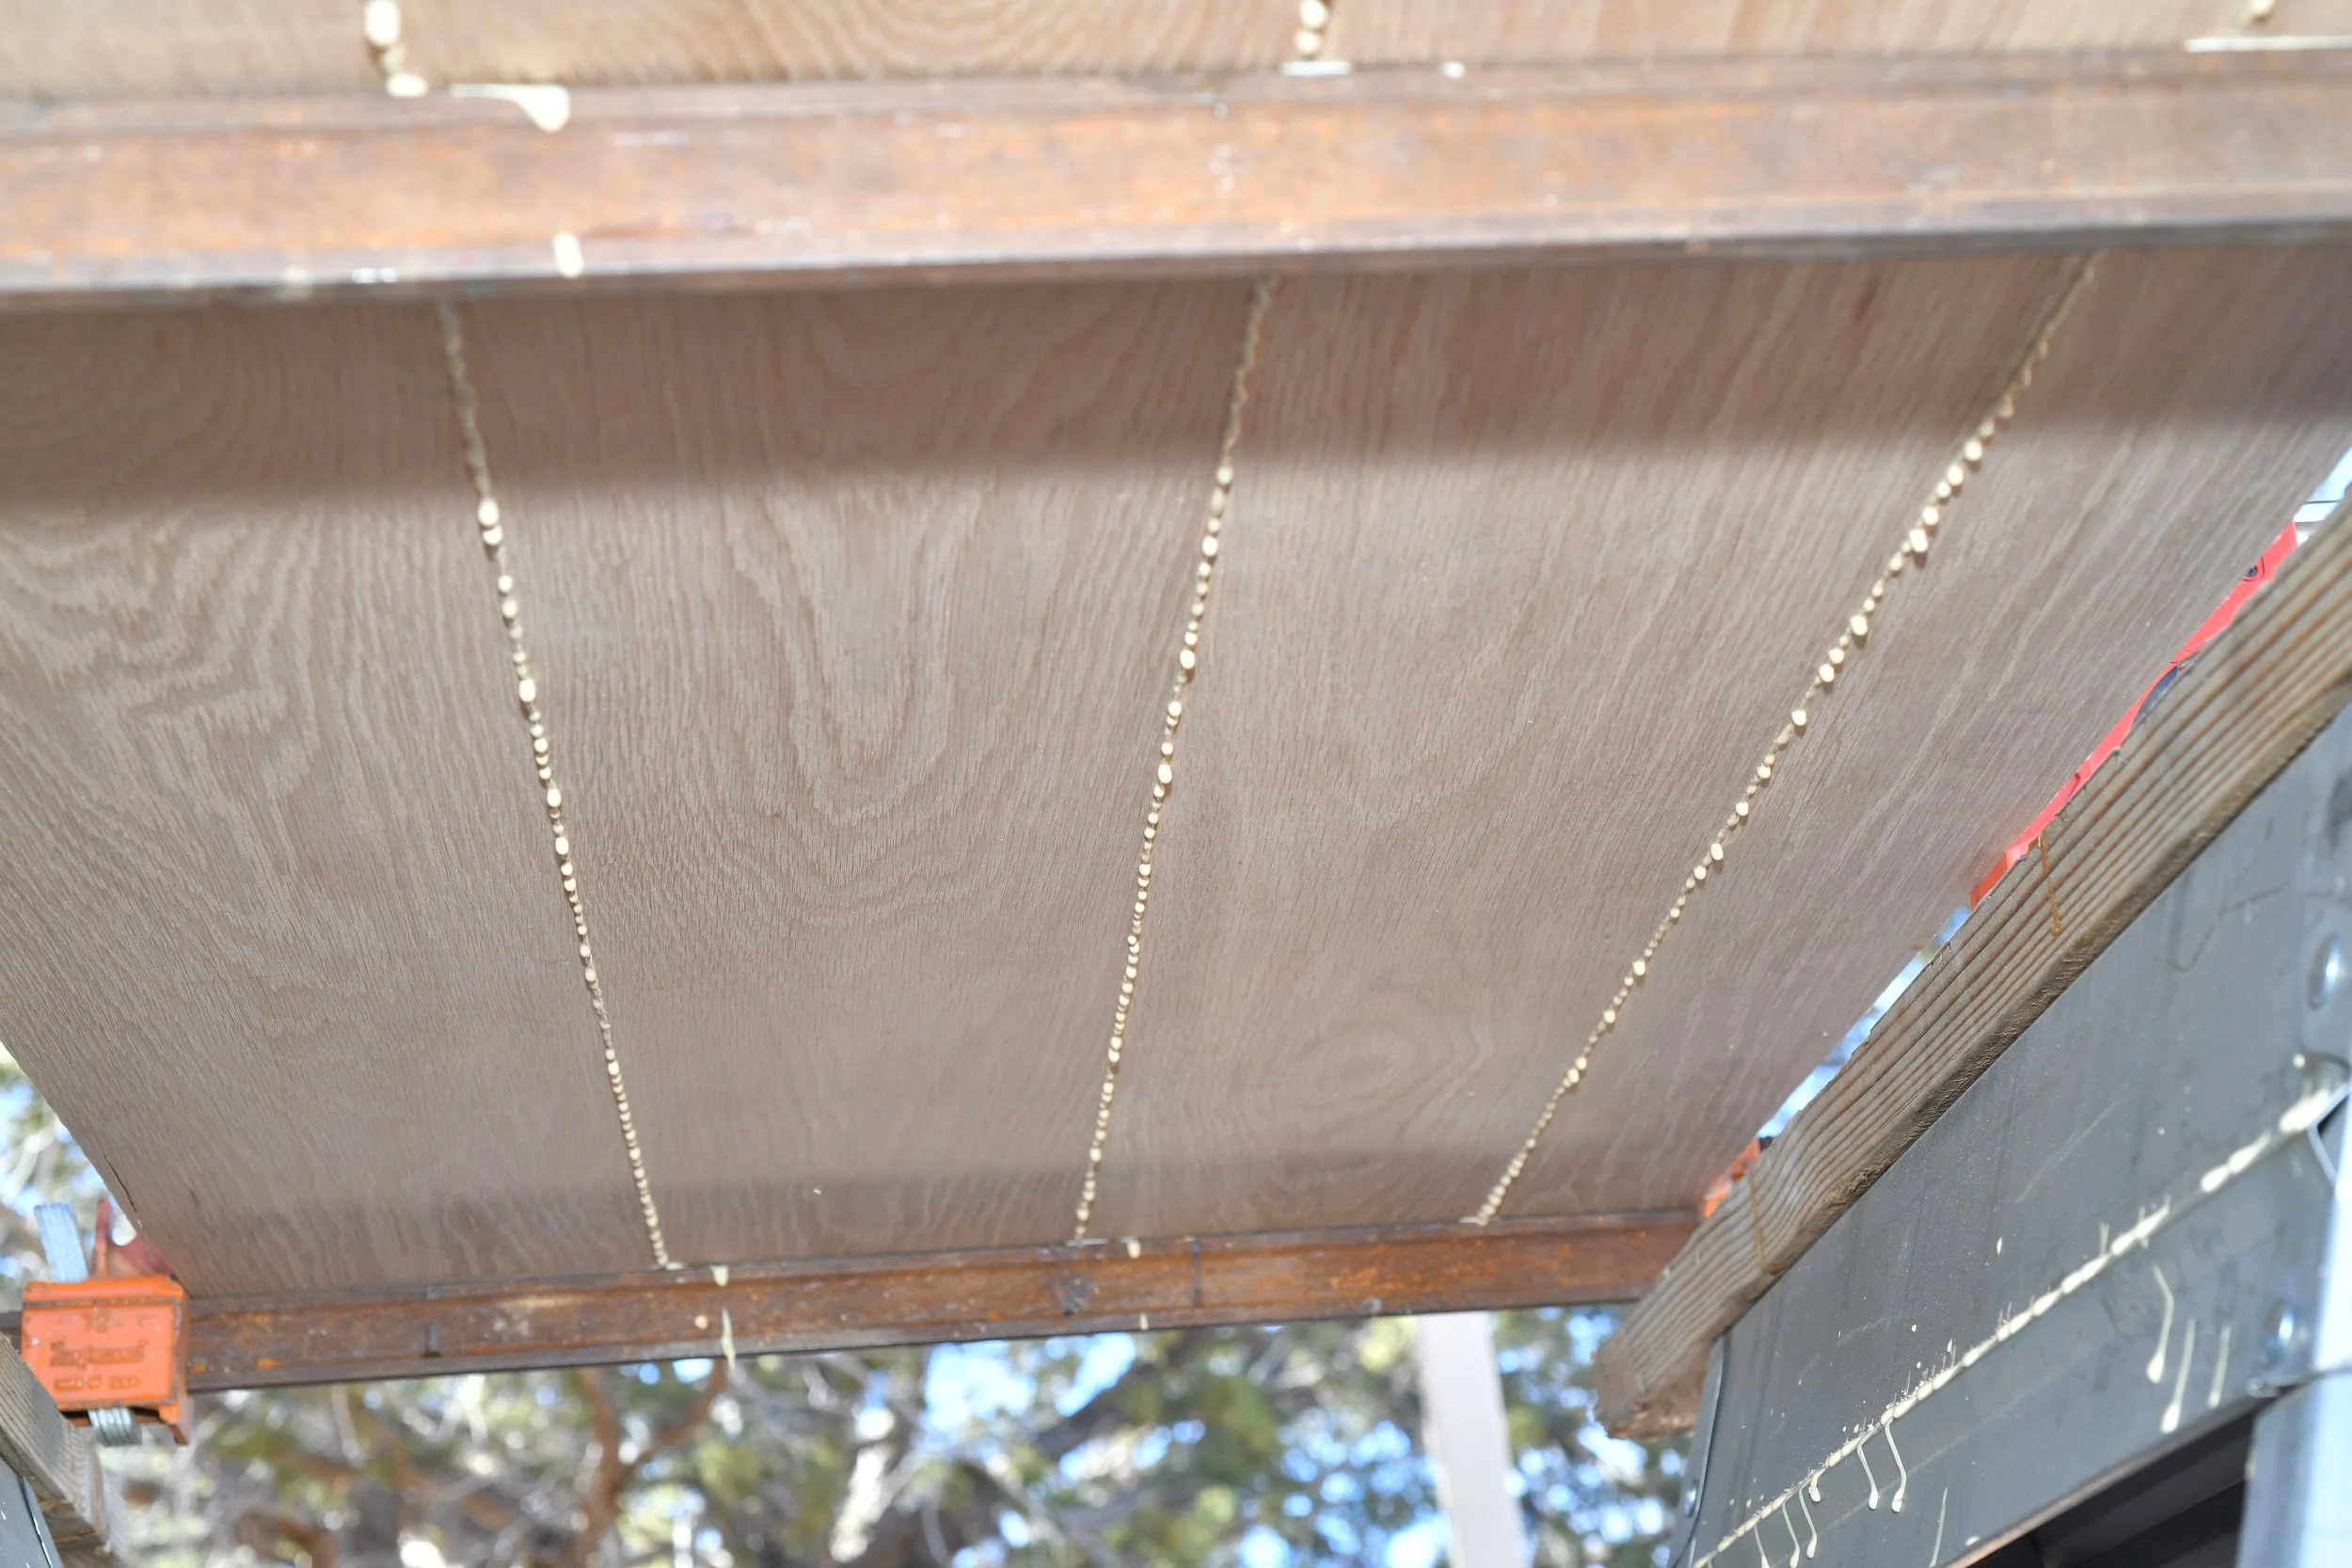
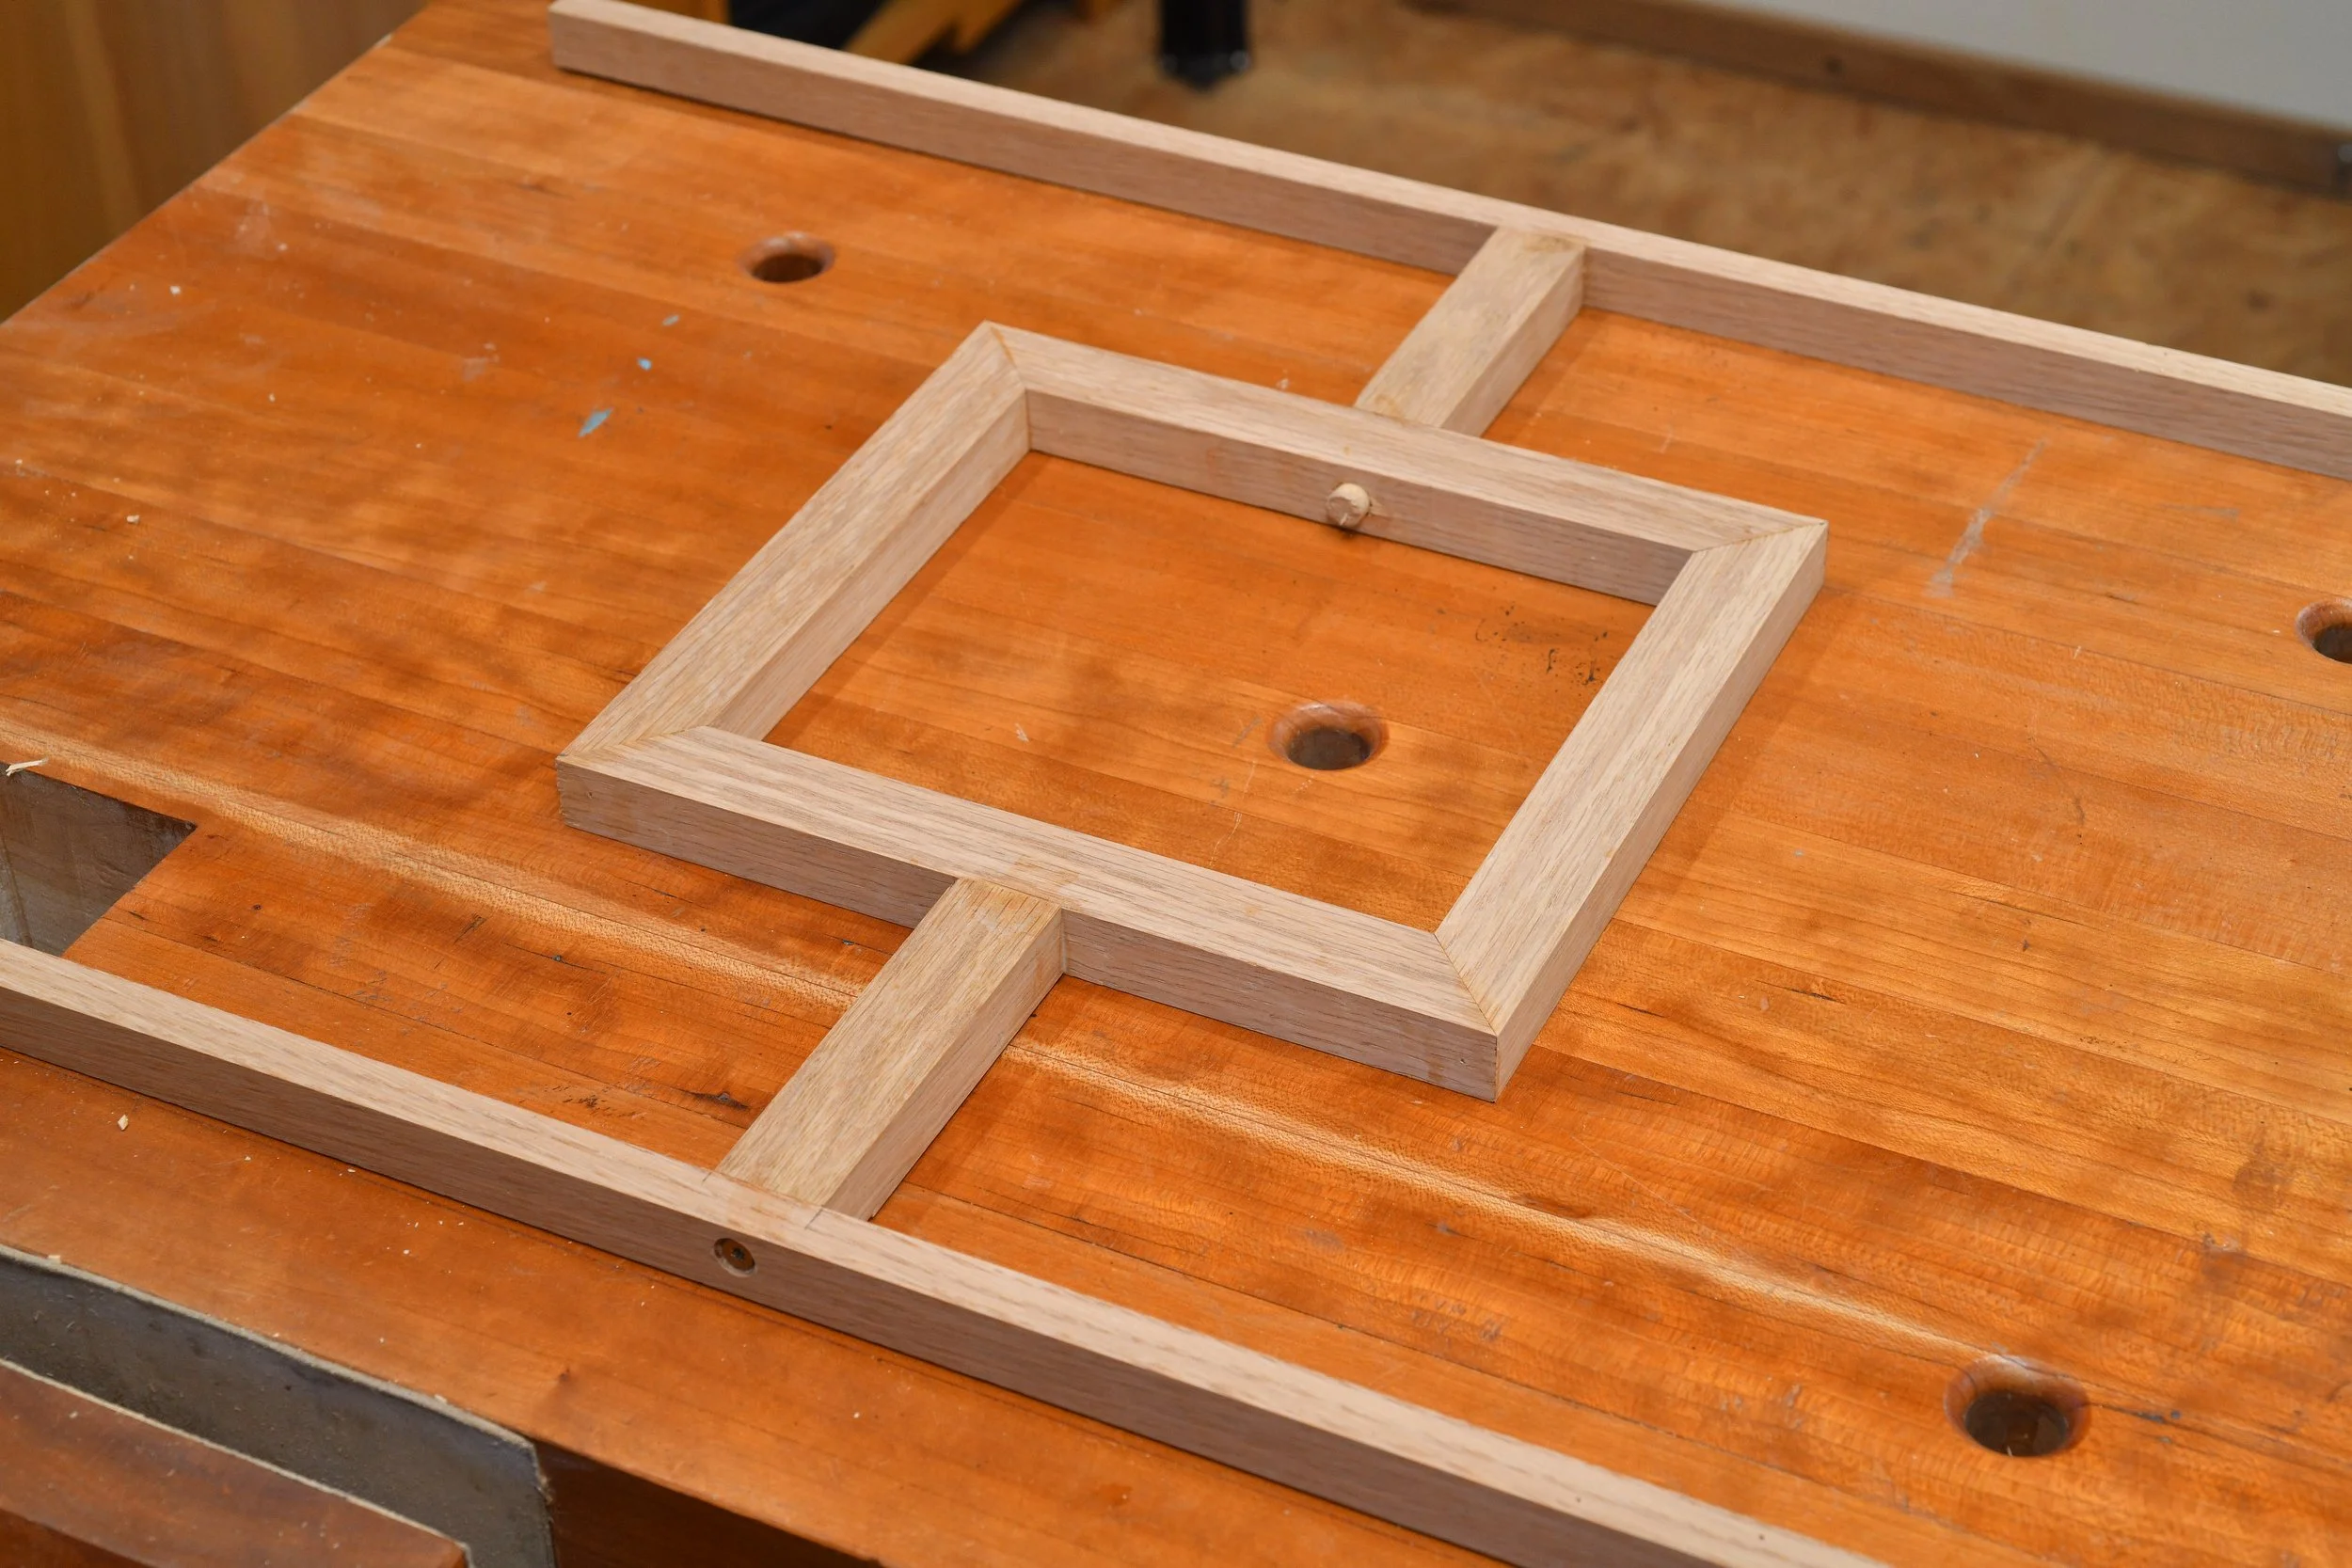
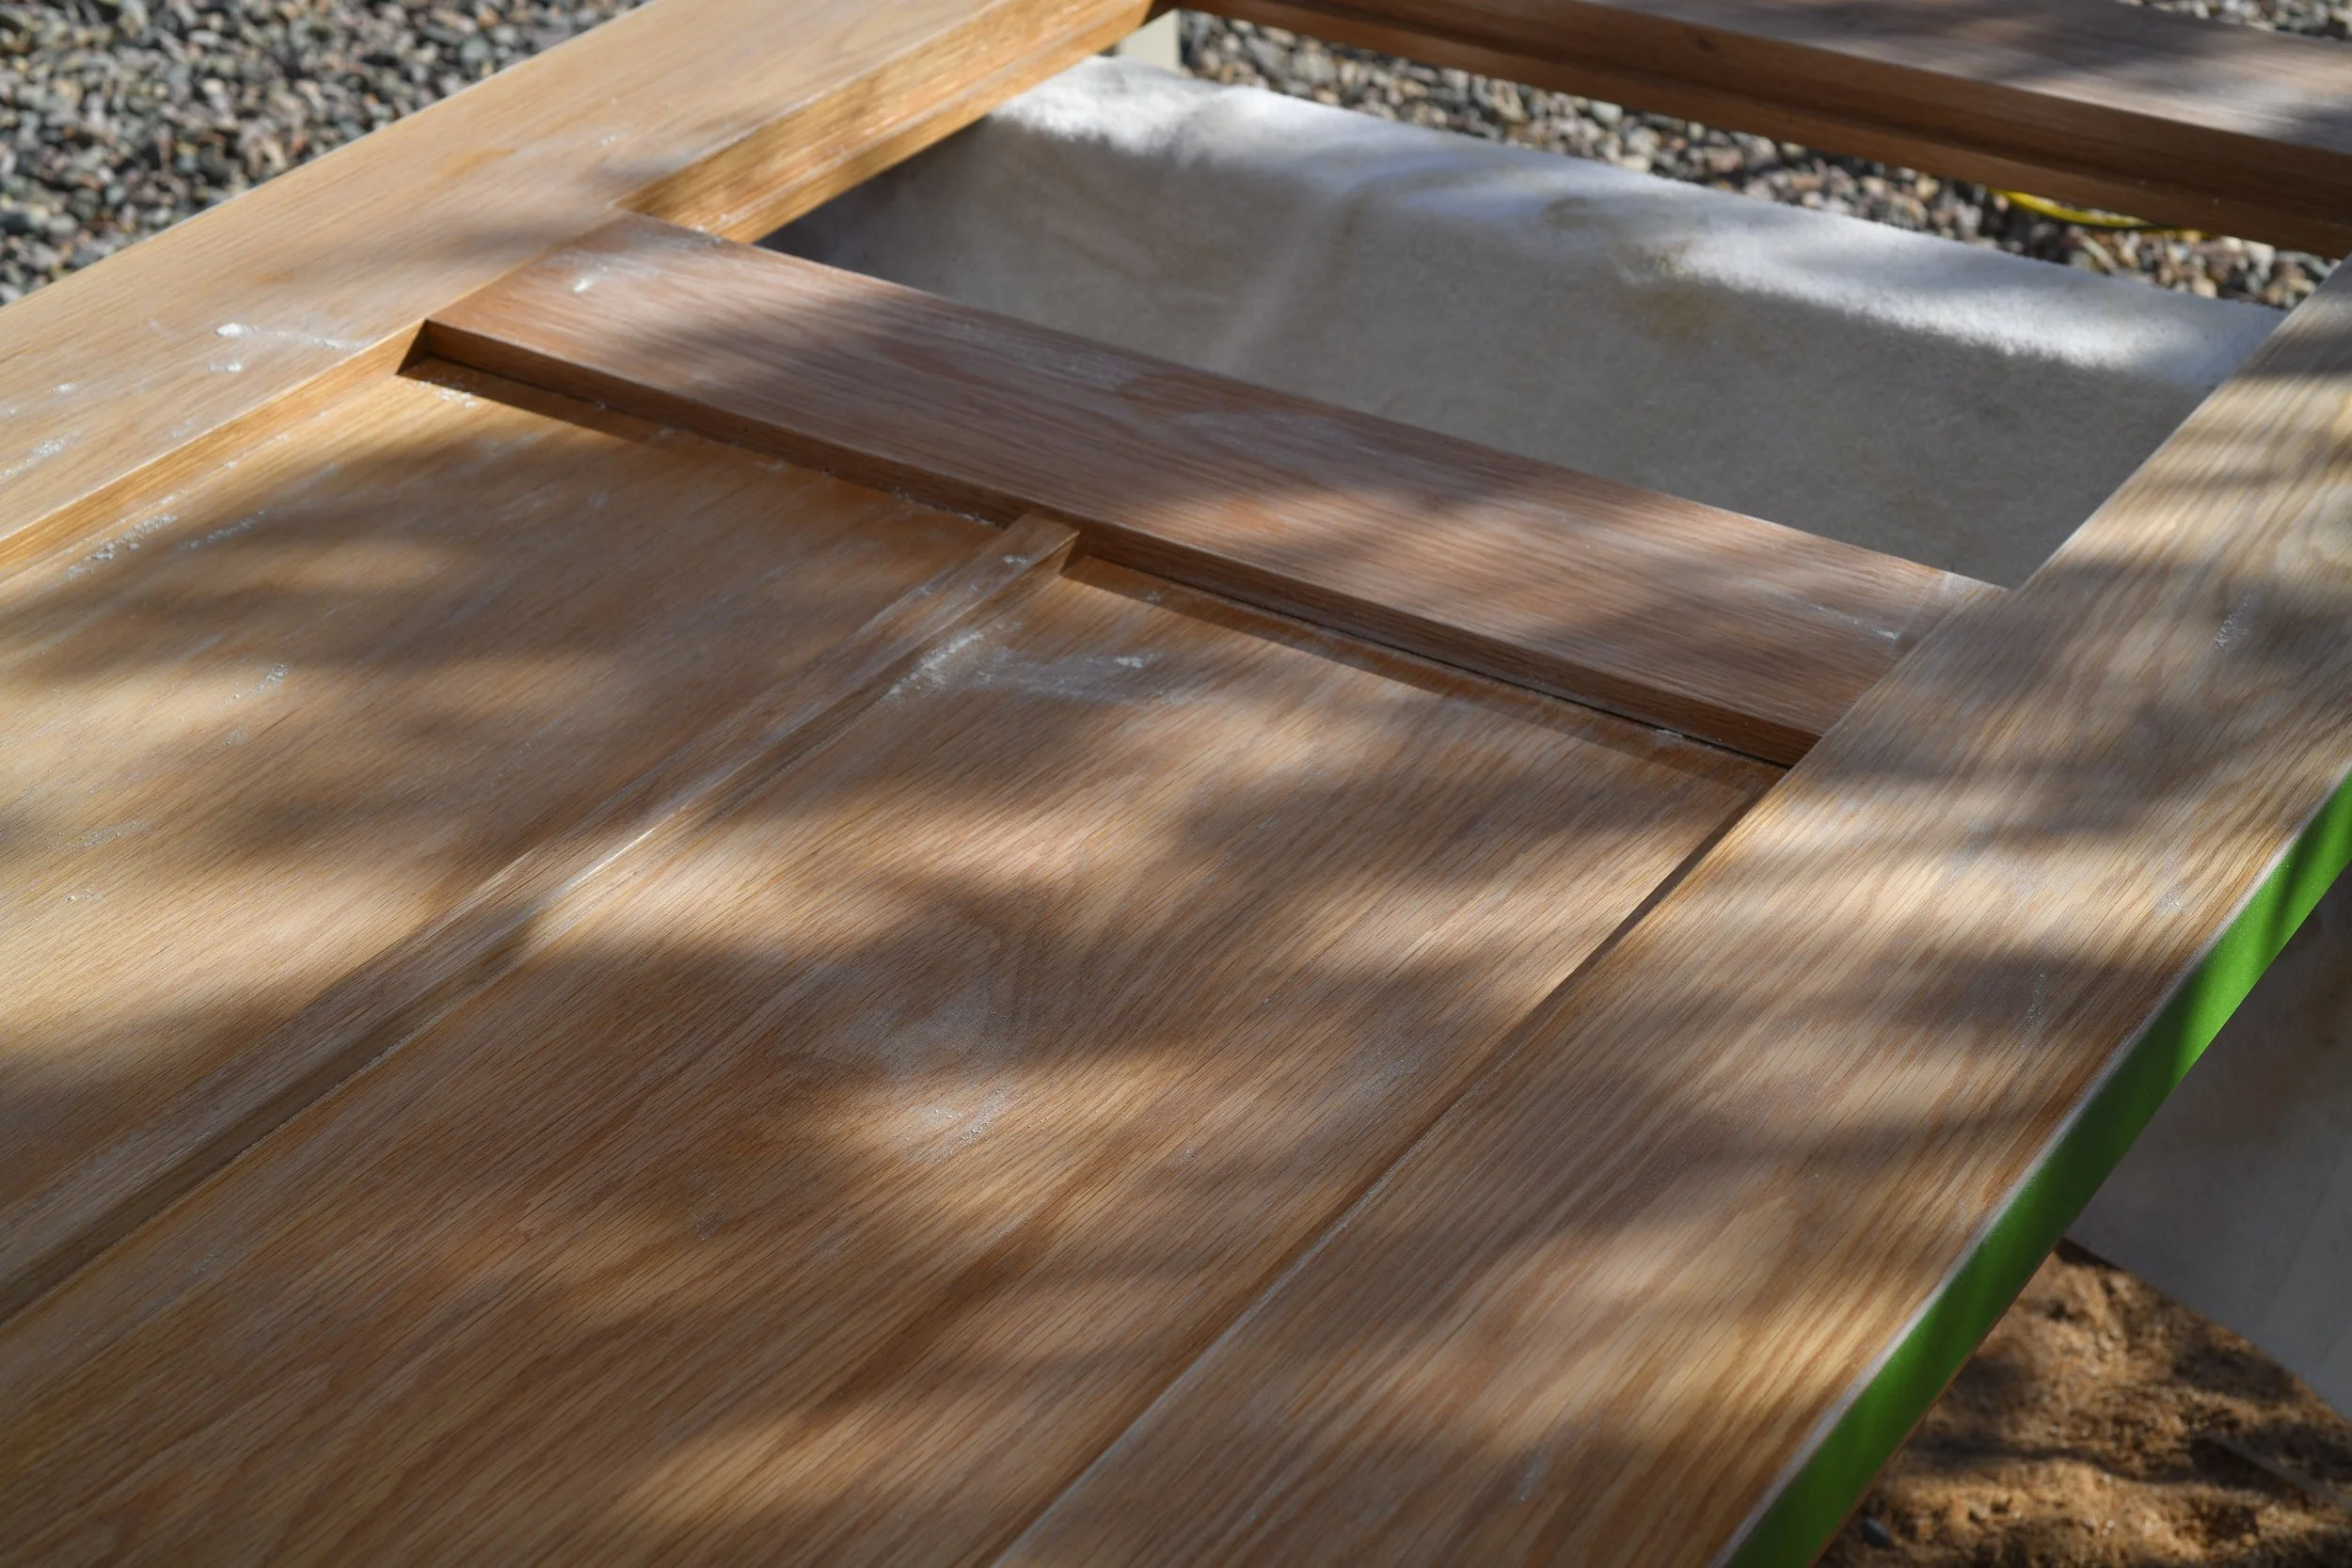
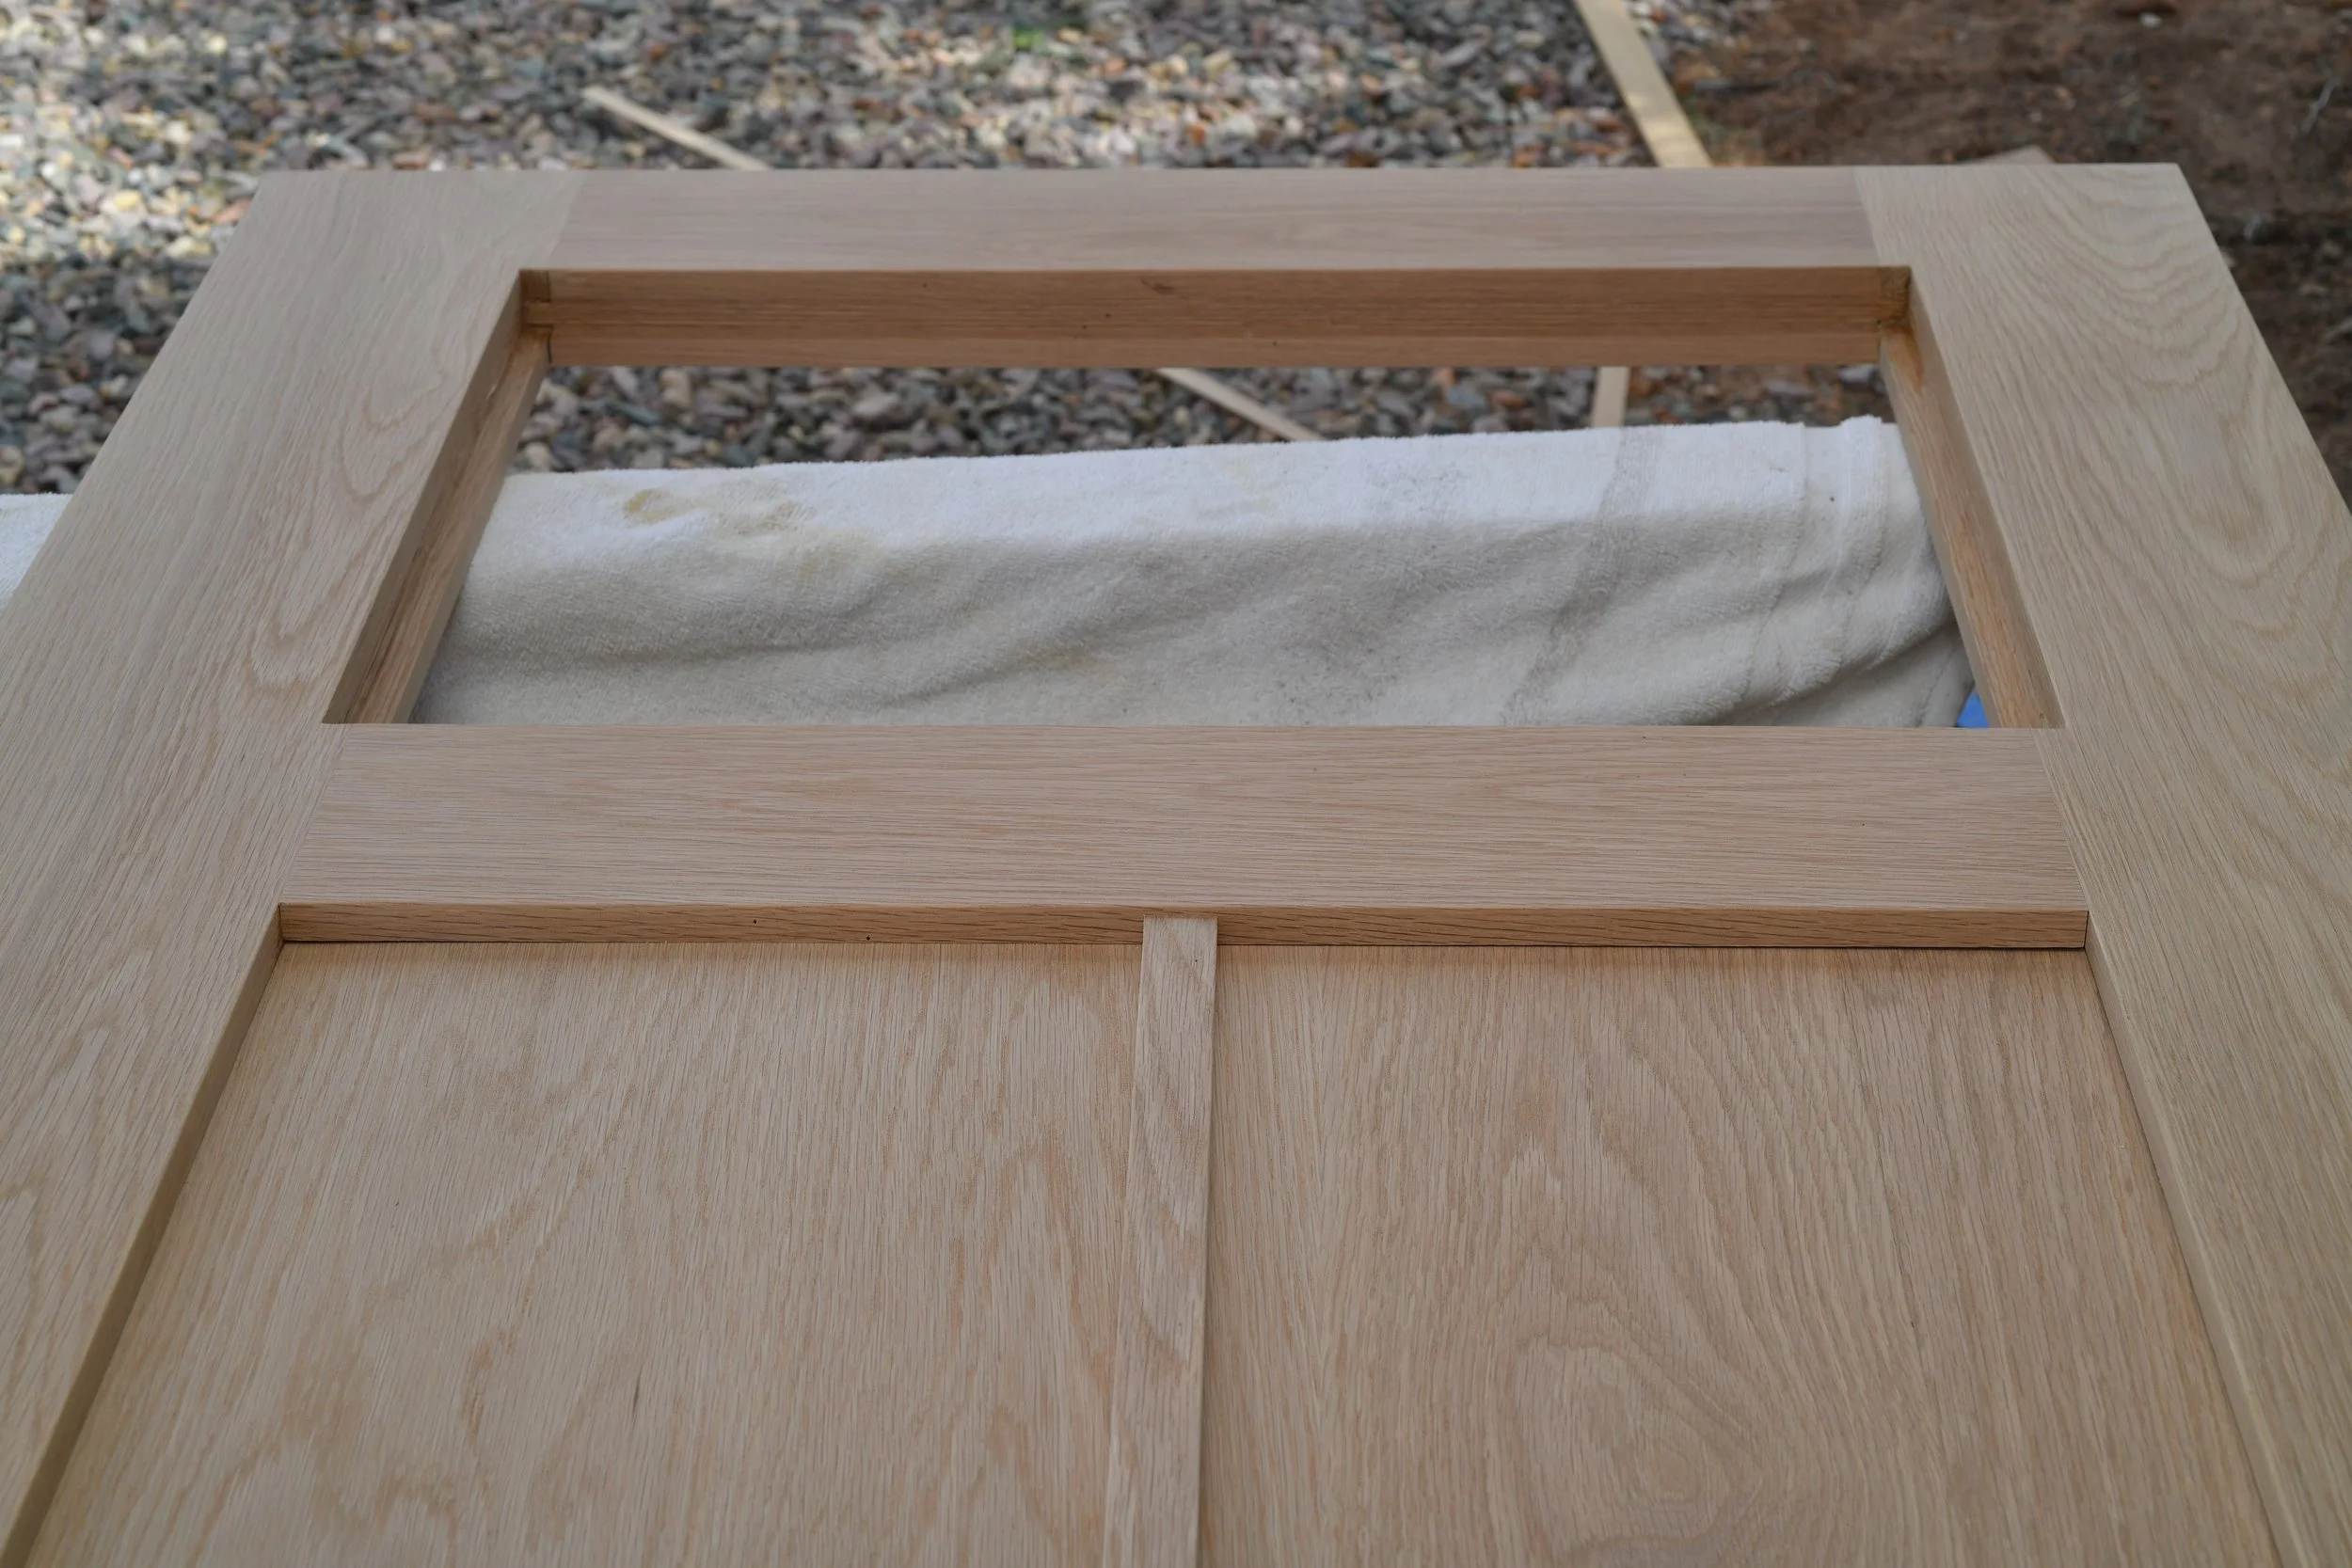
Do a full dry assembly first. That's the main thing.
When you put the whole door together dry, lay a level across the mortise and tenon joints at the top, middle, and bottom. You should see no light between the level and the door face. If the tenons are kicking the stiles out in either direction, add a little relief inside the mortise until everything lays flat. It's not a big deal to fix at this stage — it's a very big deal to discover after the glue is in.
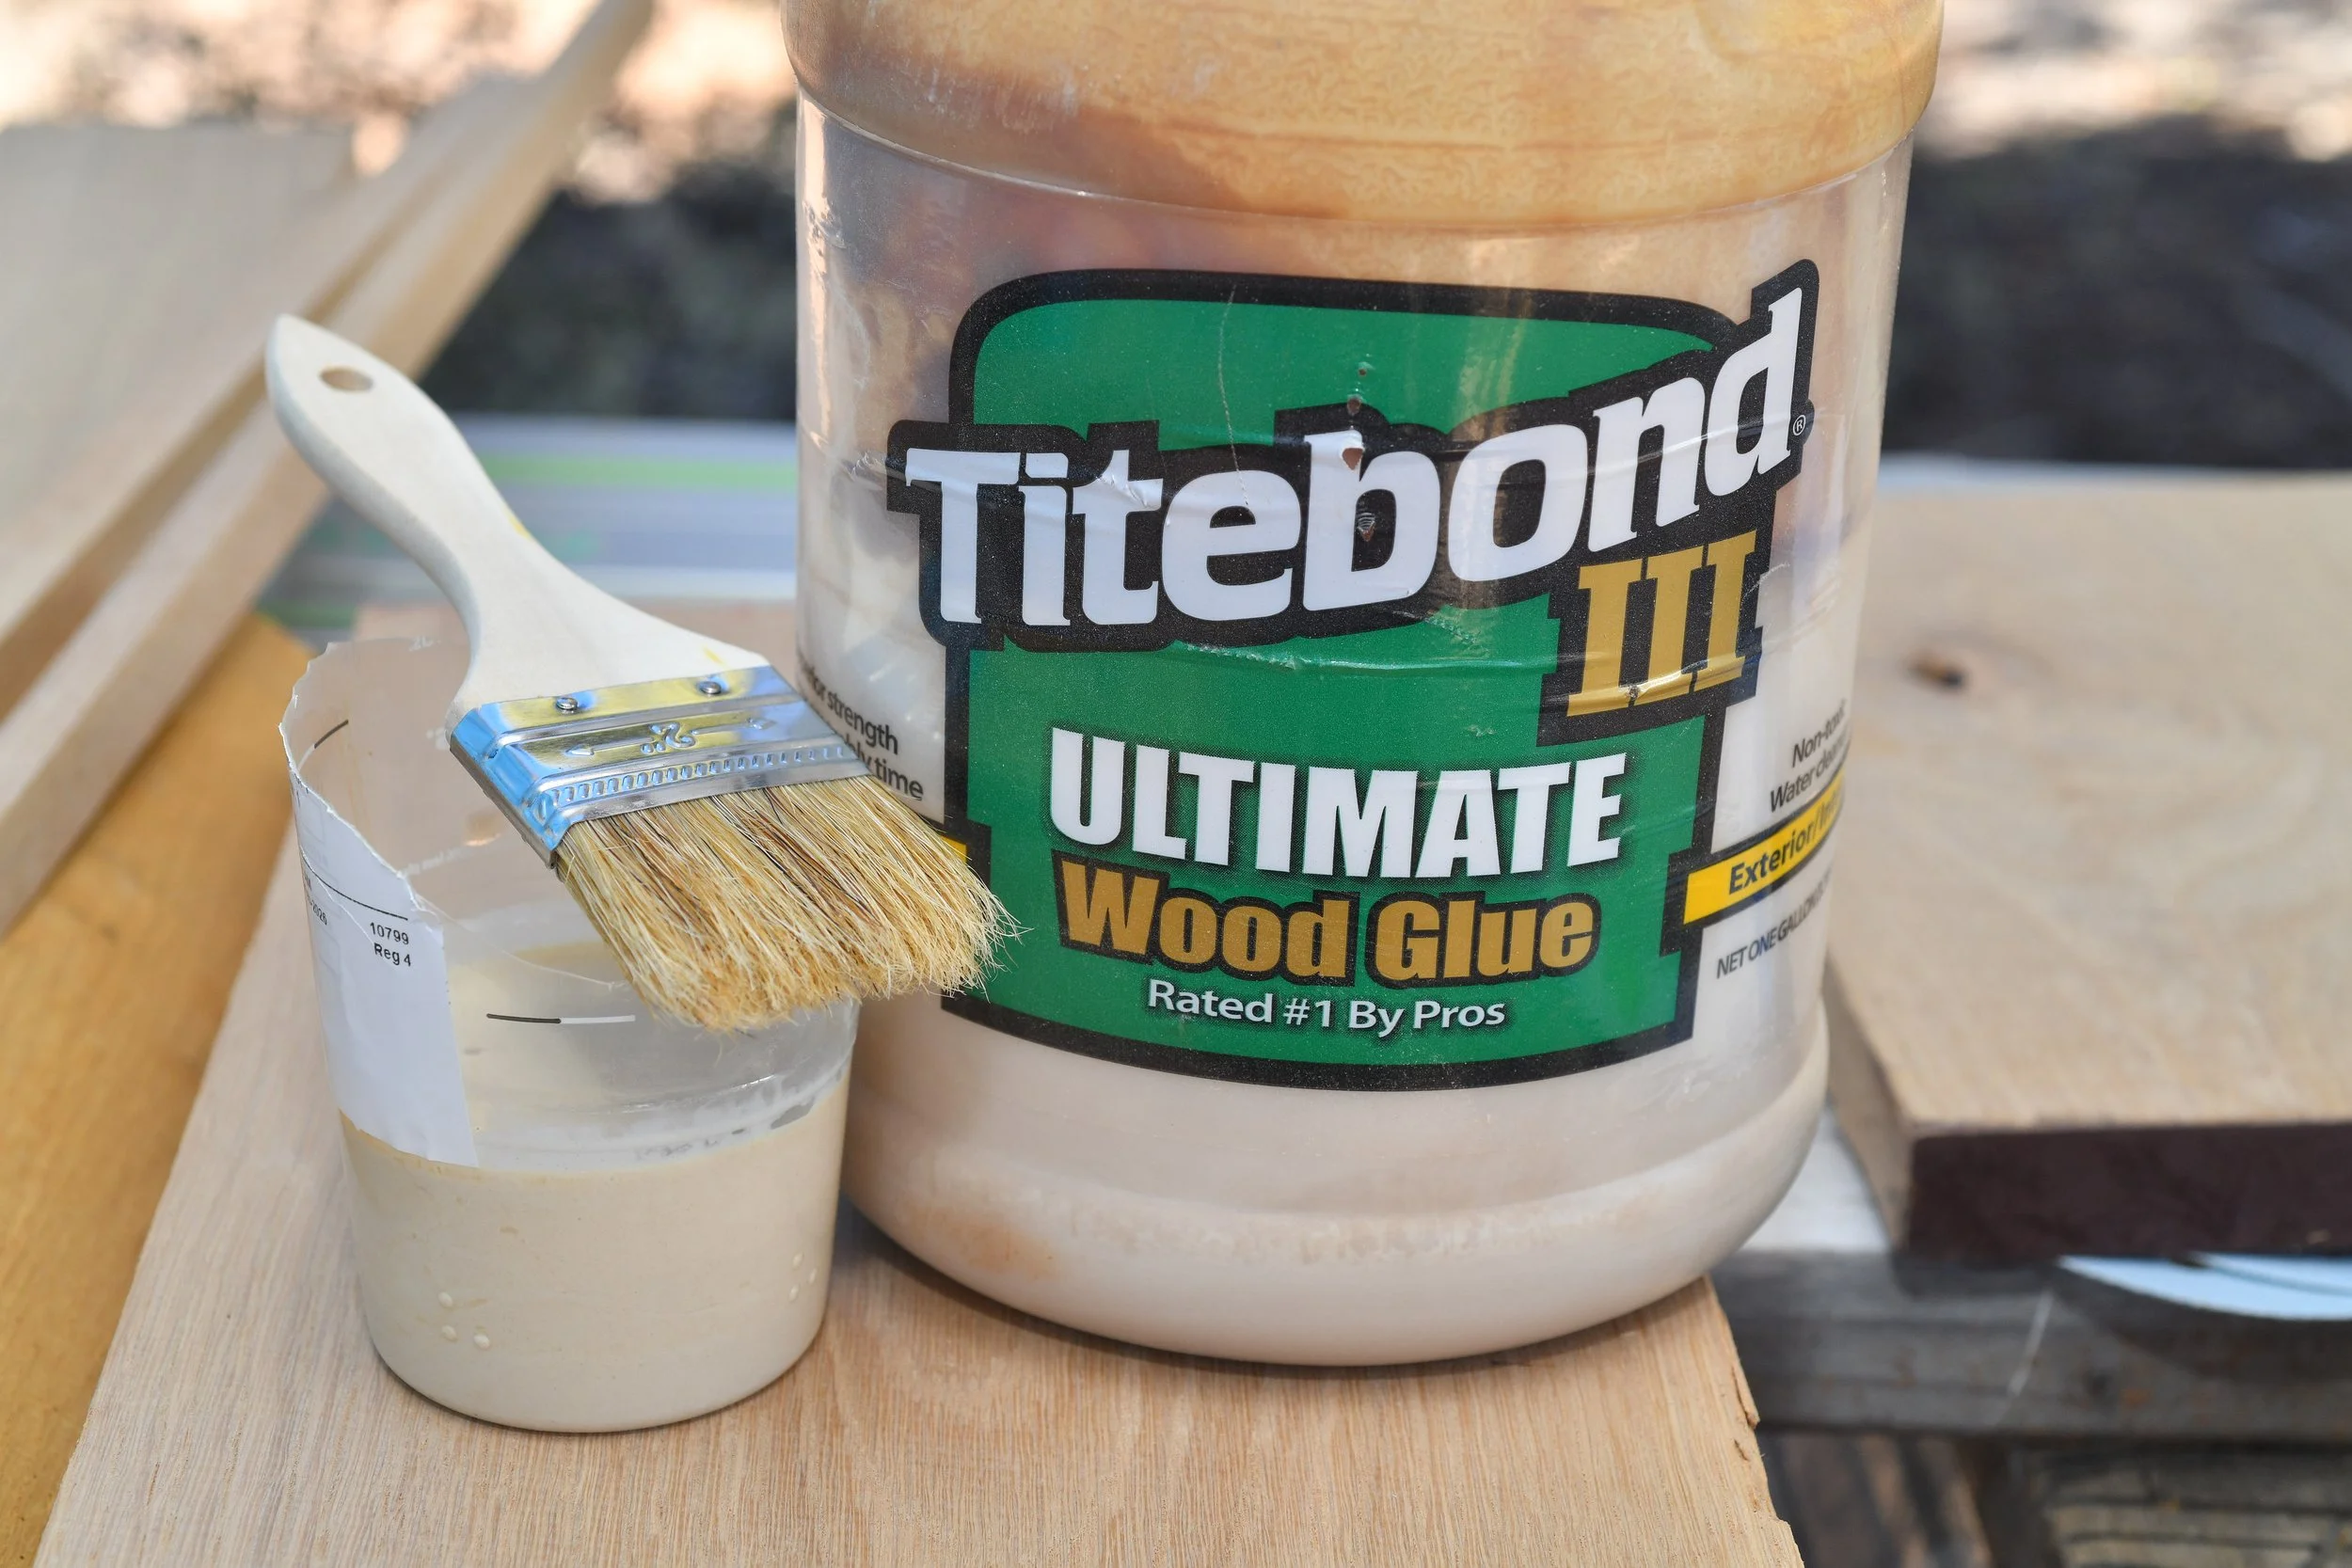
Once the dry fit is confirmed, disassemble it, get your glue brush and glue ready, and do the whole thing in one sitting. No distractions, no phone calls mid-glue-up. Just get it done.
I used Titebond III on this one. It has a longer open working time than Titebond I, which matters when you're assembling an entire door at once. It also dries darker, which is worth knowing depending on your wood species.
Too much glue is rarely the problem — too little is. Just be ready to clean up squeeze-out. If you don't want glue on certain surfaces, tape them off beforehand.


What would you do differently?
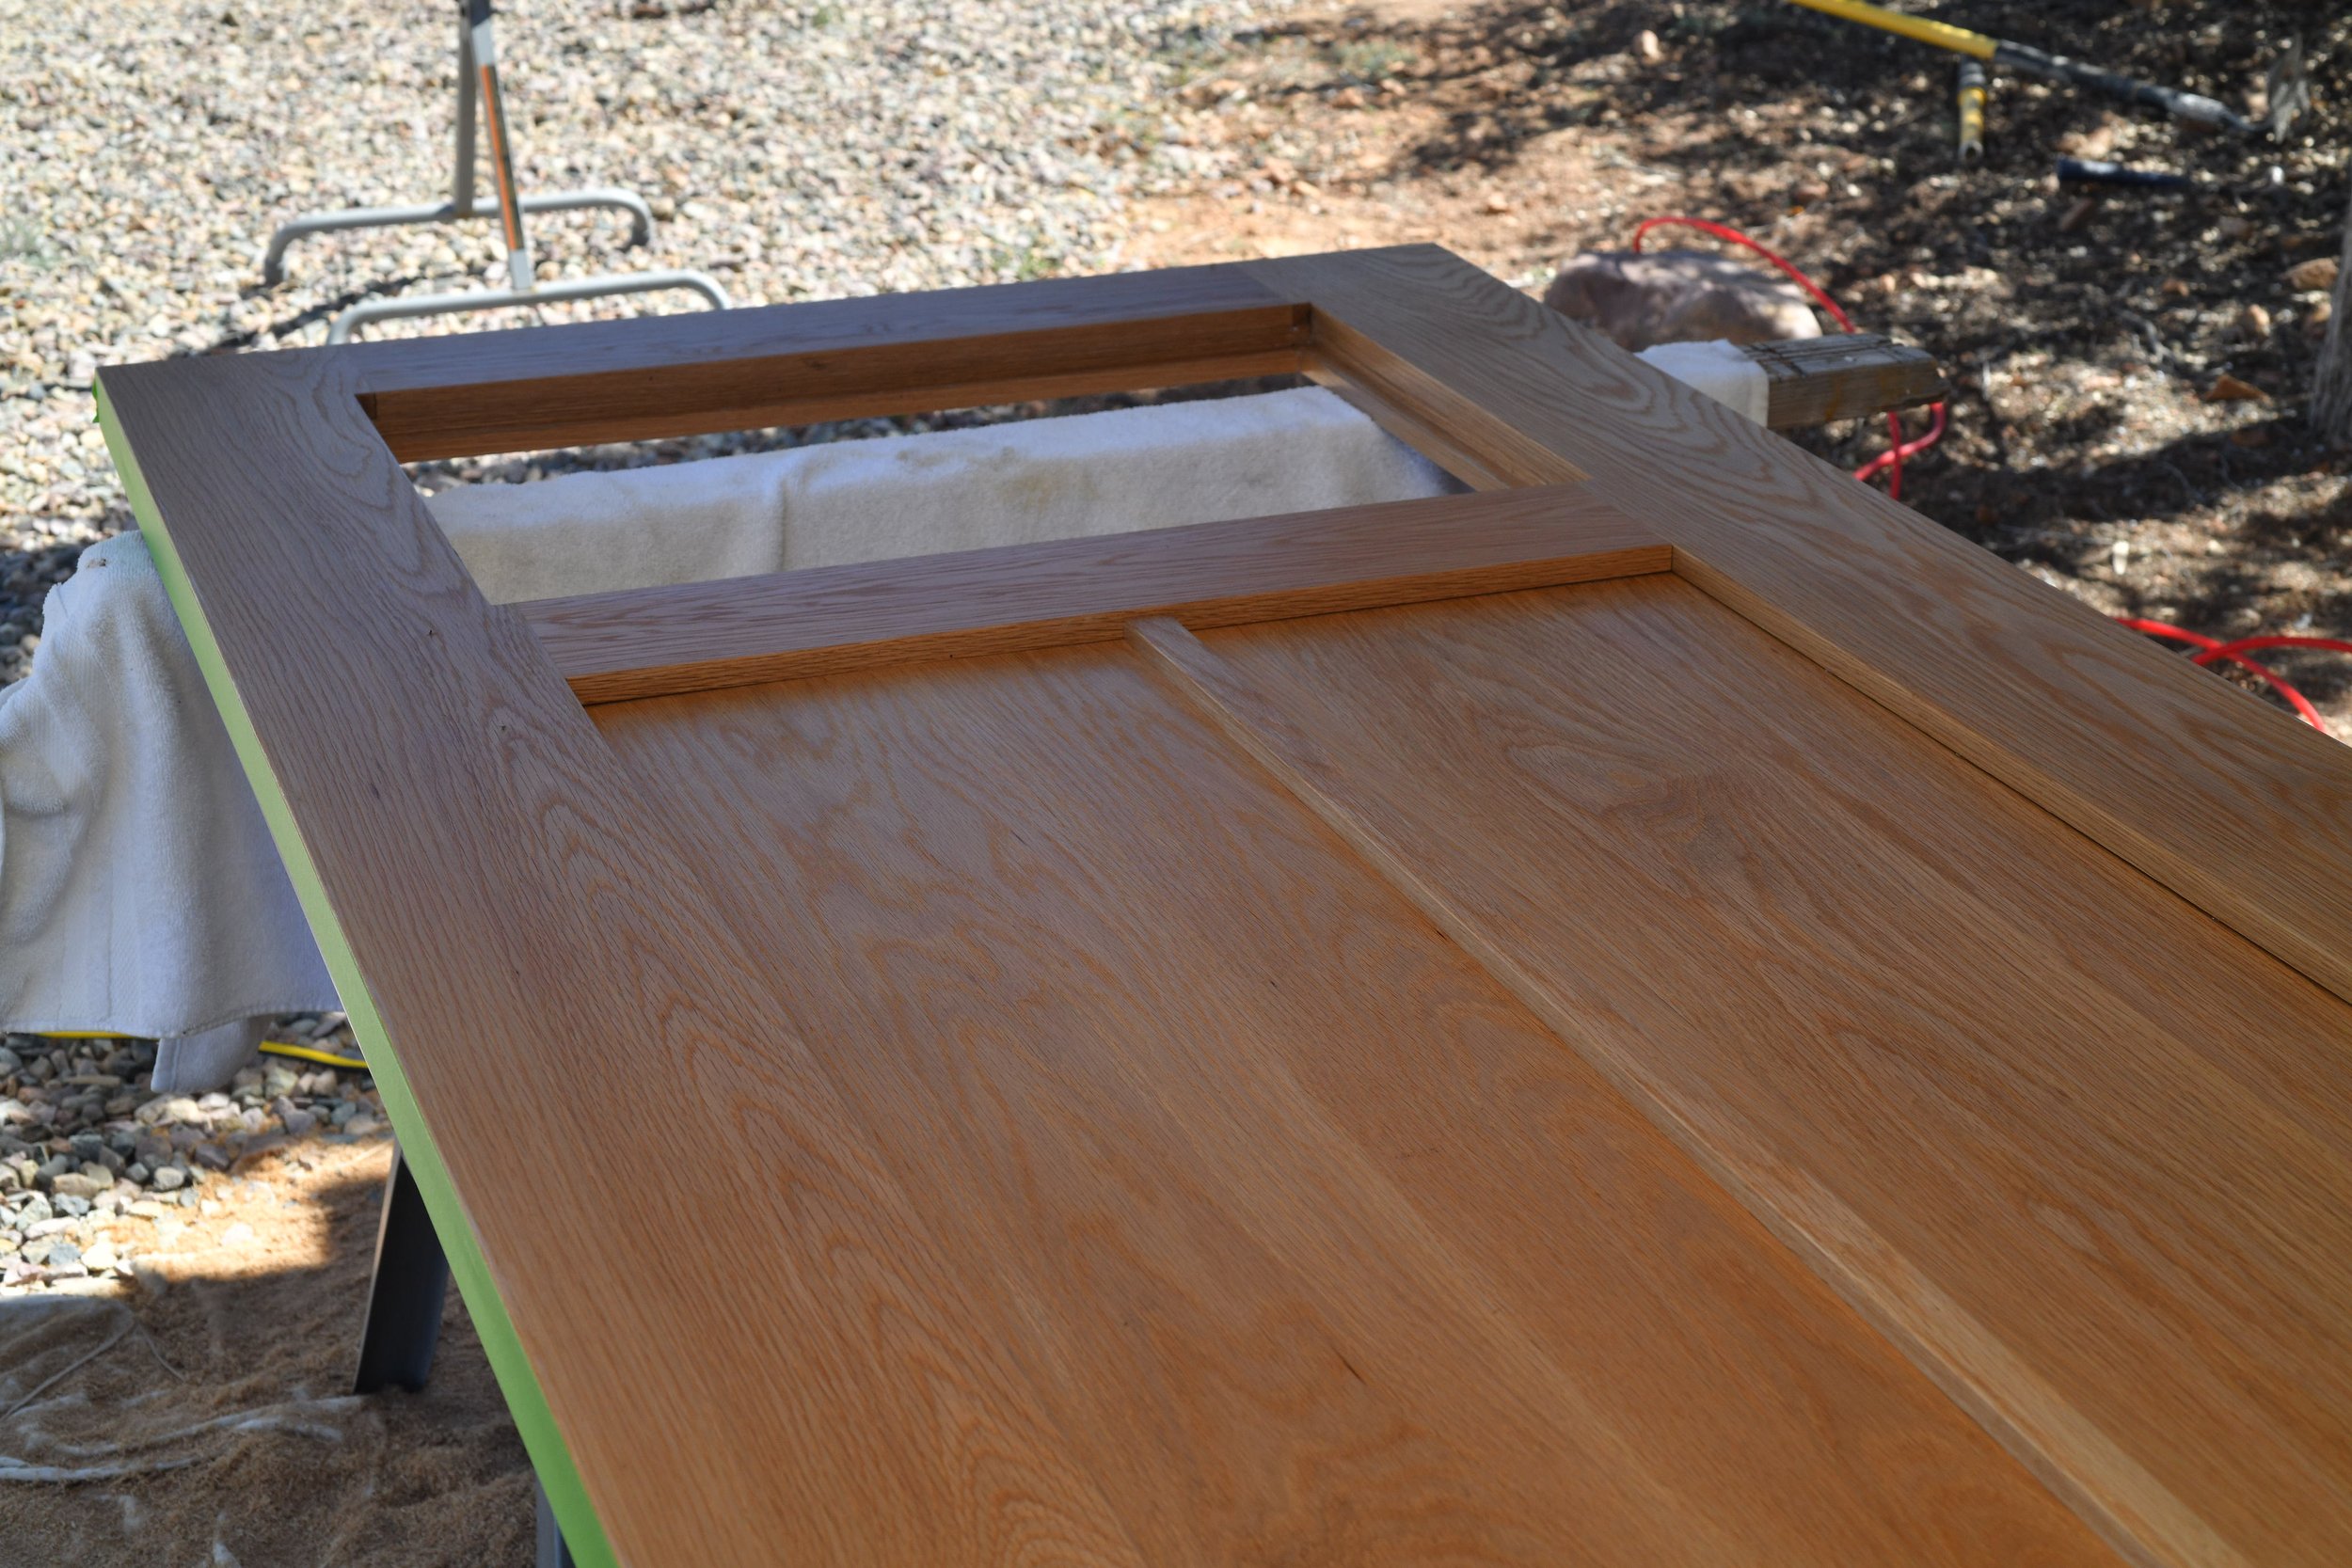
I'd probably build the lower panel in two pieces instead of one.
I built this door to a price point and to a comfort level that made sense knowing we were moving. One solid panel was faster and simpler. But two narrower panels would have more freedom to move over time, and less risk of shrinking enough to show light through. Smaller panels move less. It's a better long-term solution.
Not a regret exactly — just what I'd do if I were building it to stay.
How heavy is a solid white oak door, and how did you hang it?
A 36" x 80" door at 1¾" thick in solid white oak comes out to roughly 130 lbs. It's a heavy door.
That's not a drawback — it's the point — but you need to account for it. Use heavy duty hinges rated for the weight. I used three 4-inch square black hinges at $35 for the set.
As for the hardware installation itself, hinges and lockset, I documented all of it, but unfortunately lost the images when I formatted over them. Rather than walk through it without photos, I'll refer you tothis solid walkthrough from This Old House, which covers it better than I could without the visuals.
What's the hardest part of the install that nobody talks about?
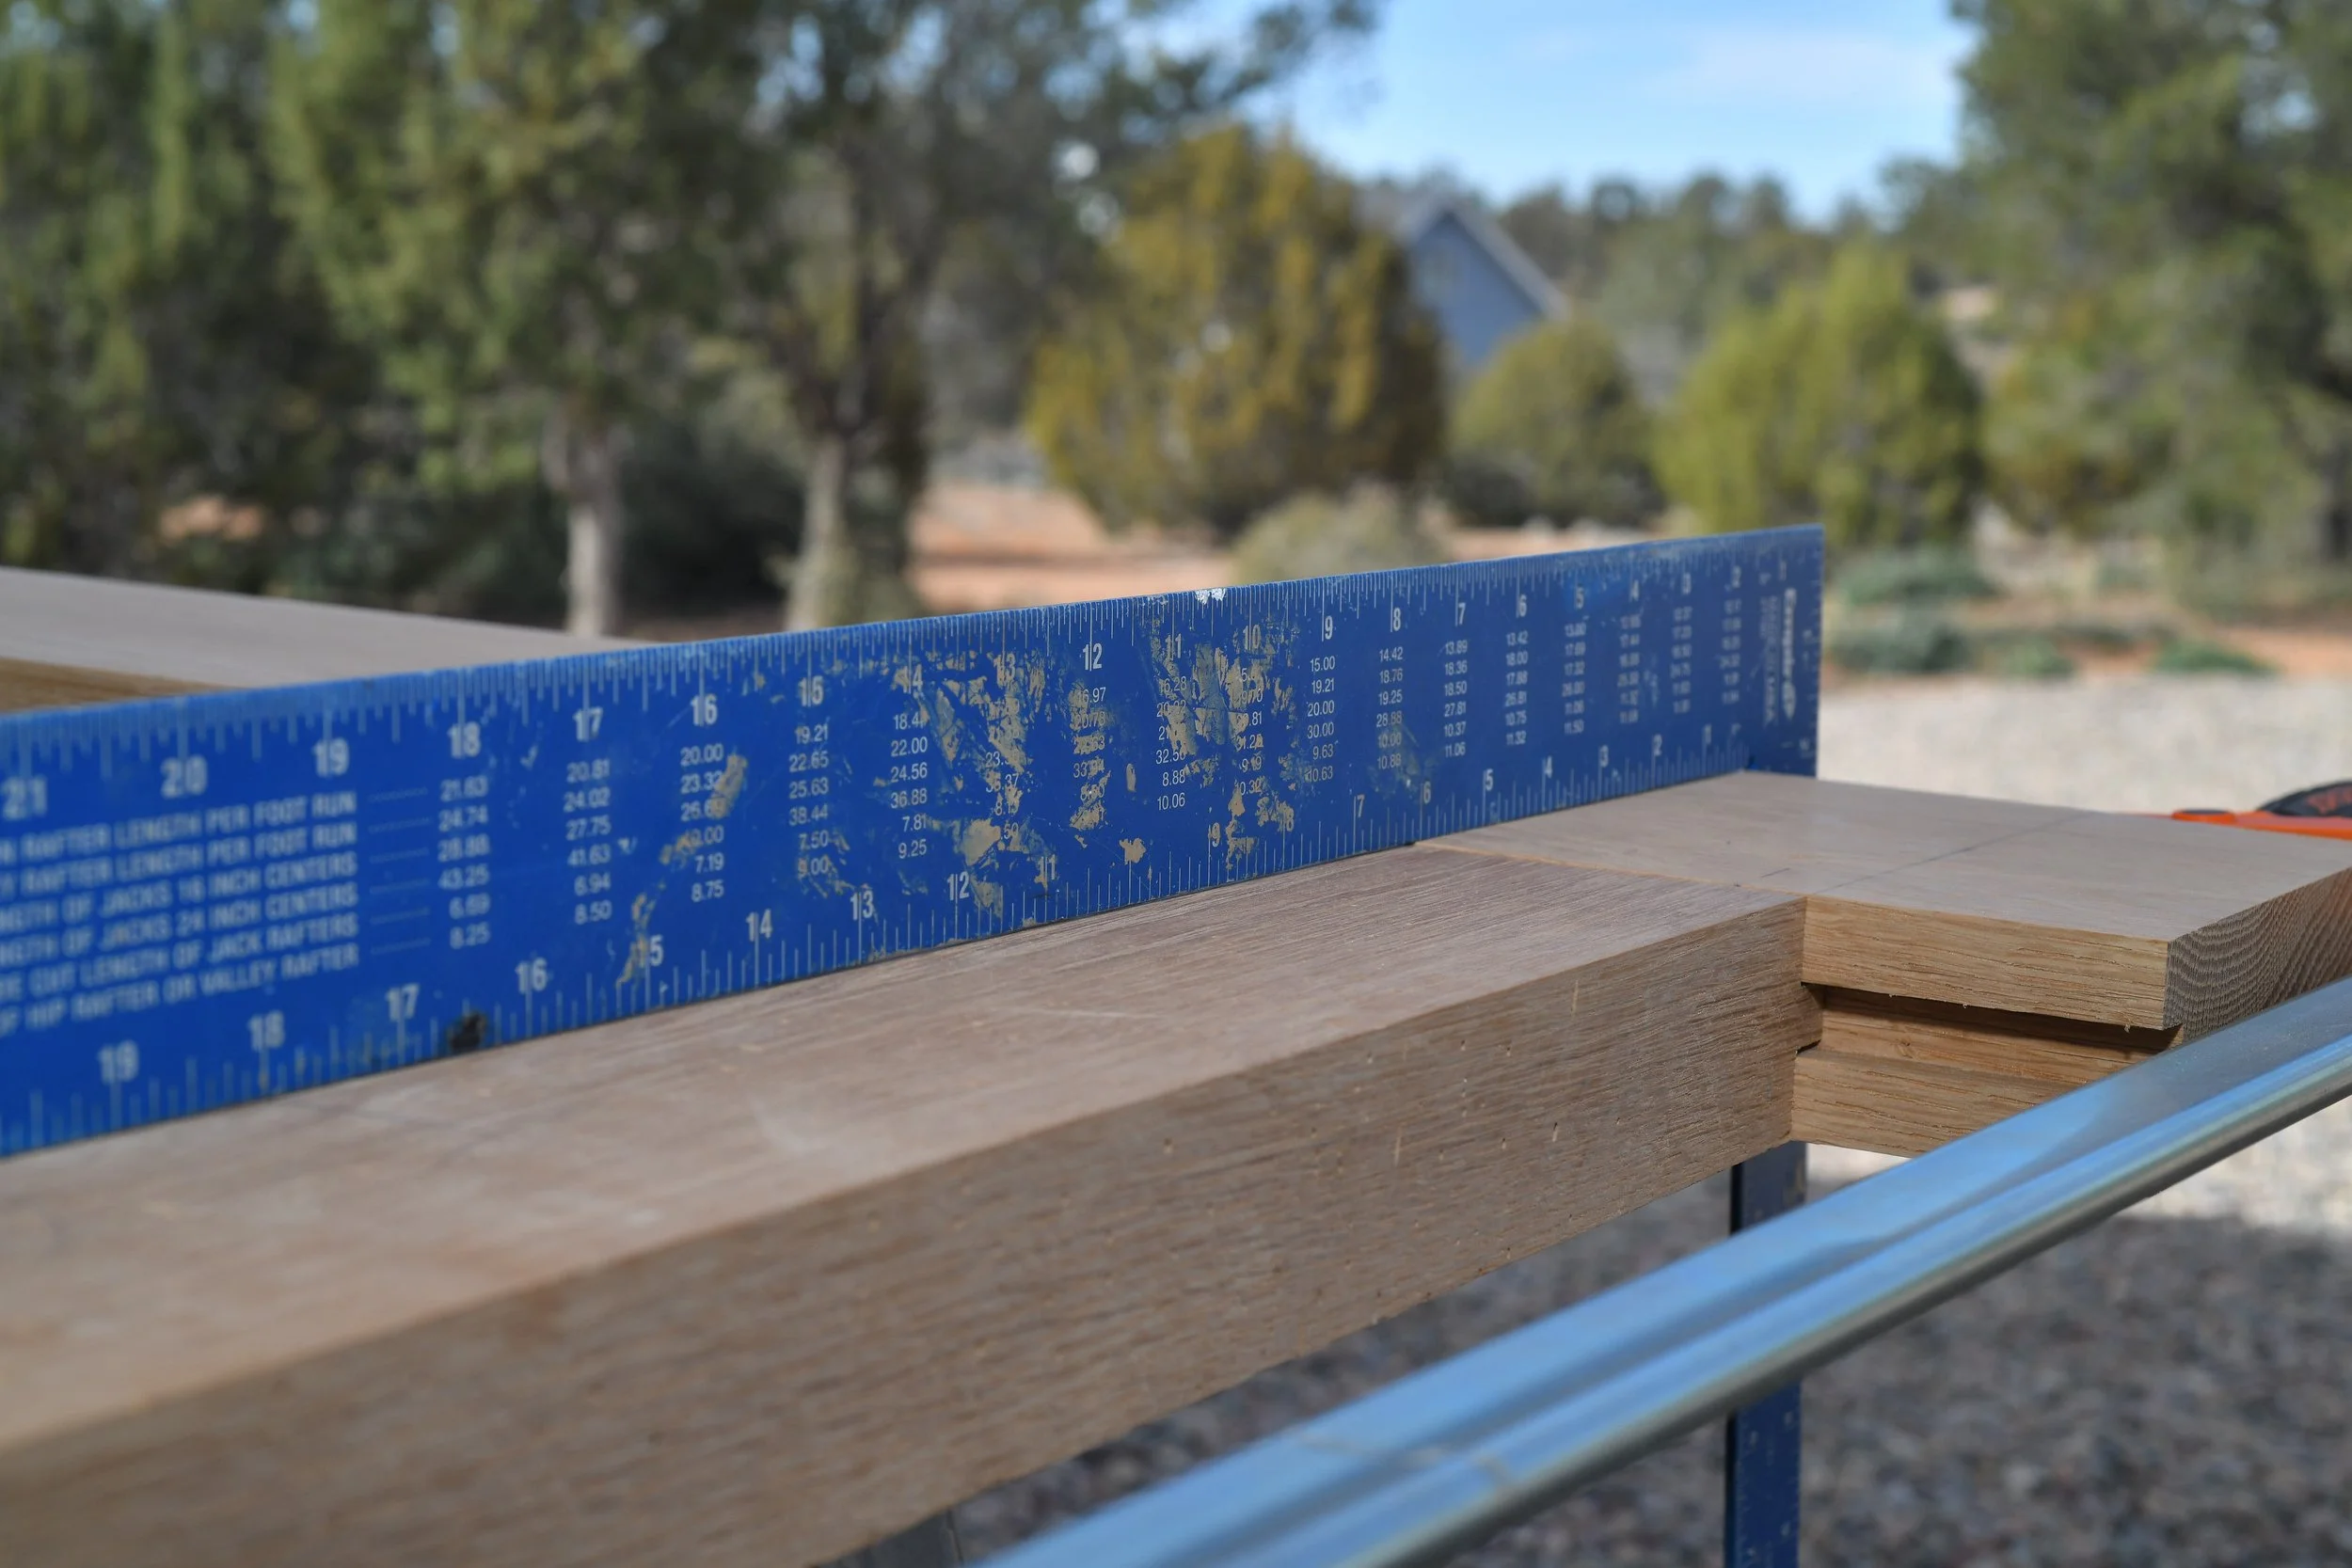
Checking your door frame for square before you hang the door.
This is especially important when you're installing into an existing frame. The bottom matters less because you'll have an adjustable door sweep down there, but at the top — particularly on the hinge side — you need to know exactly how far out of square you're working with.
Take your framing square, put it up on the hinge side, and see what you've got. If it's off, trim the door accordingly before you put it up. Even a perfectly built door will scratch the frame on the way in if you skip this step. And with a 130 lb door in your hands, that's not the moment you want to discover the frame is out.
Check the width at the top and bottom too, so your reveal is consistent on the strike side.
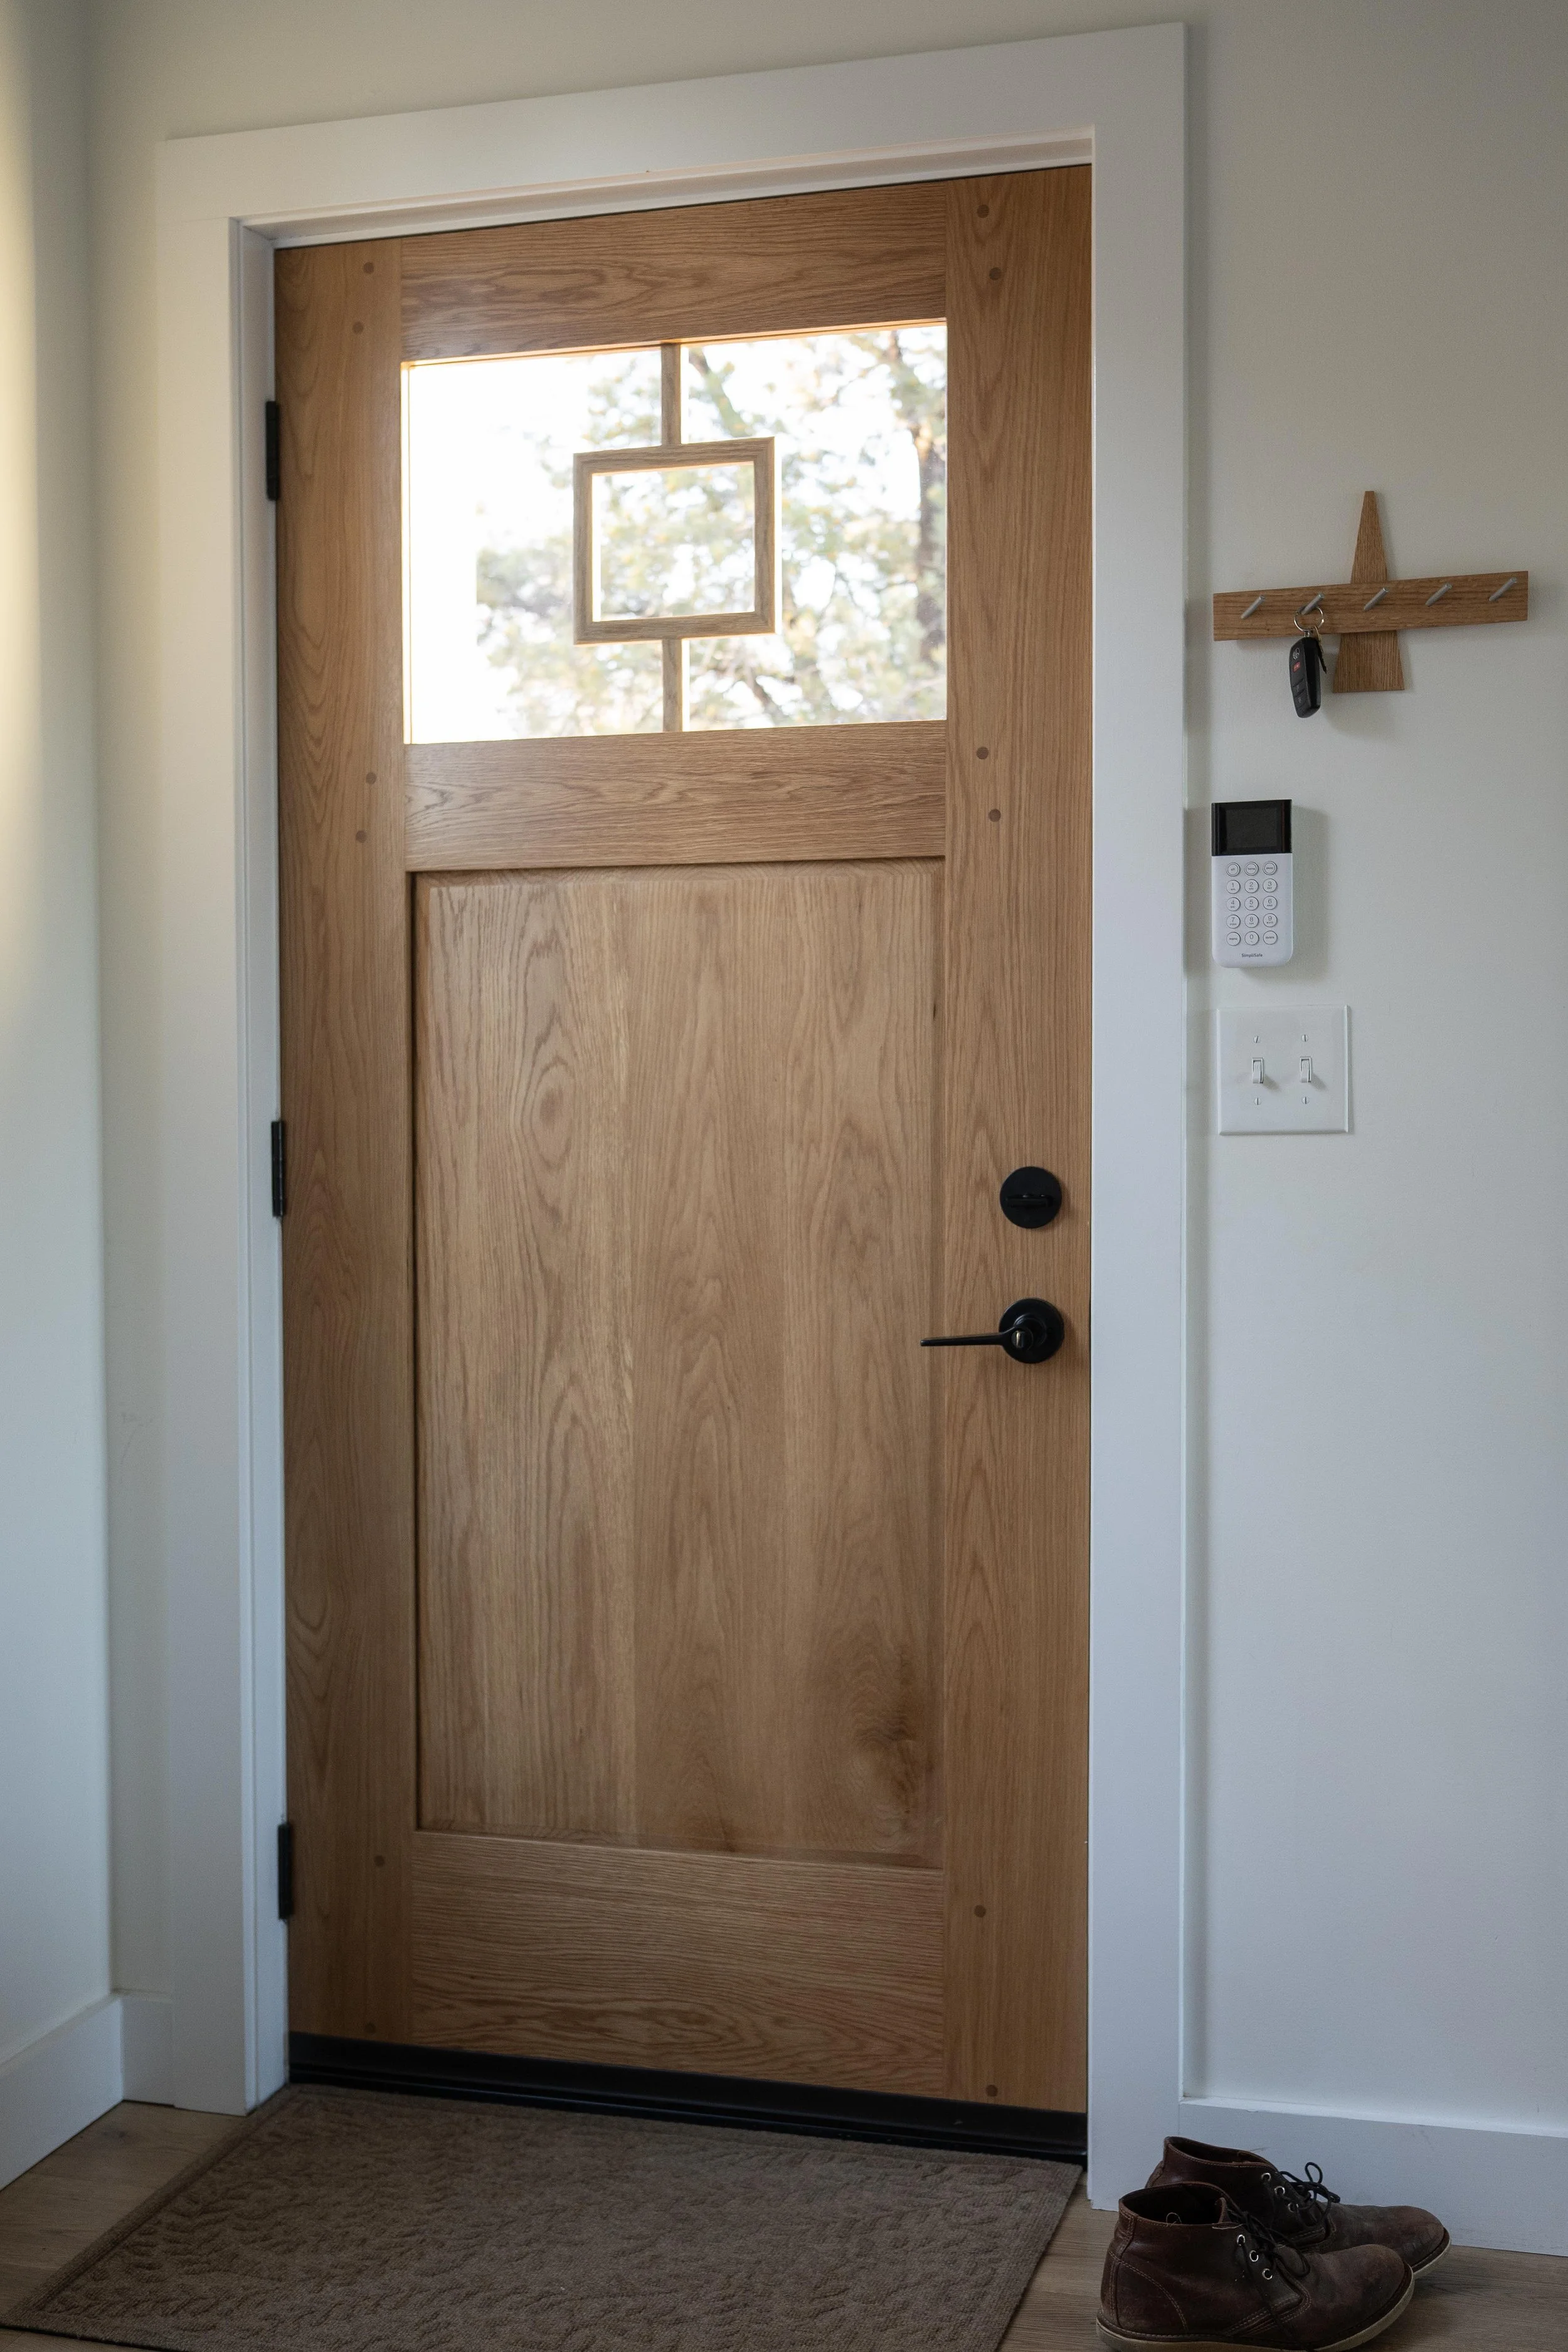
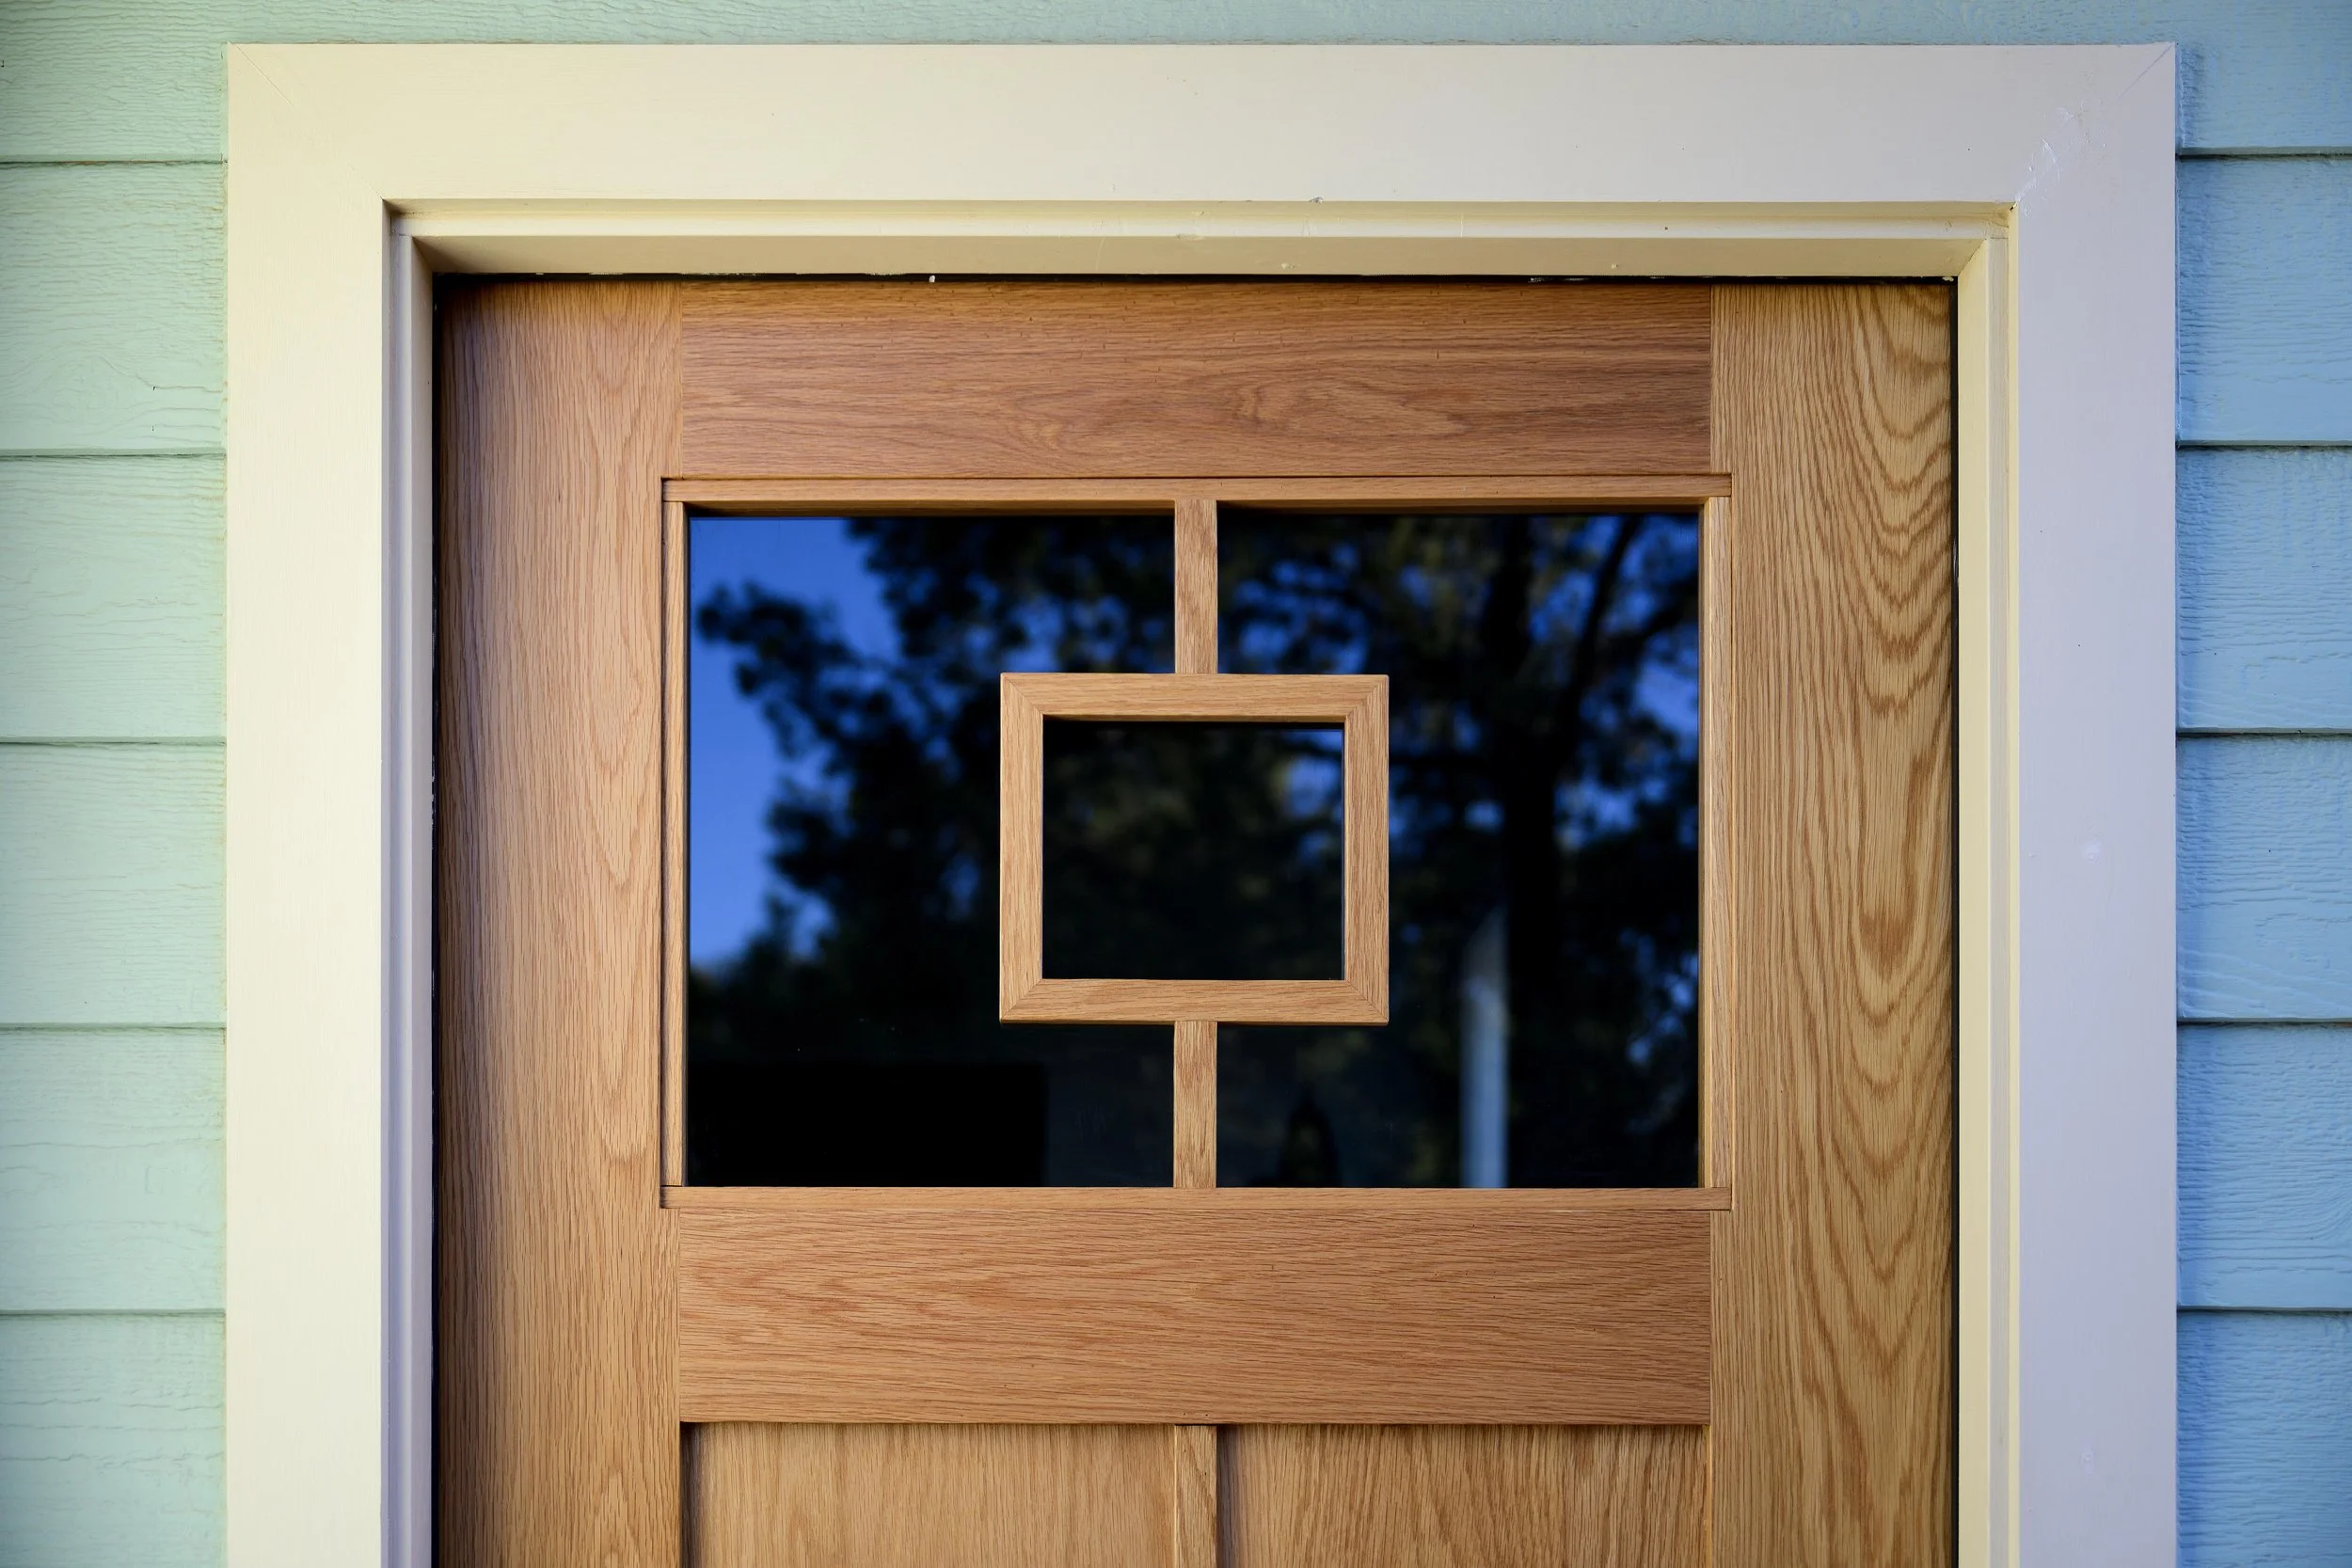
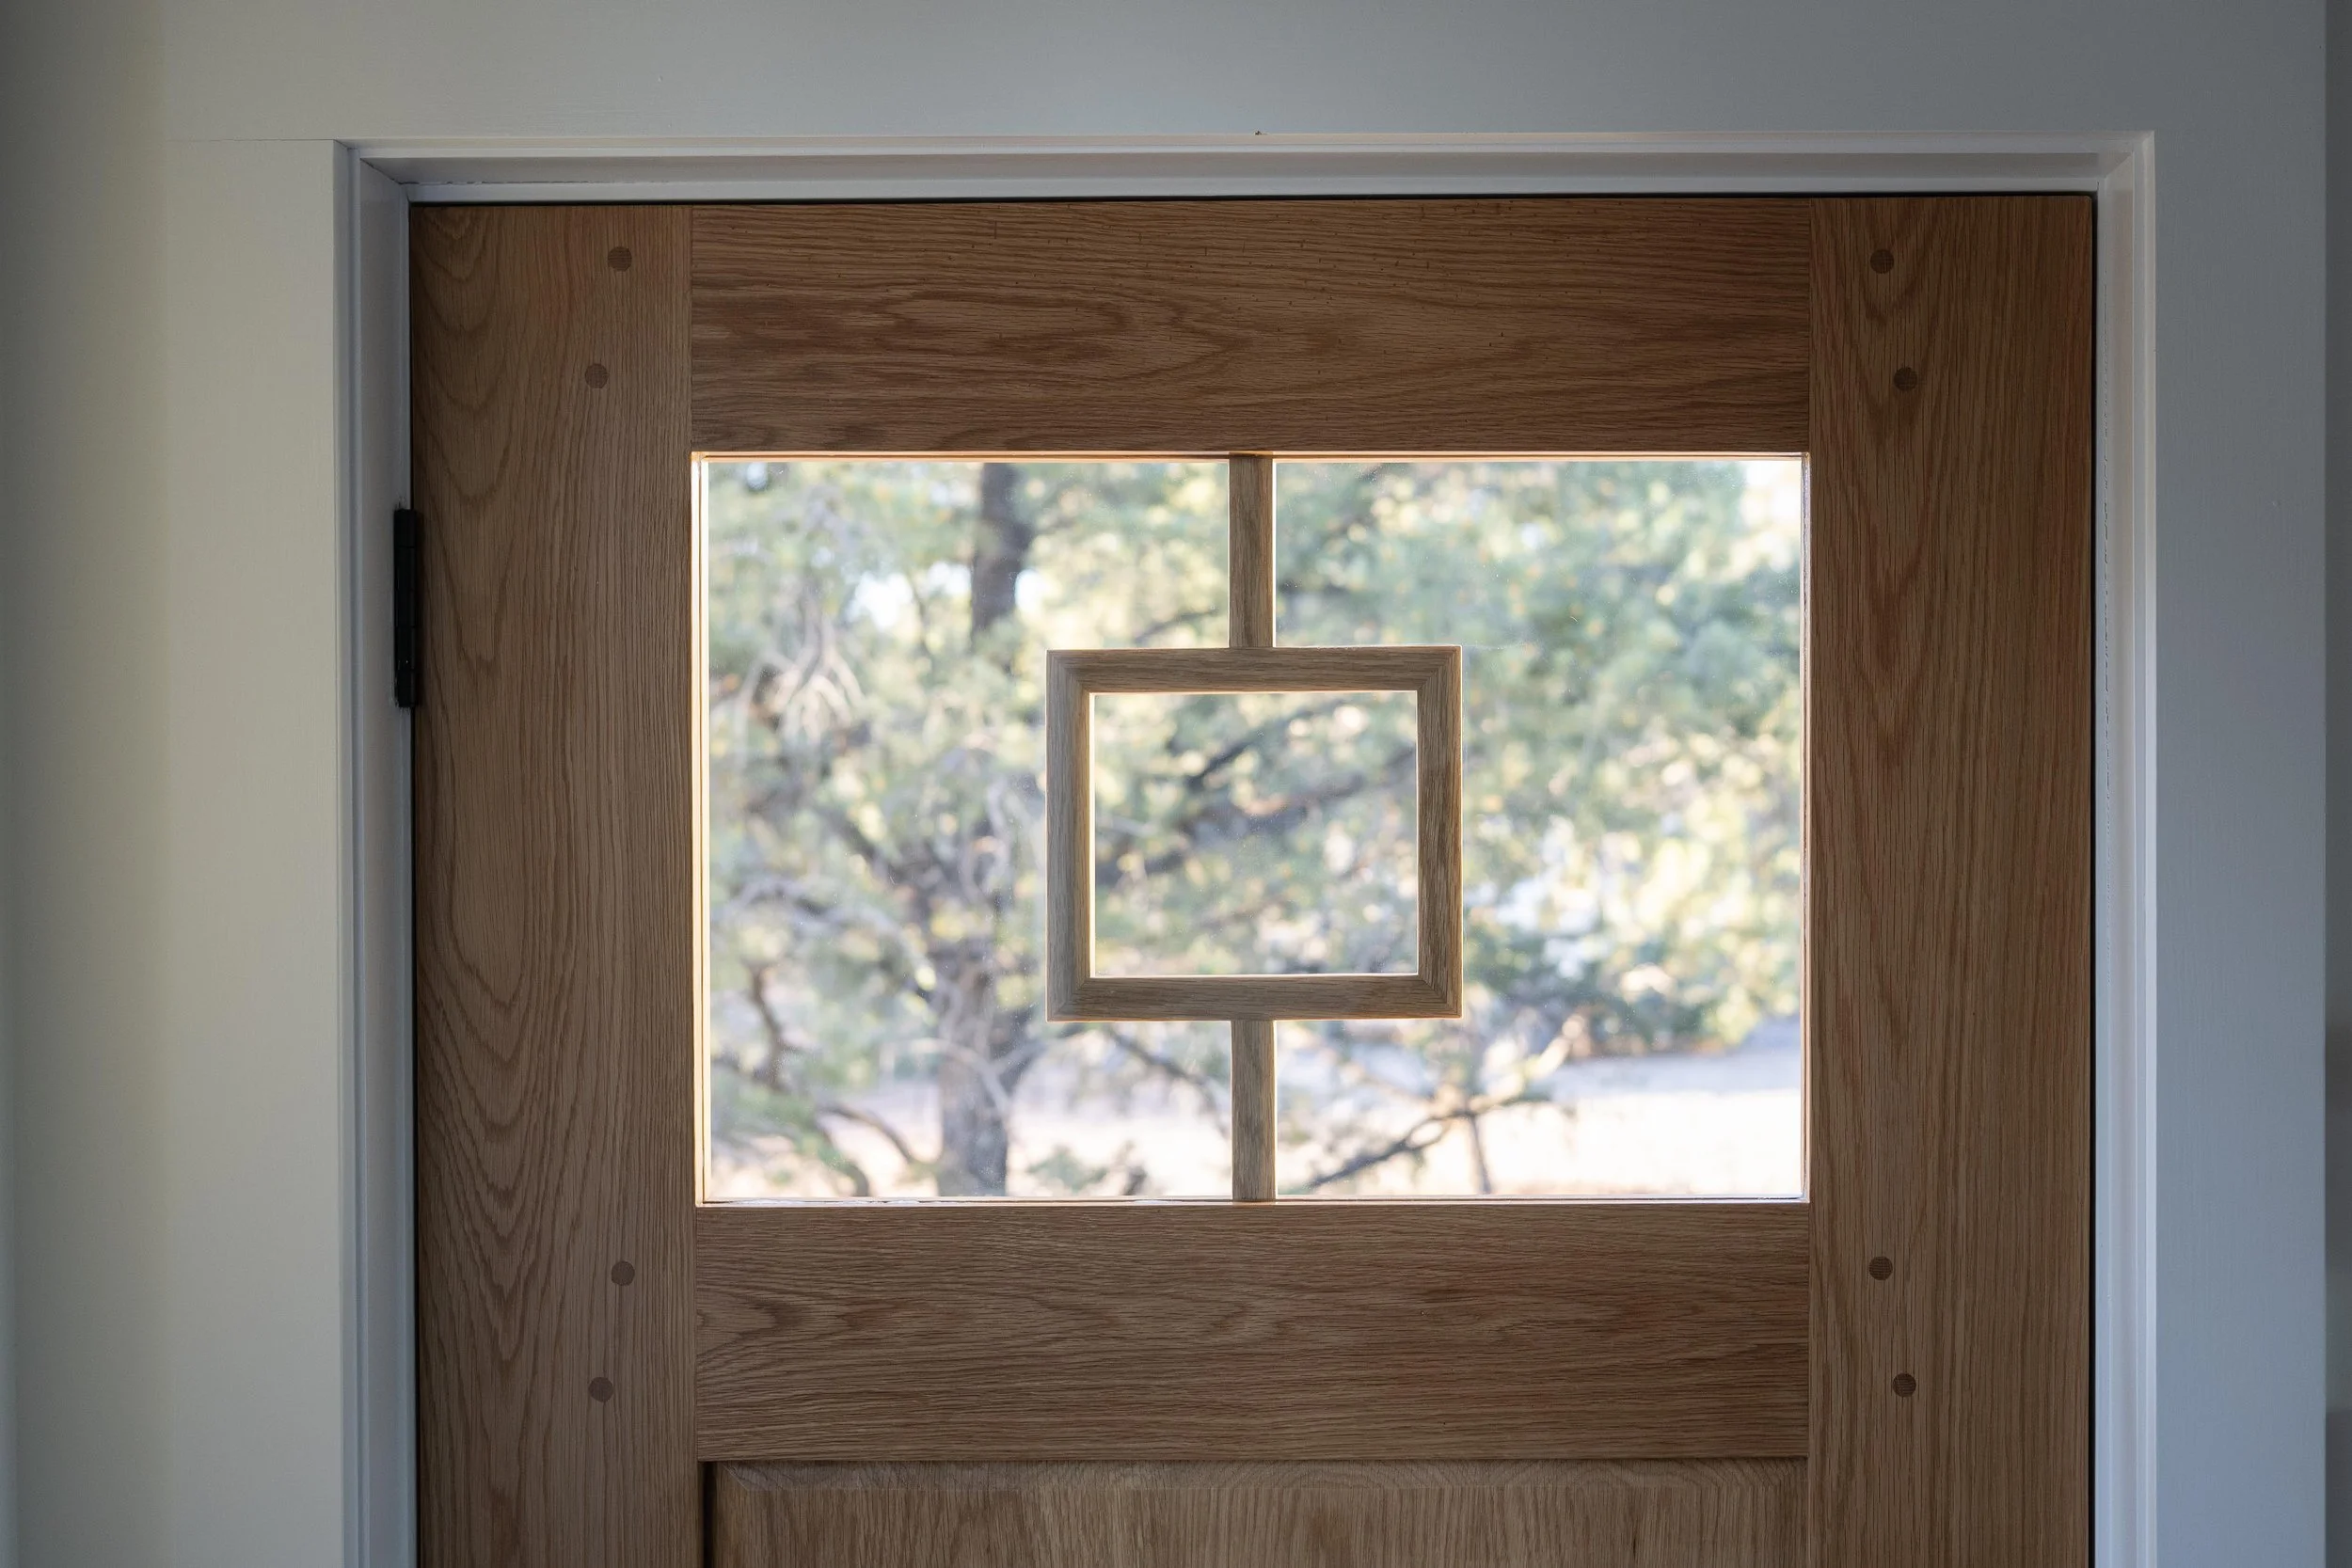
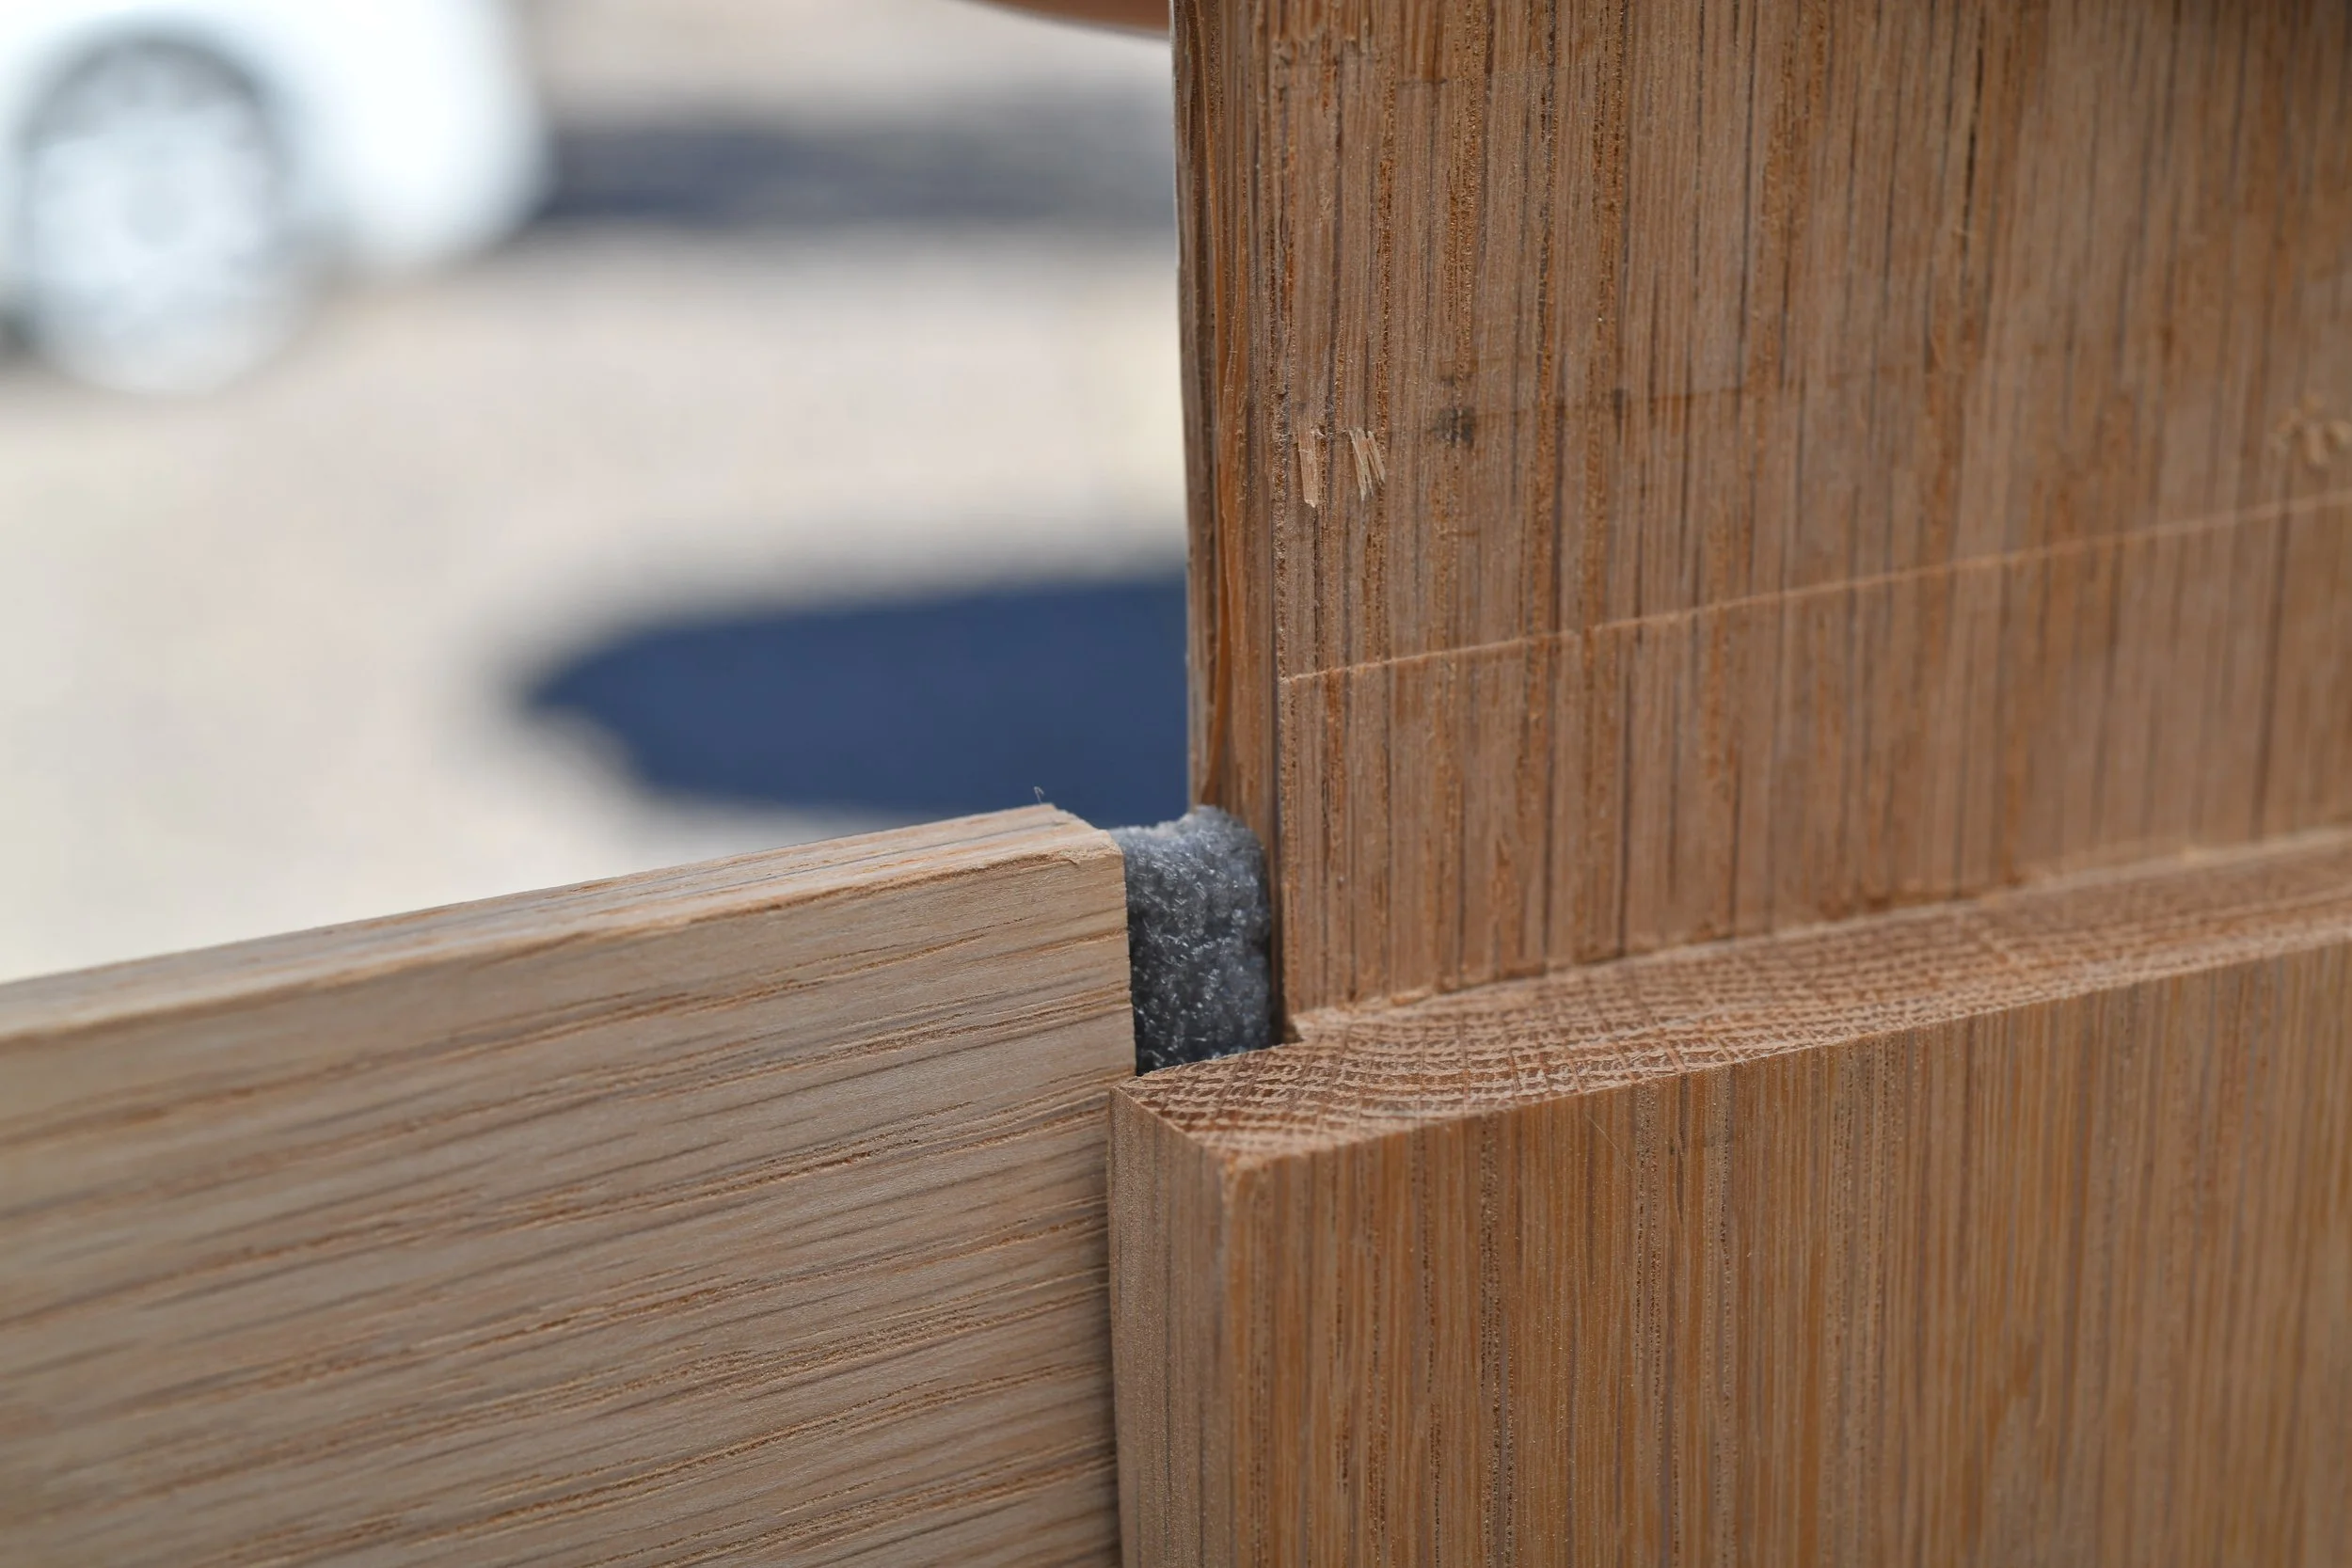
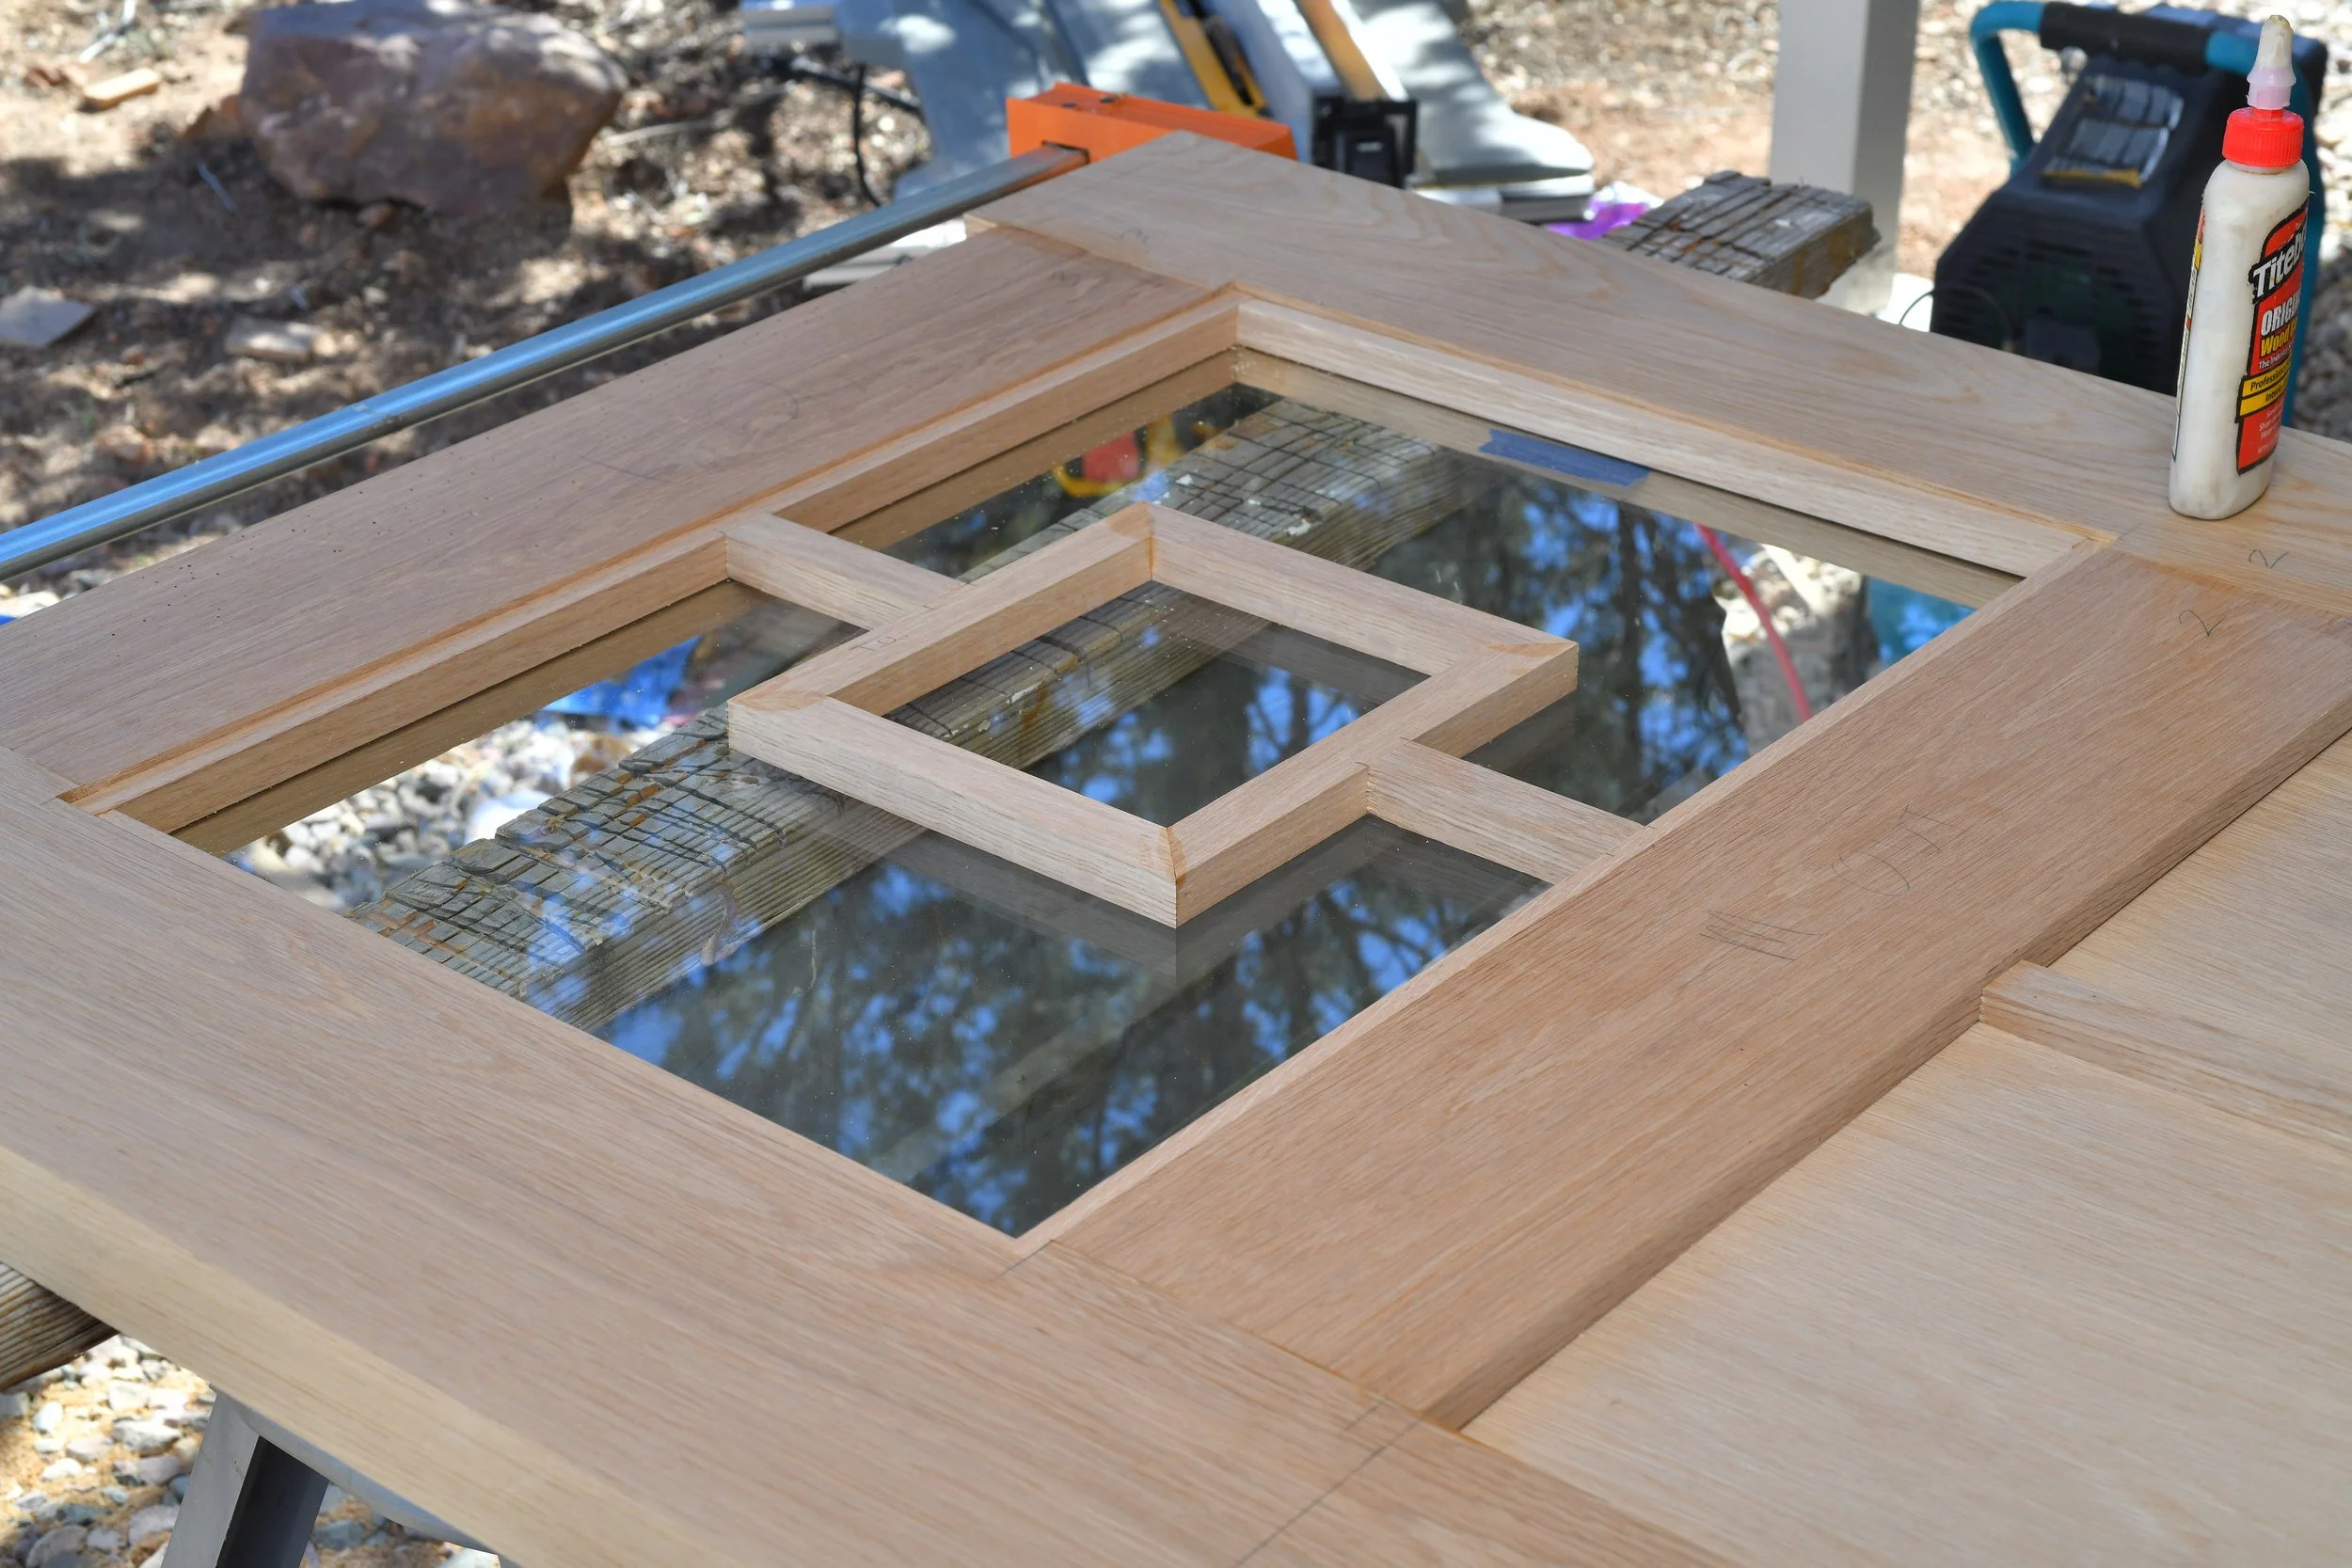
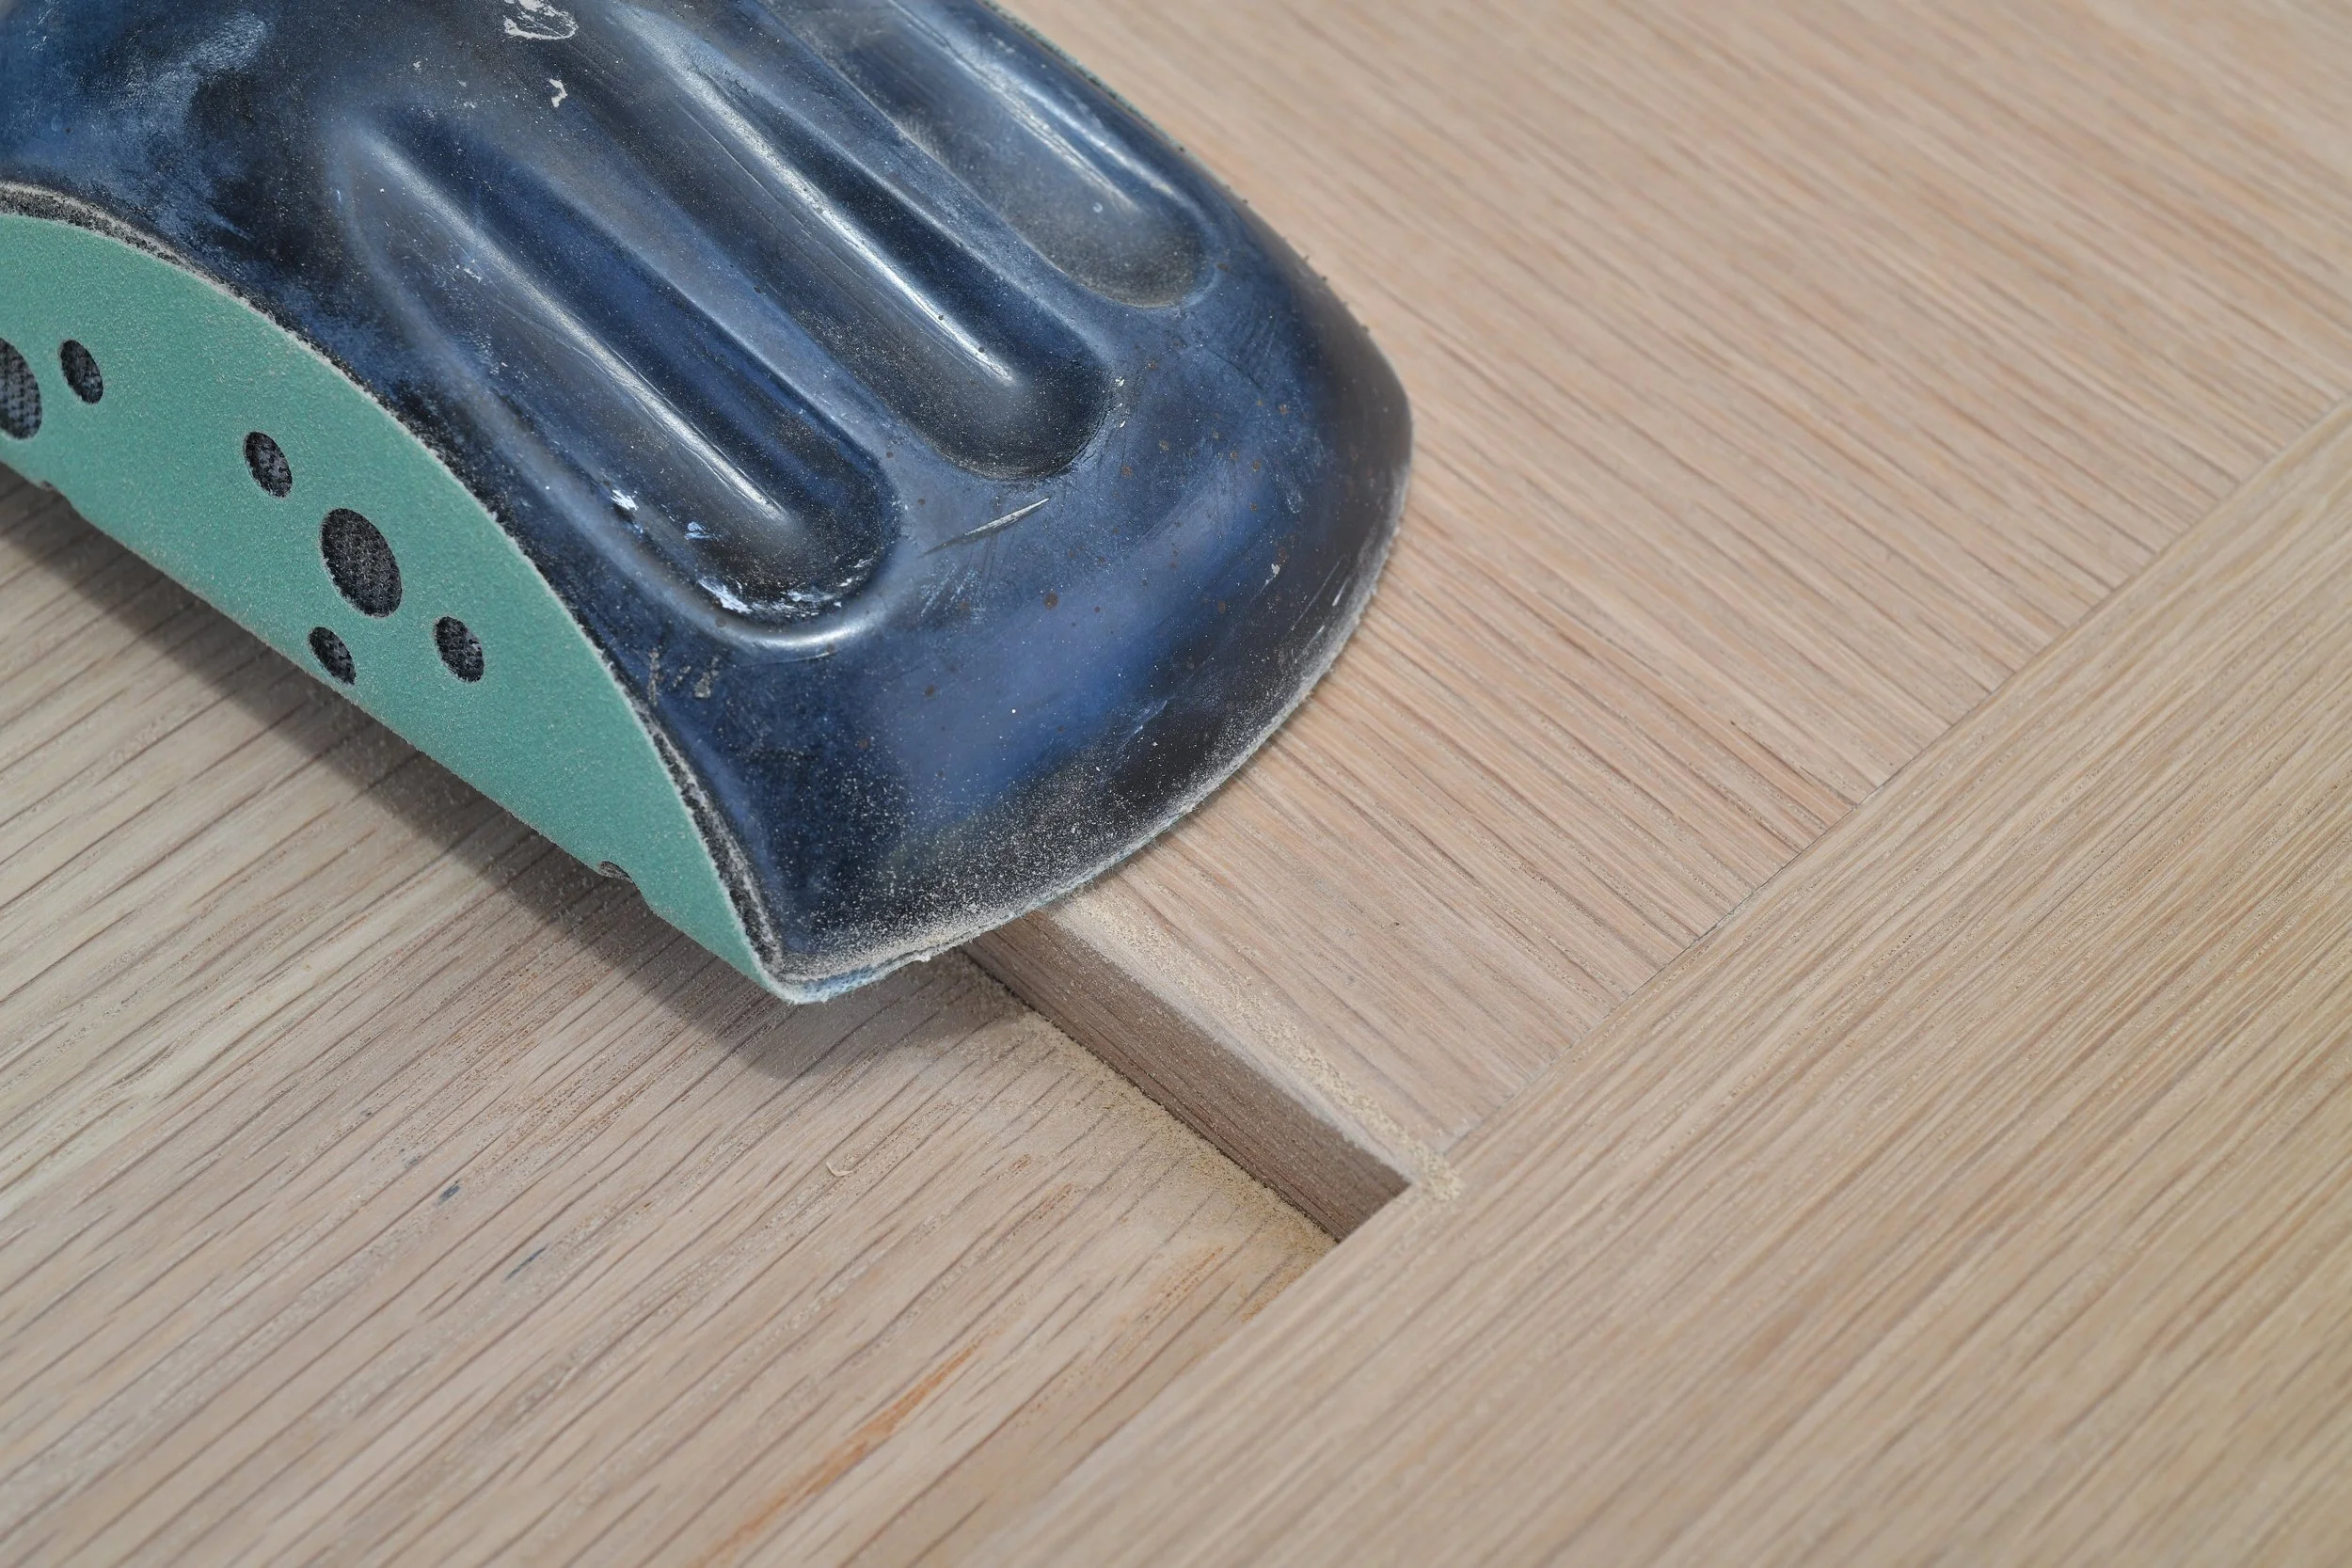
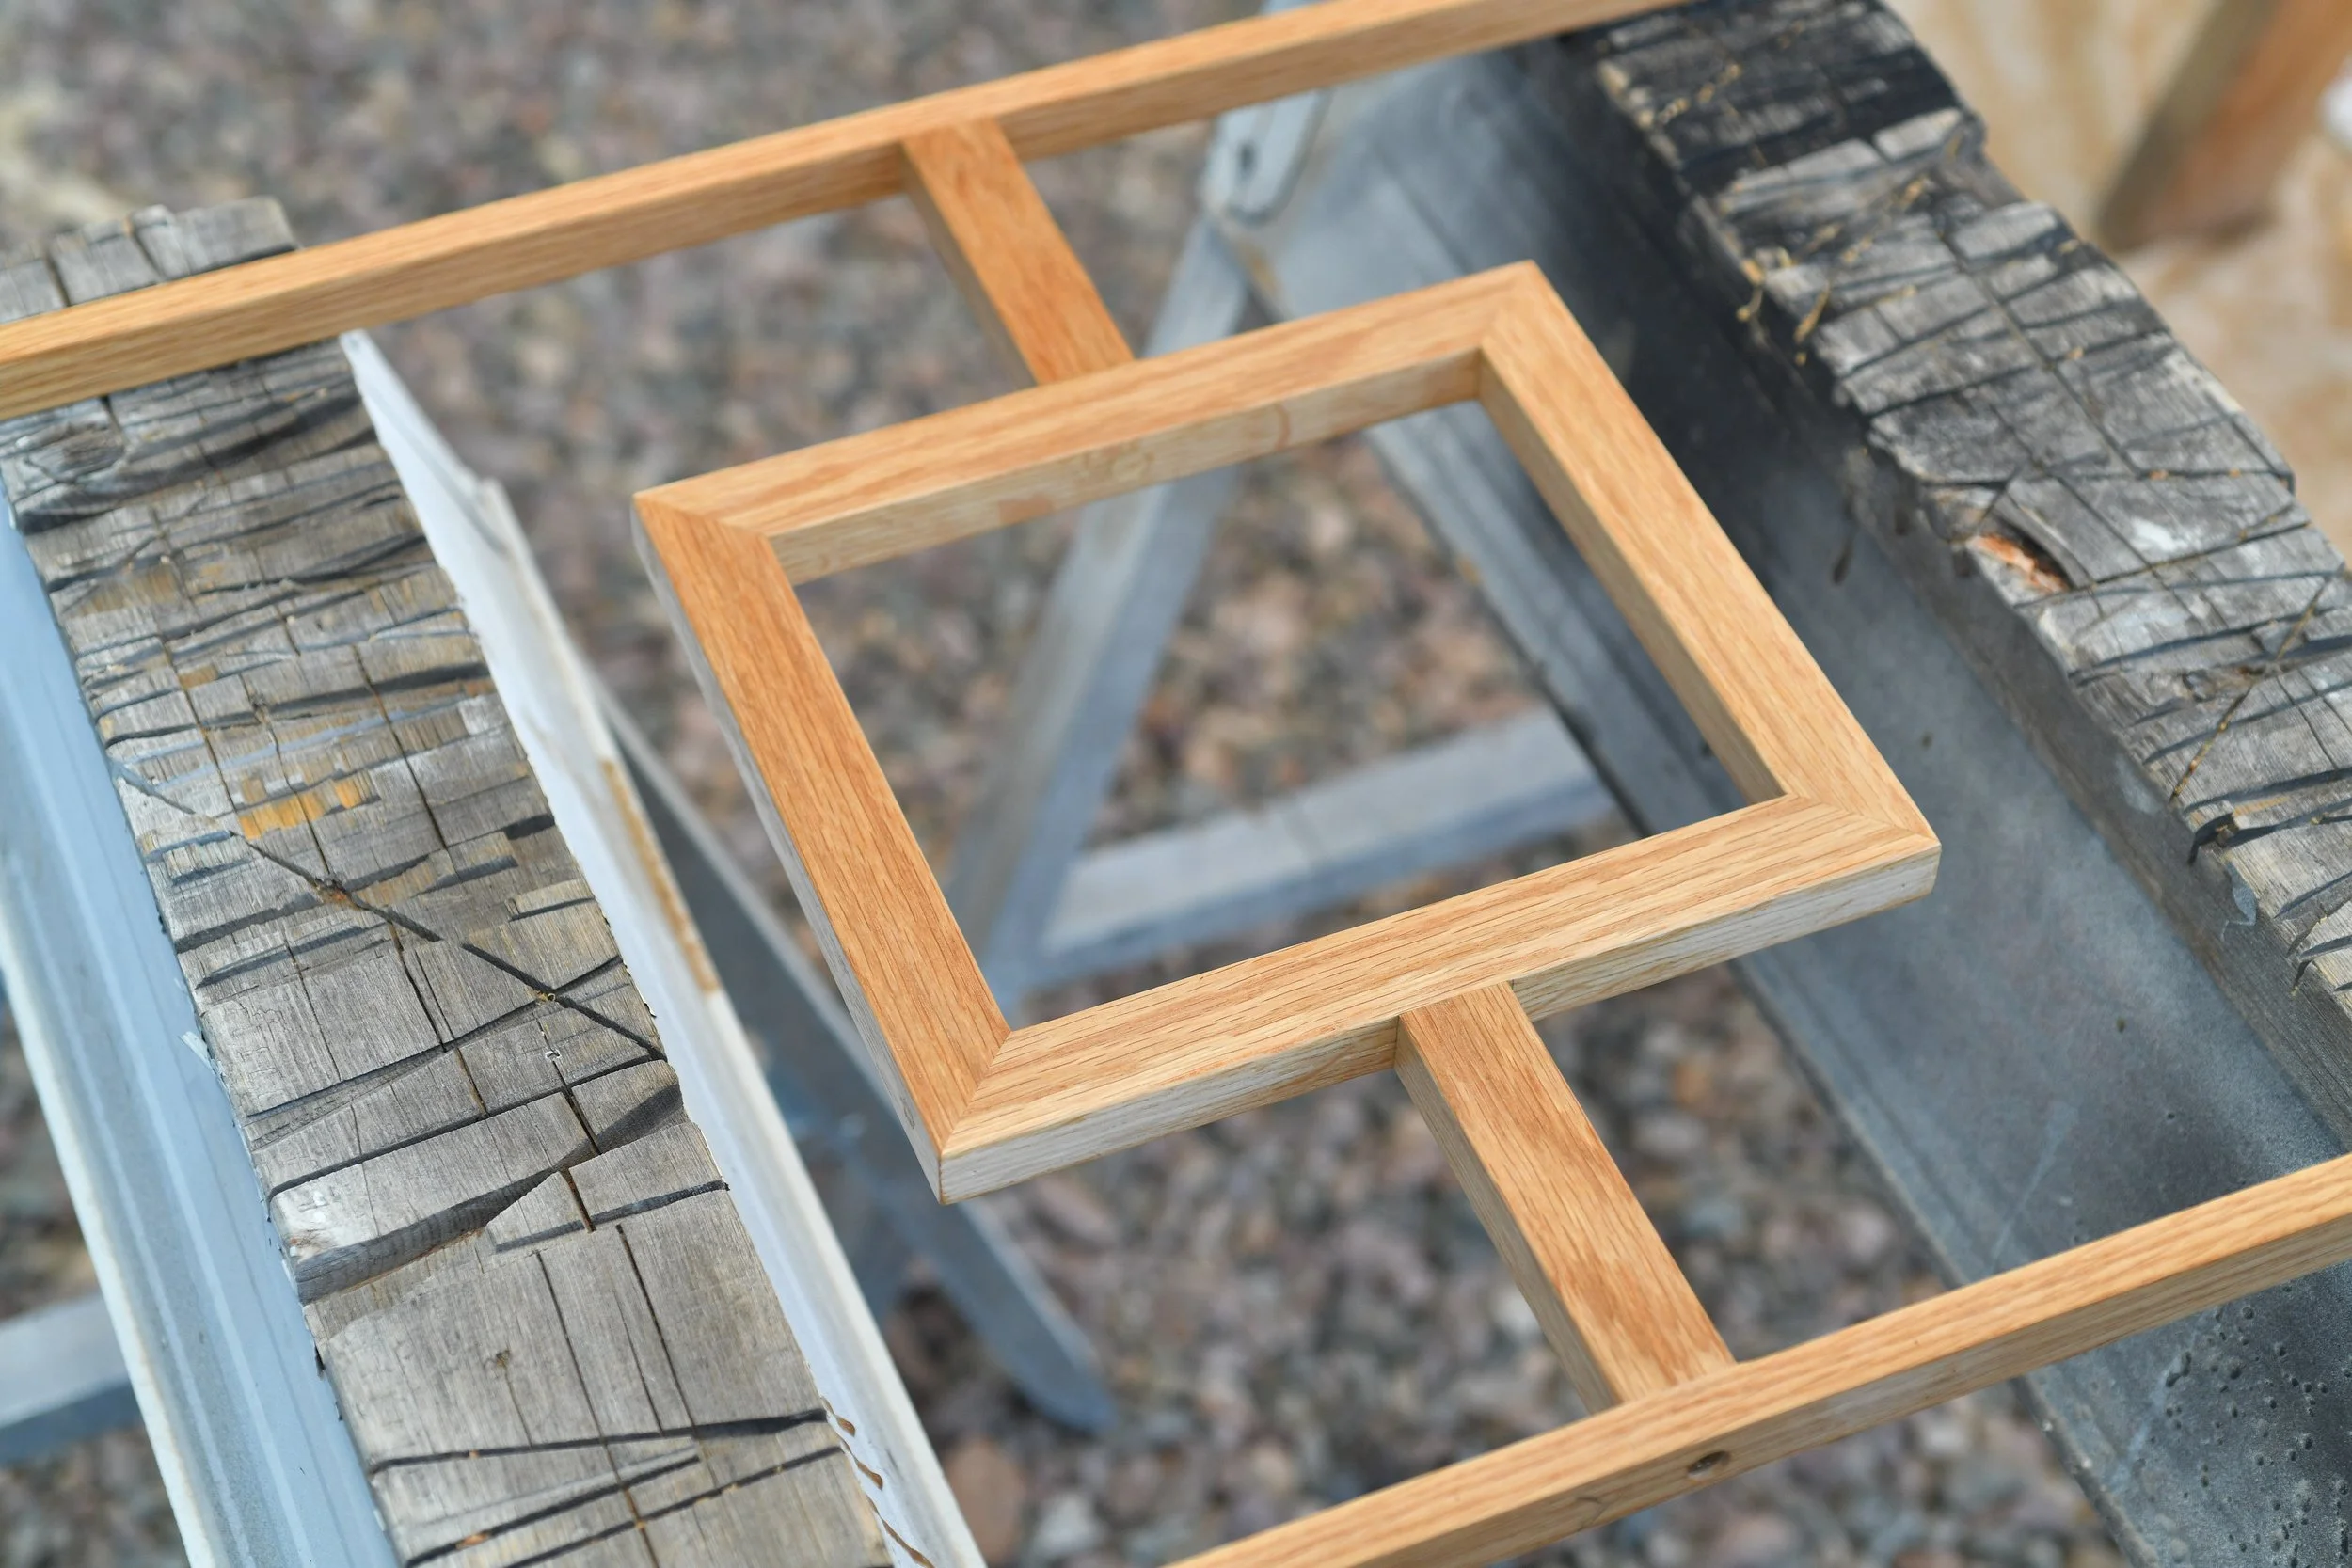
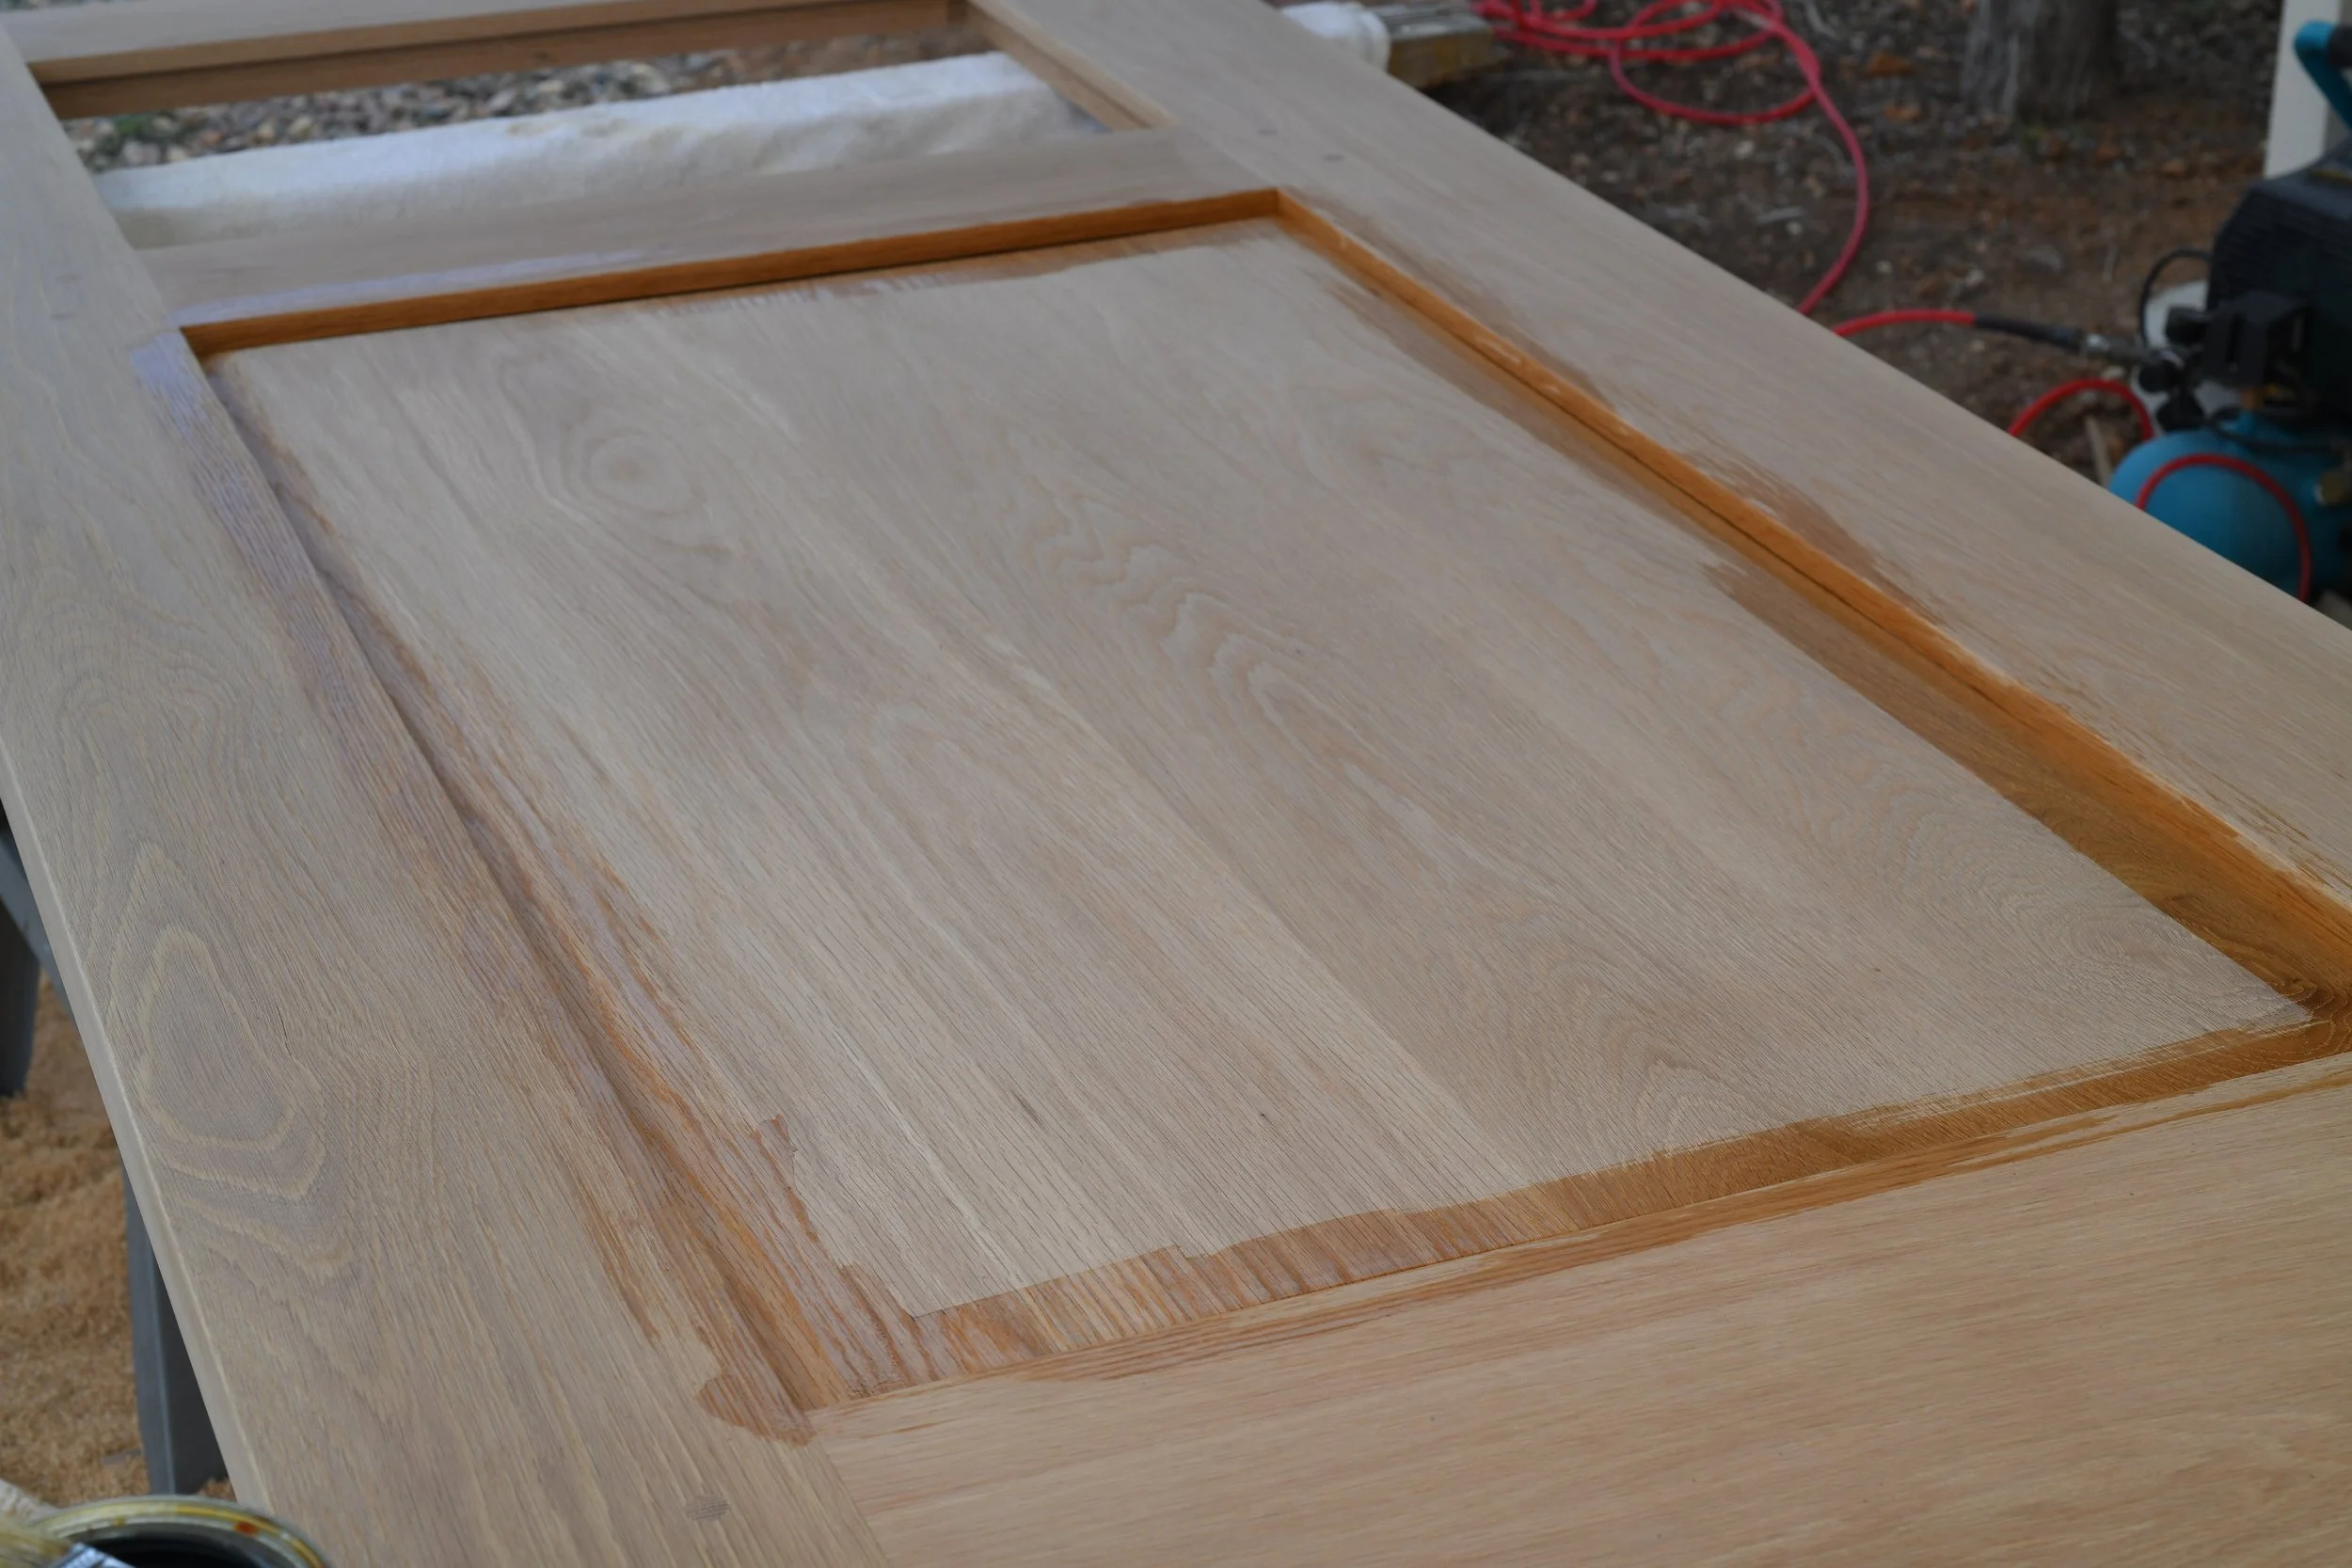
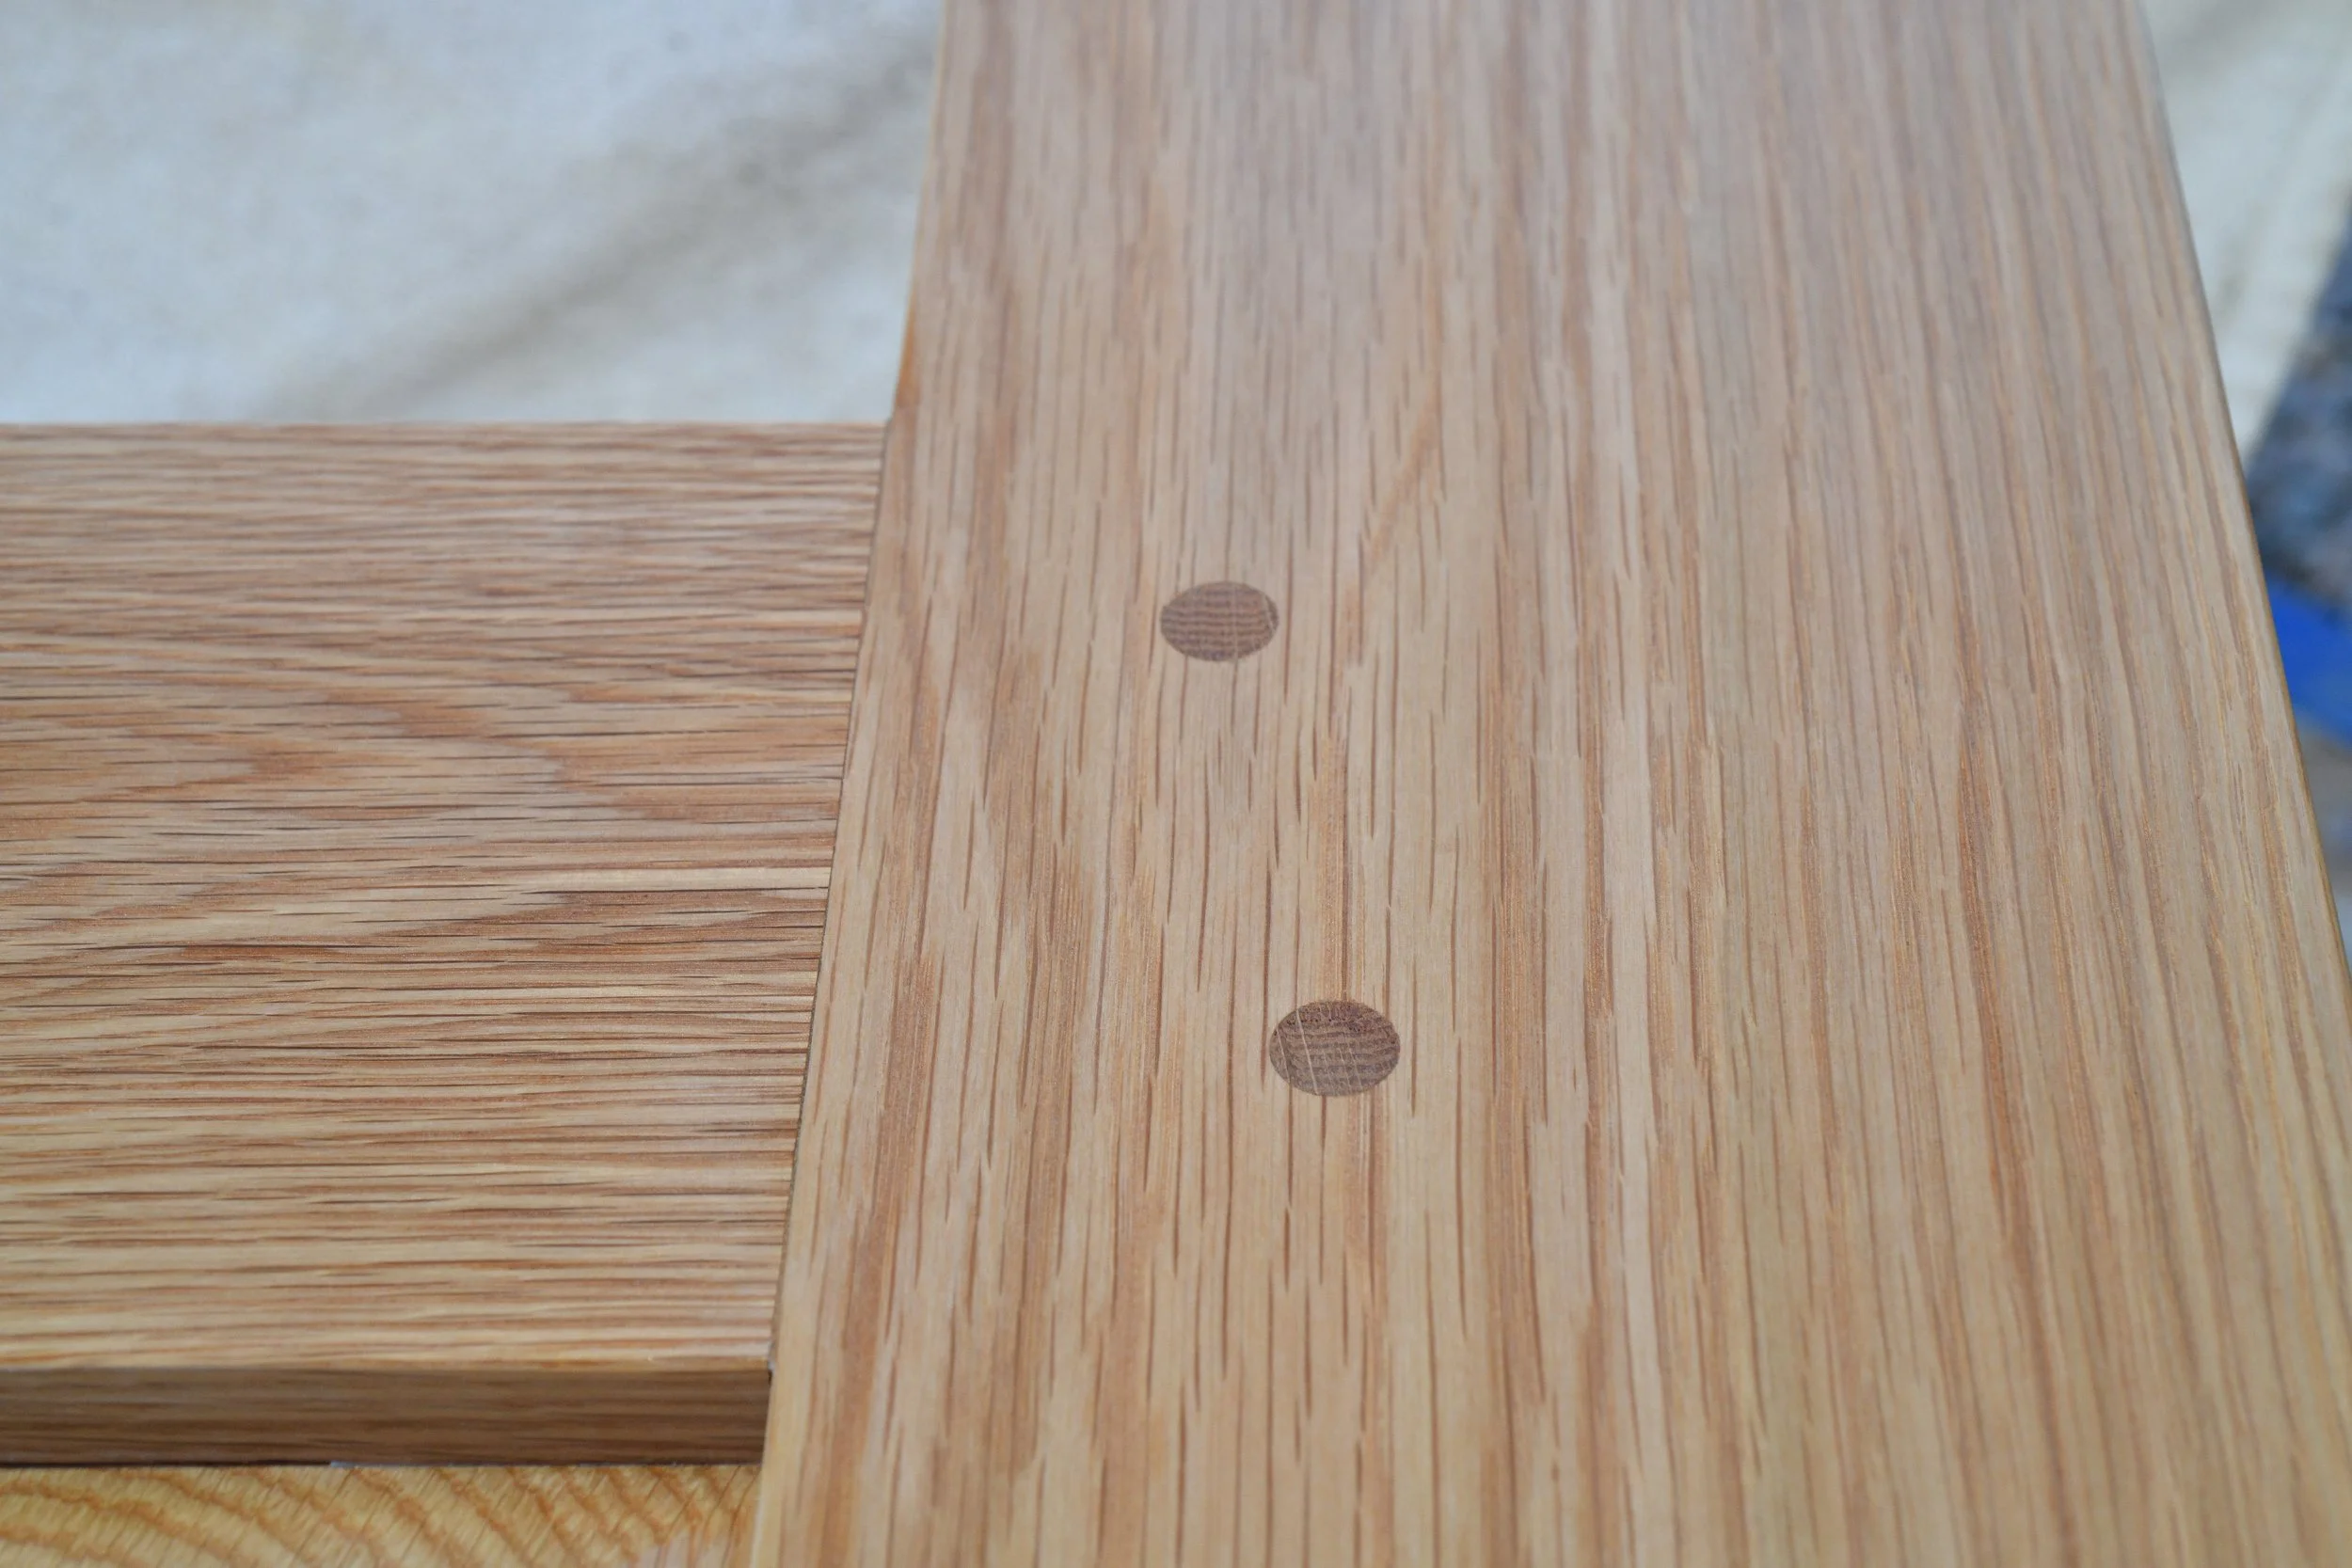
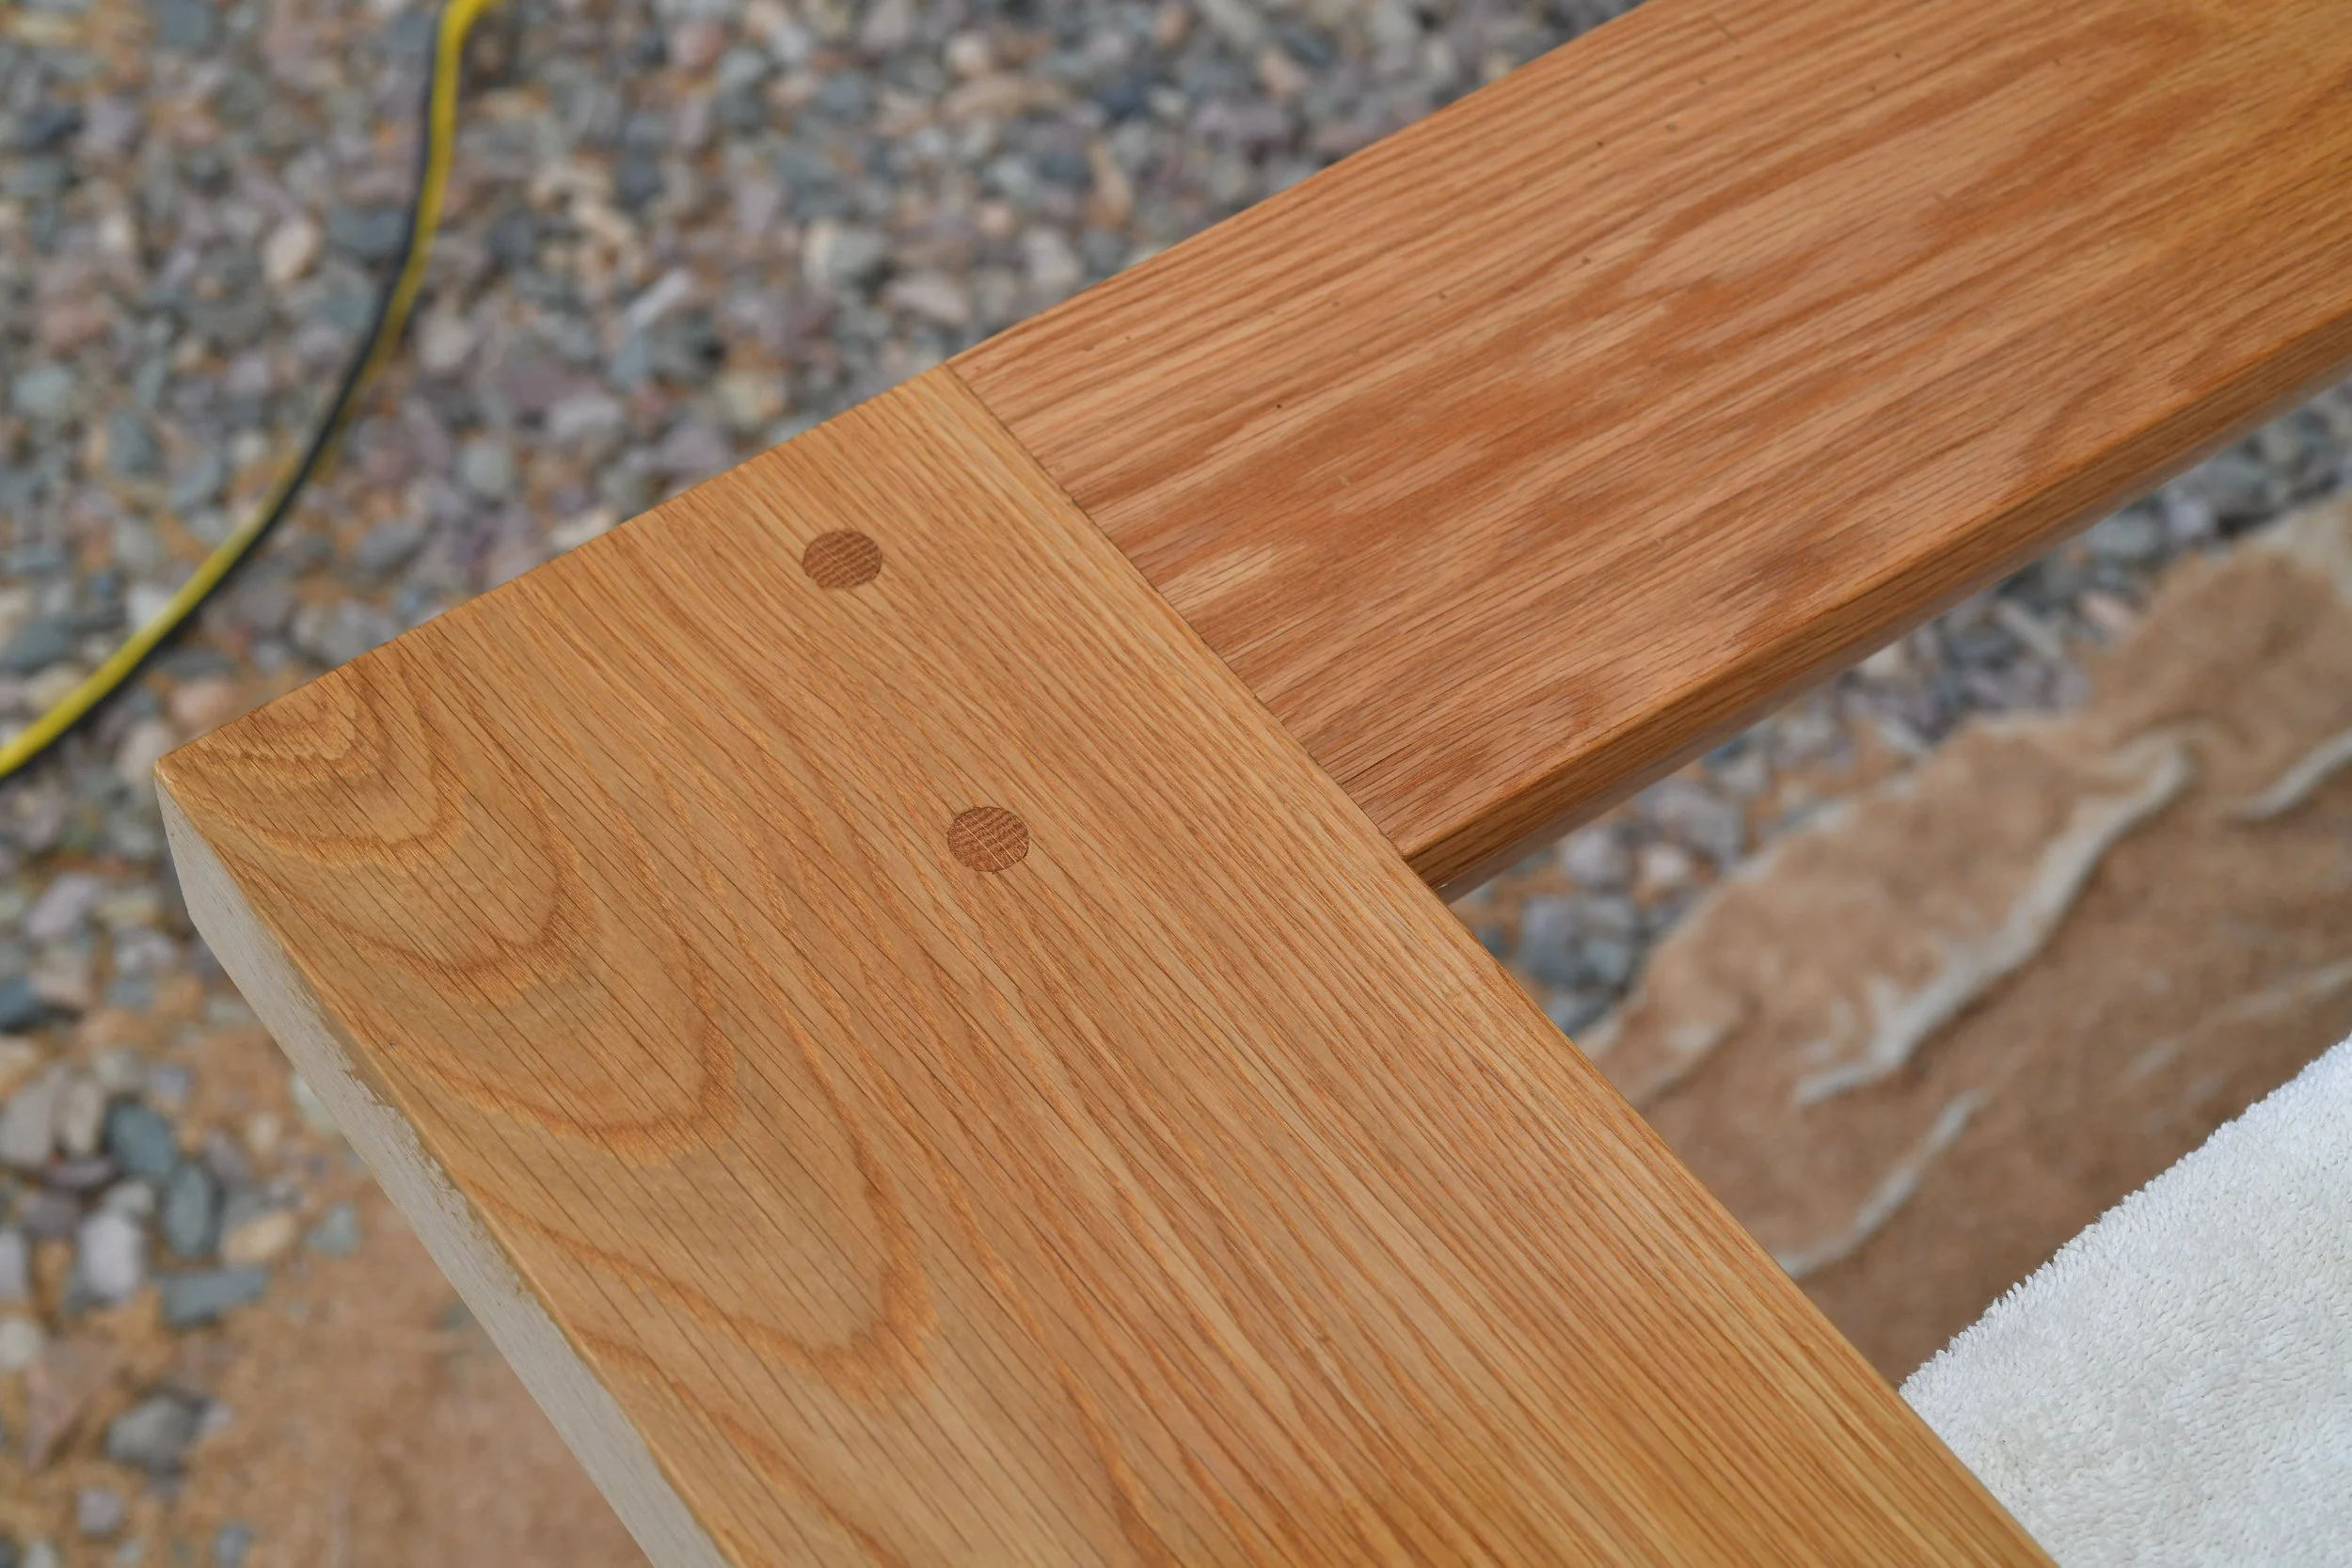
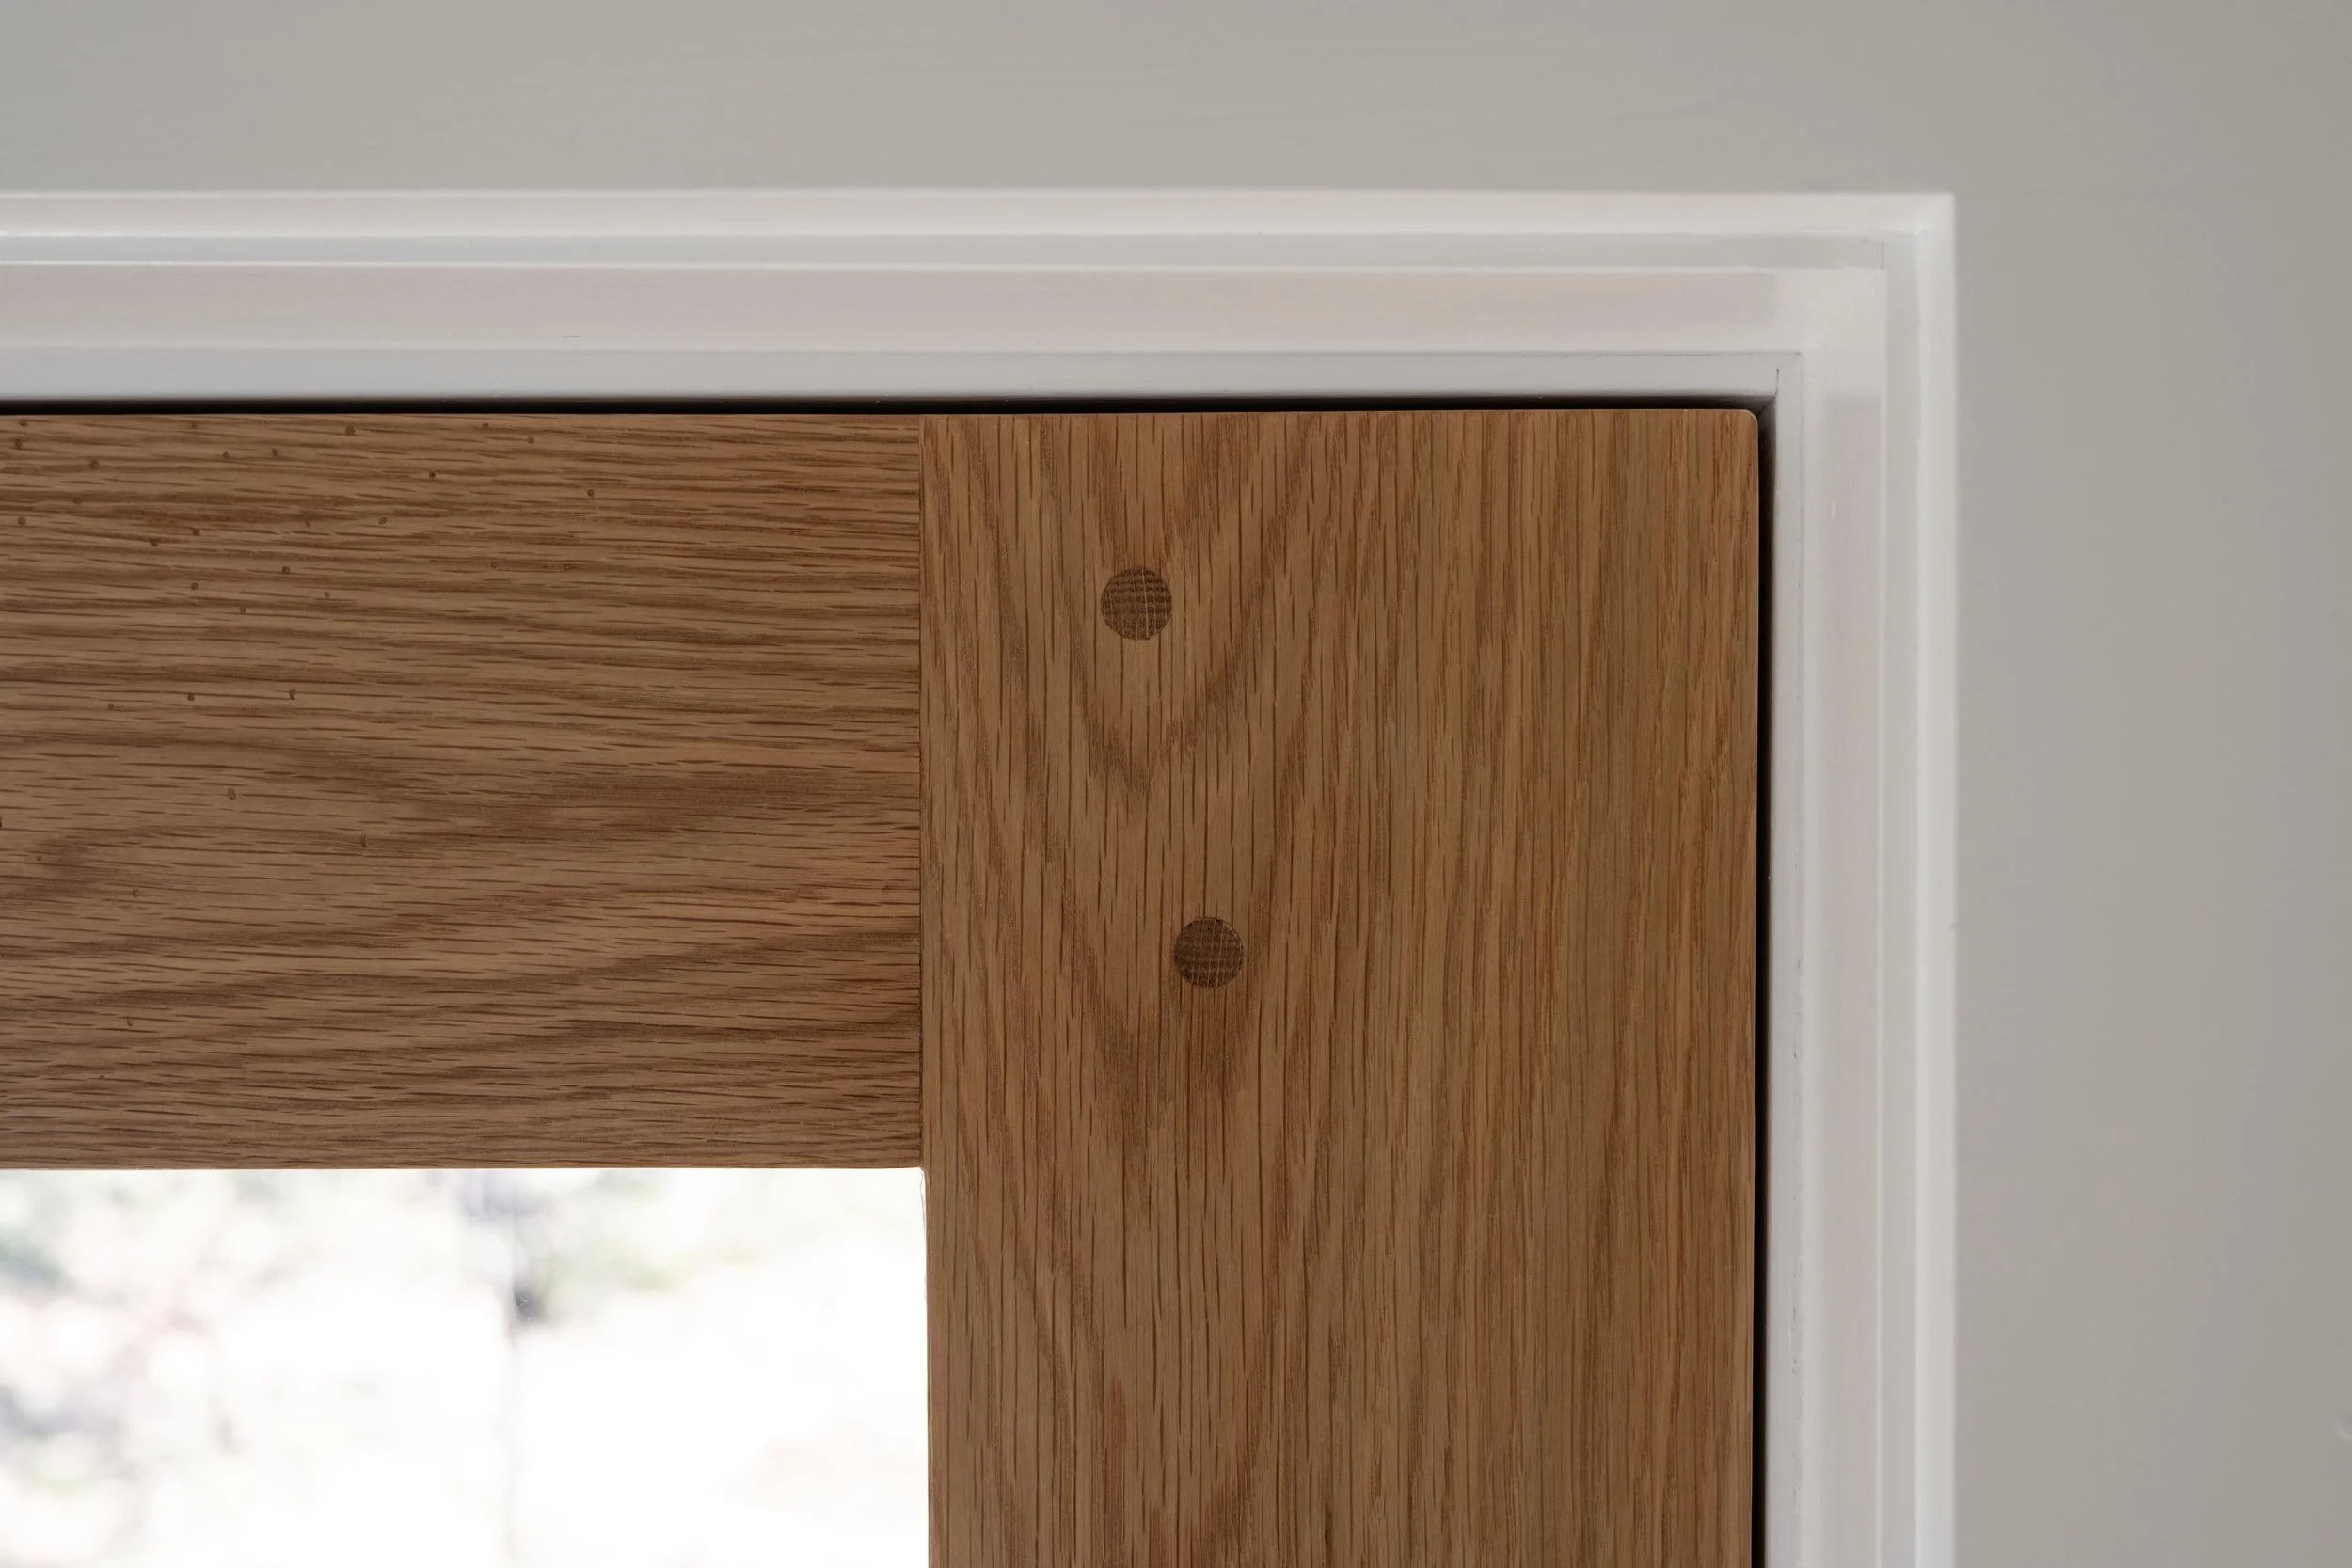
Interior- notice the raised panel and pegs through the tenons
What does it look like?
It looks great, but a better question is how does it feel.
It feels like a solid oak door. Substantial. You can feel the weight when you open and close it — not in a bad way, just in a way that makes you realize how paper thin most entry doors are. It doesn't feel like someone could kick it in. It feels like it'll last.
You're selling the house. How does it feel leaving it behind?
This is the plight of the carpenter. I've spent 20 years building nice things for other people, so it's not a new feeling.
I hope someone else gets to enjoy it. The thing that brings me satisfaction isn't keeping it — it's that it won't get thrown away in two years when someone decides to redo the floors. That's the point of building something right.
My wife and family will be more upset about leaving it than I am.
Hopefully I get to build a nicer one wherever we land next.
How long did the whole project take, start to finish?
About two and a half weeks — and that includes the drive to Phoenix and back, time between finish coats, and the reality that I'm a dad with a job. Not bad.
It might have been a little faster in an indoor shop, but the weather in Prescott is cooperative and the low humidity meant I didn't have to worry much about acclimating materials or controlling the environment.
How is it holding up? Any movement, any finish issues?
Finish first. I was applying finish outside, which means I wasn't controlling humidity, temperature, or dust. Those are variables you can manage in a shop and can't fully manage outside. So yes, there's a little dust and maybe some pollen in the finish if you look close enough. Nobody's going to notice. Move on.
Movement — yes, in the lower panel. I used a single solid piece for that panel, which I mentioned I'd do differently. But I accounted for it going in. In my climate, I knew that panel was going to shrink, so when I sized it I made it about an eighth tighter than I normally would. I got an immediate 1/16 to 1/8 reduction in the first couple of months, right on schedule. Planned for, not a problem.
Other than that, it's holding up fine.
Final cost : how did the estimate hold up?
In the first post I estimated $650–700 in materials. Here's where it actually landed:
Lumber: ~$550Glass (¼" cut to size): $52
Door knob boring jig: $14
Three 4" square black hinges: $35
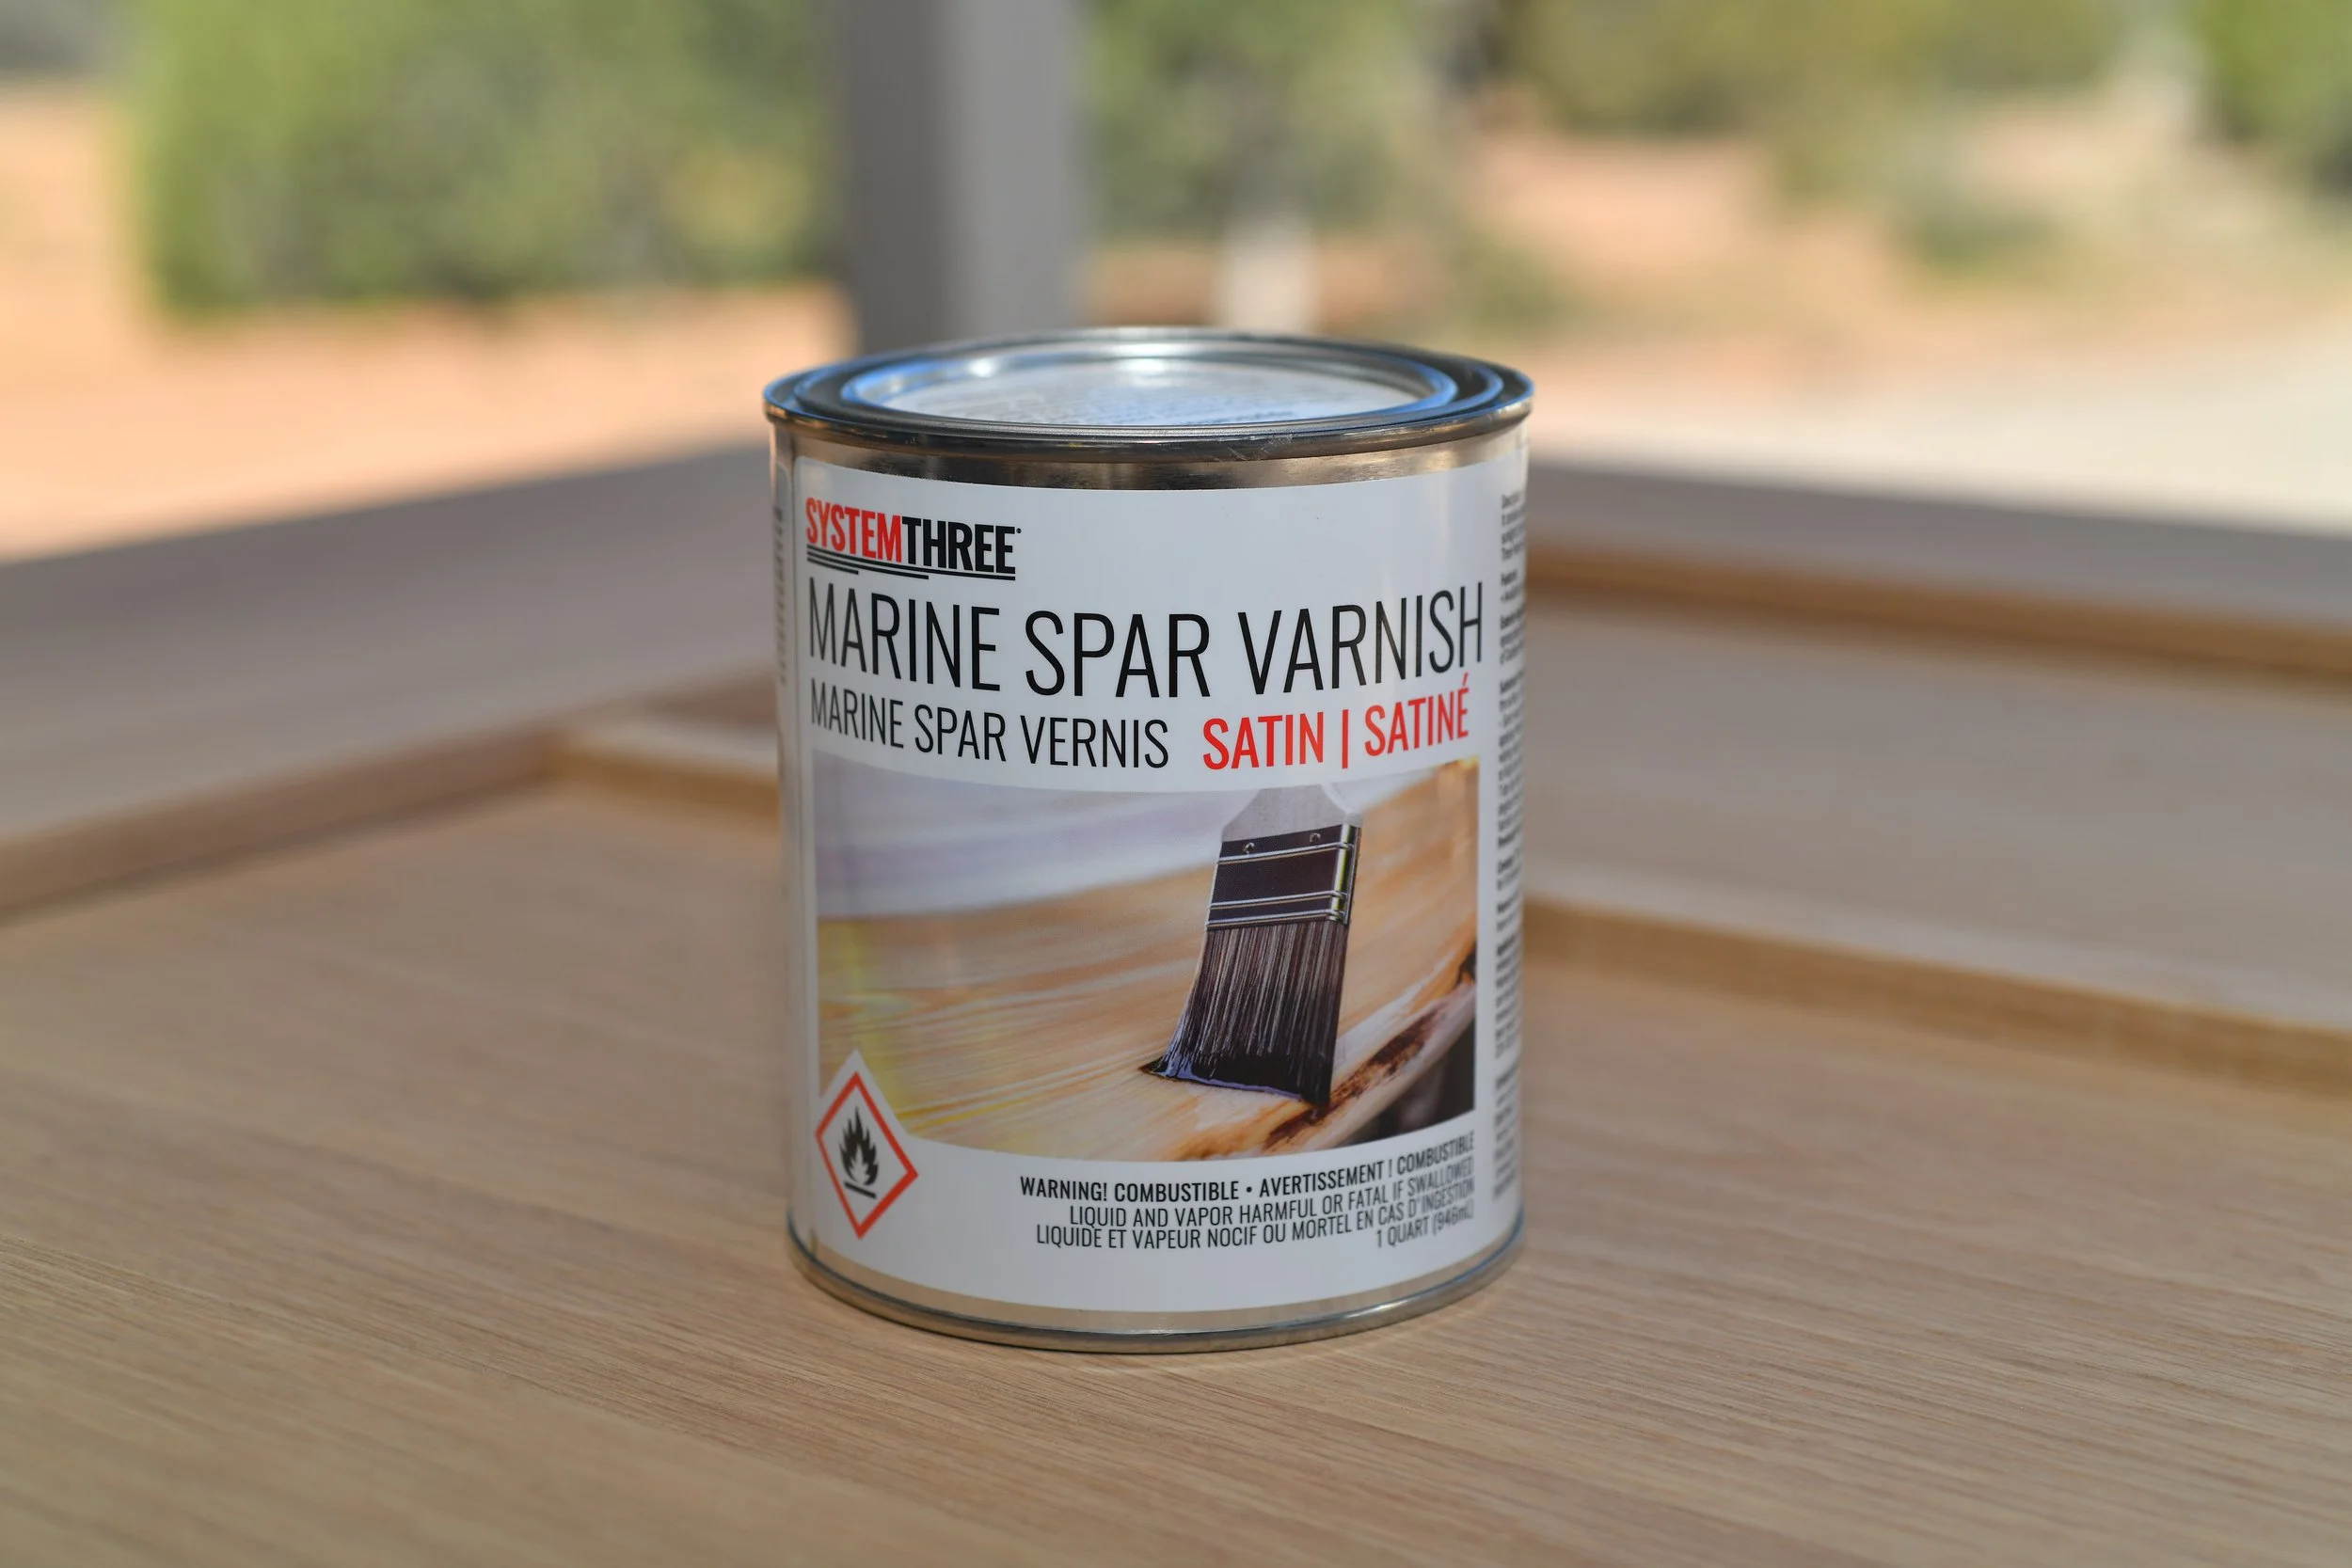
System Three marine spar varnish (exterior): $55
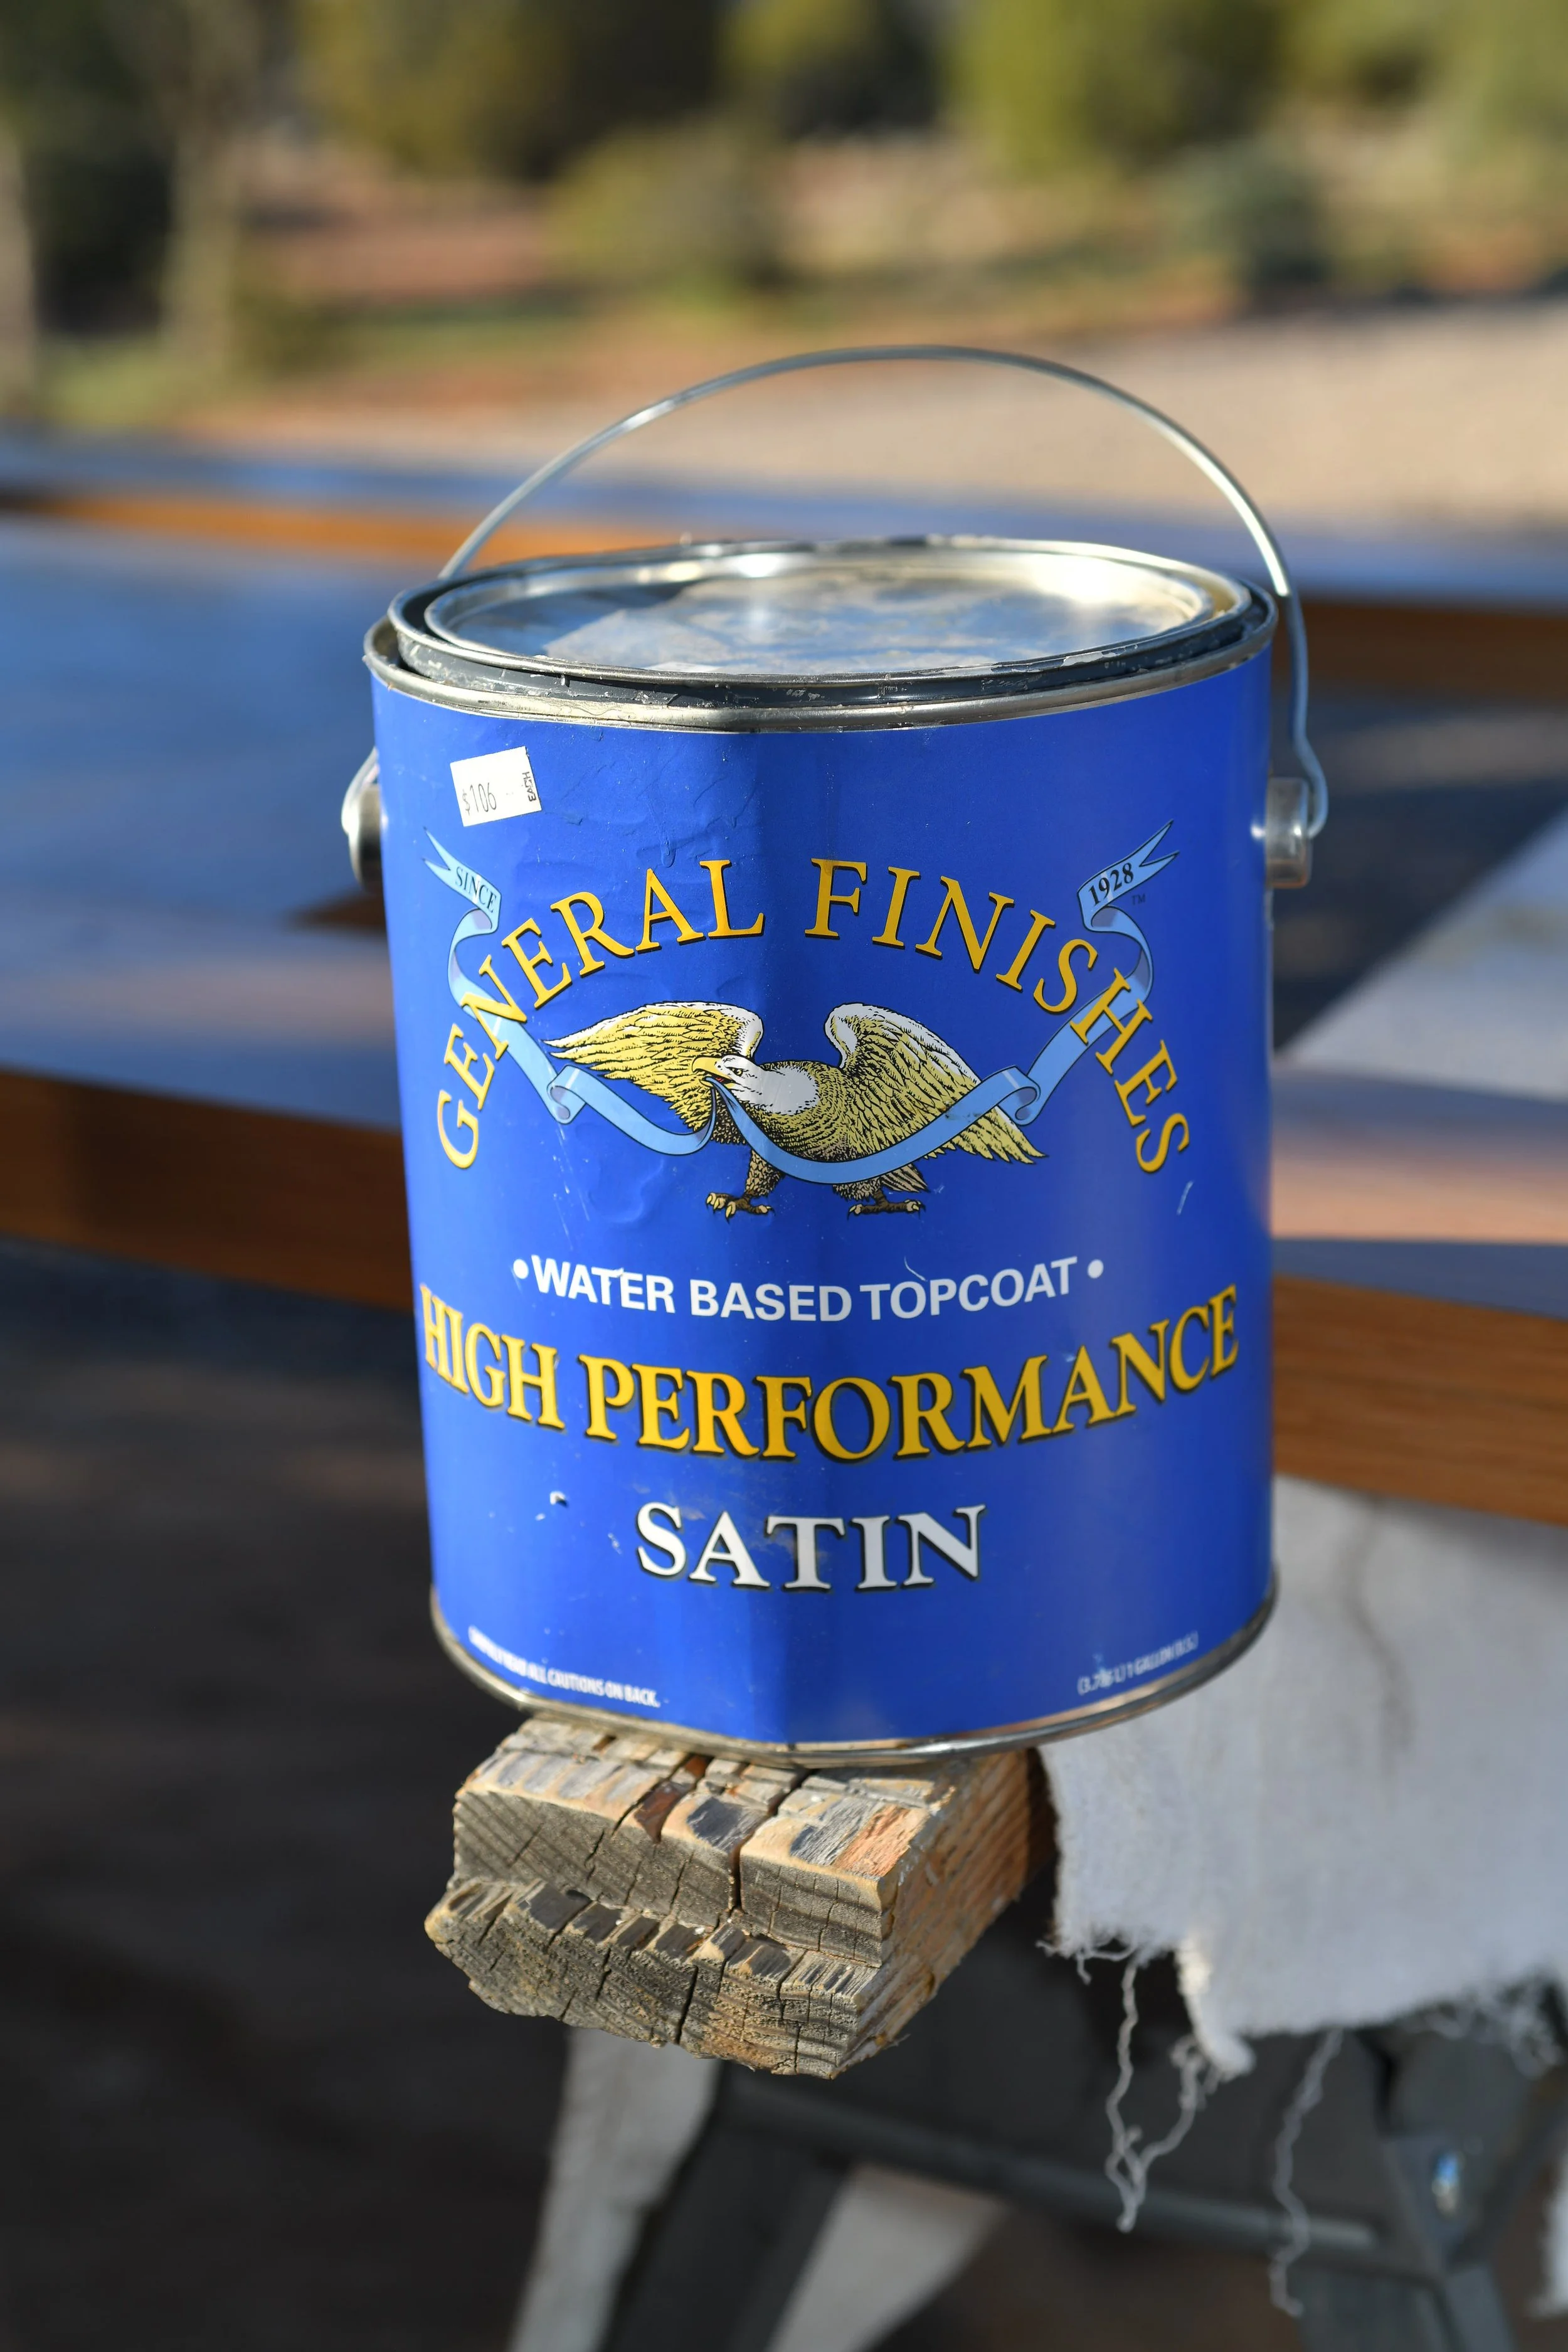
General Finishes water-based poly, 1 gallon (interior): $110
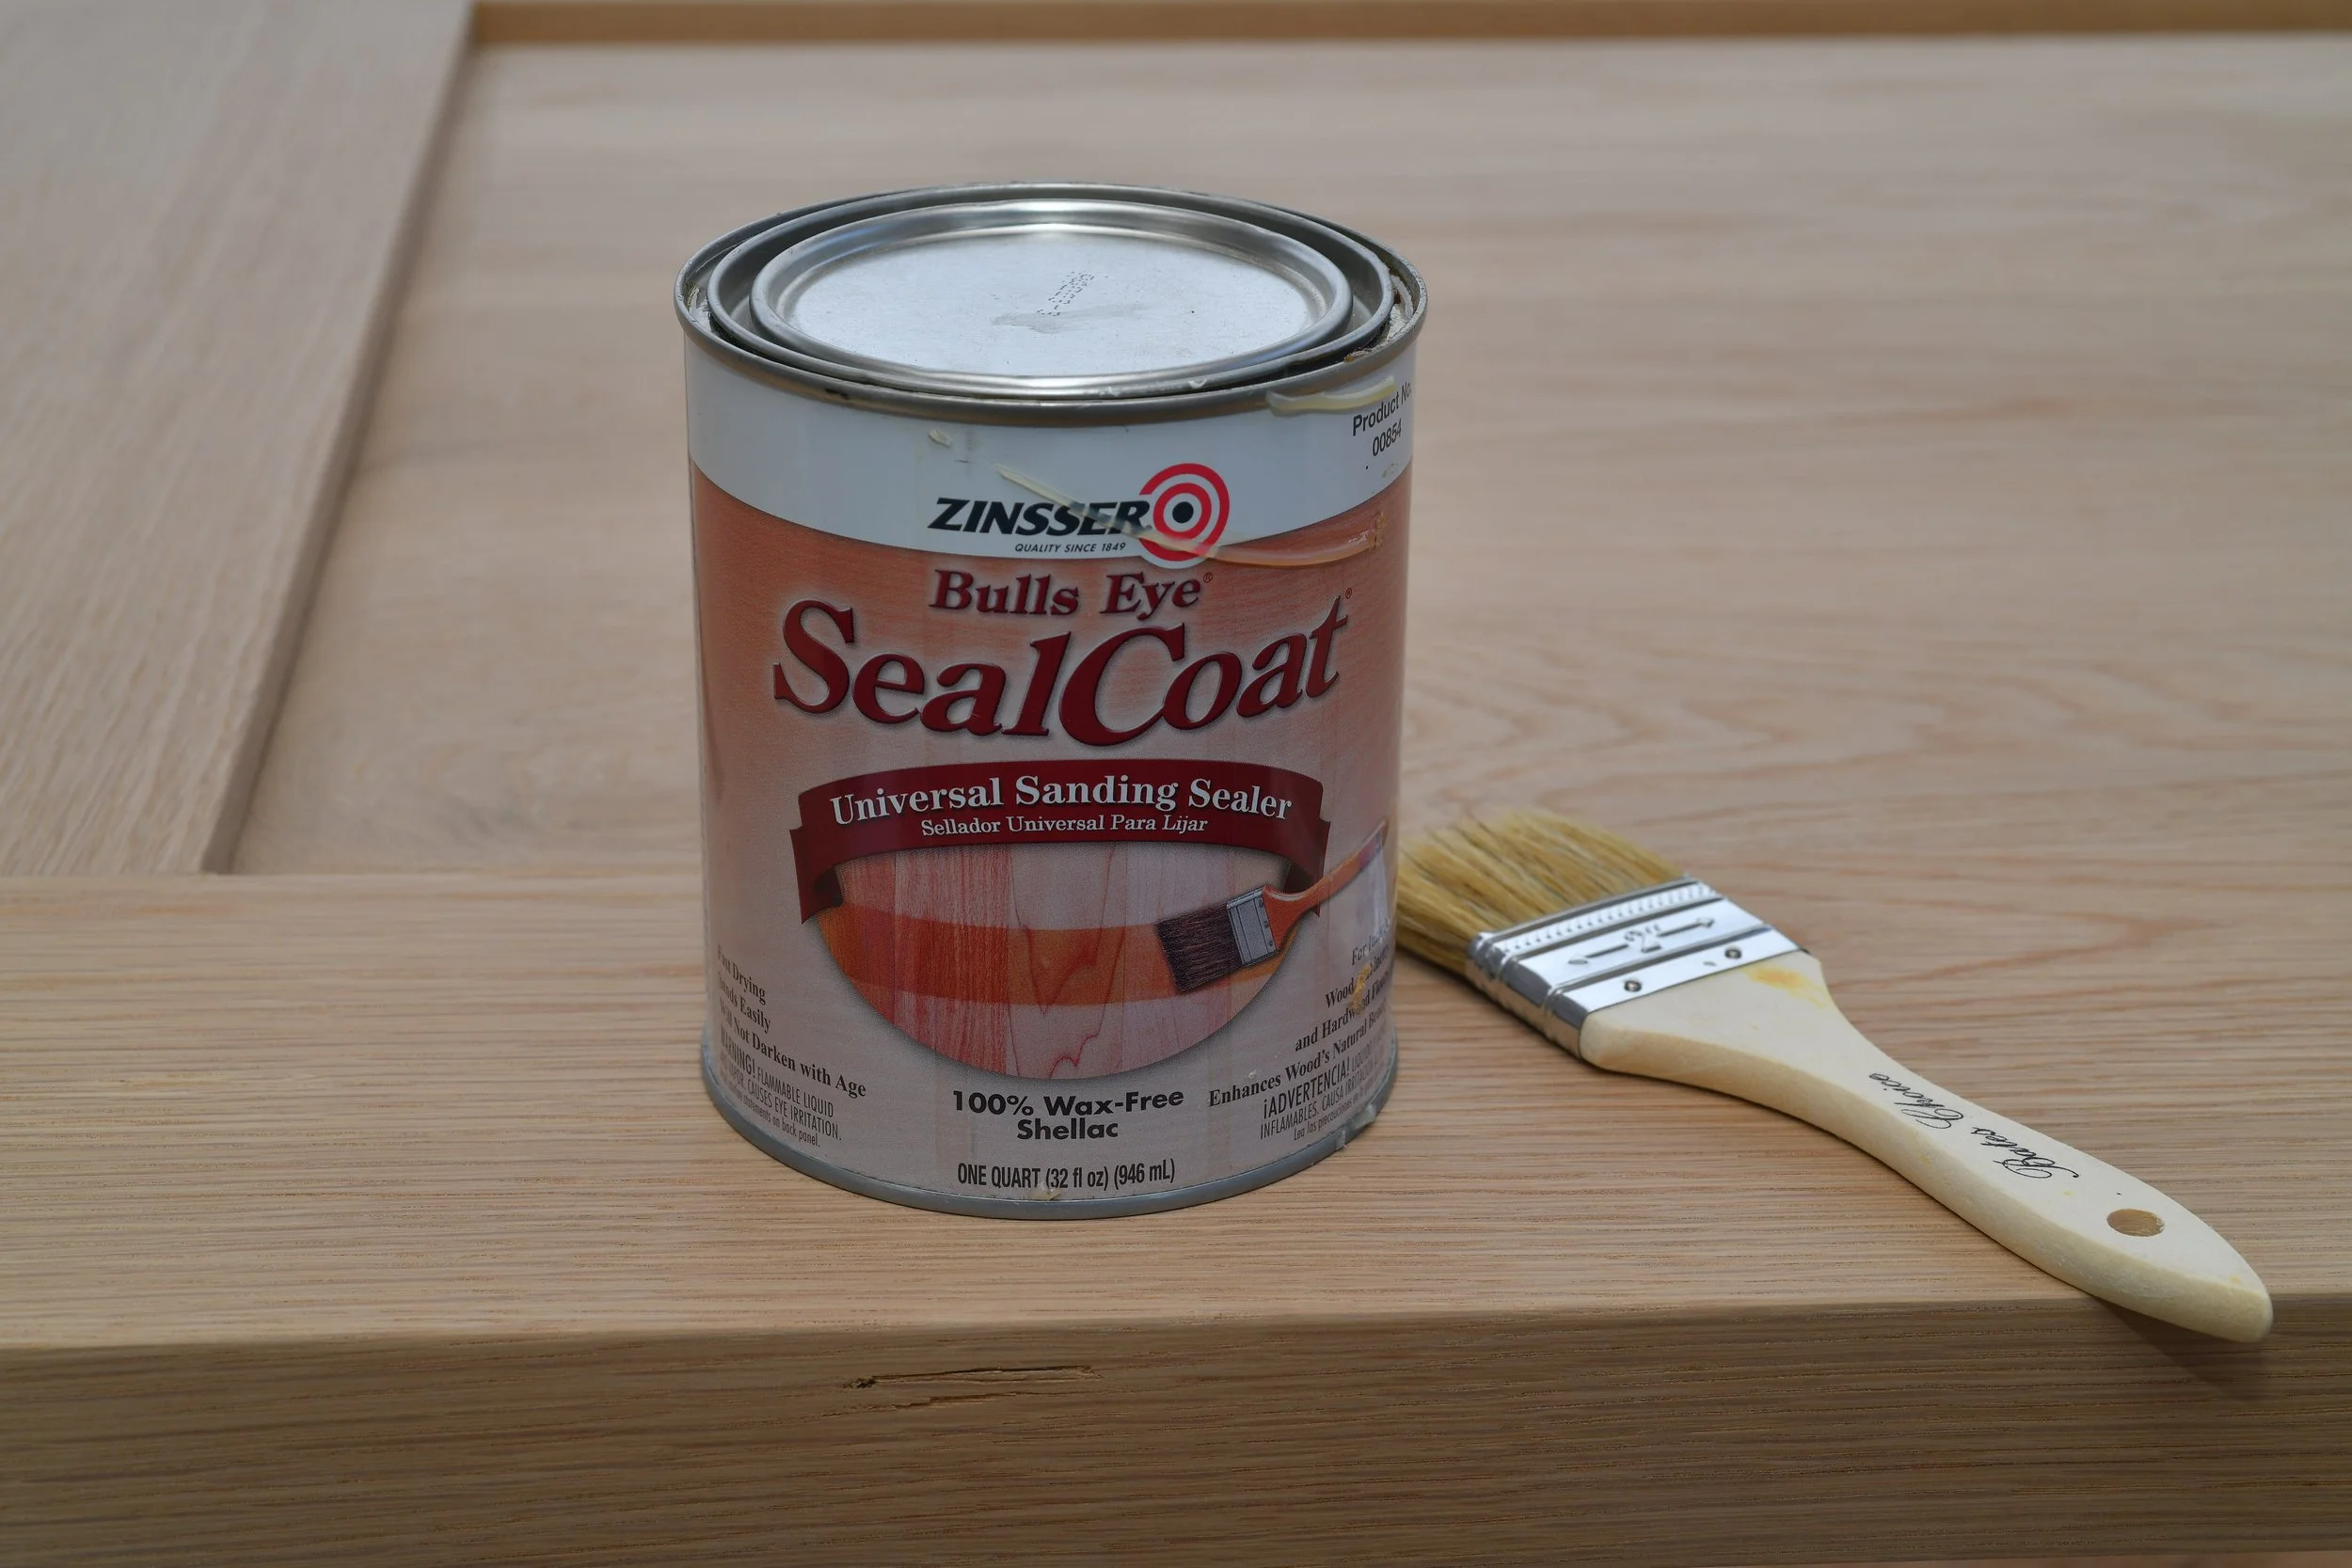
Shellac sanding sealer (interior): ~$15
Door sweep: $24 (replacing this — the vinyl one from Home Depot is junk, ordering an aluminum one made for 1¾" doors)
Total: approximately $855
A little over the estimate, mostly because of the gallon of water-based poly — which I'll use on a dozen other projects, so it's not really a door cost. If you spec a solid hardwood entry door anywhere else, I don't know if you can even find one, but if you could, you'd be starting at $3,000 and going up from there.
From that angle, we did alright.
If you have questions about the build, leave a comment below and I'll do my best to answer. And if you're just getting into this series, Part One covers the design, material choices, joinery, and finish plan.