The Best Finish for DIYers Without a Shop

Minwax Polycrylic Clear Ultra Flat
Why Minwax Polycrylic Clear Ultra Flat Is My Go-To for Small Spaces, Apartments, and Living Rooms
If you don’t have a shop.
If you don’t have a garage.
If you live in a small space, with other people, kids, pets, or allergies…
and you still want to build real things out of real wood…
This is the finish I recommend.
Minwax Polycrylic – Clear, Ultra Flat is, in my opinion, the best finish for people who don’t have access to a dedicated finishing space. It’s water based, low VOC, dries fast, cleans up with water, and doesn’t stink up your house. You can apply it in your living room and still function like a normal human being afterward.
But the real reason I recommend this specific version is because it’s ultra flat.
That matters more than most people realize.
Ultra flat means low reflectivity. And low reflectivity means your mistakes don’t announce themselves. Brush strokes, small sanding issues, tiny ridges, imperfect prep – all of that shows up brutally in satin, semi-gloss, and gloss finishes. Ultra flat visually forgives you. It hides a lot. It lets the project look good even if the process wasn’t perfect.
And that matters, because:
You’re not a professional finisher.
You don’t have spray equipment.
You don’t have a dust-free booth.
You’re not working in a shop.
And that is not a failure. That is reality.
This finish works with that reality instead of punishing you for it.
Where This Finish Works Best (and Where It Doesn’t)
Excellent for:
Bare wood (Use on bare wood only)
Furniture (tables, chairs, desks, nightstands)
Shelves
Mantels
Built-ins
Trim work
Wall paneling
Decorative pieces
Not ideal for:
Floors
Heavy commercial wear surfaces
This finish is reasonably durable, but it’s not a floor finish. If you’re doing floors, use something specifically designed for that abuse.
What it does extremely well is give you a clear, modern, low-sheen look with very little yellowing. It doesn’t amber the wood like oil finishes. It stays clean and neutral. And the more coats you build, the more professional it starts to look.
Critical Warnings (Read This Before You Start)
1. Do NOT over-brush
Water-based finishes dry much faster than oil. You apply it, you level it, and you stop. Over-brushing will absolutely destroy your surface. It creates streaks, ridges, and uneven sheen.
Brush it on.
Level it.
Walk away.
Trust the chemistry. It is designed to self-level.
2. You MUST mix the can
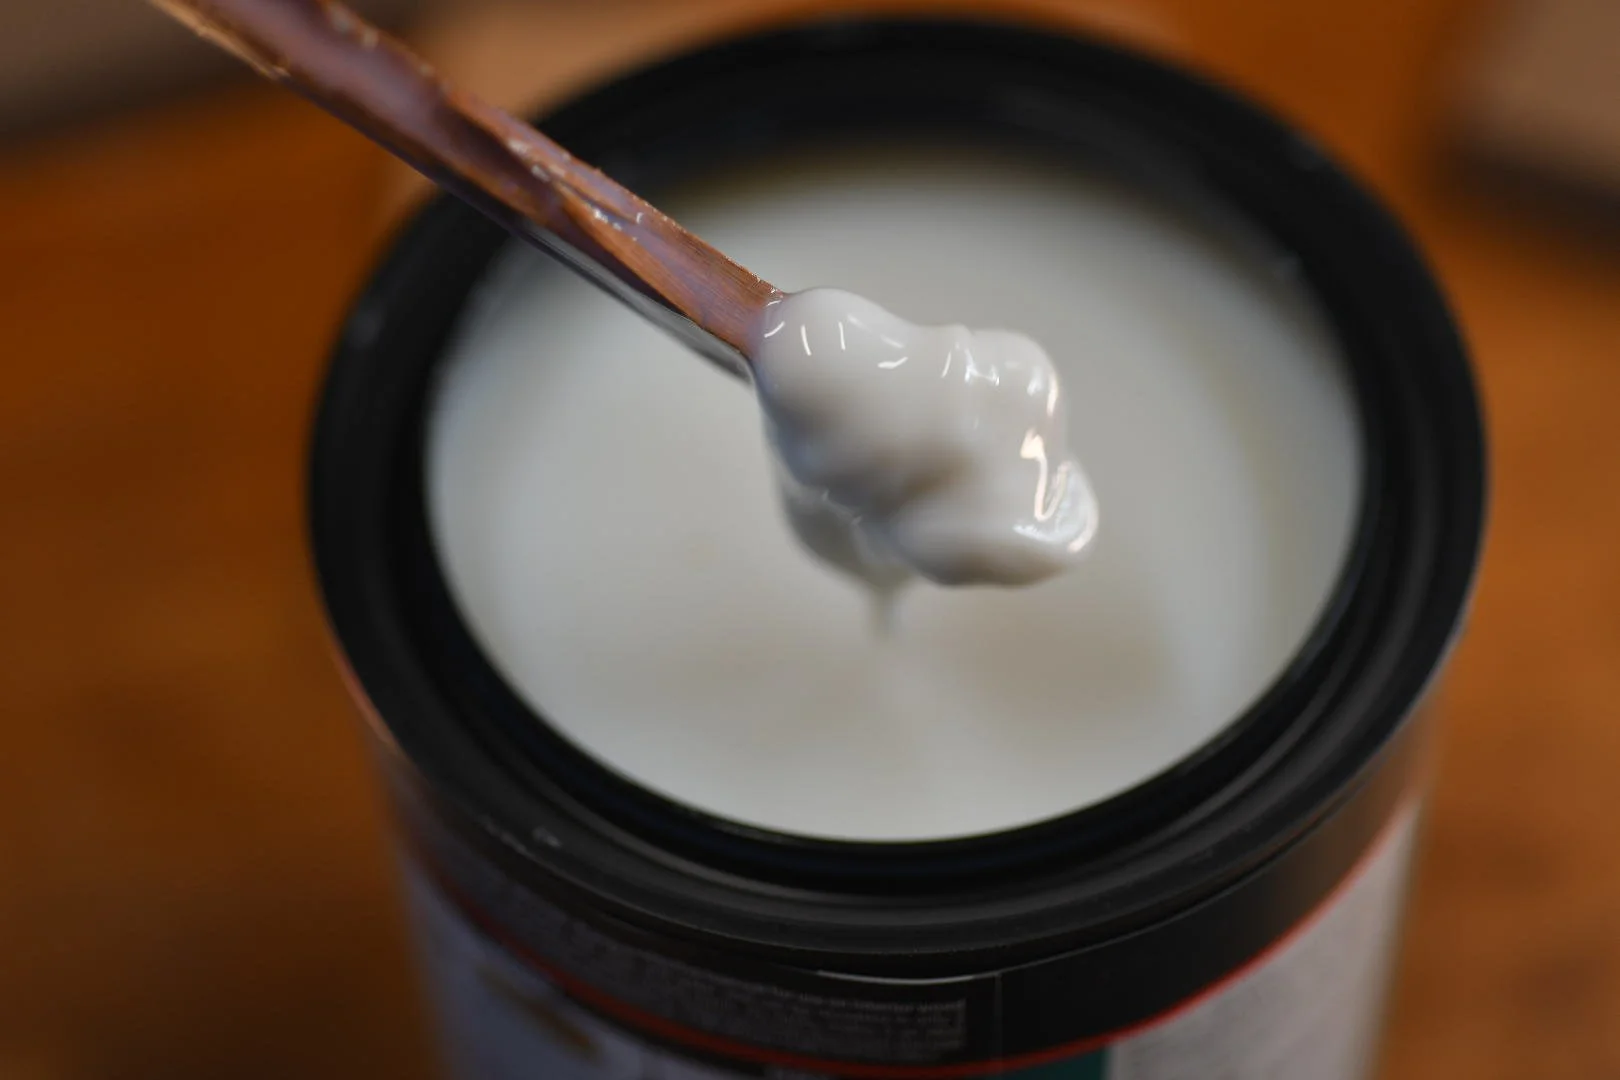
Flattening agent at the bottom of the can
Polycrylic Clear Ultra Flat contains a flattening agent. When it sits on the shelf, that flattening agent settles to the bottom. When you open the can, you’ll see thick, cloudy, almost half-dried-looking paste at the bottom. That is normal. That is not bad product.
That paste is what makes it ultra flat.
Stir it in slowly and thoroughly. Don’t shake it. Don’t whip it. Just stir until it’s fully incorporated. If you don’t do this, you will end up with a weird half-gloss, half-flat finish that looks inconsistent and cheap.
3. Temperature matters
Do not apply this finish below 65°F. If it’s too cold, it won’t level correctly, it can dry cloudy, and in some cases it won’t cure properly at all. This stuff is very temperature sensitive.
Tools I Recommend
You do not need a shop. You do not need fancy equipment.
Here’s your realistic list:
Foam brush, orsoft bristle brush, ormicrofiber applicator pads
Vacuum (any household vacuum works)
Affiliate Disclosure:
As an Amazon Associate I earn from qualifying purchases. This means I may earn a small commission if you purchase through links on this page, at no additional cost to you. I only recommend products I personally use and trust.
Prep Work – This Is Where the Finish Is Won or Lost
Most people are buying wood from Home Depot or Lowe’s. That wood comes “smooth,” but it is not finish-smooth. The planers they use leave very fine ridges in the surface. If you don’t remove those, your finish will telegraph them.
Step 1 – Flatten the Surface
Use 180 grit sandpaper and sand until those ridges are gone.
You do not need to start at 100 grit. In fact, I almost never recommend 100 grit for DIY furniture work. It creates deep scratches that you then have to work out. That’s extra work and extra dust for no reason.
Start at 180.
Sand until the ridges are gone.
Stop.
Lean down and look across the surface in good light. When it looks flat, you’re done.
Step 2 – Break All Edges
Every edge. No exceptions.
You want roughly a 1/8" radius on all edges.
Why:
Sharp edges are uncomfortable and dangerous.
Finish does not like sharp edges – it burns through easily when you sand between coats.
Rounded edges look intentional and finished.
This step alone makes a project look 10x more professional.
Step 3 – Sand the End Grain (Yes, It Takes Longer)
End grain is harder and denser. It does not sand as easily as face grain. That’s normal. You will have to spend more time here. That’s not a mistake – that’s just wood.
Sand the end grain until your saw marks are gone and it feels smooth. If you skip this, your end grain will look dark, fuzzy, and unfinished compared to the rest of the piece.
Prepare yourself mentally: you’re going to sand the hell out of the ends. That’s just part of it.
First Coat – Sealing the Wood
Vacuum everything thoroughly.
Apply a generous coat to the edges first, then the faces. The wood is thirsty. It will soak it in. That is exactly what it’s supposed to do.
Let it dry 1.5 – 2 hours.
Grain Raise (This Is Normal – Don’t Panic)
When you apply water-based finish to bare wood, the water swells the fibers. The grain raises. Your surface will feel rougher than when you started.
This is normal.
This is expected.
This is not failure.
Use your used 180 grit sandpaper (it’s now closer to 220) and lightly sand until smooth again. Don’t attack it. Don’t sand through. Just knock the fuzz down.
Be especially gentle on edges.
Vacuum again. Optionally wipe with a damp (not wet) cloth to pick up fine dust. This is safe because the finish is water based.
Second Coat – Where It Starts to Look Good
Edges first.
Then faces.
With the grain.
Apply it. Level it. Stop.
Do not chase it. Do not keep touching it. Do not “just fix this one spot.”
Water-based finishes level chemically. If you keep brushing while it’s trying to level, you will create streaks and ridges that will not flatten out.
Let it dry.
Third Coat – Building the Finish
Lightly sand with 320 grit. Gentle. Especially on edges.
Vacuum.
Apply your third coat.
Now, here is where wood type matters.
Closed Grain vs Open Grain (This Is Important)
Closed Grain Woods:
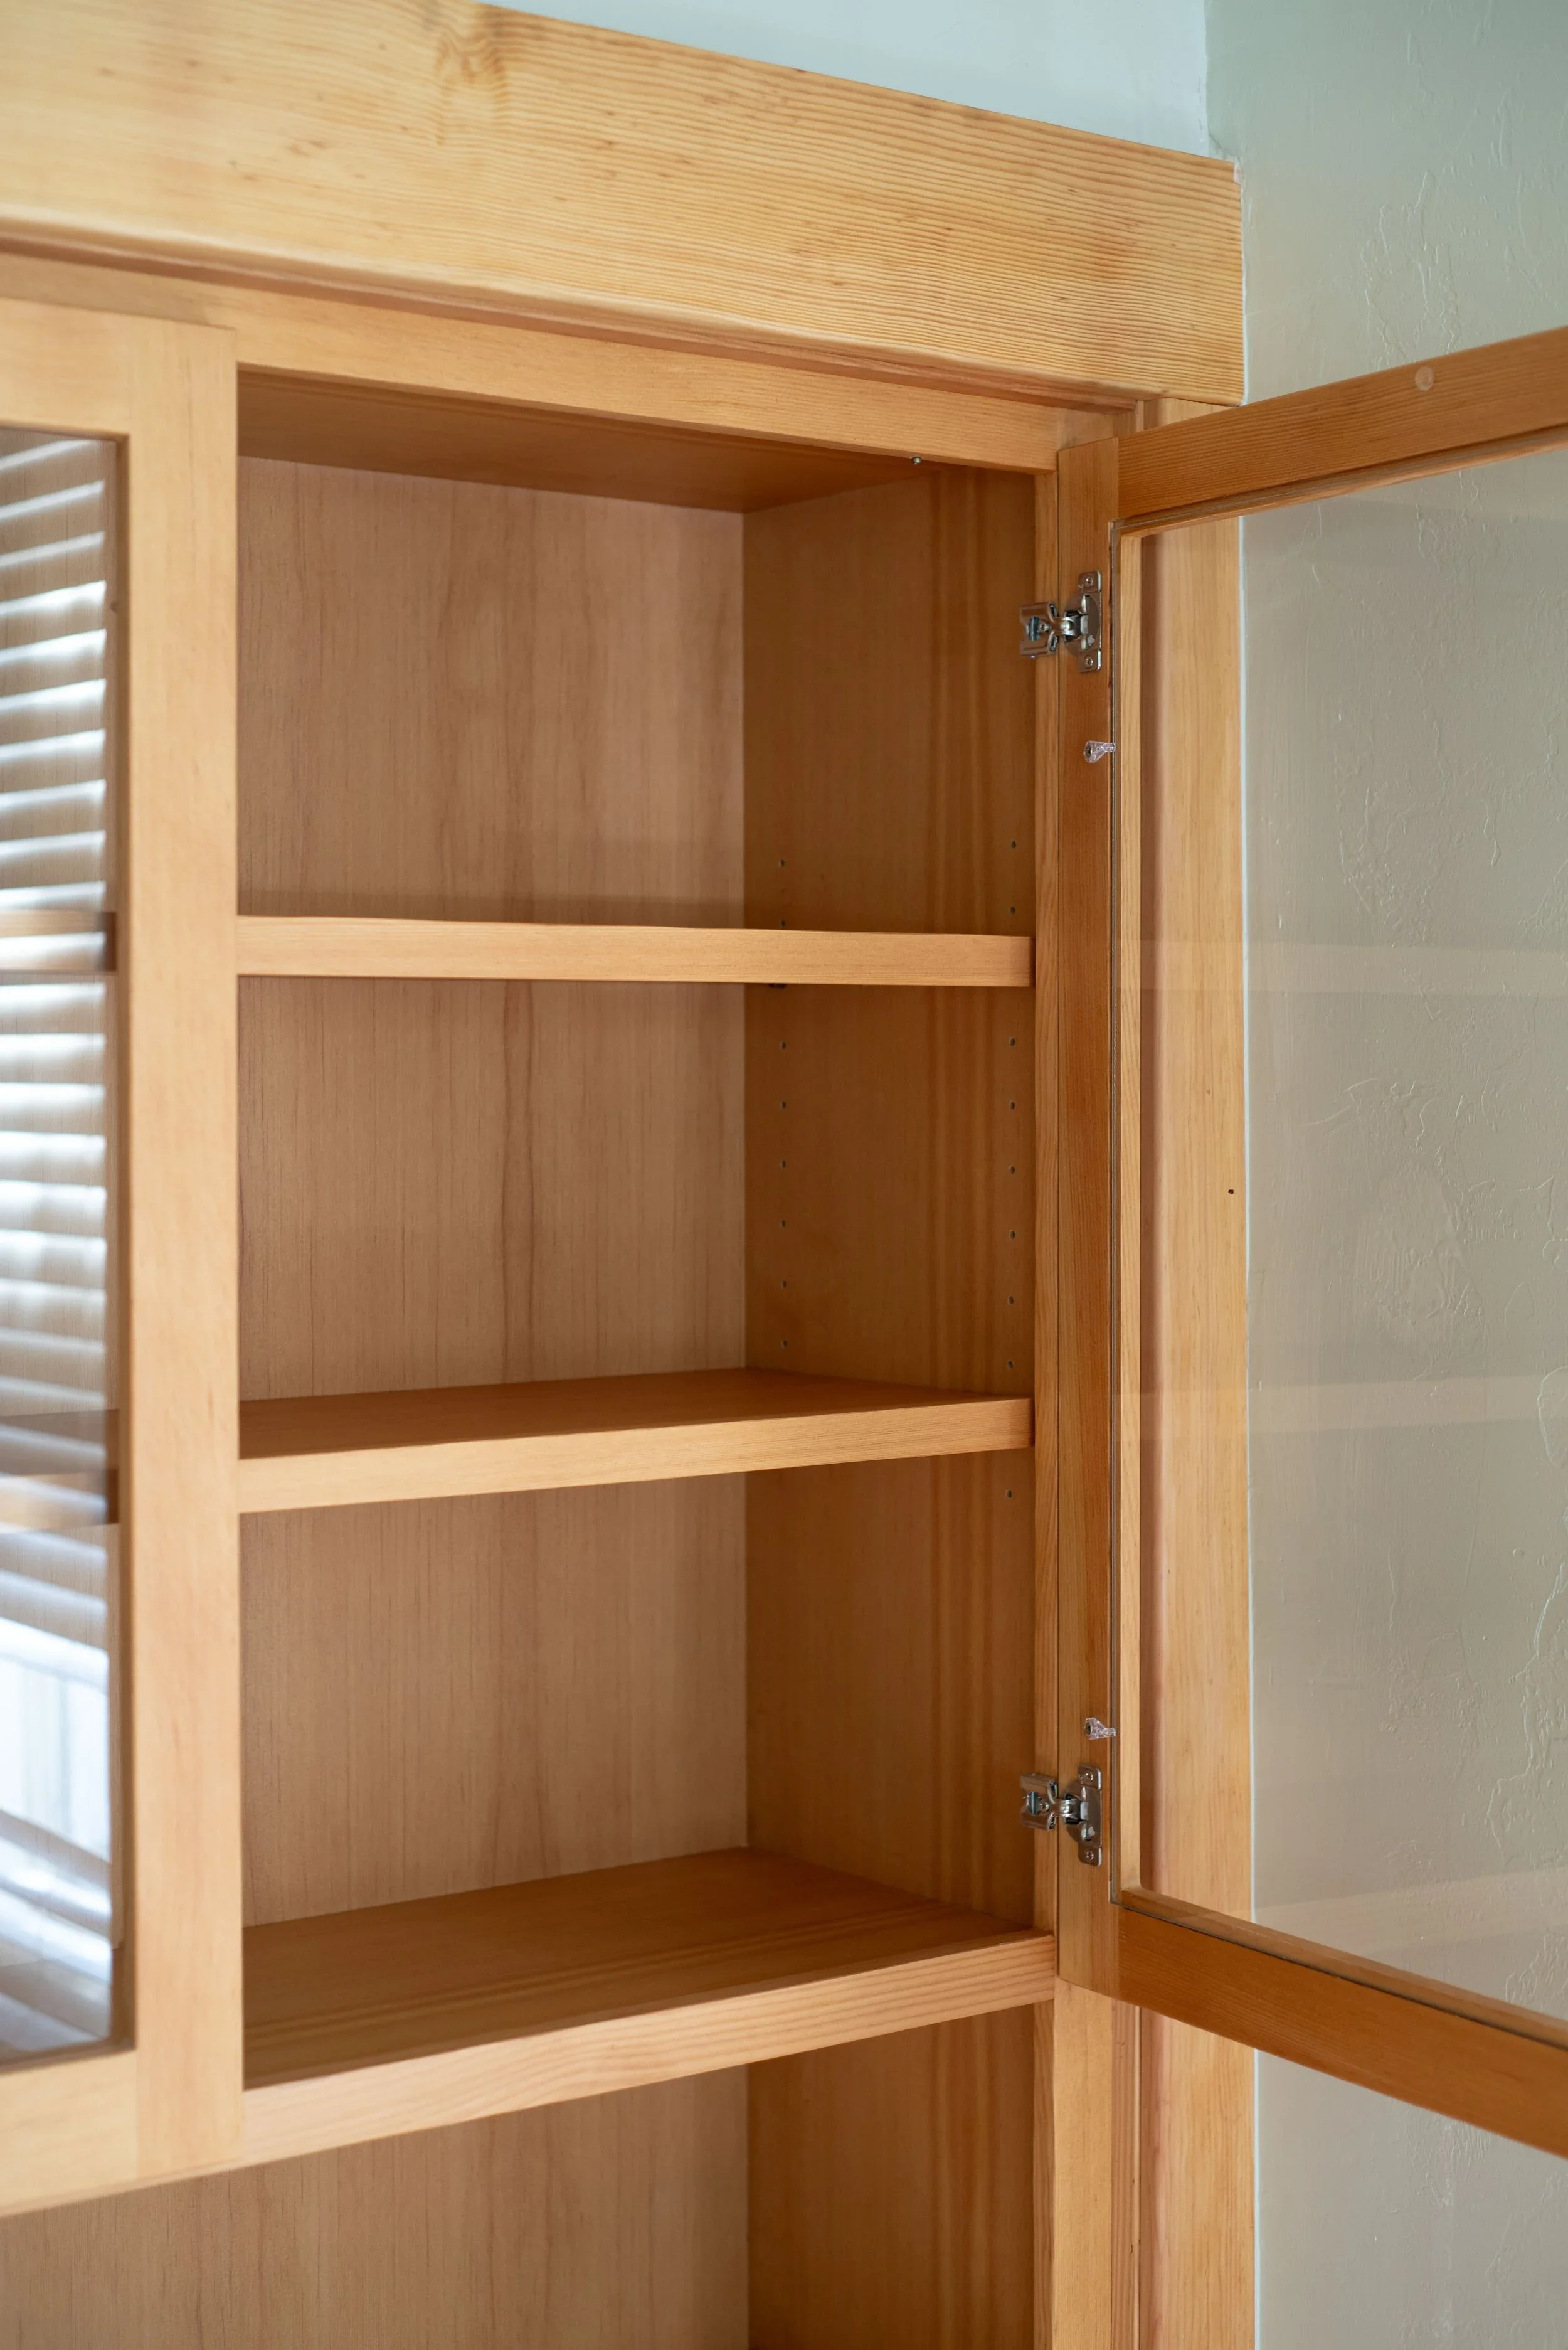
Doug Fir Built-in Finished with Minwax polycrylic clear ultra flat
Maple
Pine
Alder
Cherry
These woods are relatively tight. They don’t have deep pores. With Polycrylic Clear Ultra Flat, three coats is usually enough to get an even, consistent finish.
Open Grain Woods:
Red oak
White oak
Walnut
Mahogany
These woods have deep pores. When you apply finish, the finish sinks into those pores. If you only do three coats, the surface can look slightly uneven or starved in areas.
With these woods, you want four coats.
Yes, it sounds like a lot. It isn’t. This finish dries quickly. And the more you build it, the better it looks. Especially with ultra flat – additional coats make it look more even and more intentional.
So if you’re working with open grain wood:
Sand with 320
Apply your third coat
Let it dry
Sand lightly again
Apply your fourth coat
You will see a noticeable difference.
Runs – Why They Happen and How to Avoid Them
Runs usually happen:
On vertical surfaces
On edges
When the brush drags over the edge
Start your brush at the edge, not over it. Don’t pull finish over the edge and let it drip. That’s the number one cause of runs.
On vertical surfaces, apply thinner coats. You are doing multiple coats anyway. There is no benefit to loading it on heavy.
Bubbles – What Causes Them
Polycrylic is famous for bubbles.
Common causes:
Shaking the can
Having the can shaken at the store
Whipping it while stirring
Air trapped in the wood itself
Never shake it. Always stir slowly.
If you’re getting bubbles, one of the best tricks is for the final coat to switch to a microfiber applicator pad (like auto detailing pads). Saturate the pad, squeeze out about 50%, and apply smoothly. This greatly reduces bubbles and leaves an even film.
Trust the leveling. It will flatten.
Cloudiness – What’s Normal and What’s Not
Polycrylic looks cloudy when wet. It clears as it dries. That is normal.
If it stays cloudy:
You applied the next coat too soon
The temperature is too low
You applied too heavy
Minimum dry time between coats before sanding: 1.5 – 2 hours.
If your sandpaper gums up and turns white, stop. It is not dry yet.
Streaking – The Over-Brushing Problem
Streaking is almost always caused by over-brushing.
You apply the finish.
You don’t like how it looks.
So you brush it again.
And again.
And again.
Now it’s streaked.
Water-based finishes dry fast. Once they start to set, they do not want to be disturbed. If you touch them while they’re leveling, you create ridges and valleys that will not correct.
This is the hardest habit for DIYers to break.
And it’s the most important one.
Why I Recommend This Finish (Straight Up)
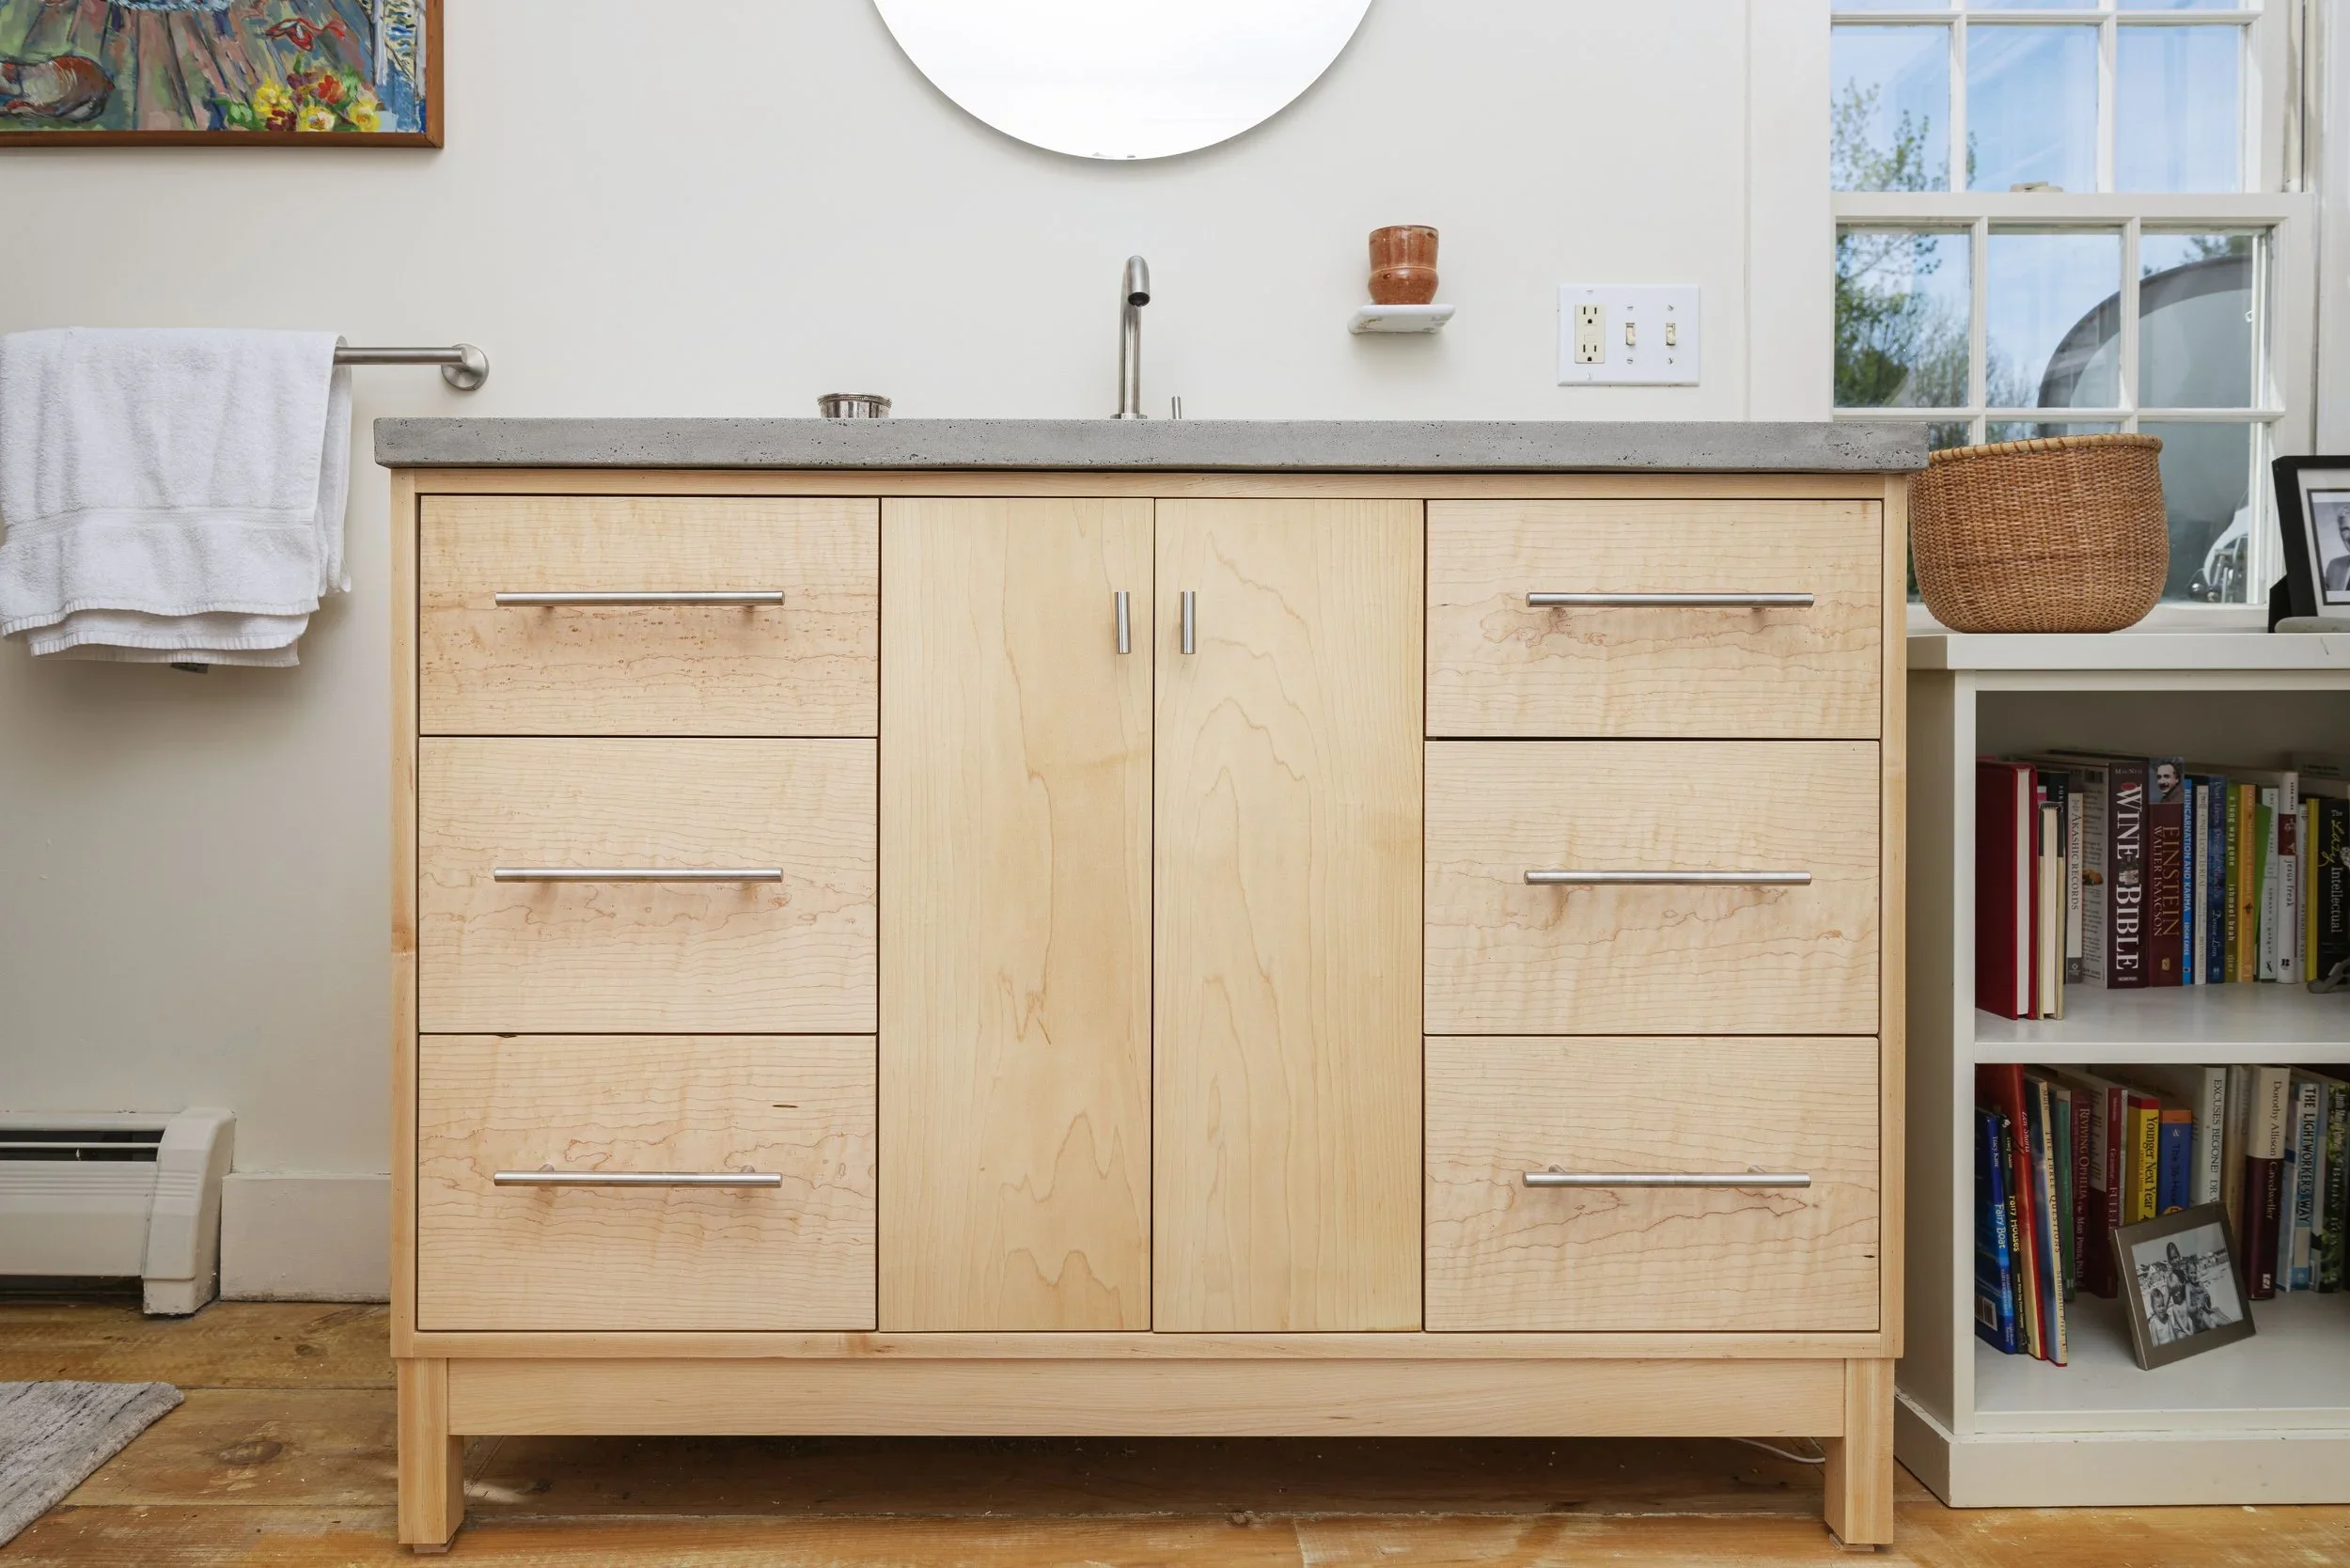
Birds Eye Maple Vanity With Ultra flat finish
Because you’re not trying to be a finishing shop.
You’re trying to build something in your house.
Without chemicals.
Without drama.
Without turning your life upside down.
This finish respects that.
It’s forgiving.
It’s practical.
It works in real homes.
And it lets you succeed without pretending you’re someone you’re not.
That’s why I use it.
And that’s why I recommend it.