Building a Wall Cabinet for My Daughter’s Room
Fiona’s Cabinet: Part 1 of 2
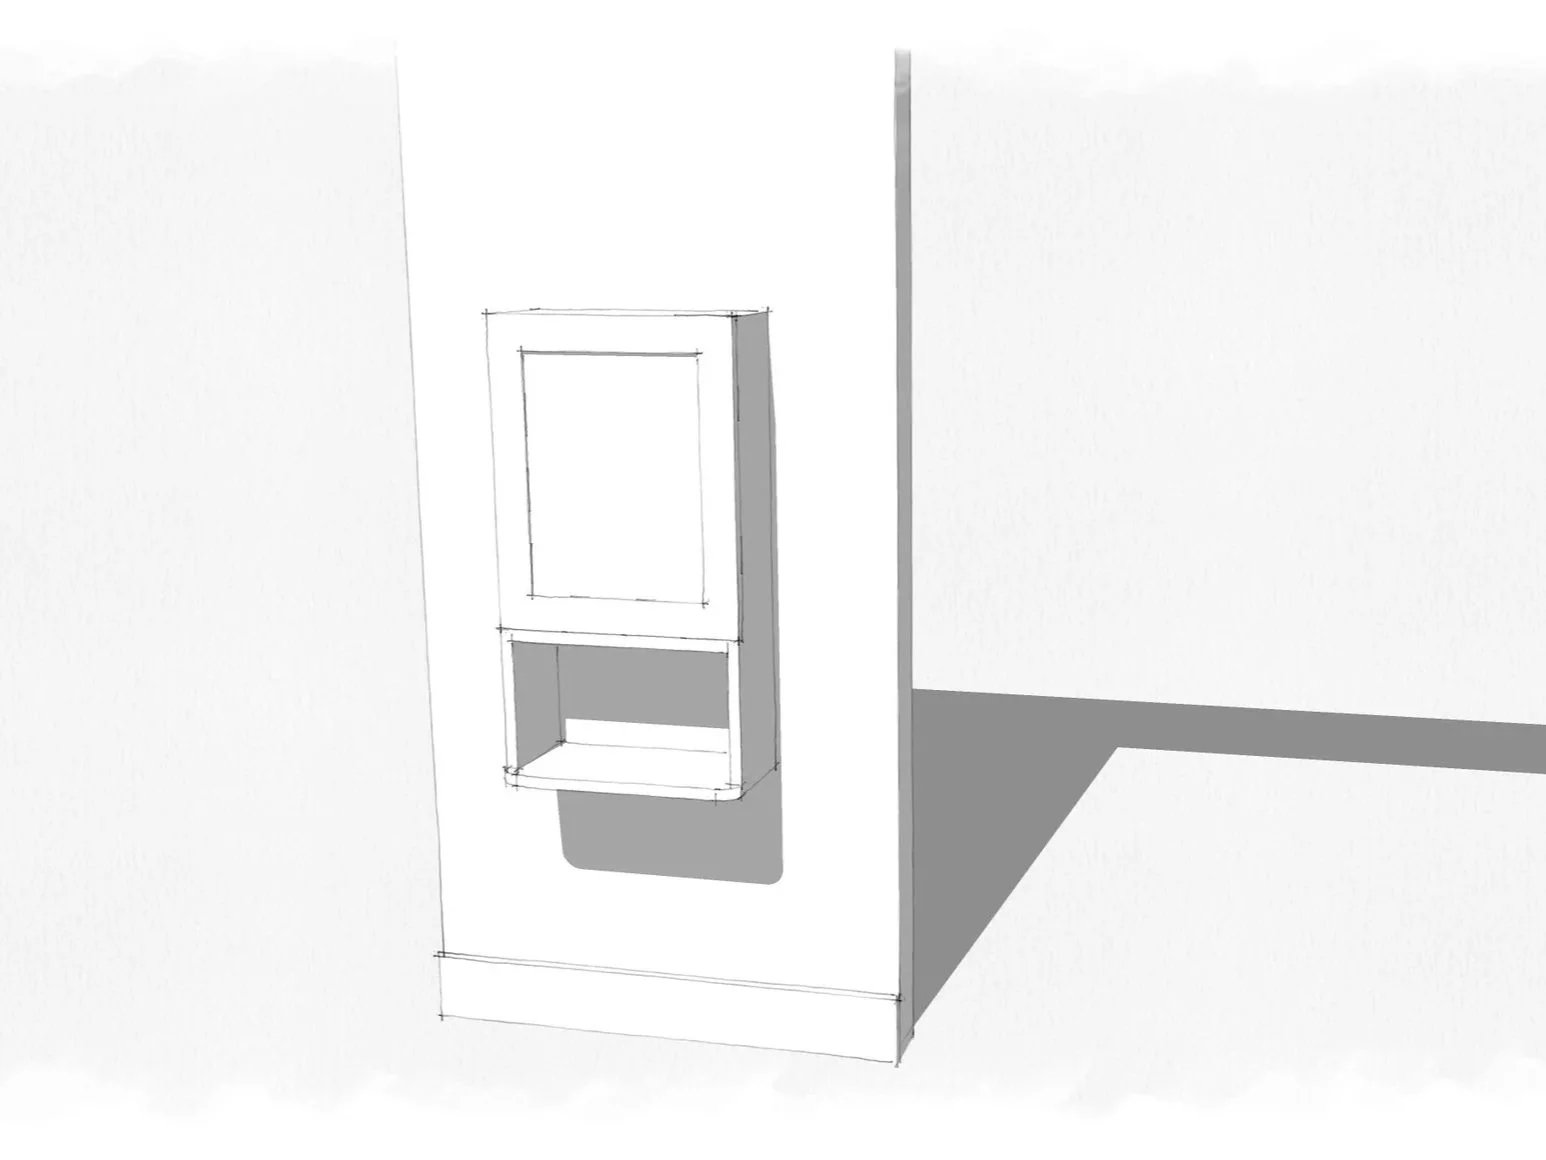
This is a rough draft of the cabinet and where it might be located(next a sliding glass door)
My daughter Fiona is turning seven soon, and I’ve been having a hard time coming up with a gift idea. She loves plastic dolls, but it’s hard for me to keep buying plastic doll after plastic doll when I know how it usually ends. Most likely within two weeks, the head will be ripped off and the clothes will be missing.
Right now Fiona shares a room with her older brother, and she doesn’t have a lot of private space. So instead of buying her the same old thing, I’m trying something different this year.
And in true dad fashion, I’ve only given myself four days to complete the project.
I decided to build her a small wall cabinet, roughly 16 inches by 30 inches. It’ll have a lower shelf about 10 inches high, enough for small books or maybe her instant photo collection. The door will be a simple shaker style. I’m also thinking I’ll recess a groove on the side for opening and closing. No knob means one less thing to get snapped off or mysteriously disappear.
For hardware, I’ll use full overlay slow close hinges. For the finish, I’m going with a water based poly for one reason, speed. We’re on a tight deadline here.
As for wood, I’m torn between mahogany and maple. I might show Fiona both and let her pick without telling her what it’s for. At least that way she’ll end up liking the color and texture, even if she doesn’t fully understand the gift yet.

Mahogany and Maple
Fiona’s birthday is in December, right before Christmas. She’s at that age where she’s just starting to understand organization and the value of the things she actually wants to keep. She might not appreciate this immediately, but I’m hoping she grows into it.
We live somewhere in the high country of Arizona, in a small mountain town. A little house built for two is currently holding four, which means private space is basically a myth. This cabinet is my attempt to give her a little spot that’s hers.
I chose to build this because I couldn’t bring myself to spend another couple hundred dollars on stuff I’m going to throw away next week. And no, it isn’t really about being frugal. It’s more about making something useful, something that can be around for years.
Buying, buying, and buying gets exhausting. It’s just one thing after another, and it never ends. Sometimes it feels like we’re training our kids to be epic consumers on a level I won’t even be able to understand when I’m older.
Maybe this cabinet will be a turning point in how she looks at gifts and possessions. Maybe she’ll notice that it’s still on the wall after two weeks, still in use, holding the things she actually cares about. Maybe it’ll still be there when she turns 40.
It’s possible.
After her birthday I’ll follow up with a project debriefing and hopefully some images of the completed project.
Stay tuned for part 2…
Part 2 will include the cut list, door build, and mounting method.
Affiliate Disclosure
Some links below may be affiliate links, which means I may earn a small commission at no extra cost to you. I only link to things I actually used or would use.
Materials and Tools I Used:
Hardware
Full overlay soft close hinges - I’ll be using three of these. 4 hinges should be used for cabinet doors 42” and up.
Cabinet screws-1” screws for installing the back panel.
Wall mounting hardware- In this case I’ll simply be screwing this cabinet directly to a wall stud.
Finish and Prep
Water based polyurethane- Fast drying and minimal off-gassing.I only use this for projects i need to complete in a hurry. Its good hard stuff when it cures.
180 grit sand paper- This is the only grit I’ll use for this type of project. If I’m using my hand tools the correct way there should not be a lot to sand.
Titebond Glue- Use type 1 for interior projects.
Tools
Tape measure
Drill and bits
Clamps - Use these Jorgensen clamps for carcass glue up and get all of your short clamps from harbor fright.
Sander - This is a great sander for small projects.