Lie-Nielsen Bronze No. 4 Smoothing Plane : Finally Got One
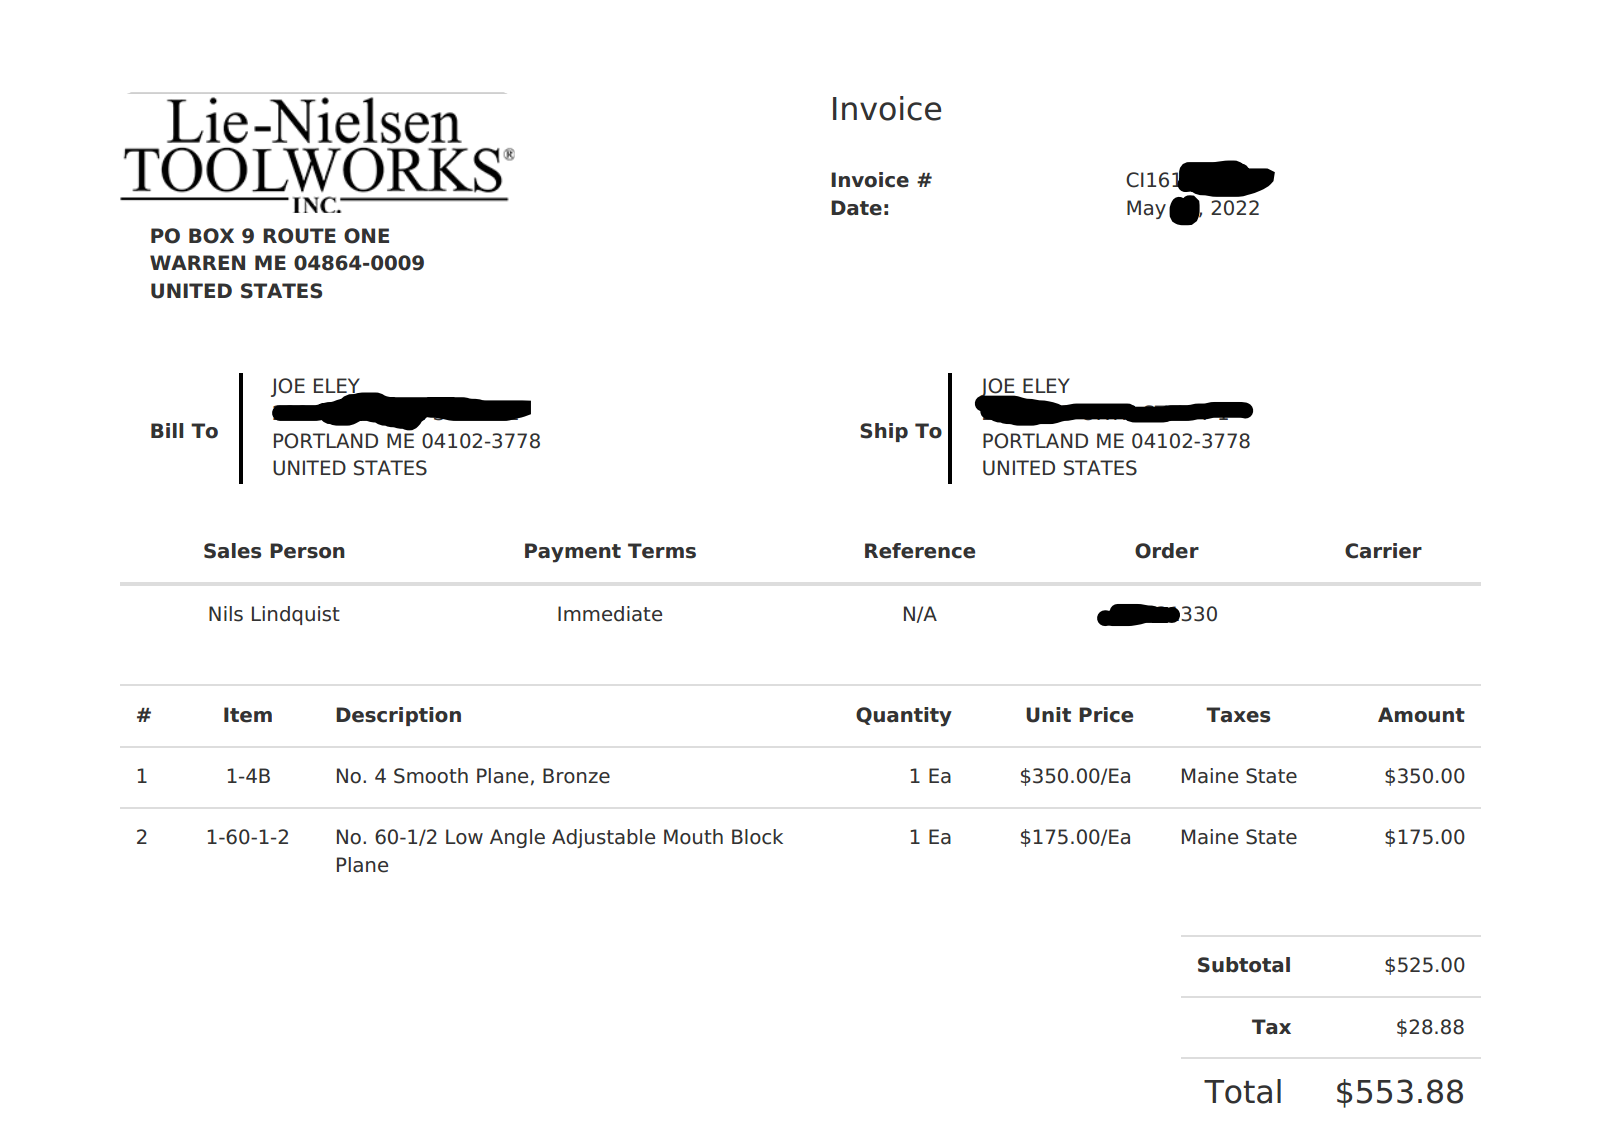
Receipt for this plane below.


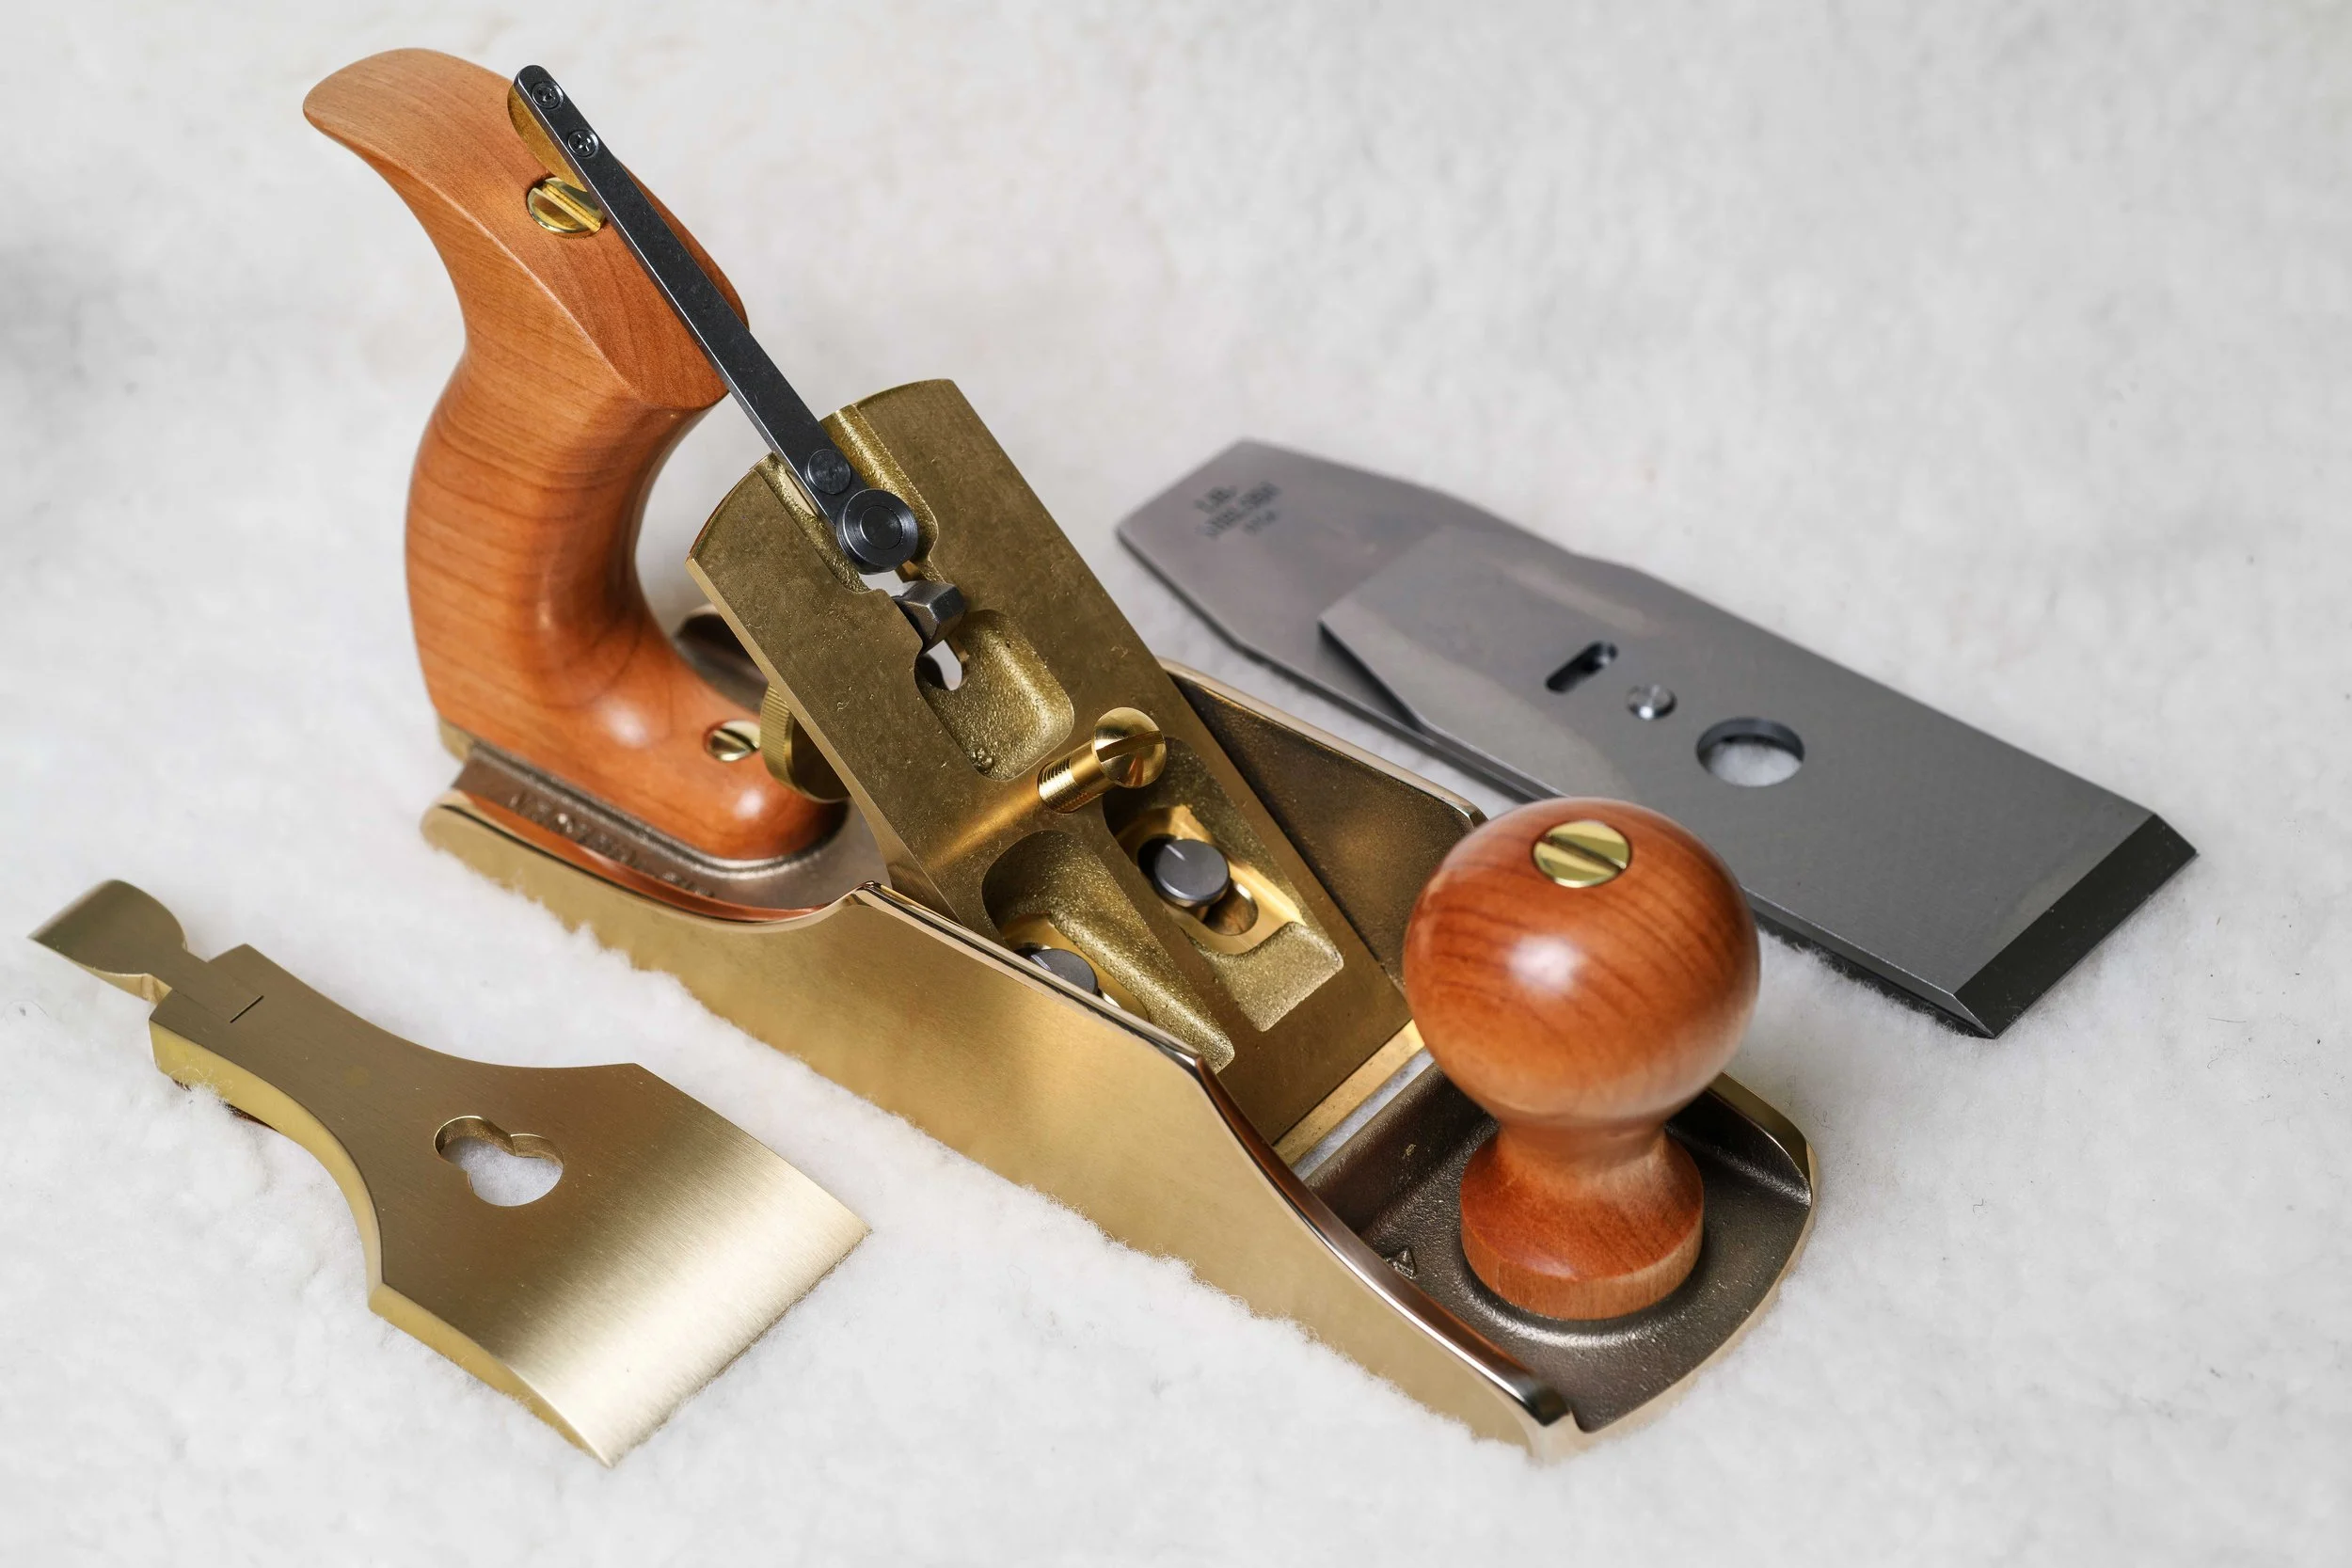


Recently I ordered a Lie-Nielsen Bronze No. 4 smoothing plane, and this post is really just a short note about it.
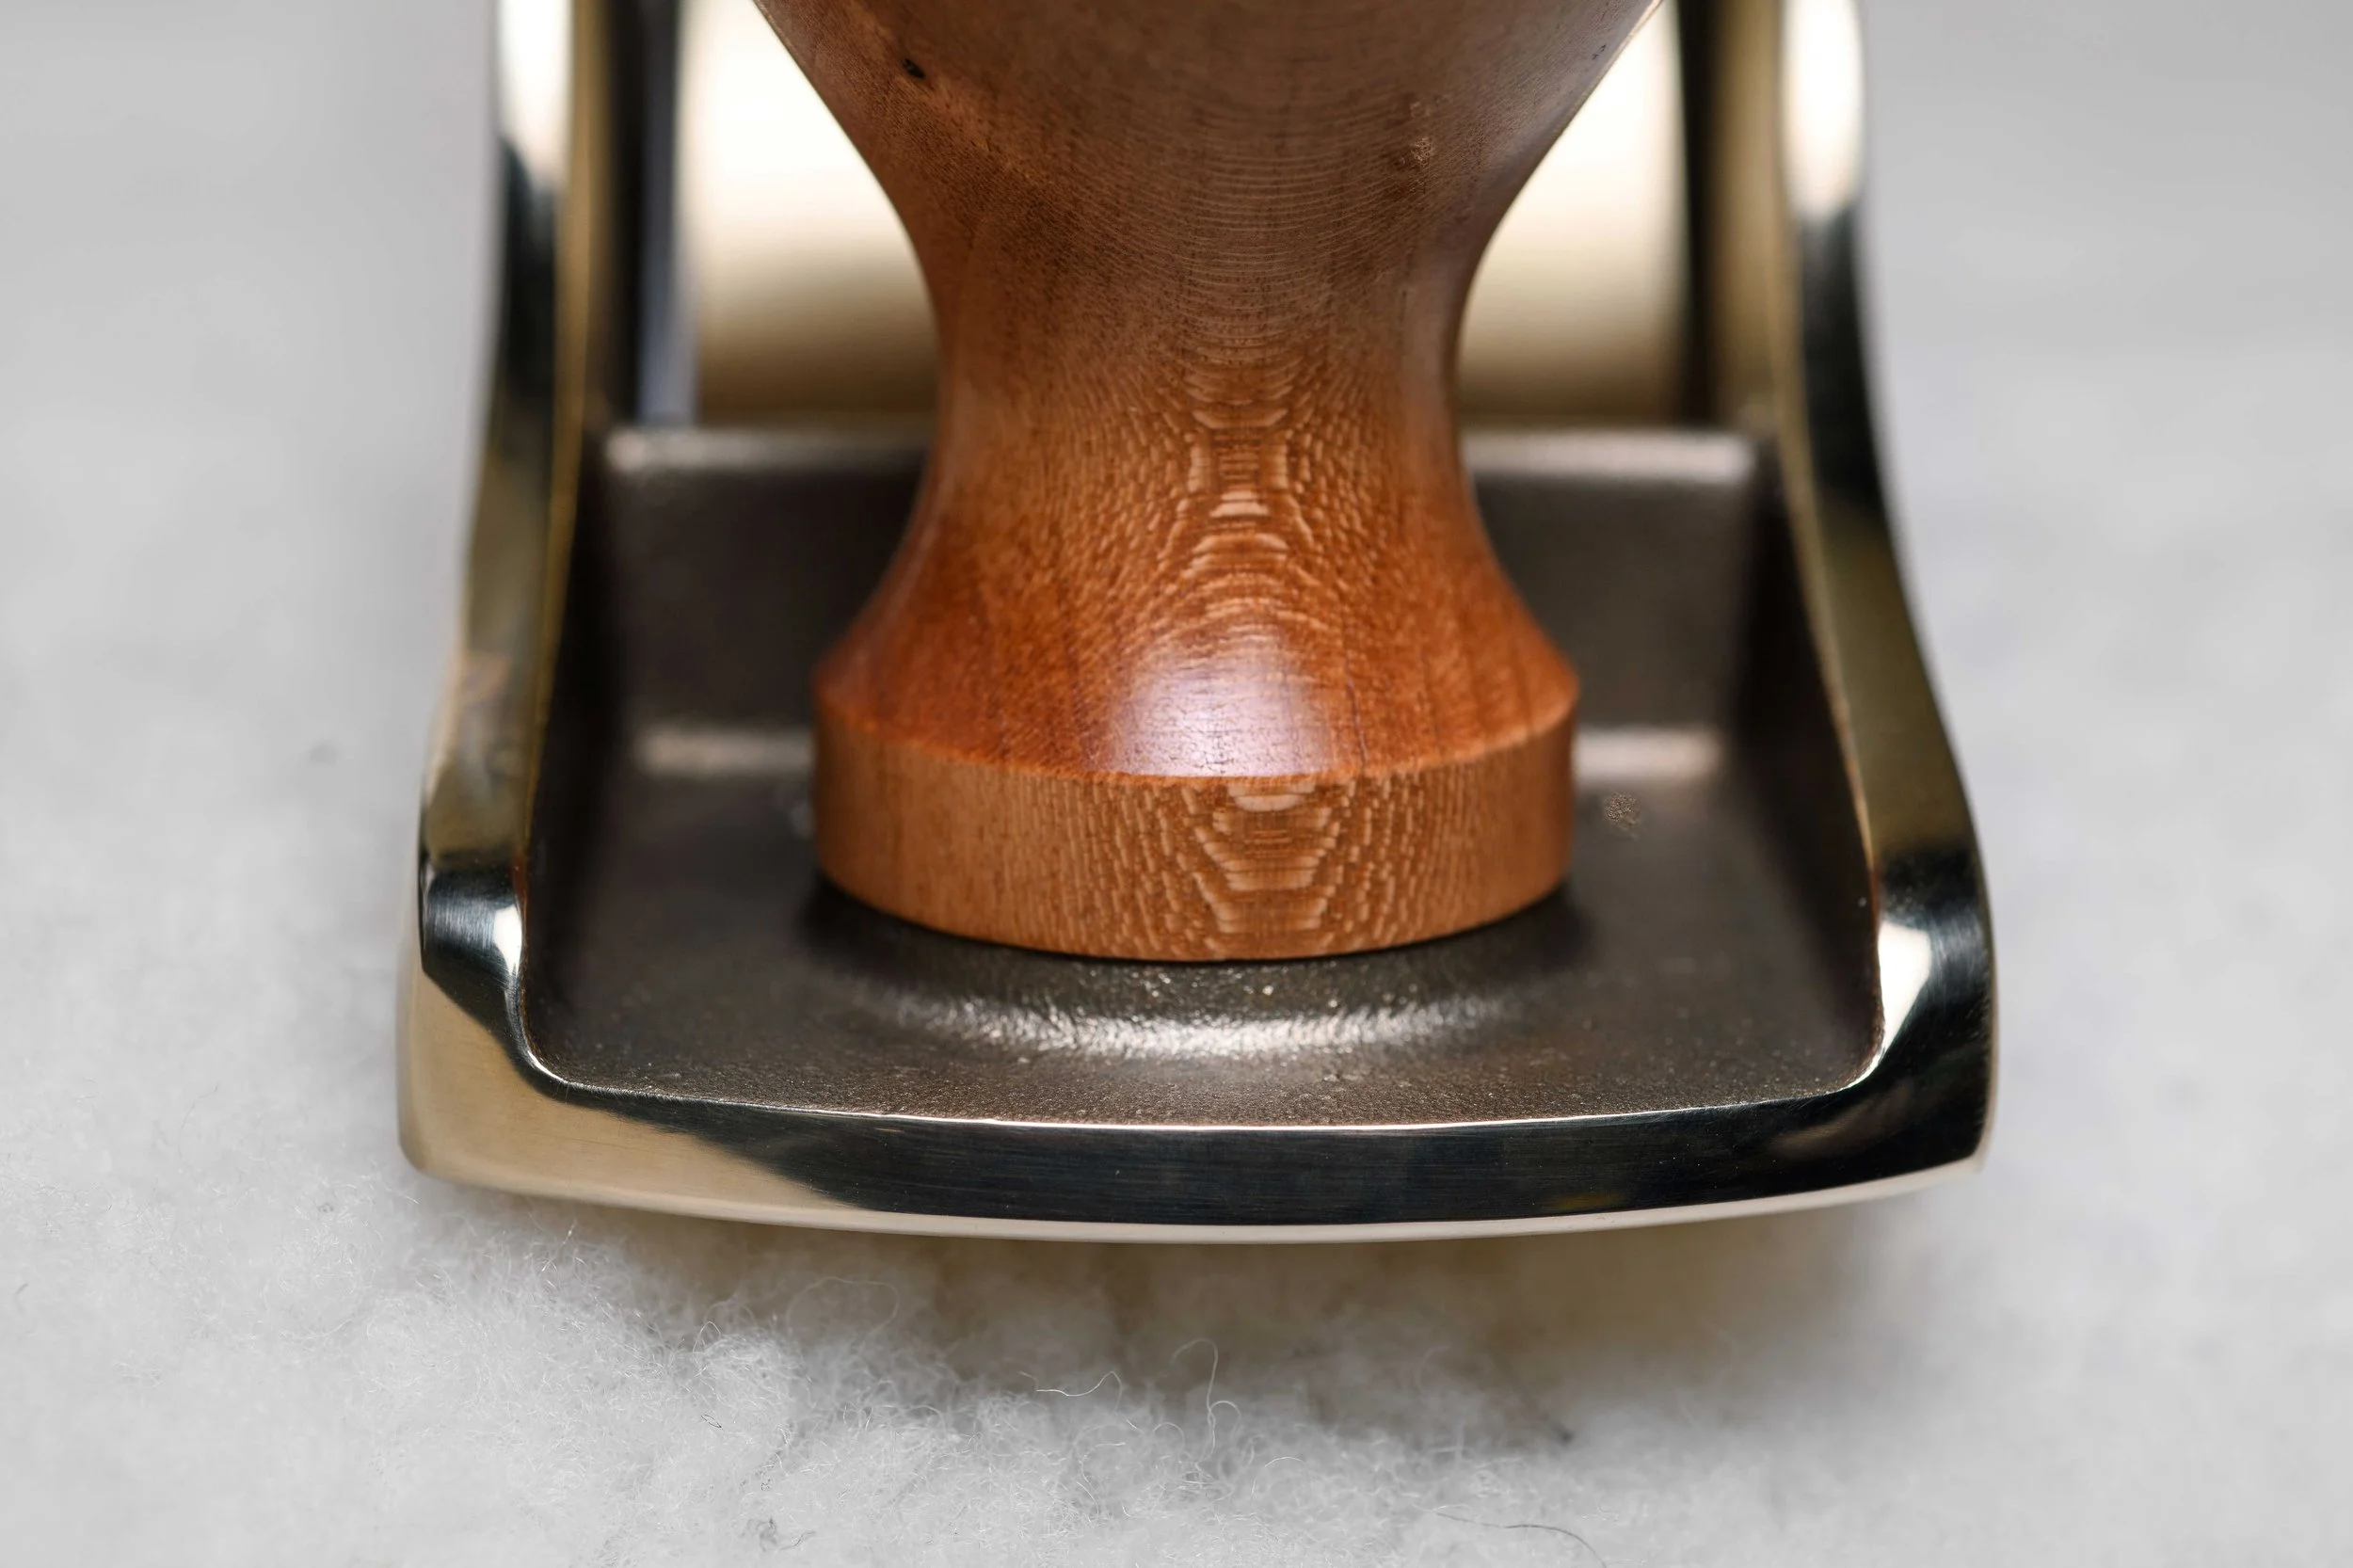
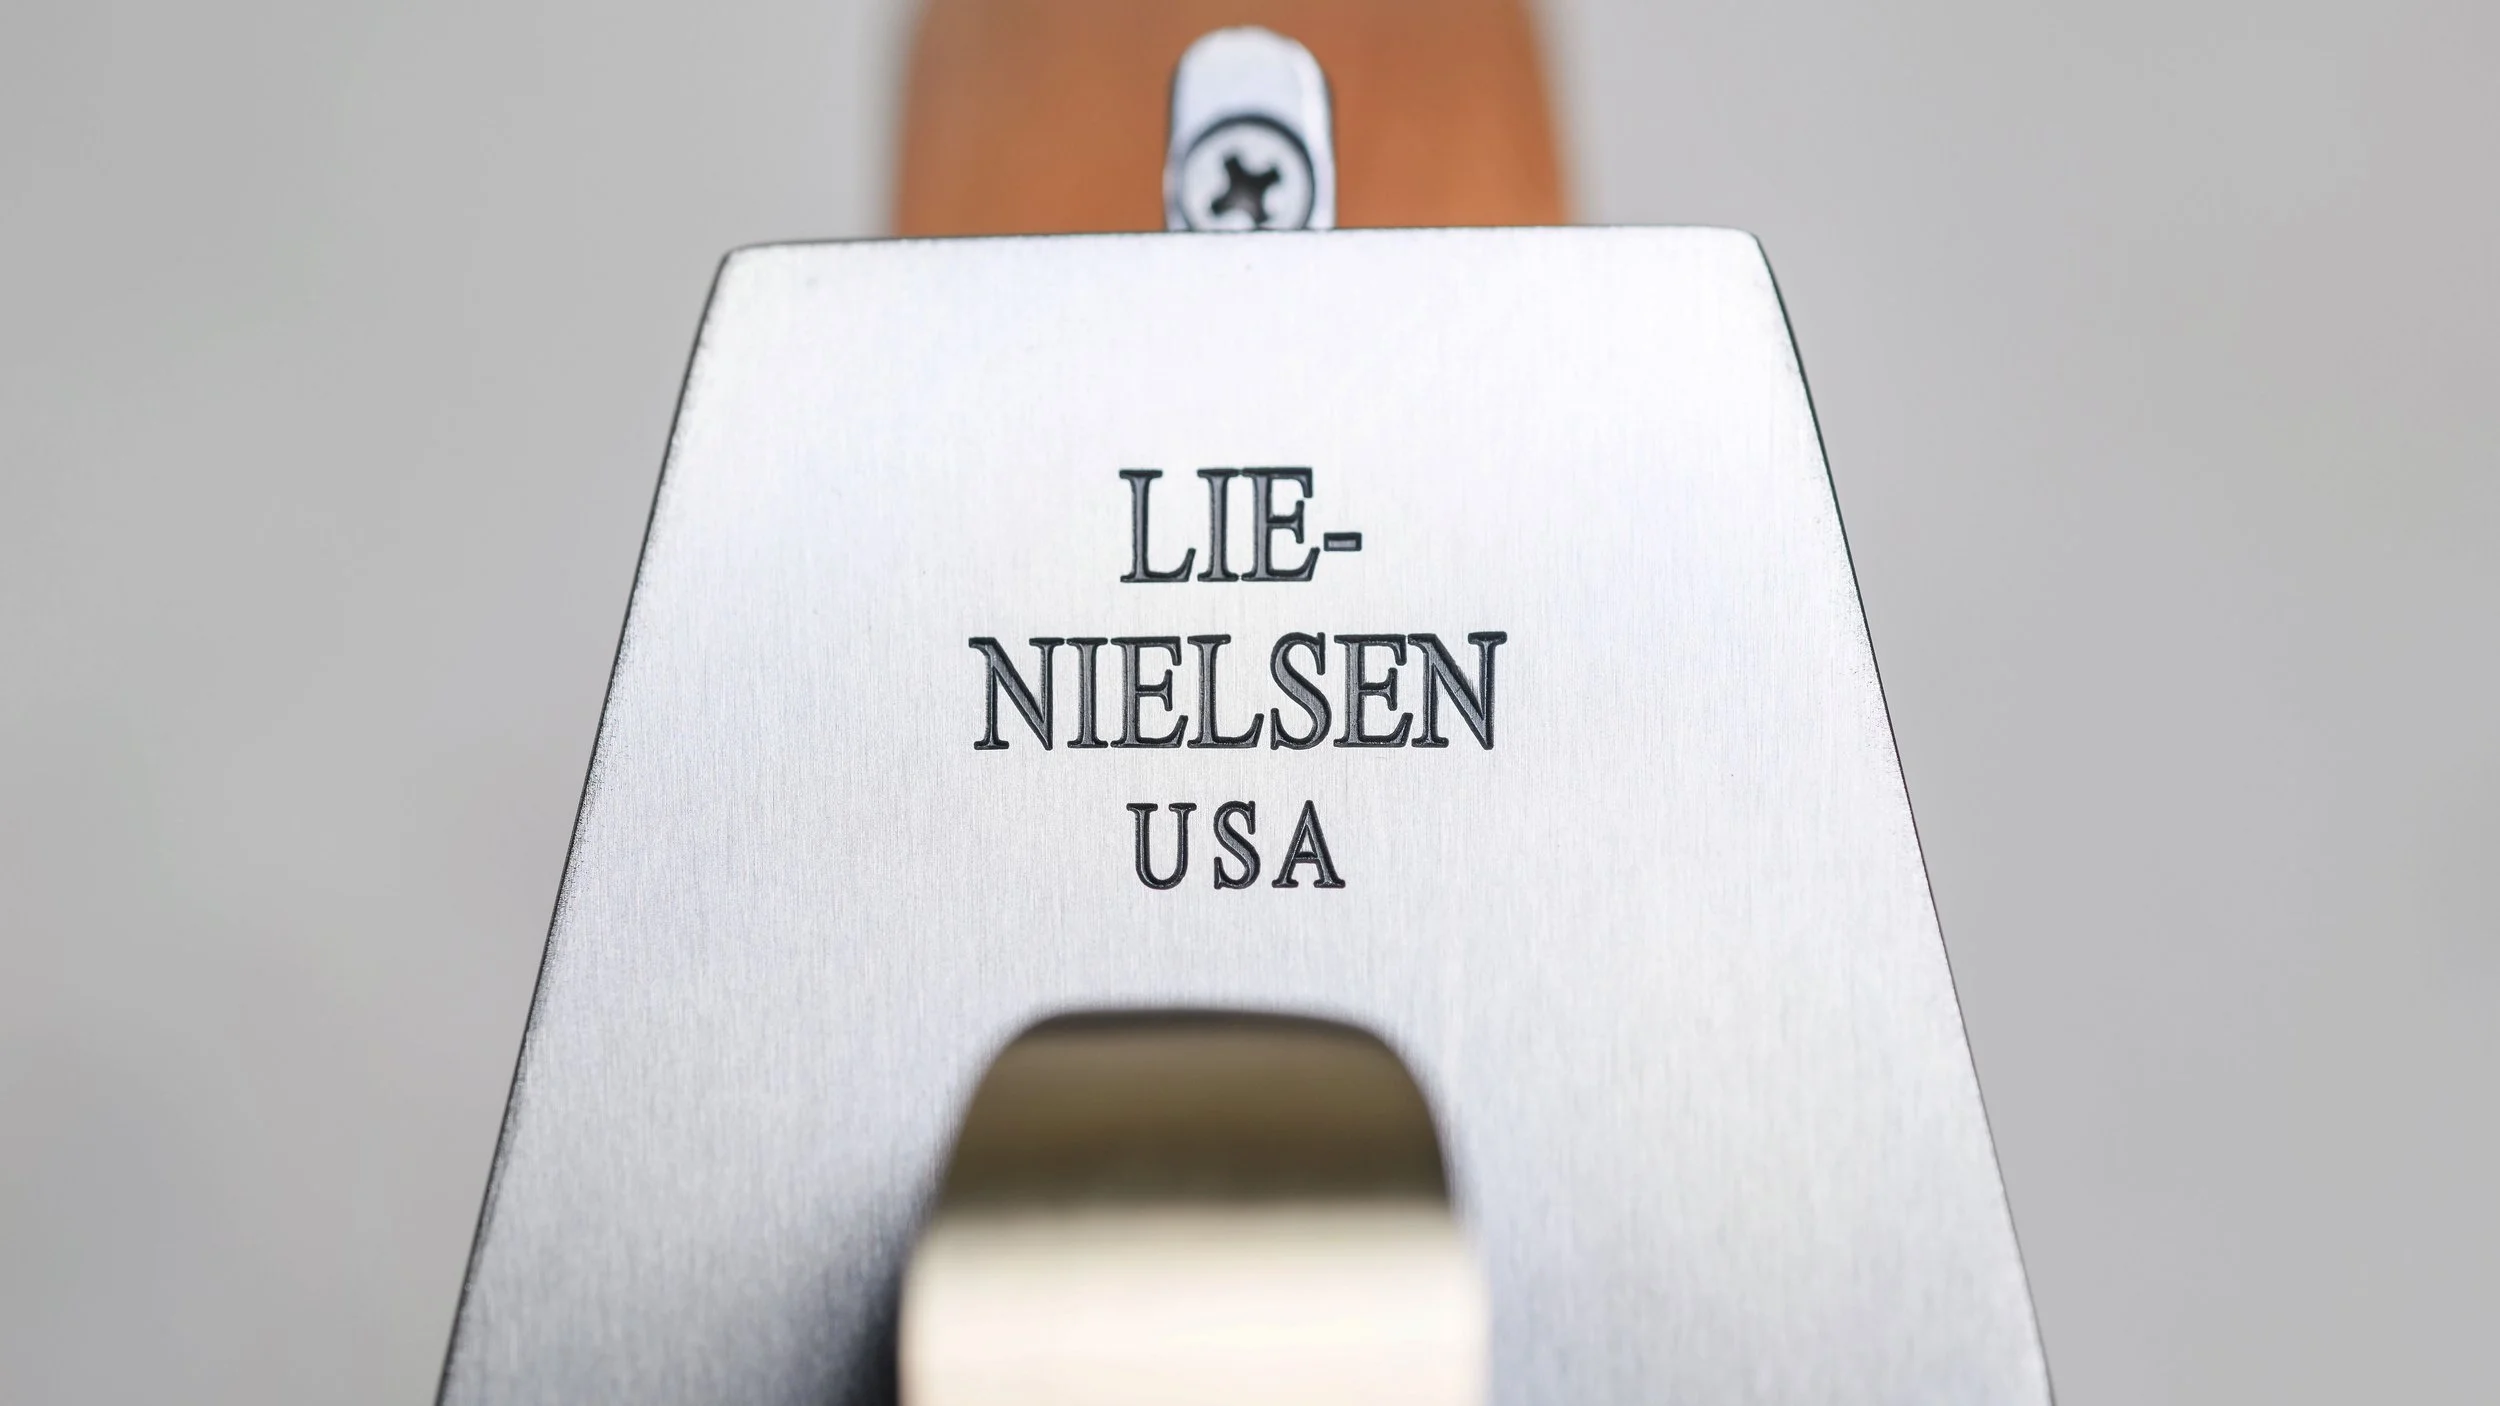
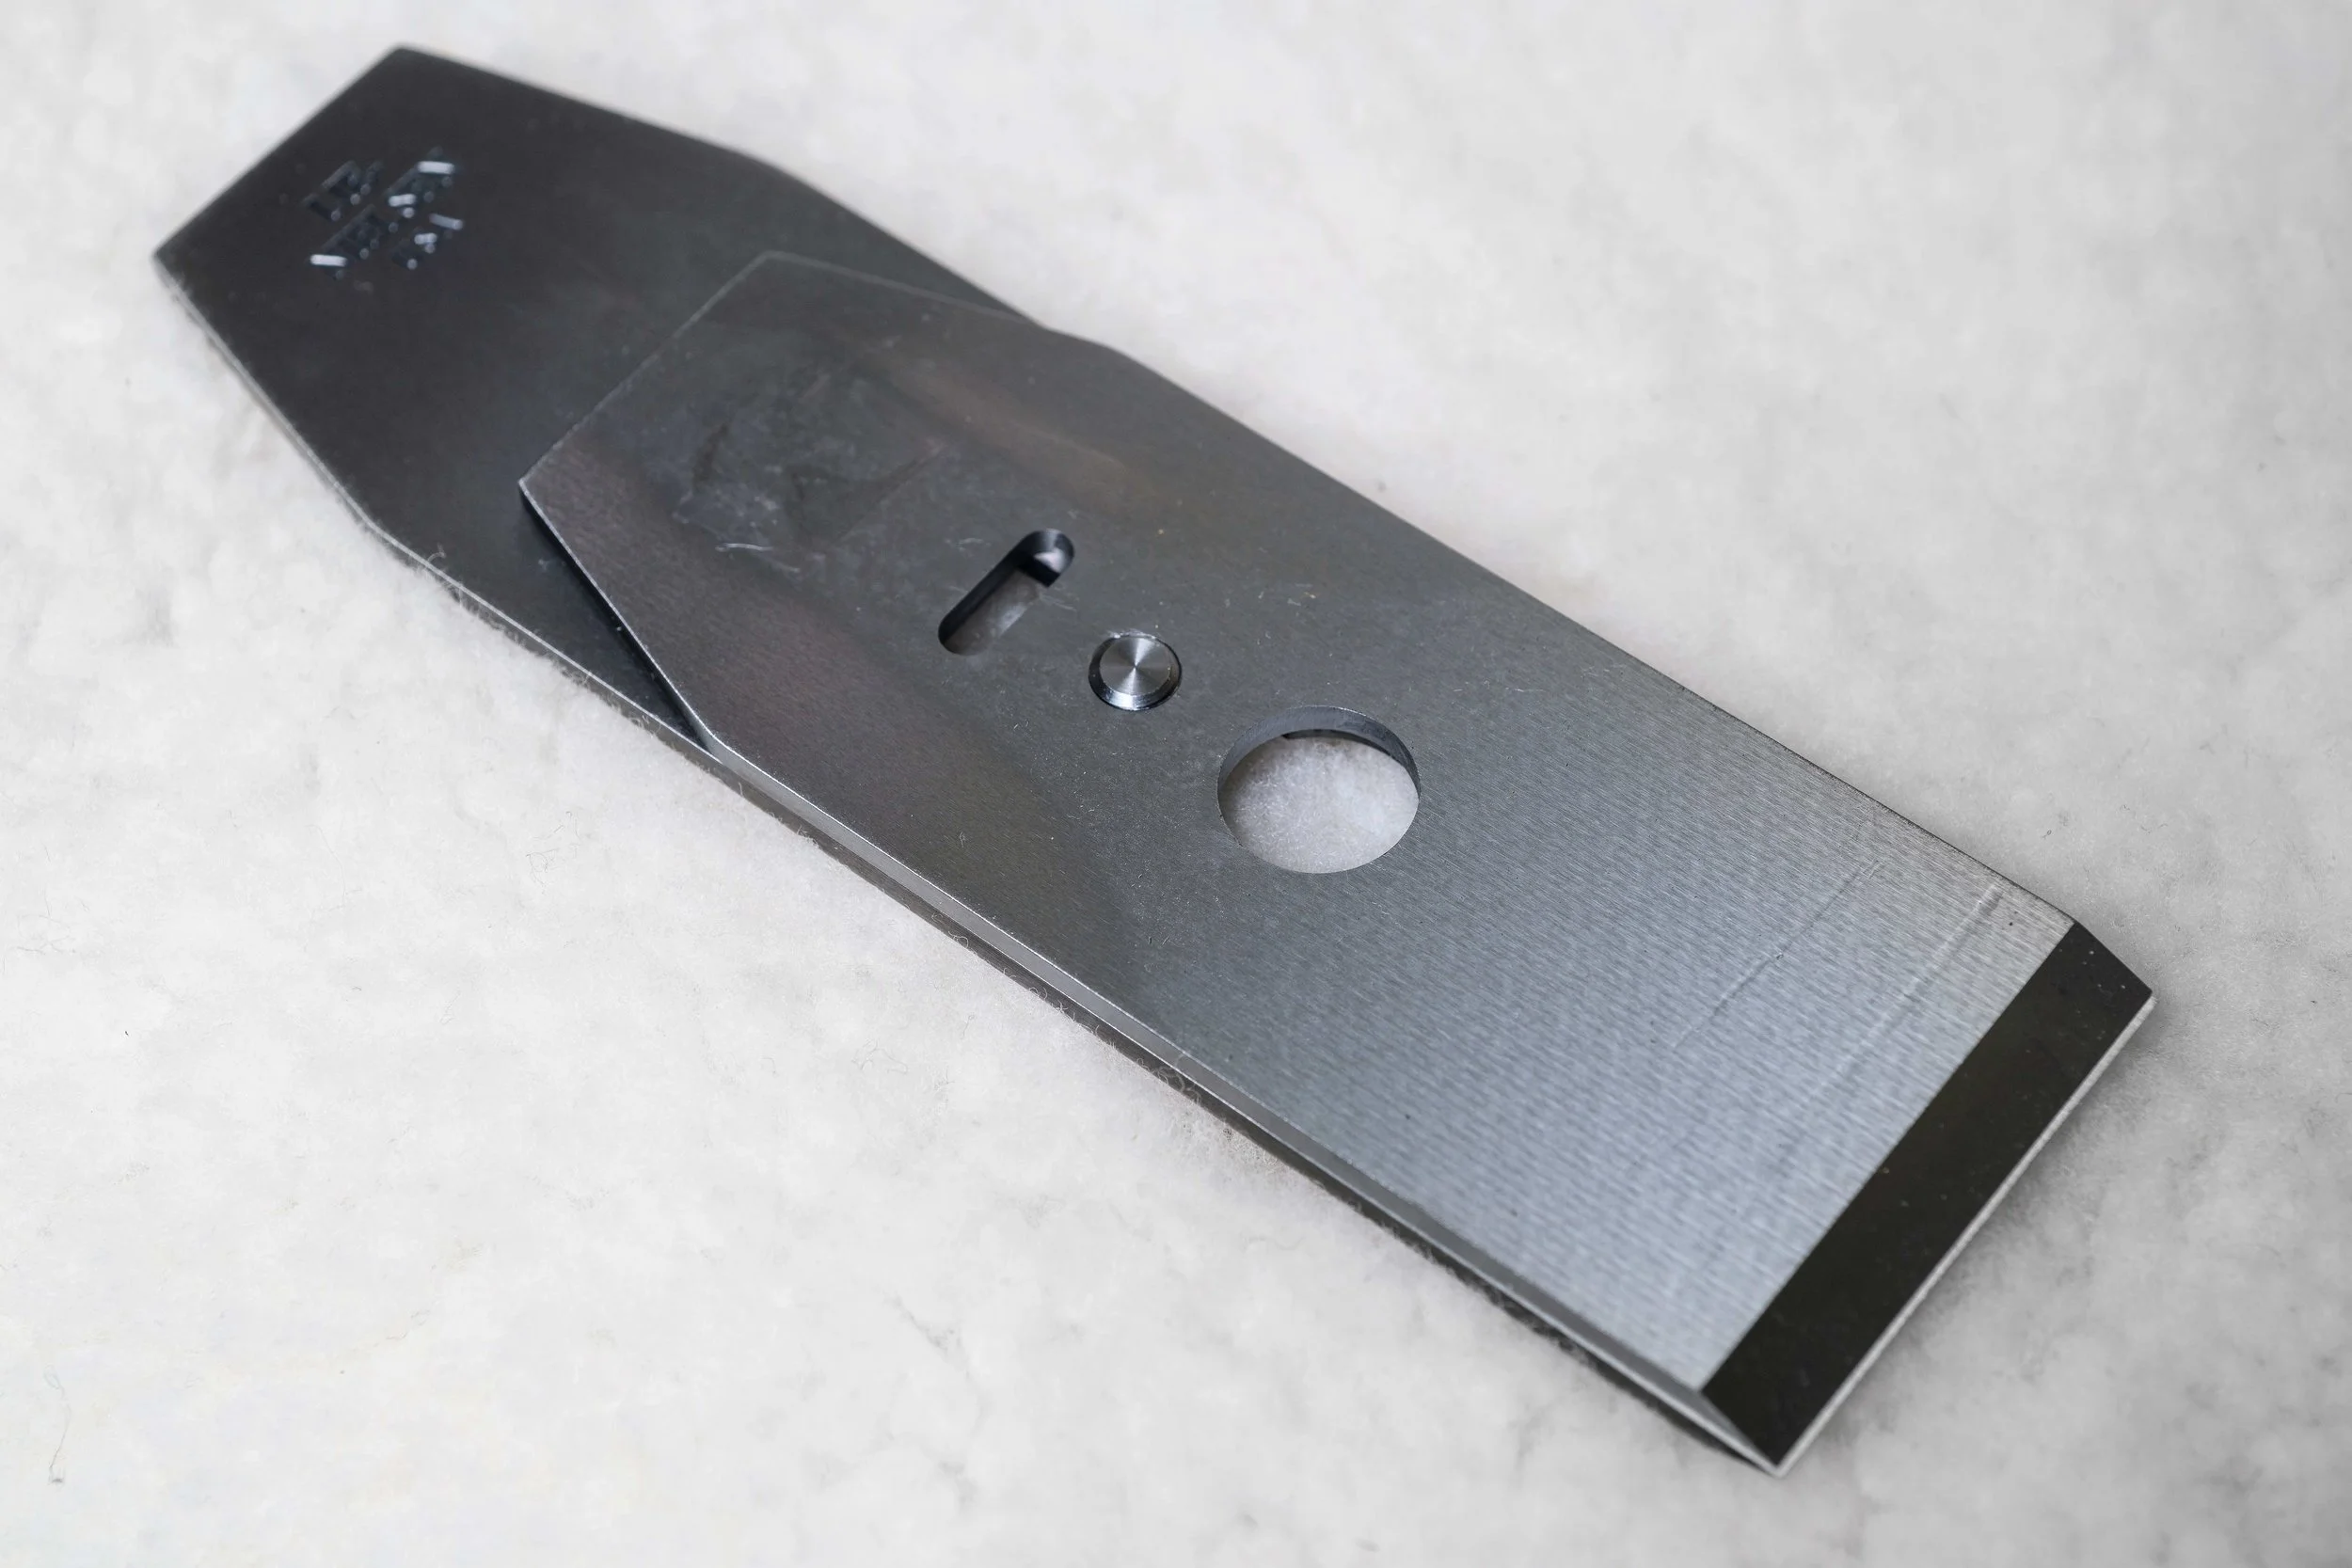
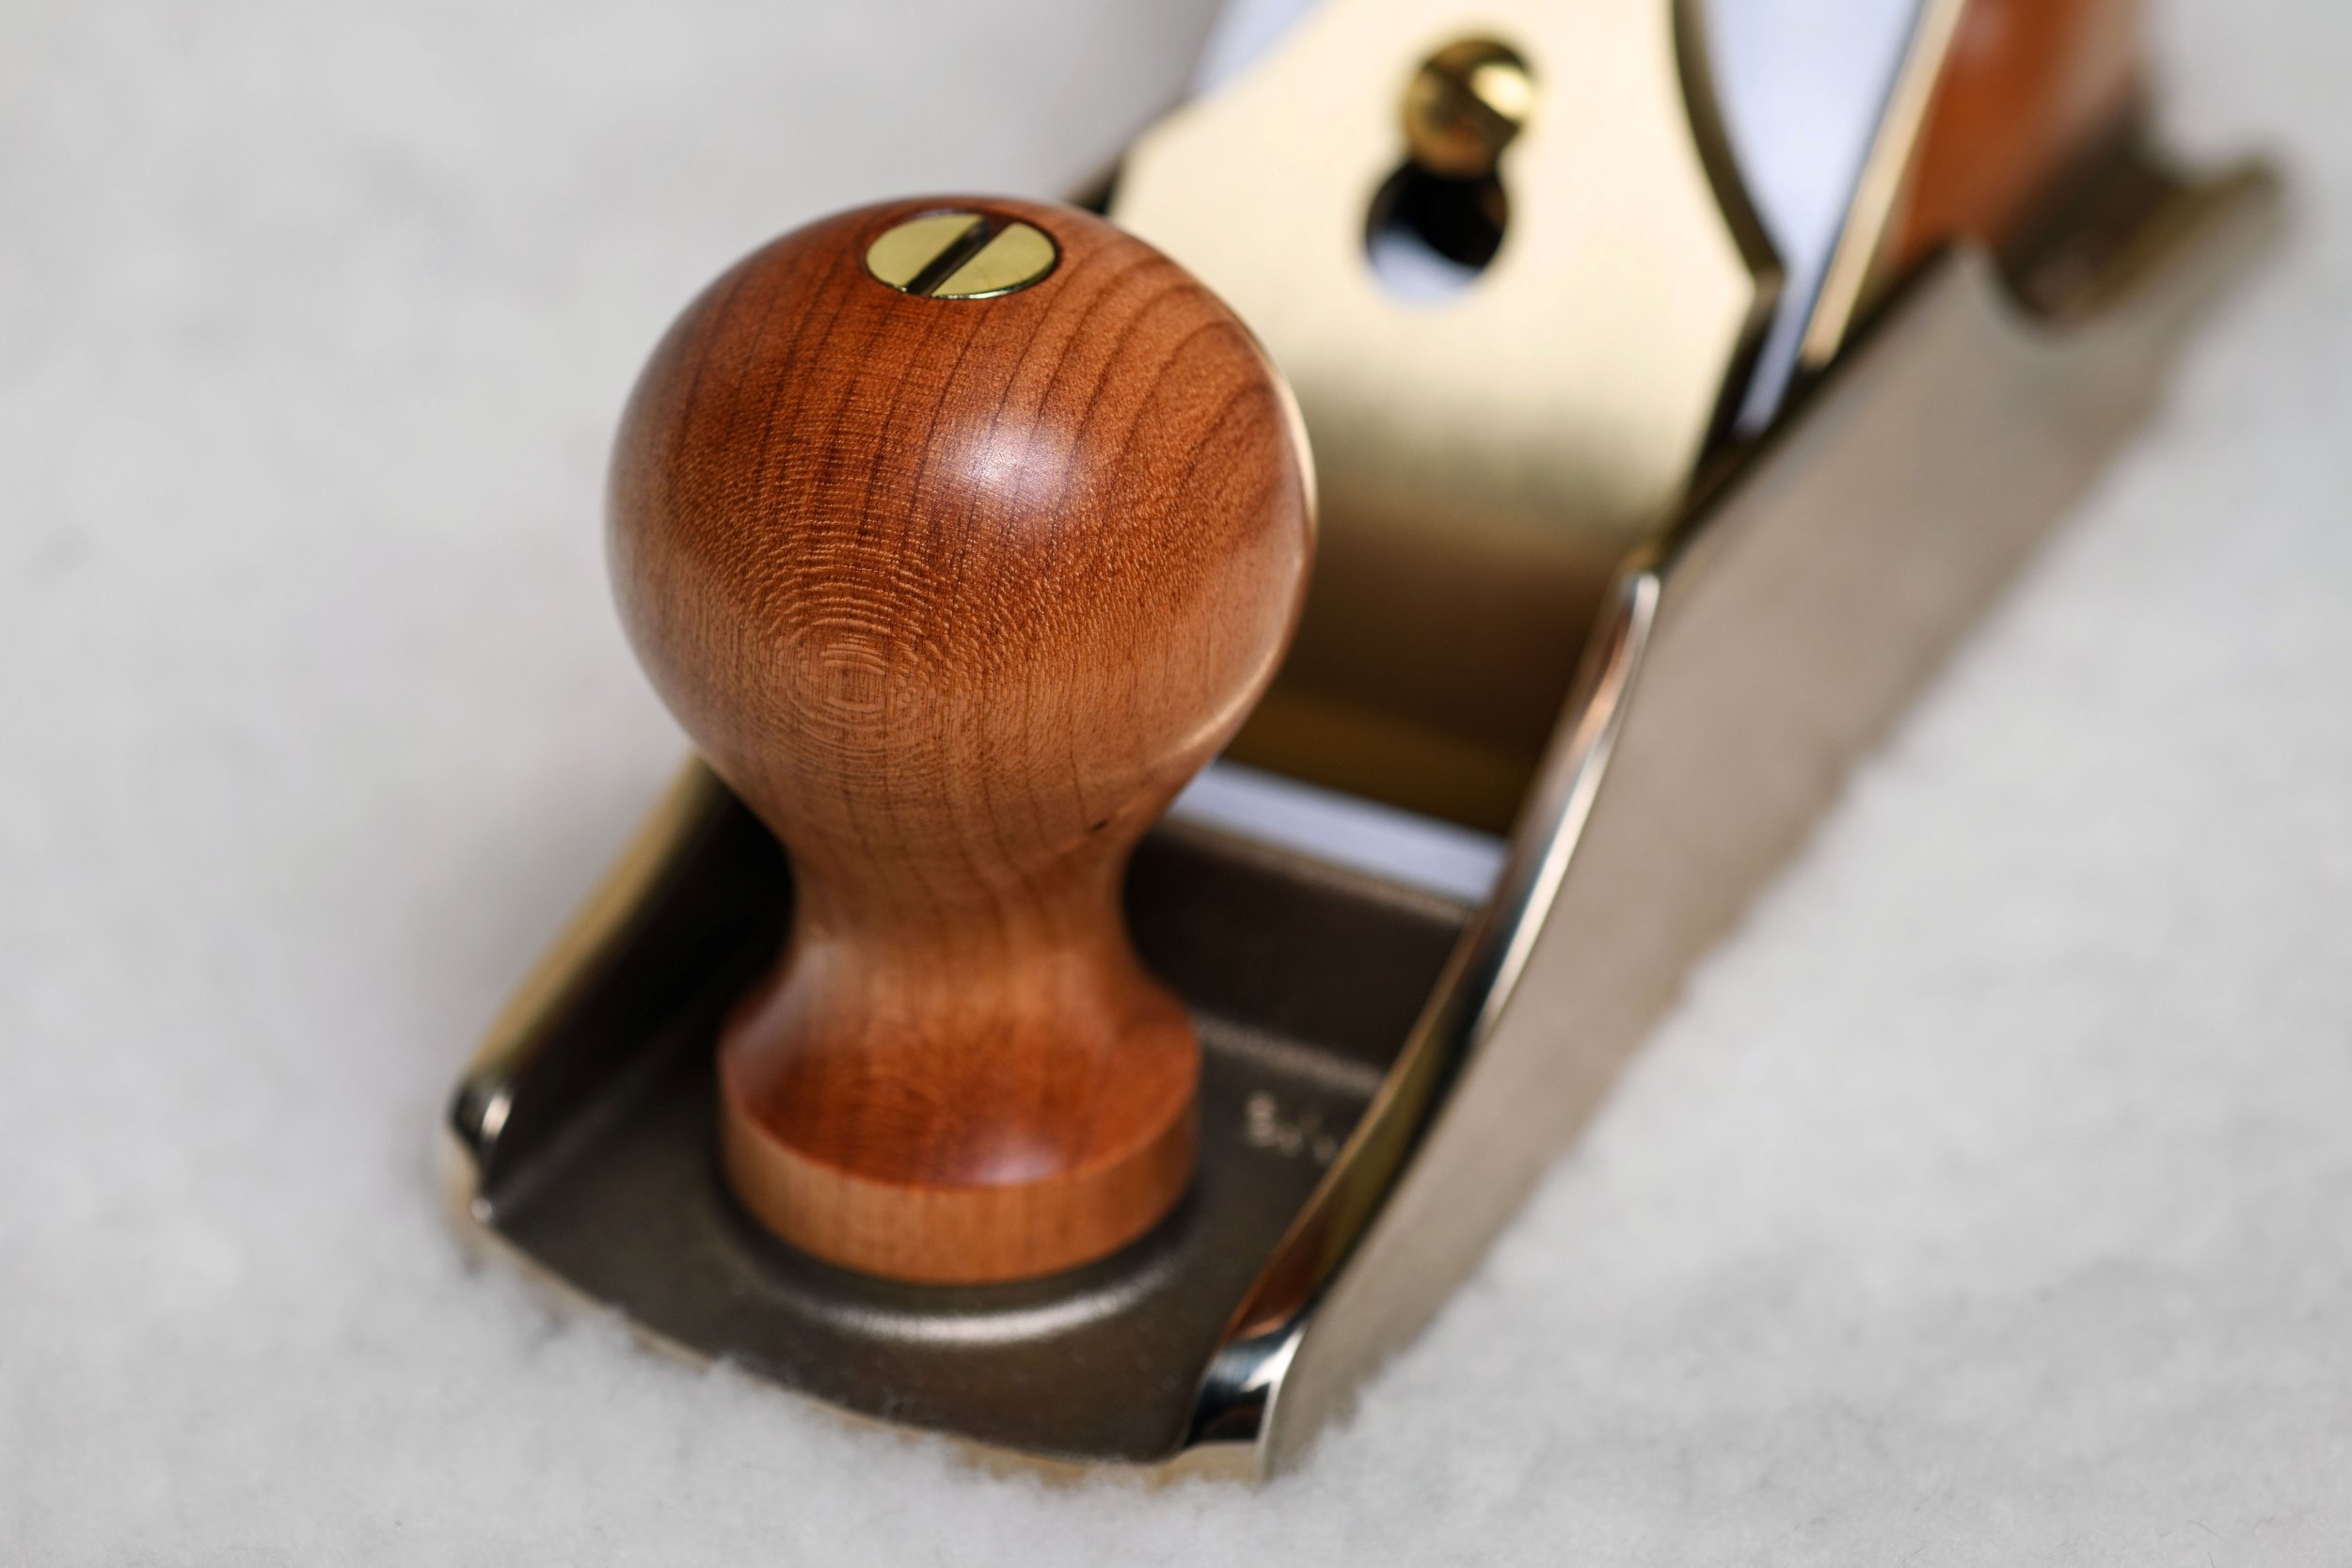
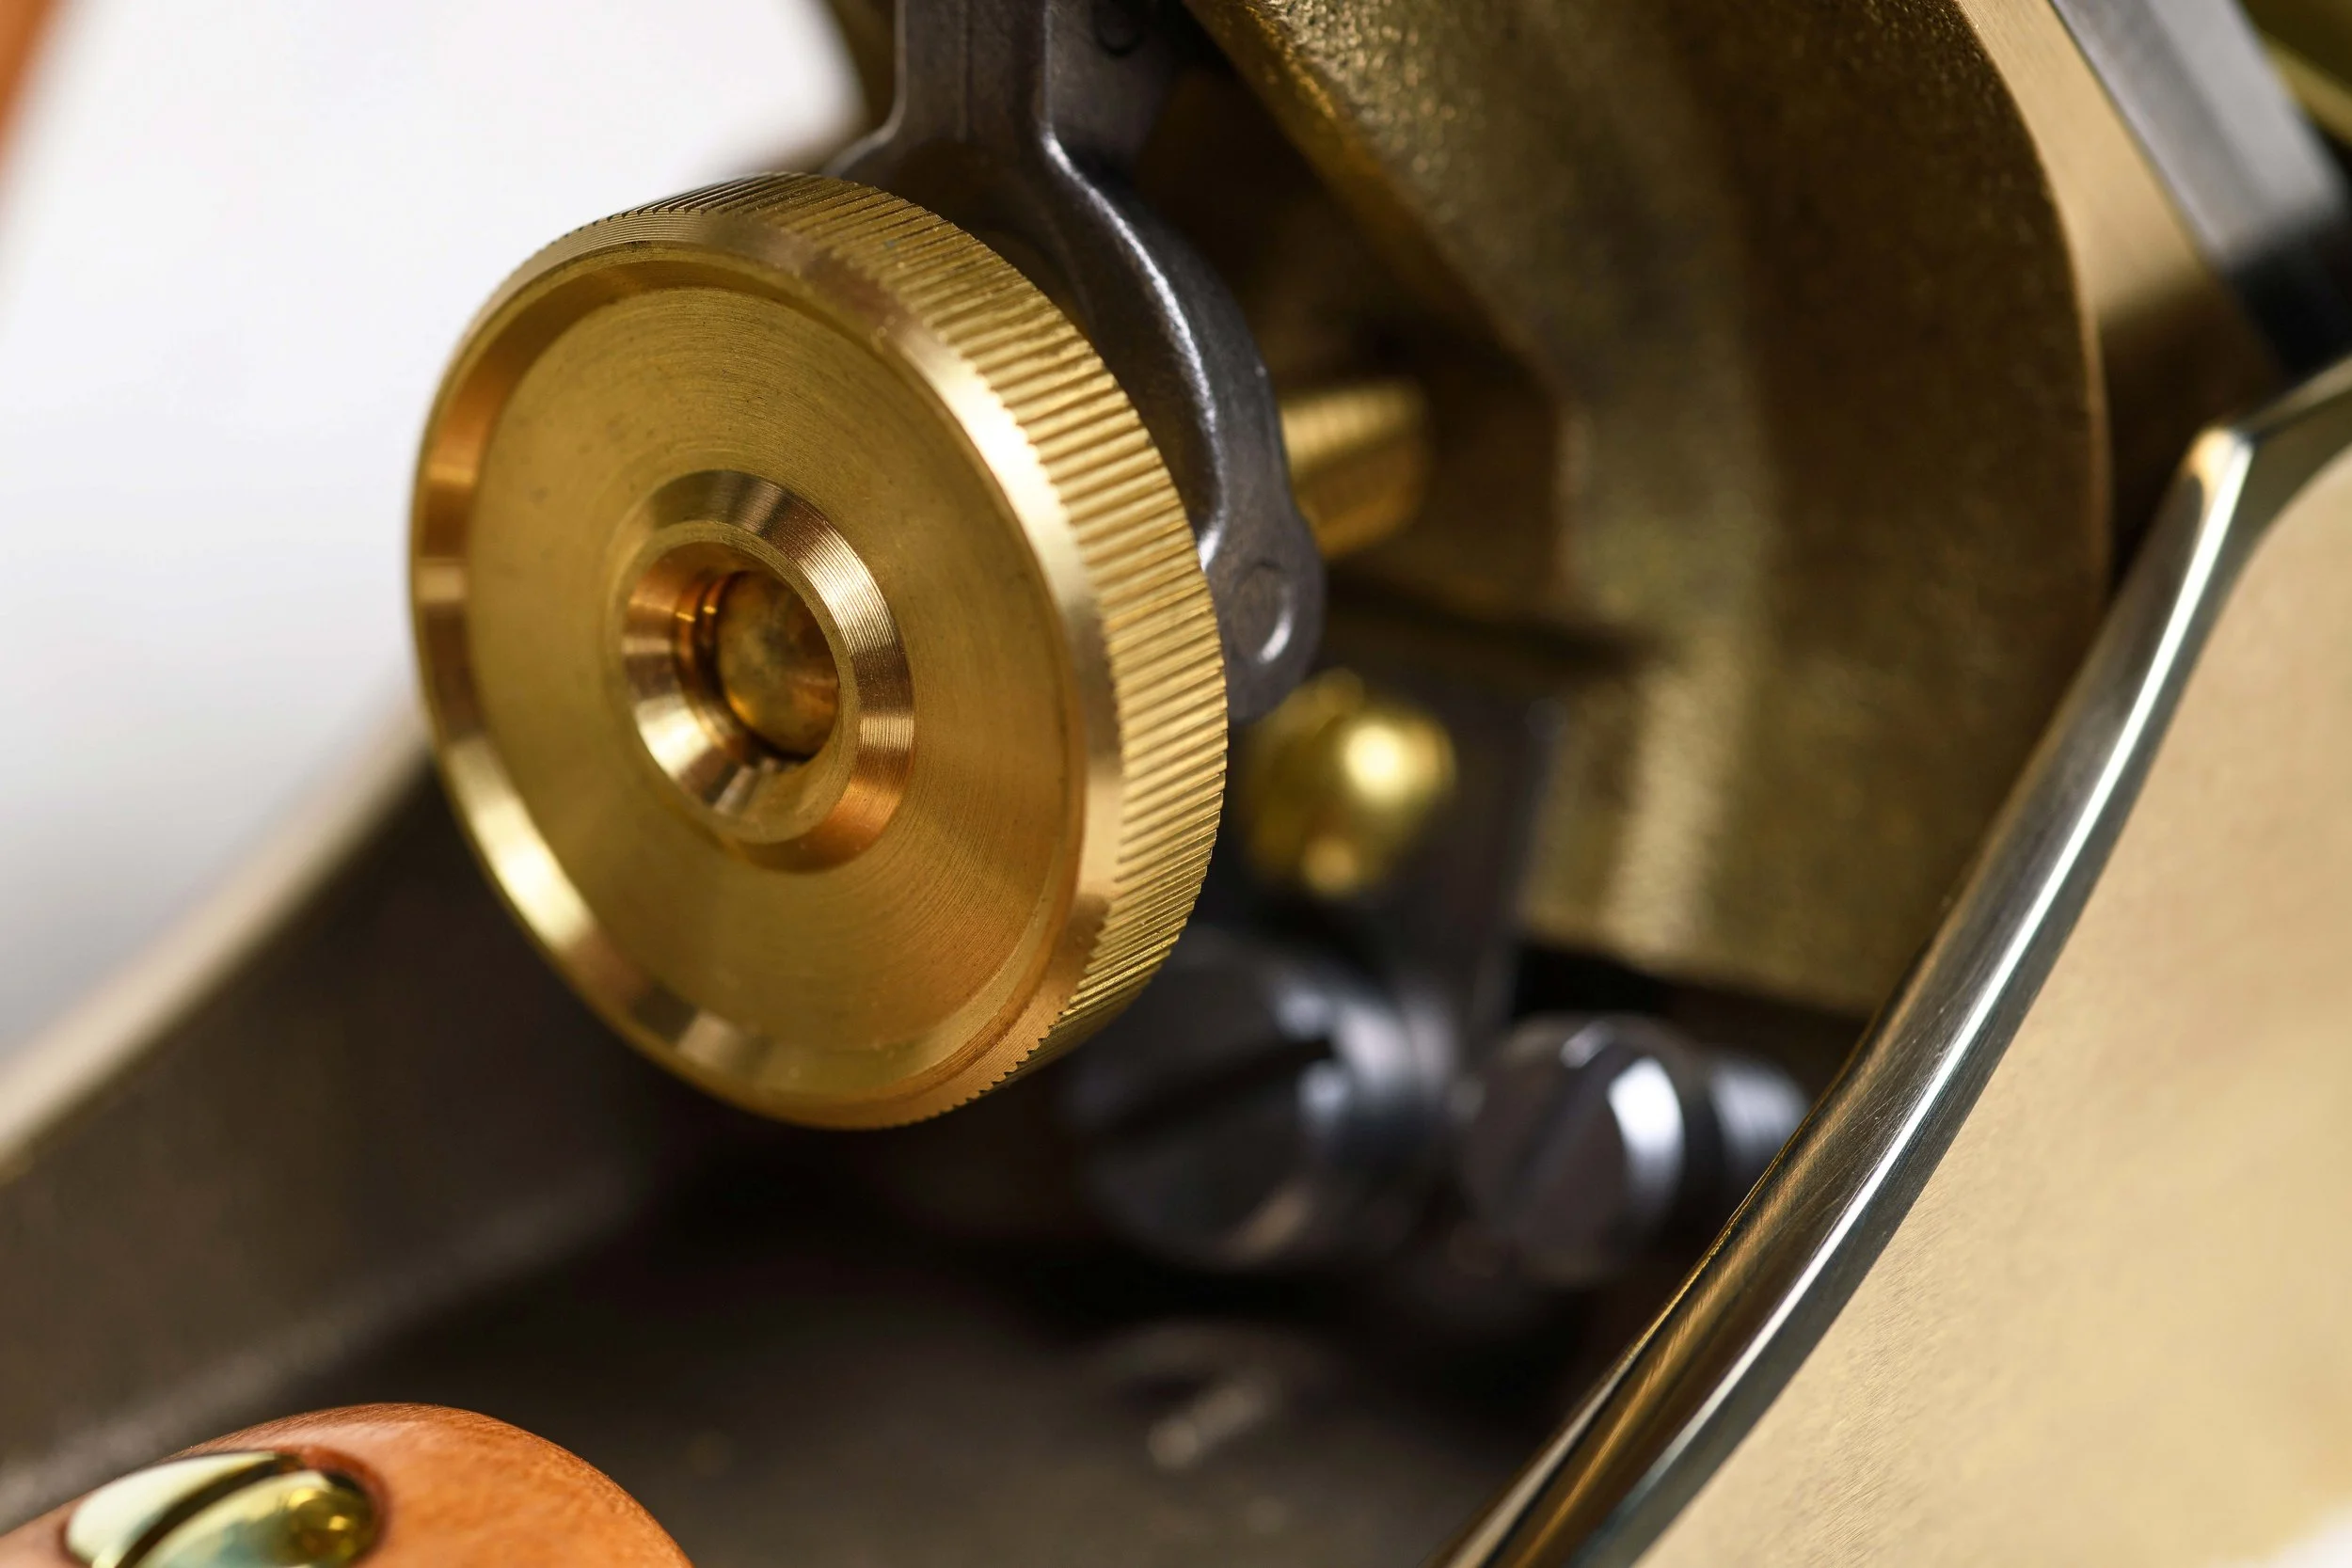
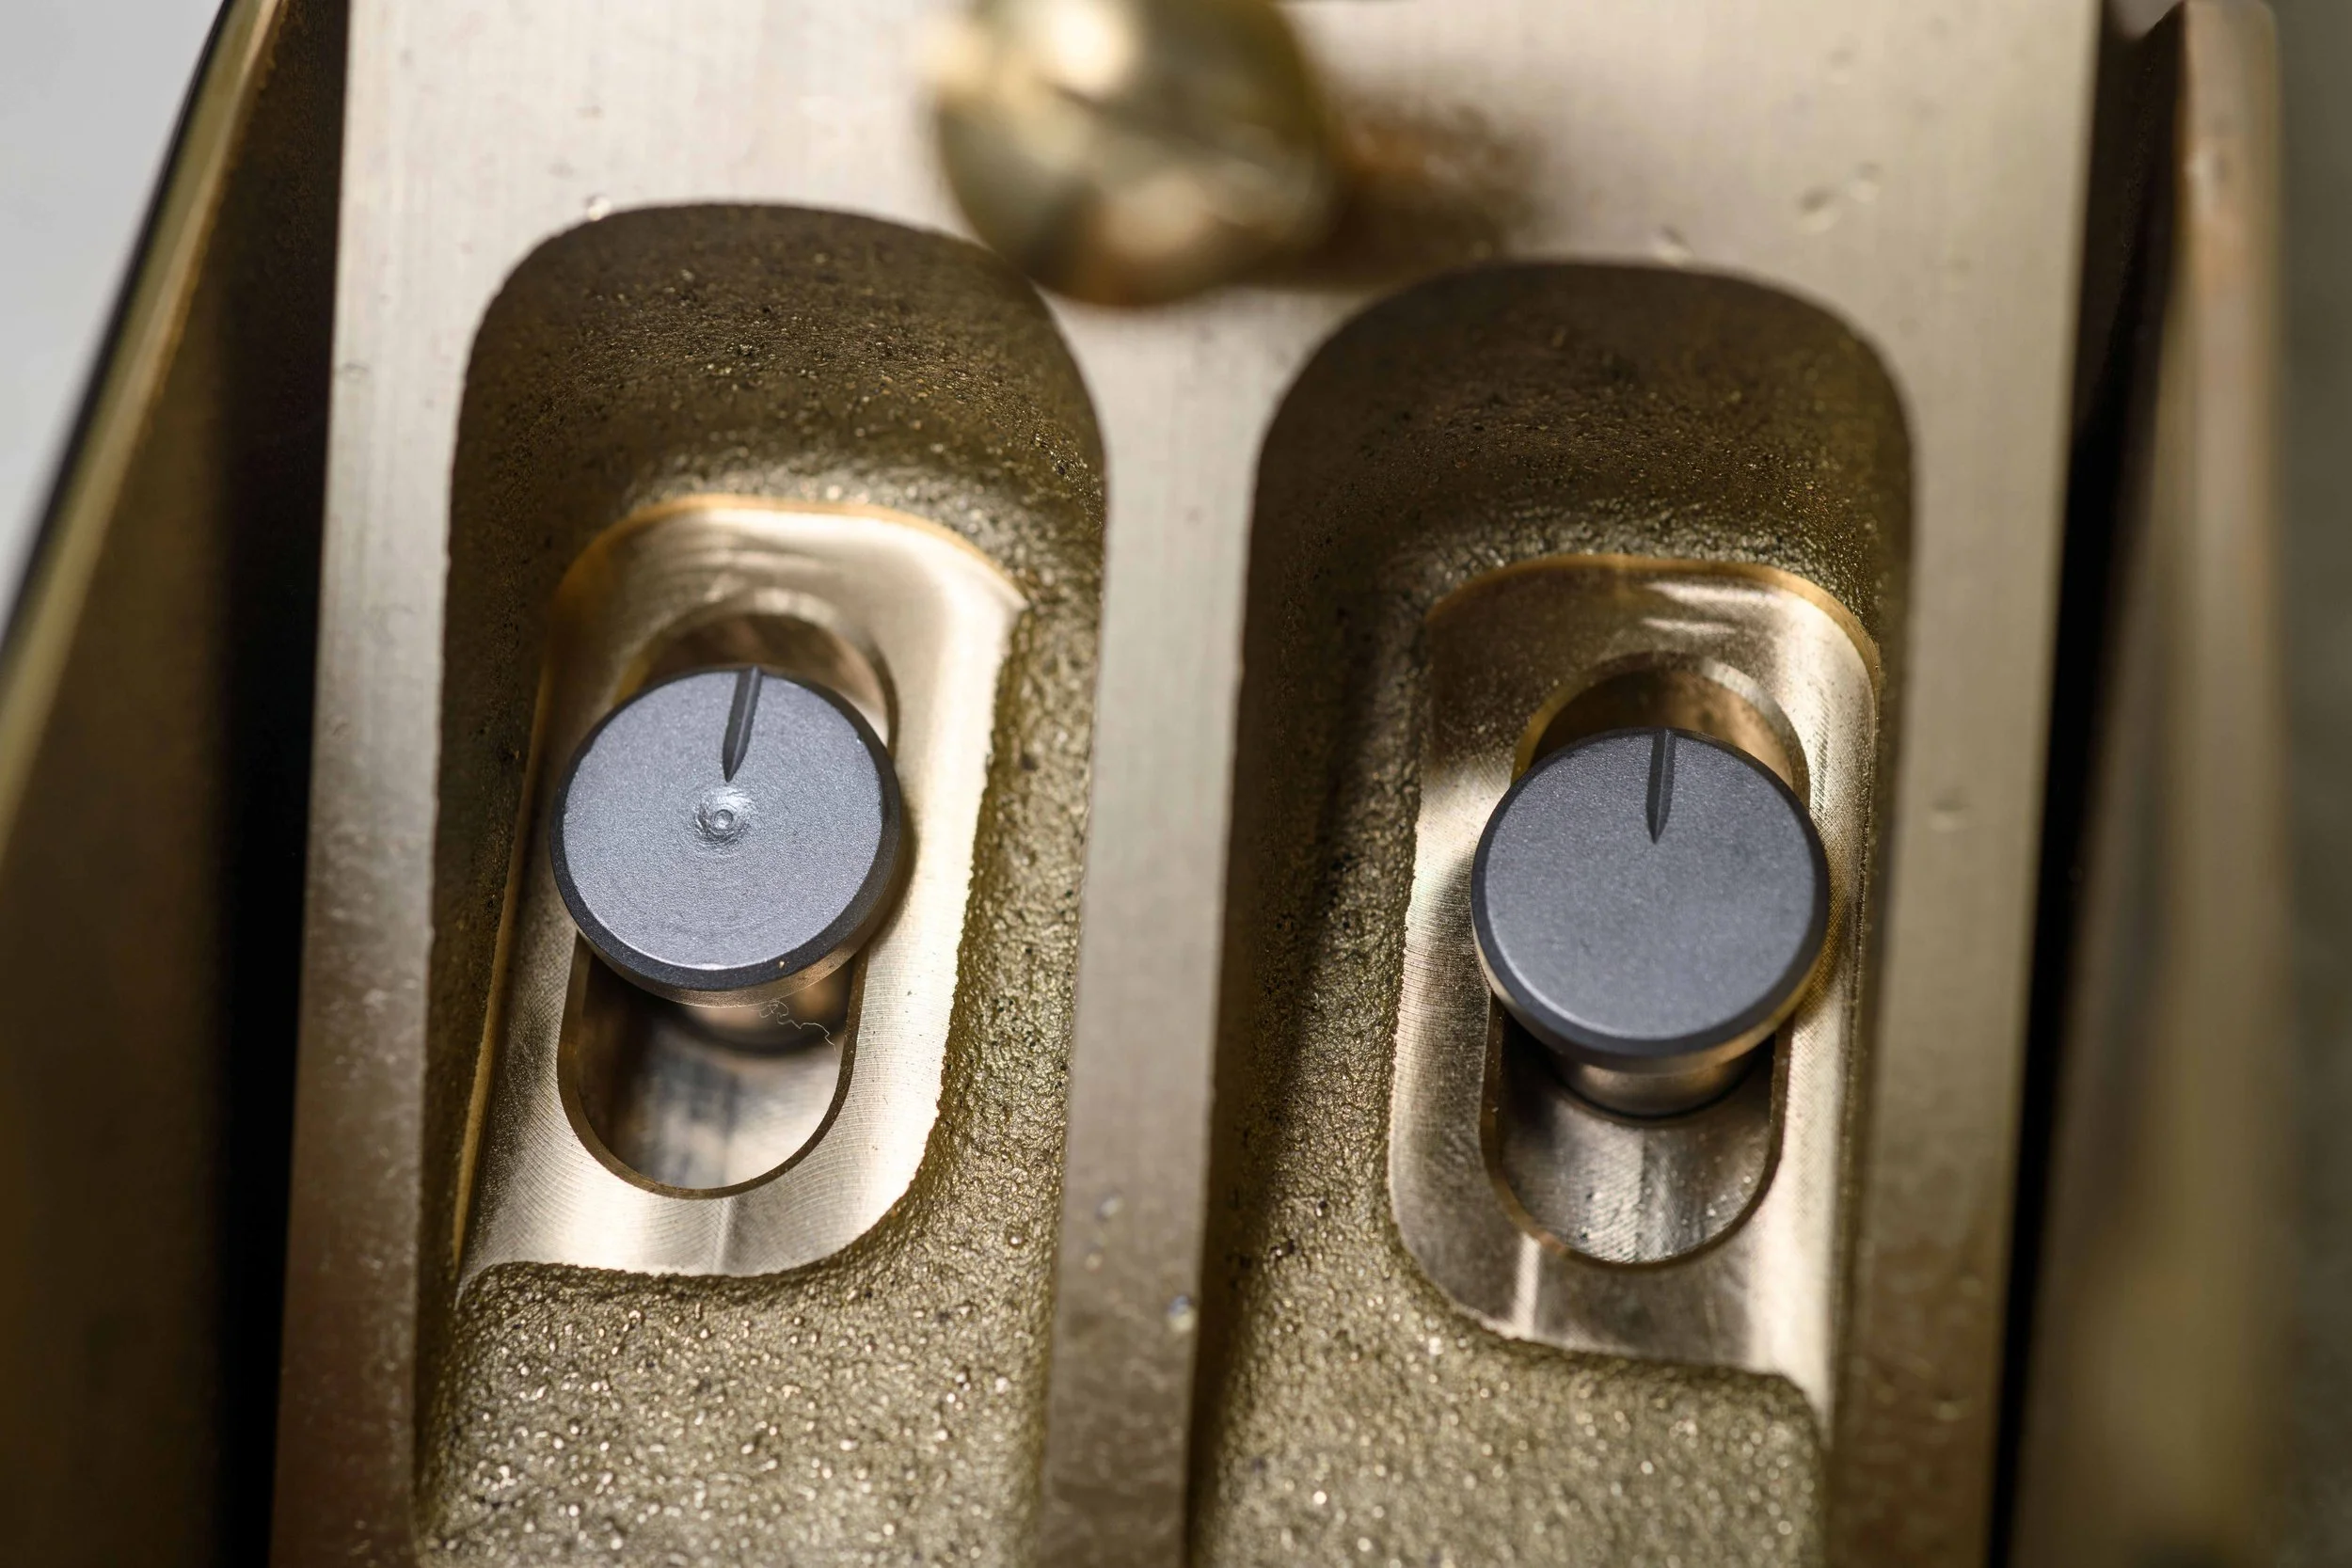
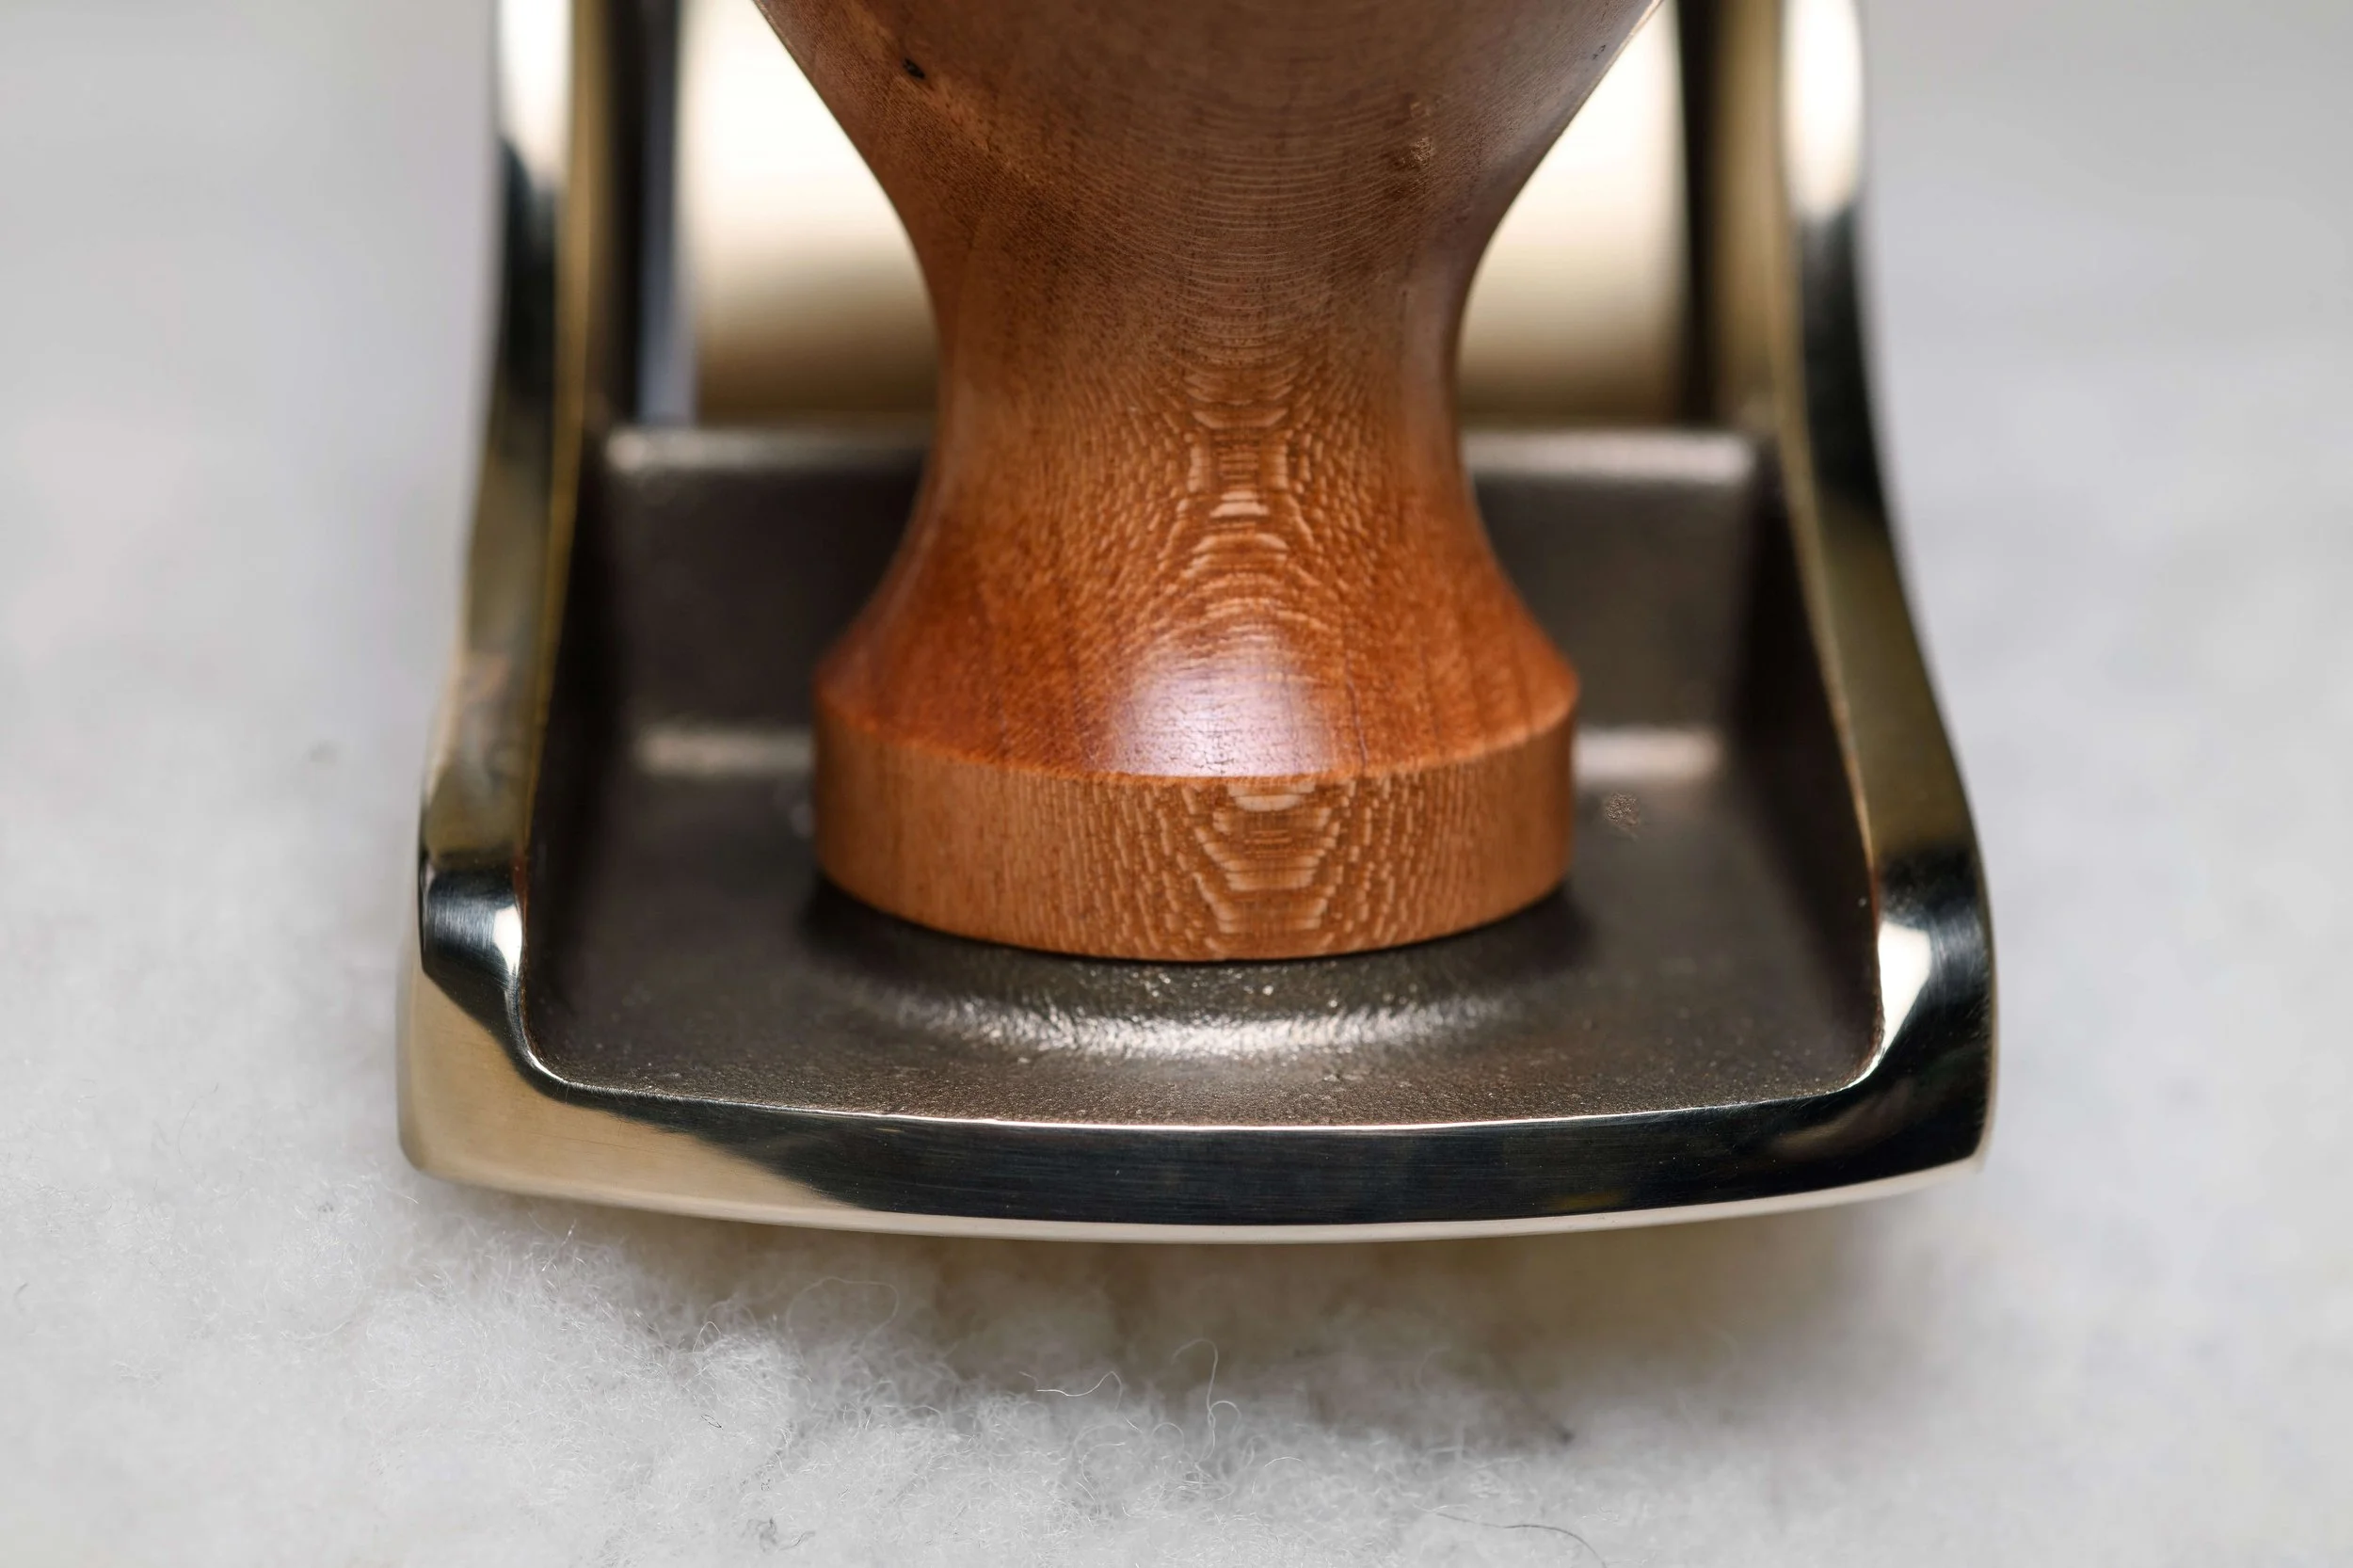
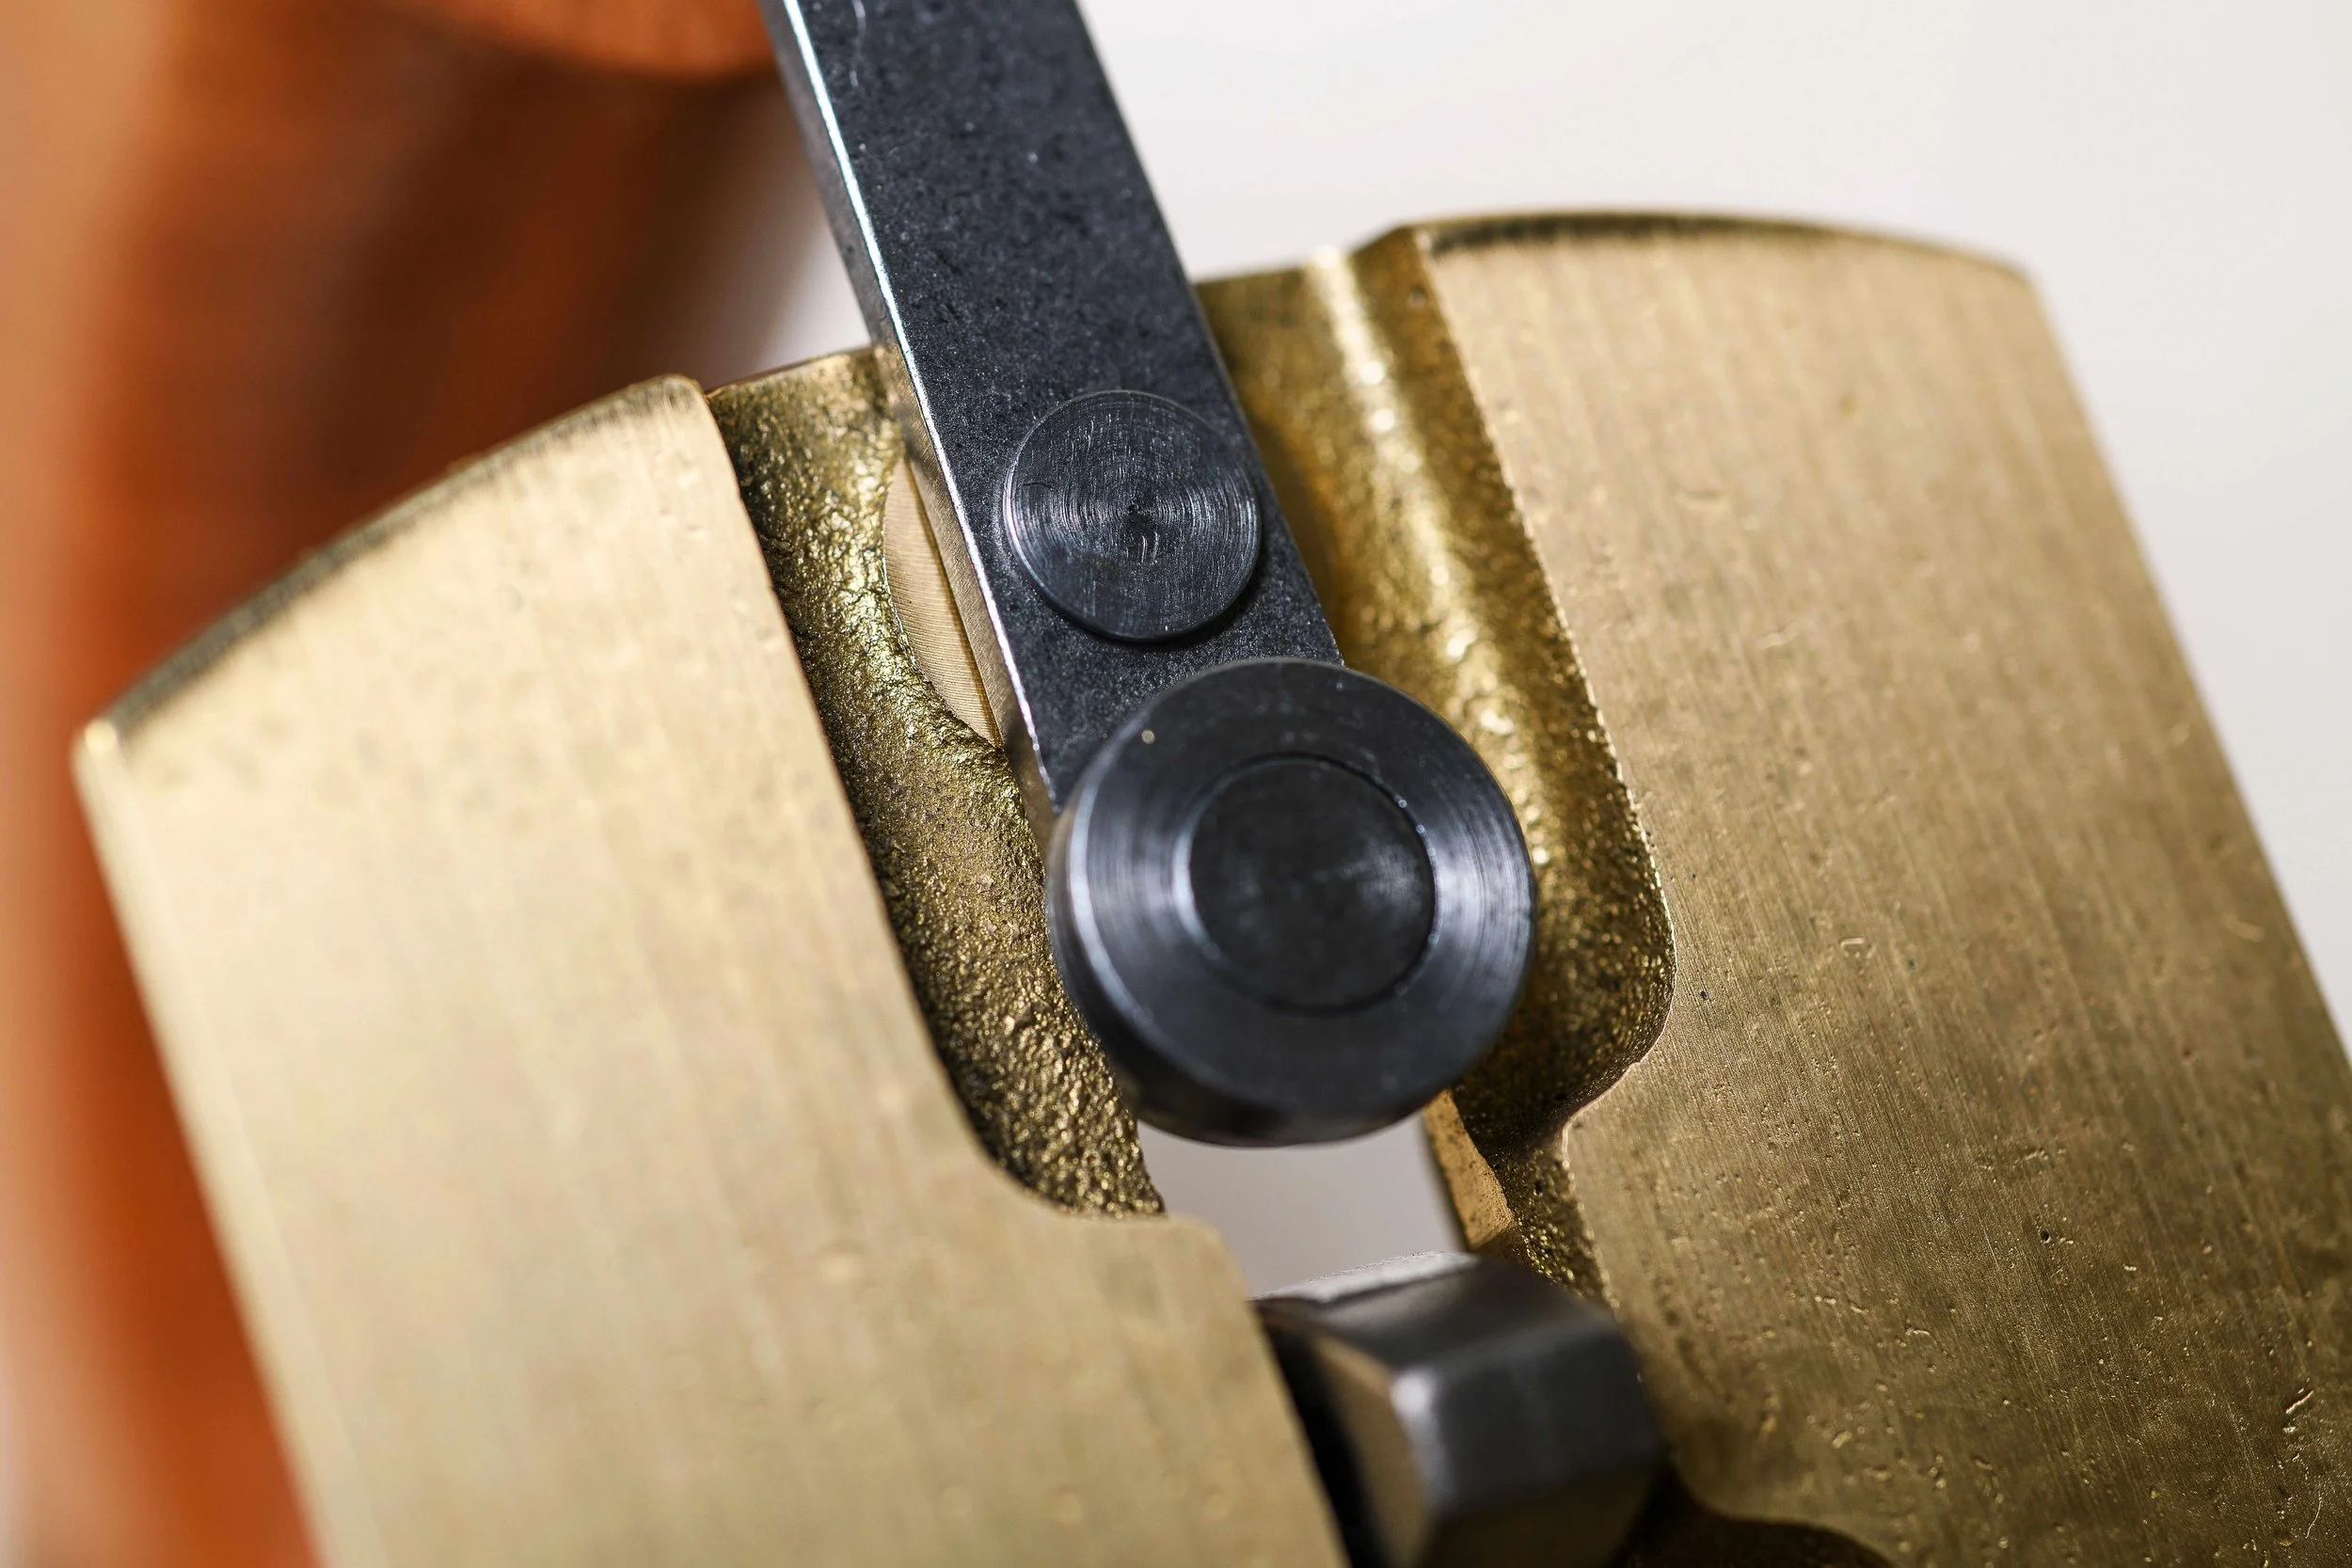
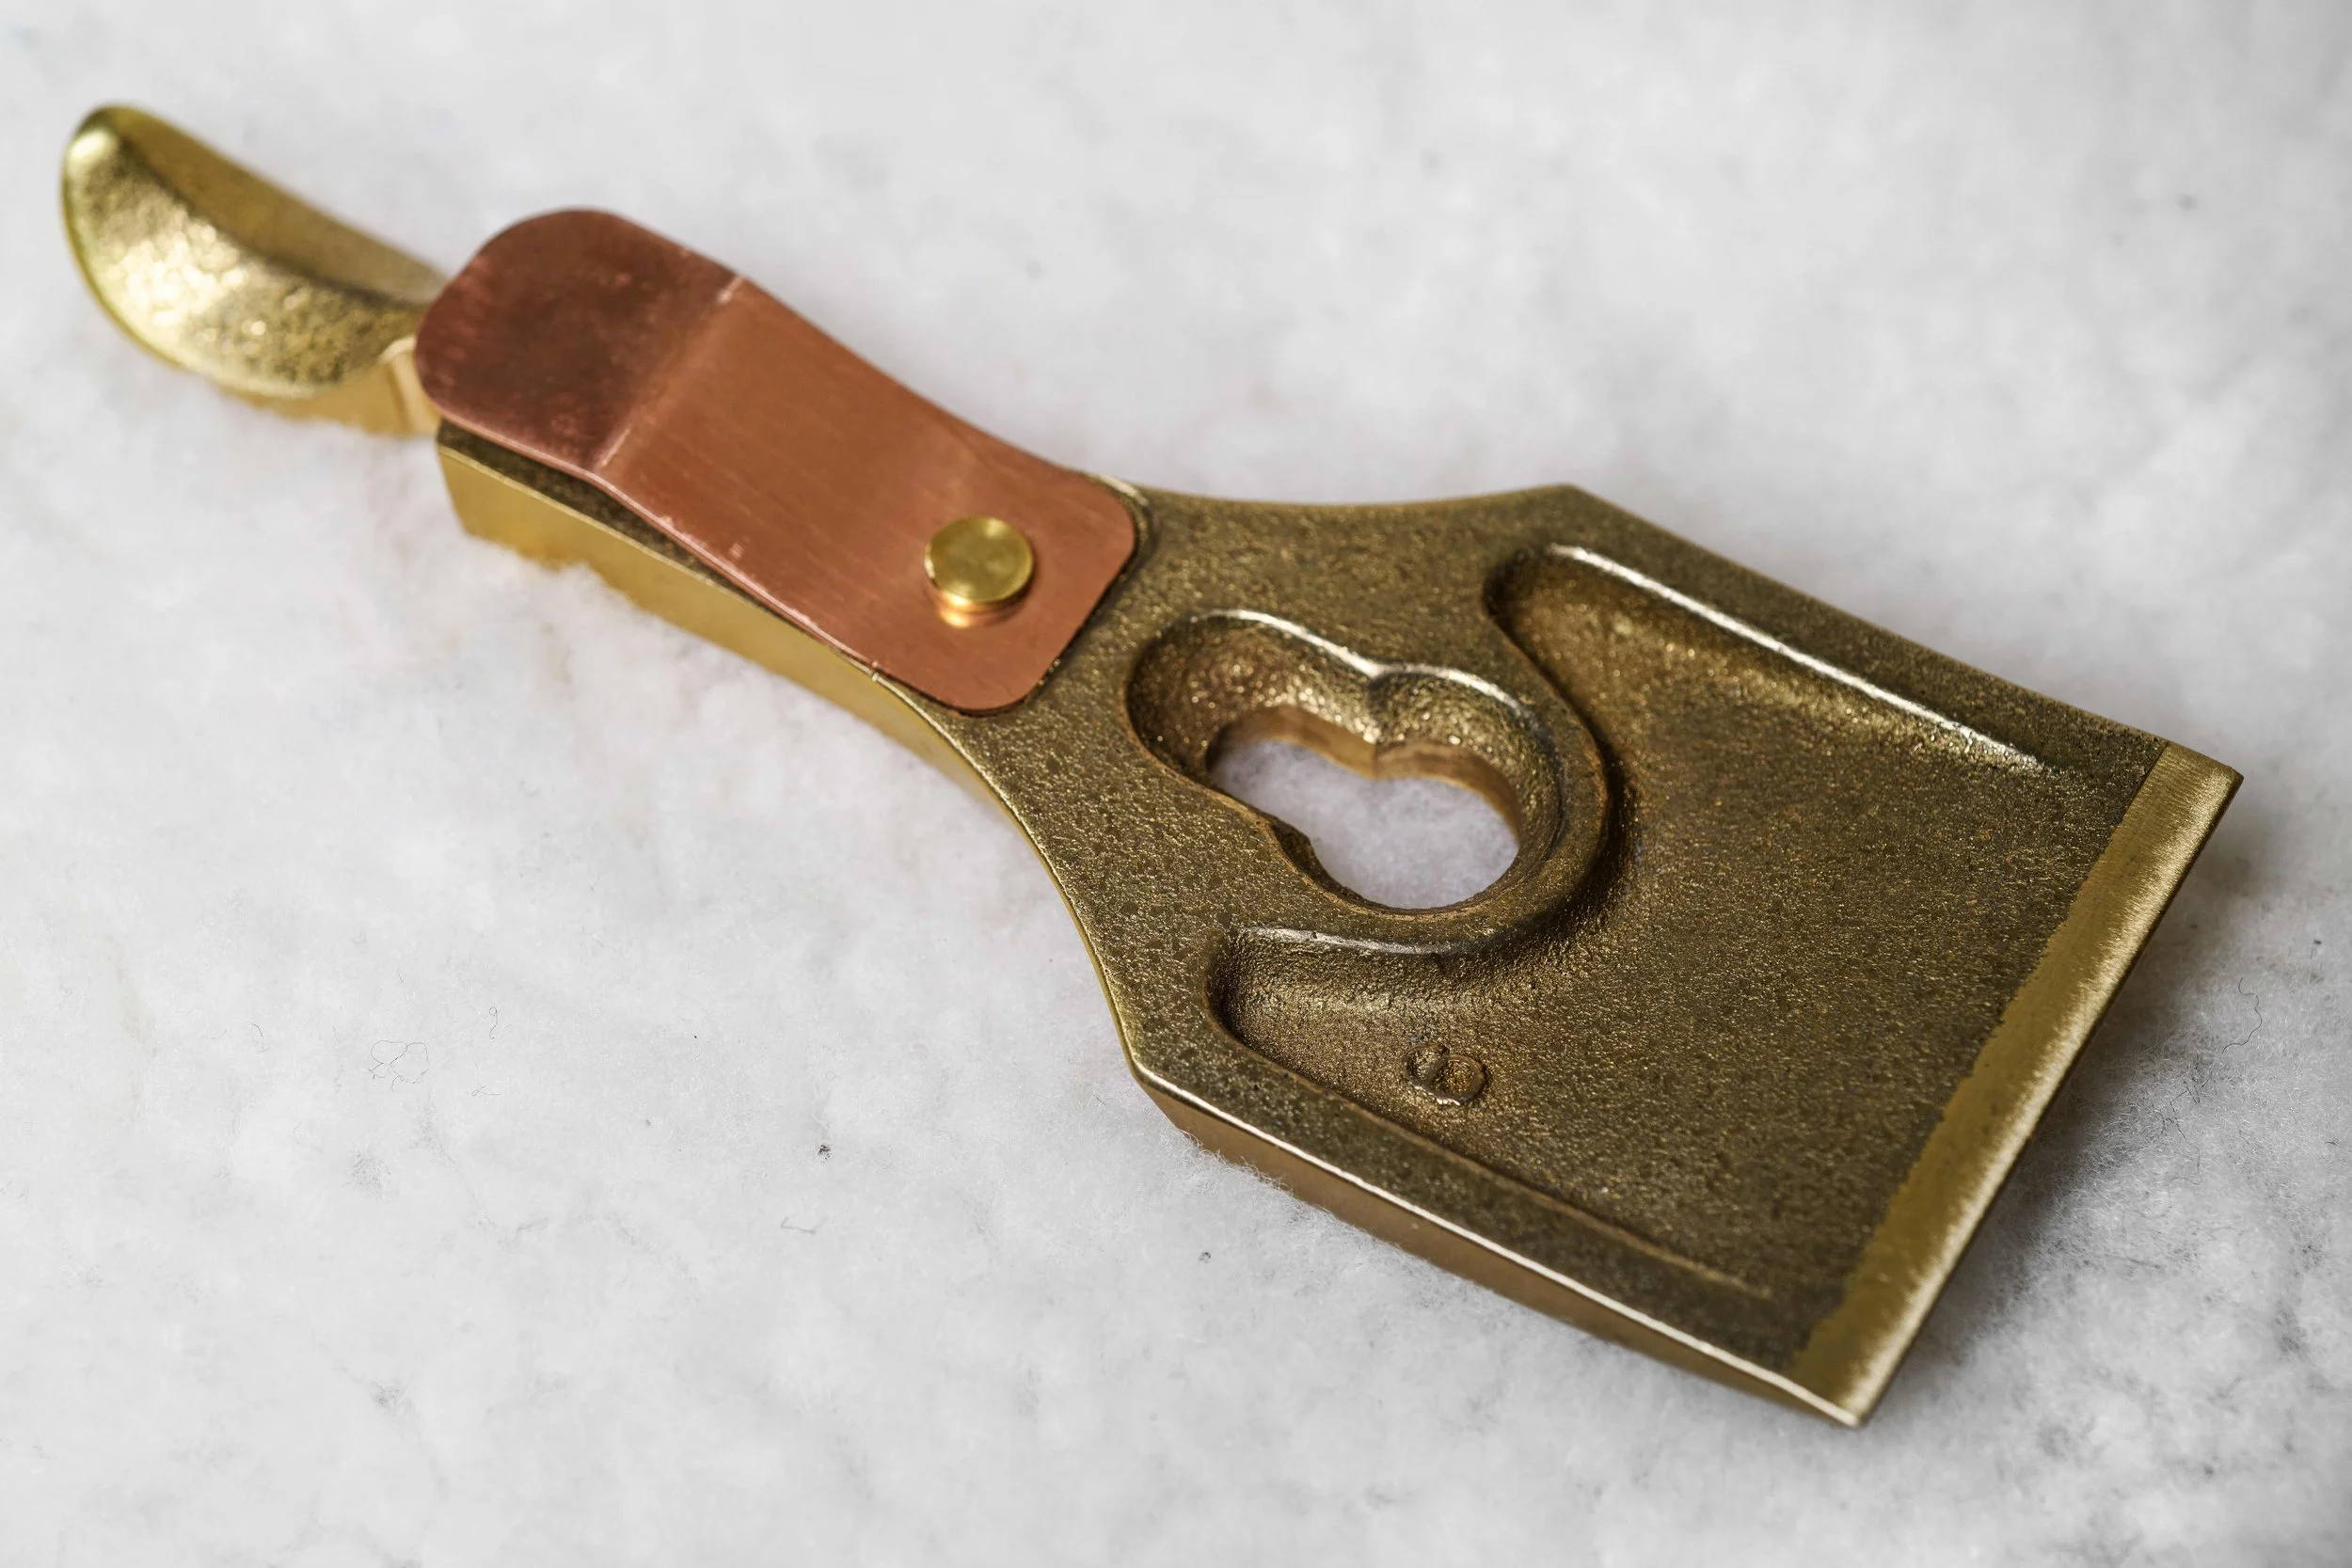
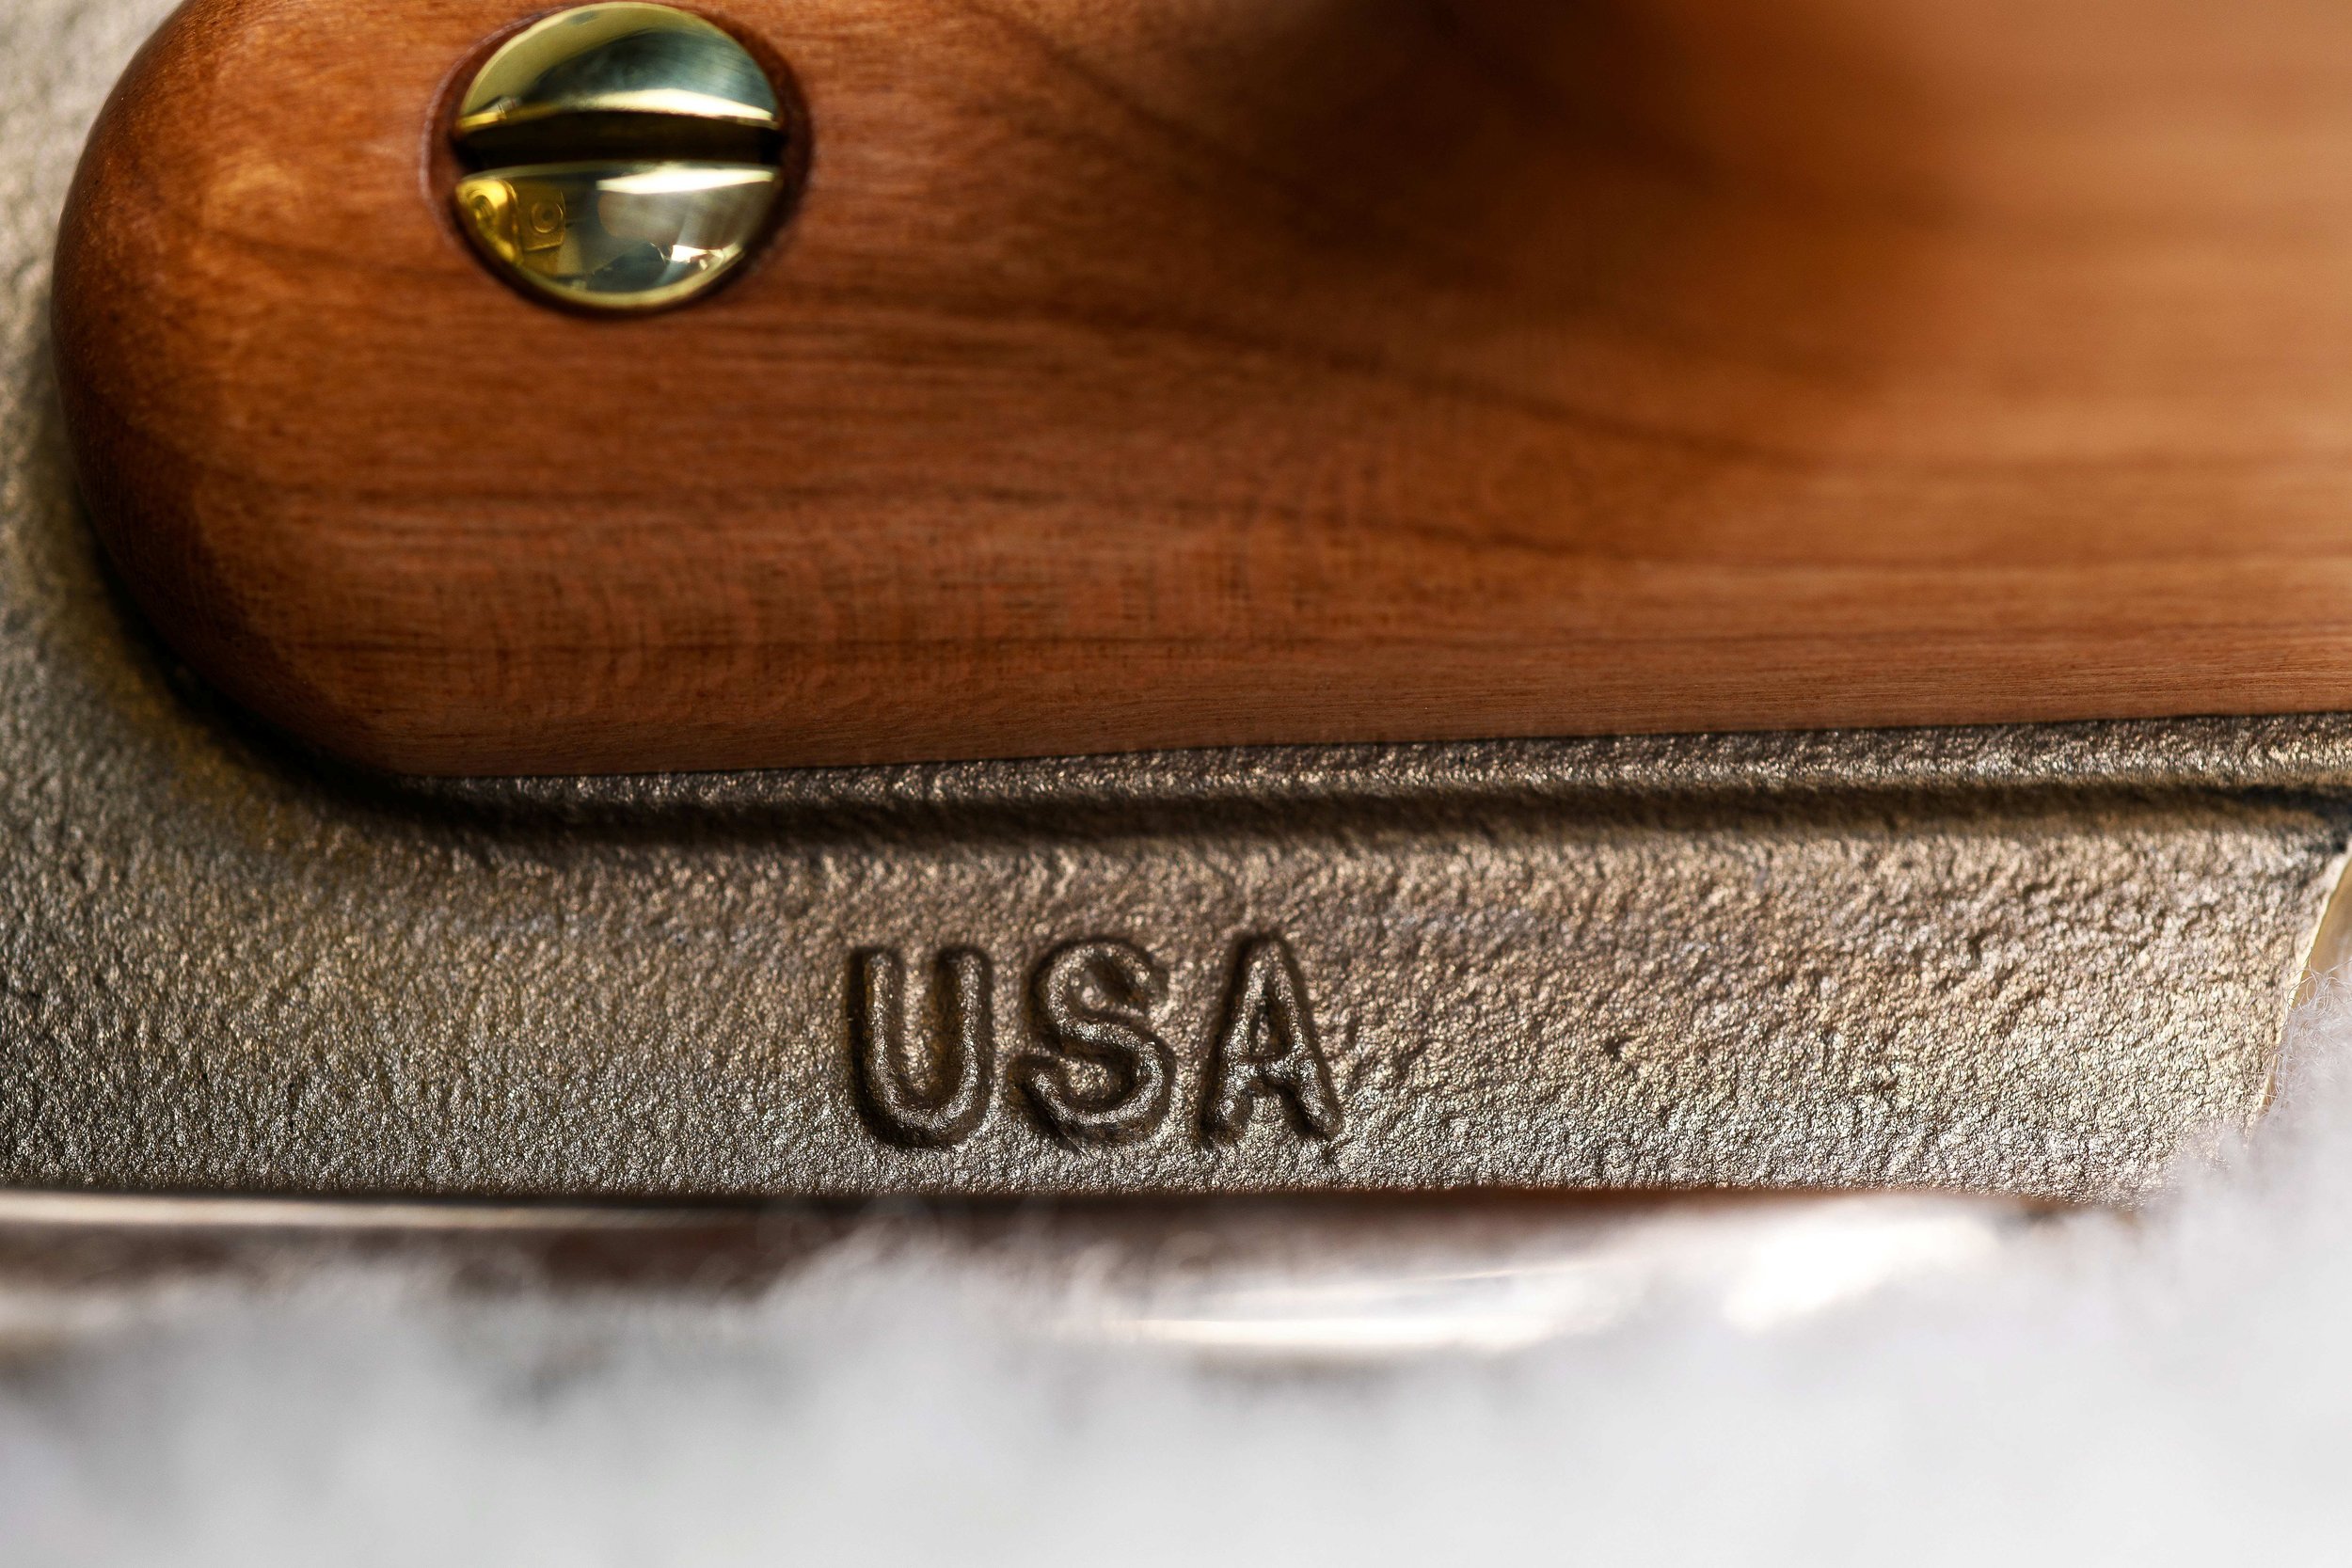
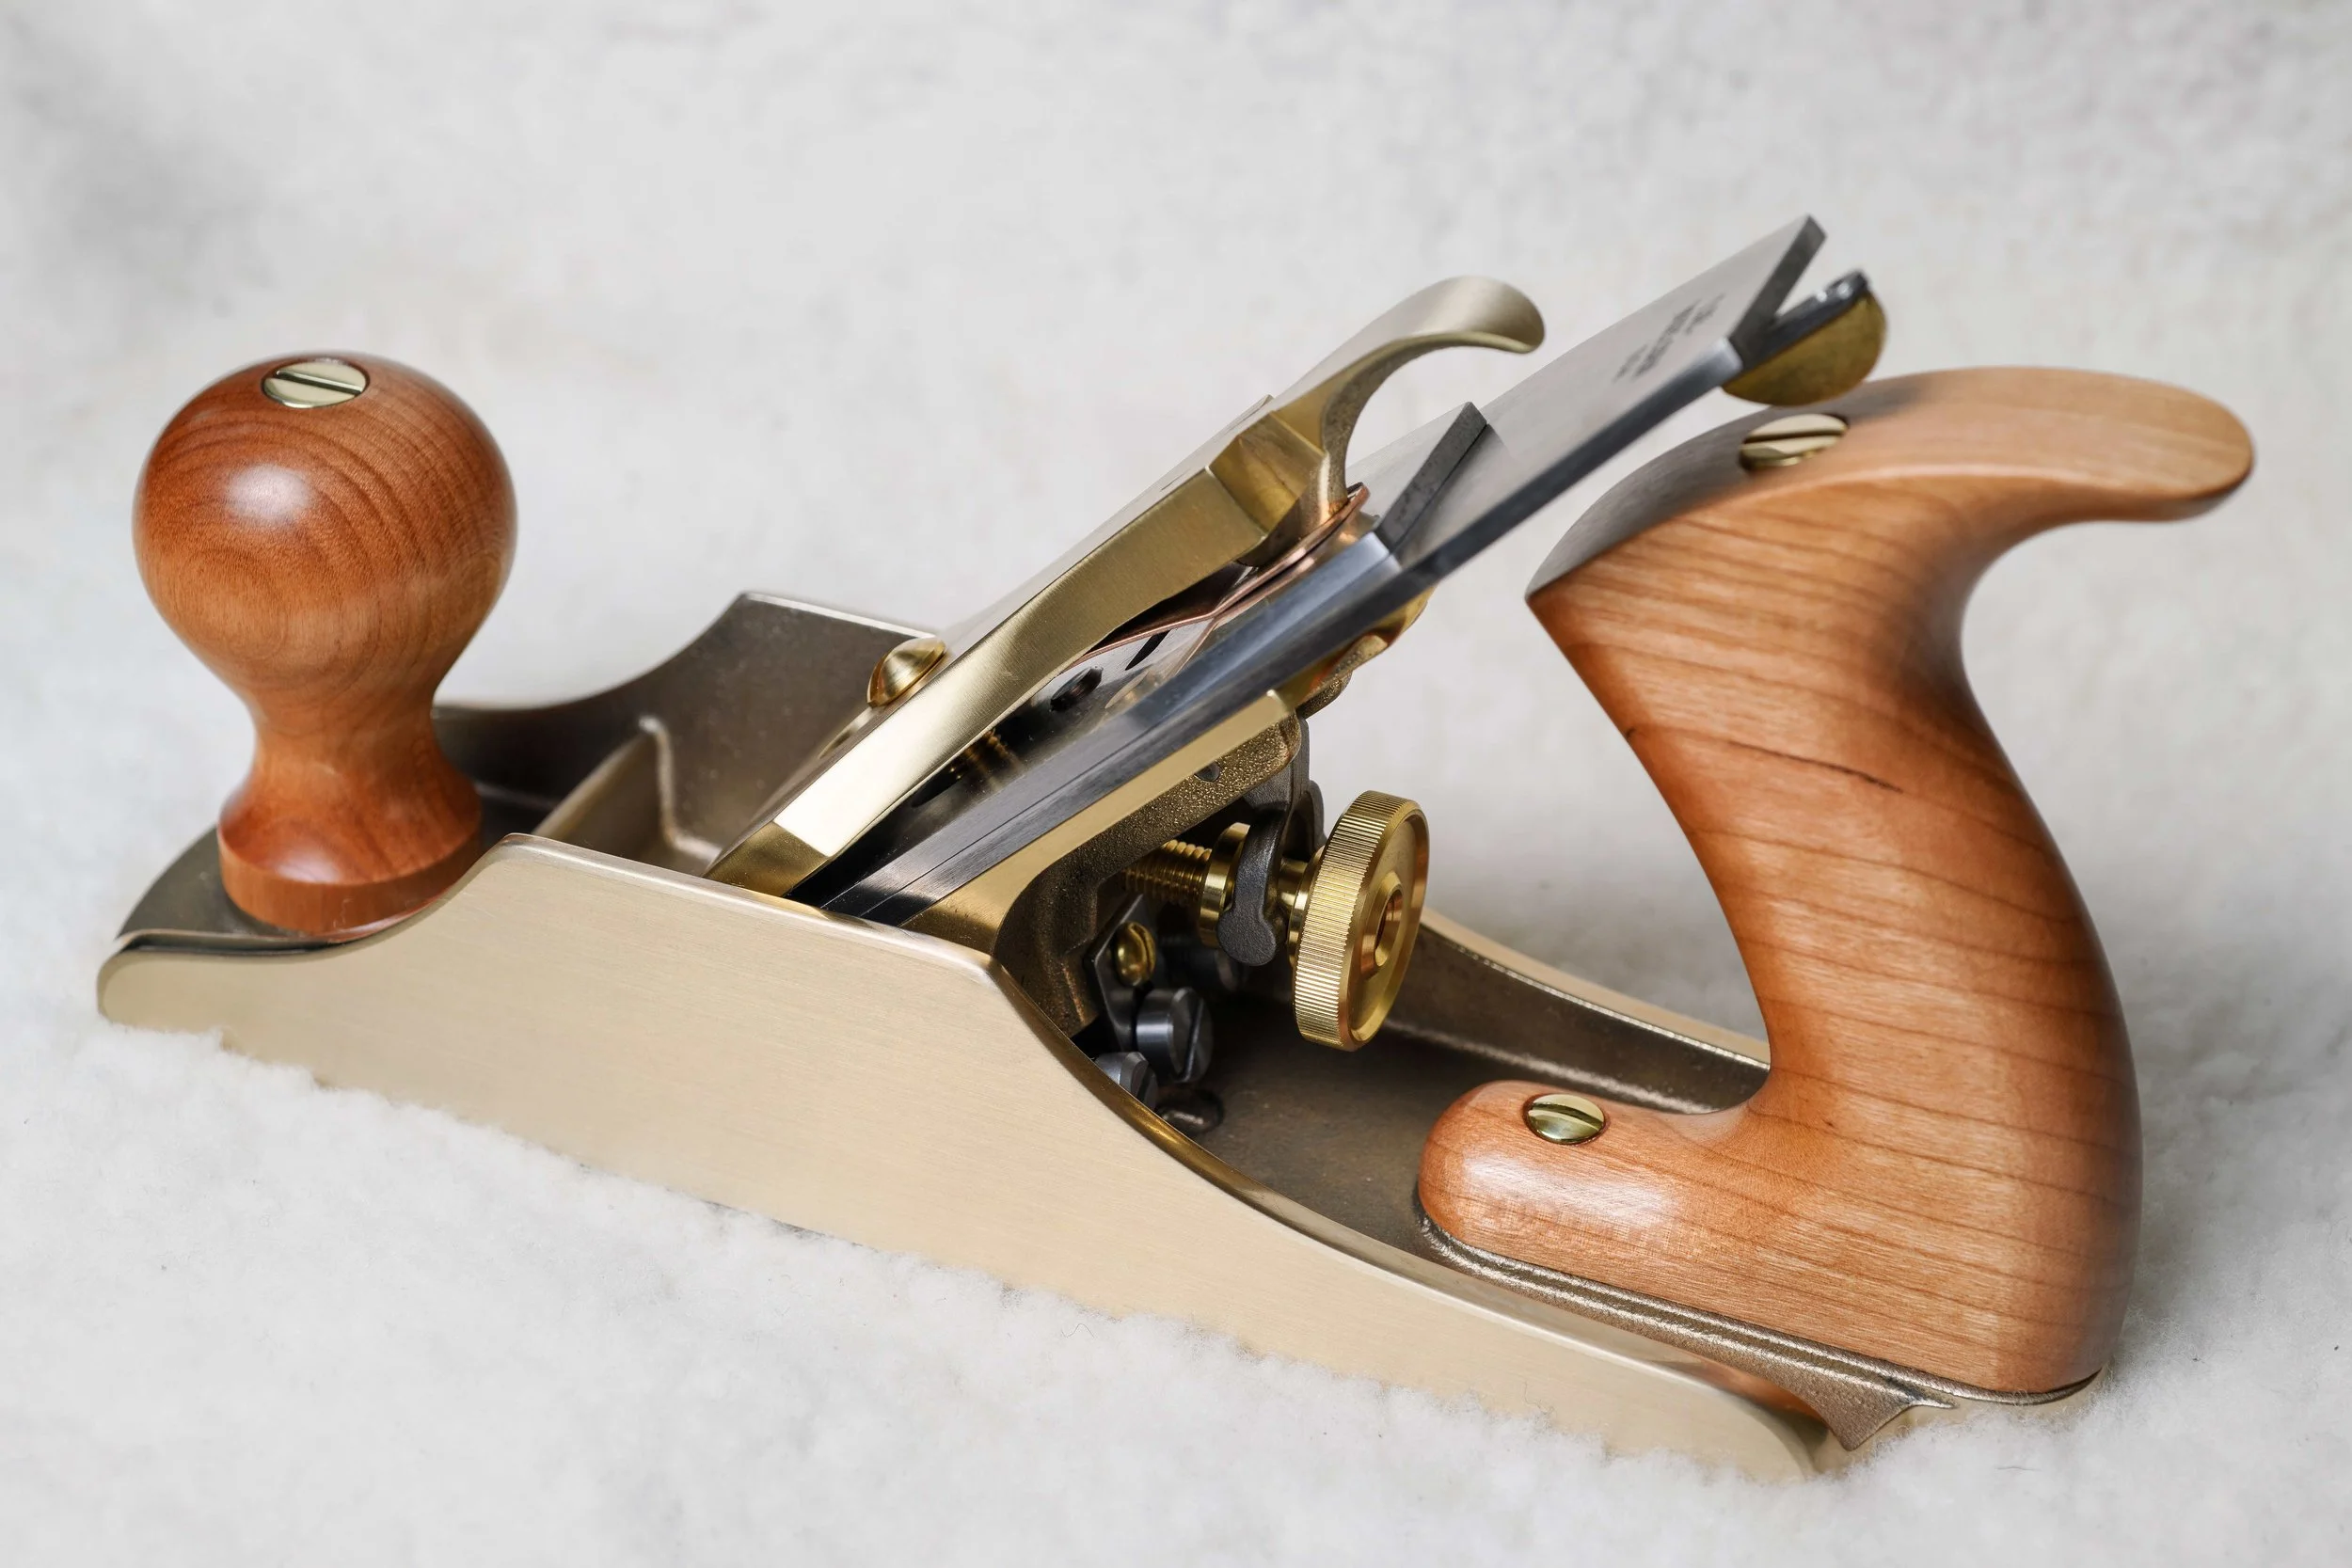
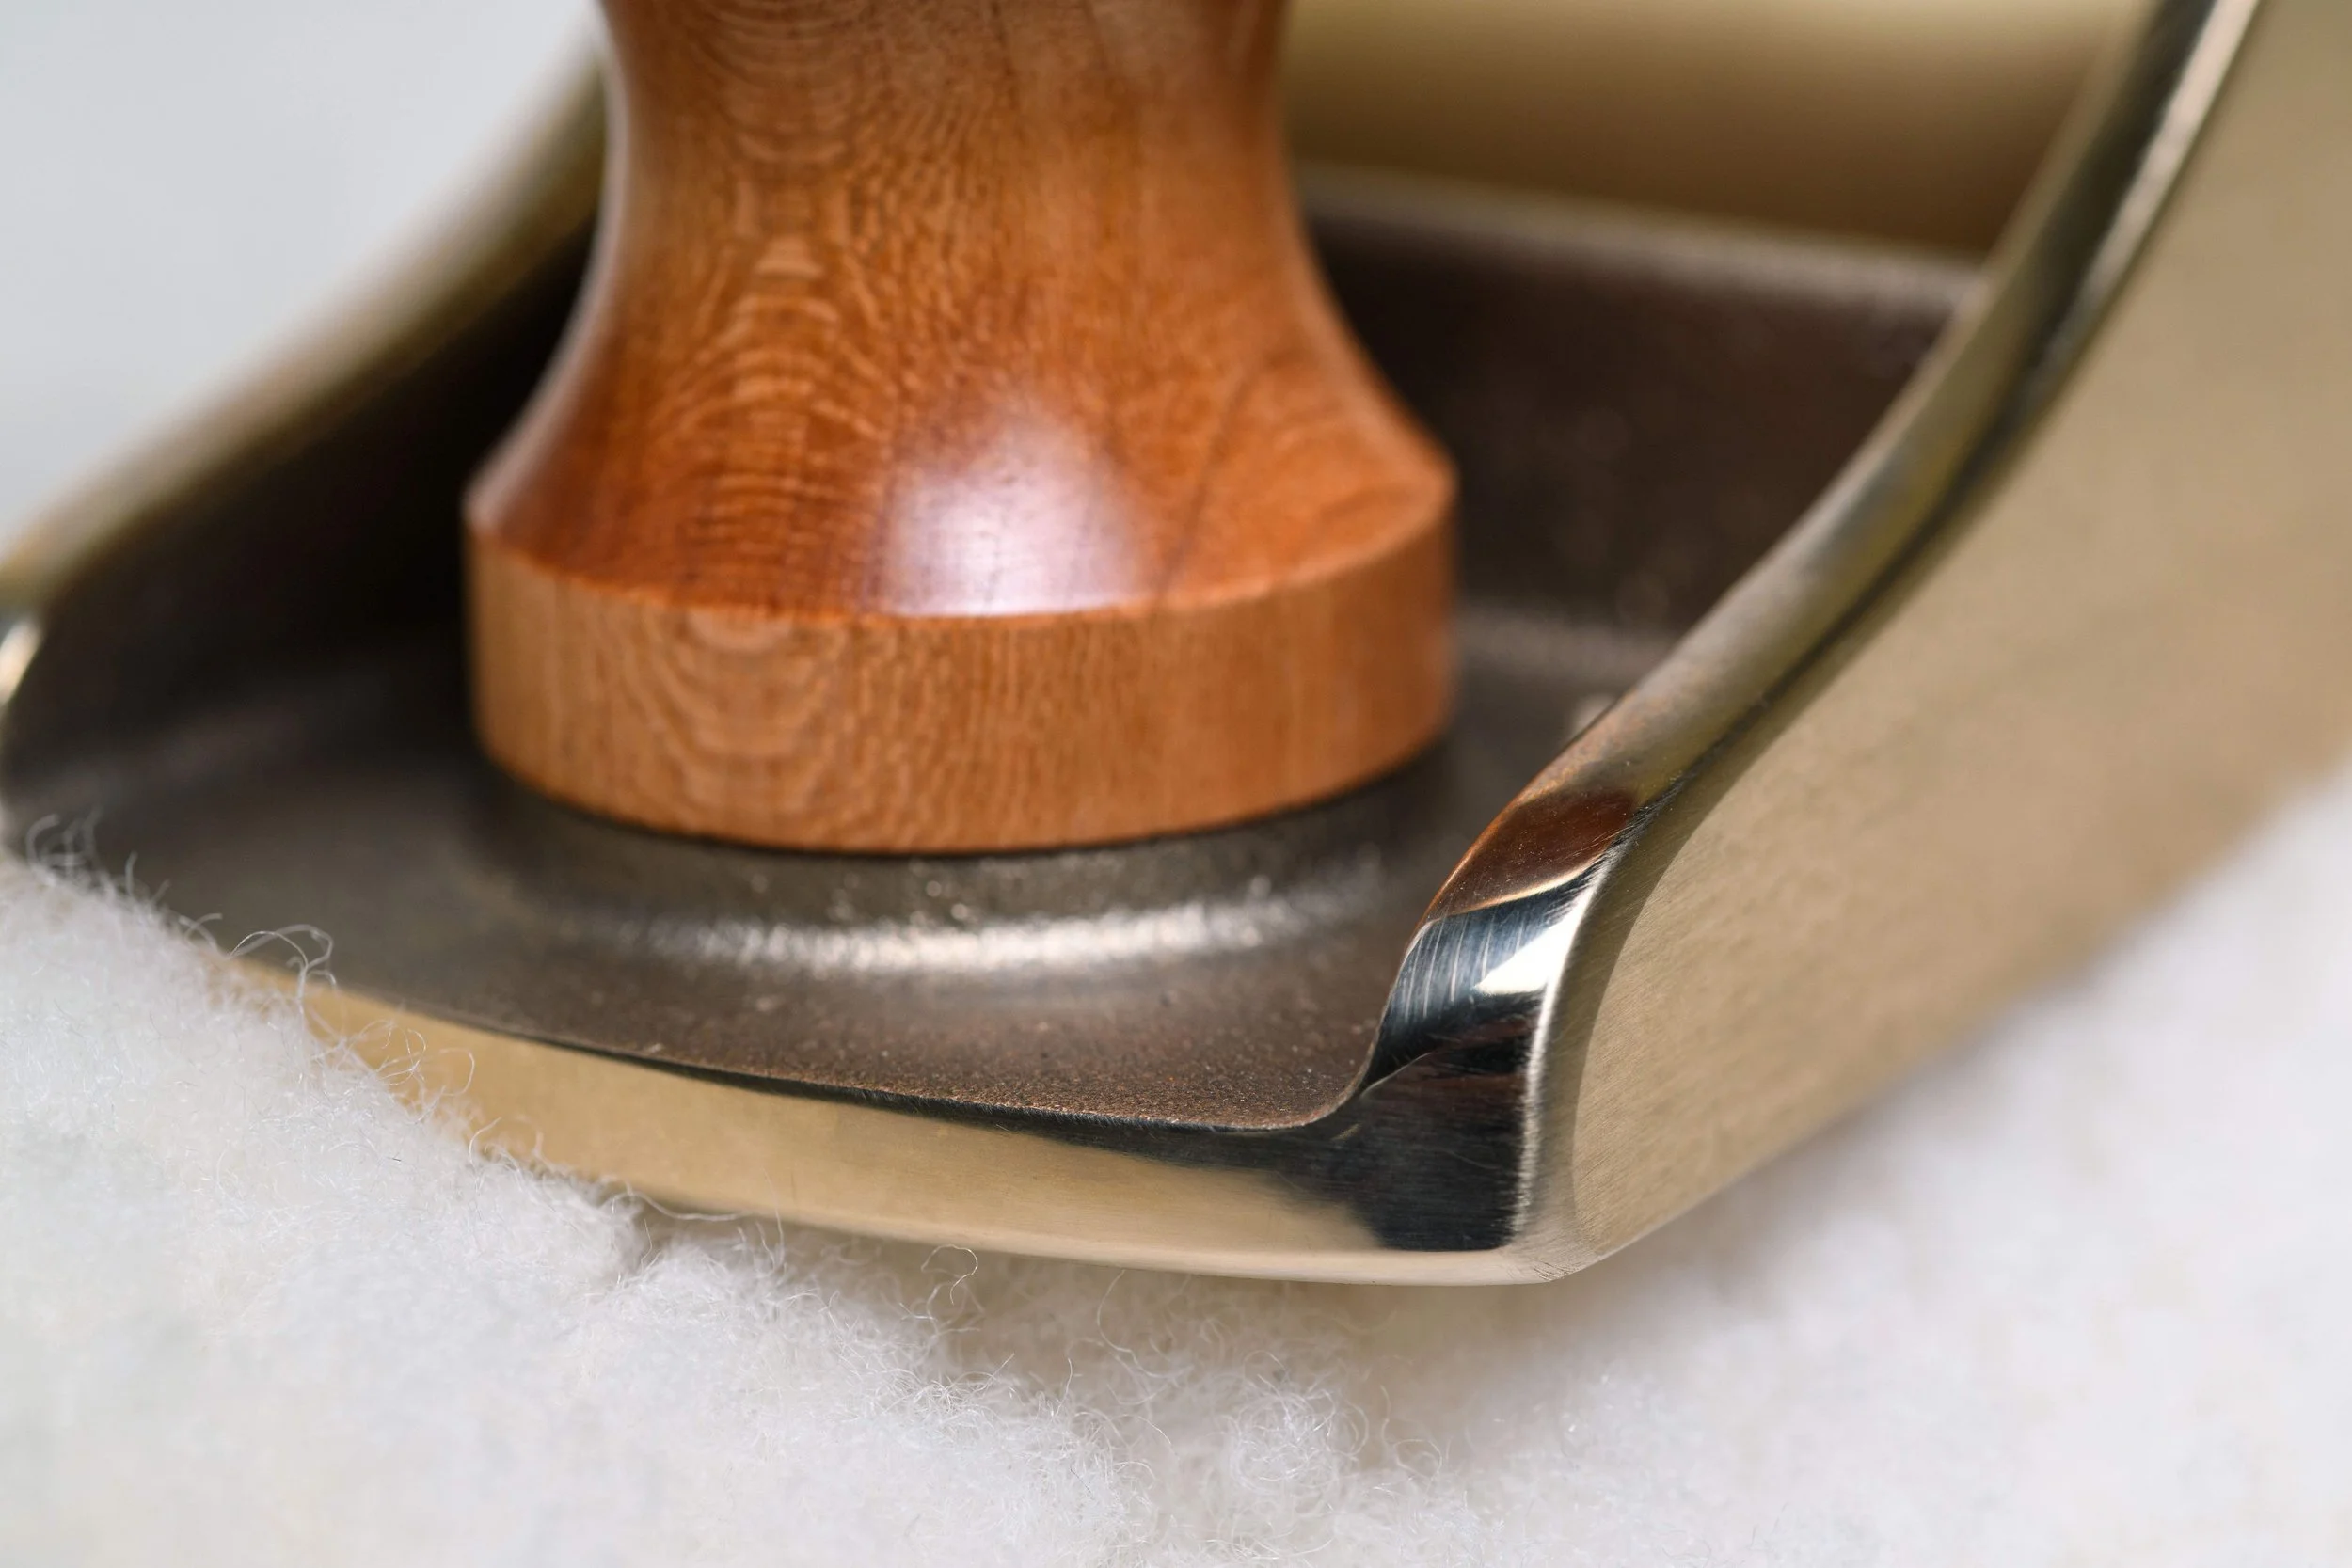
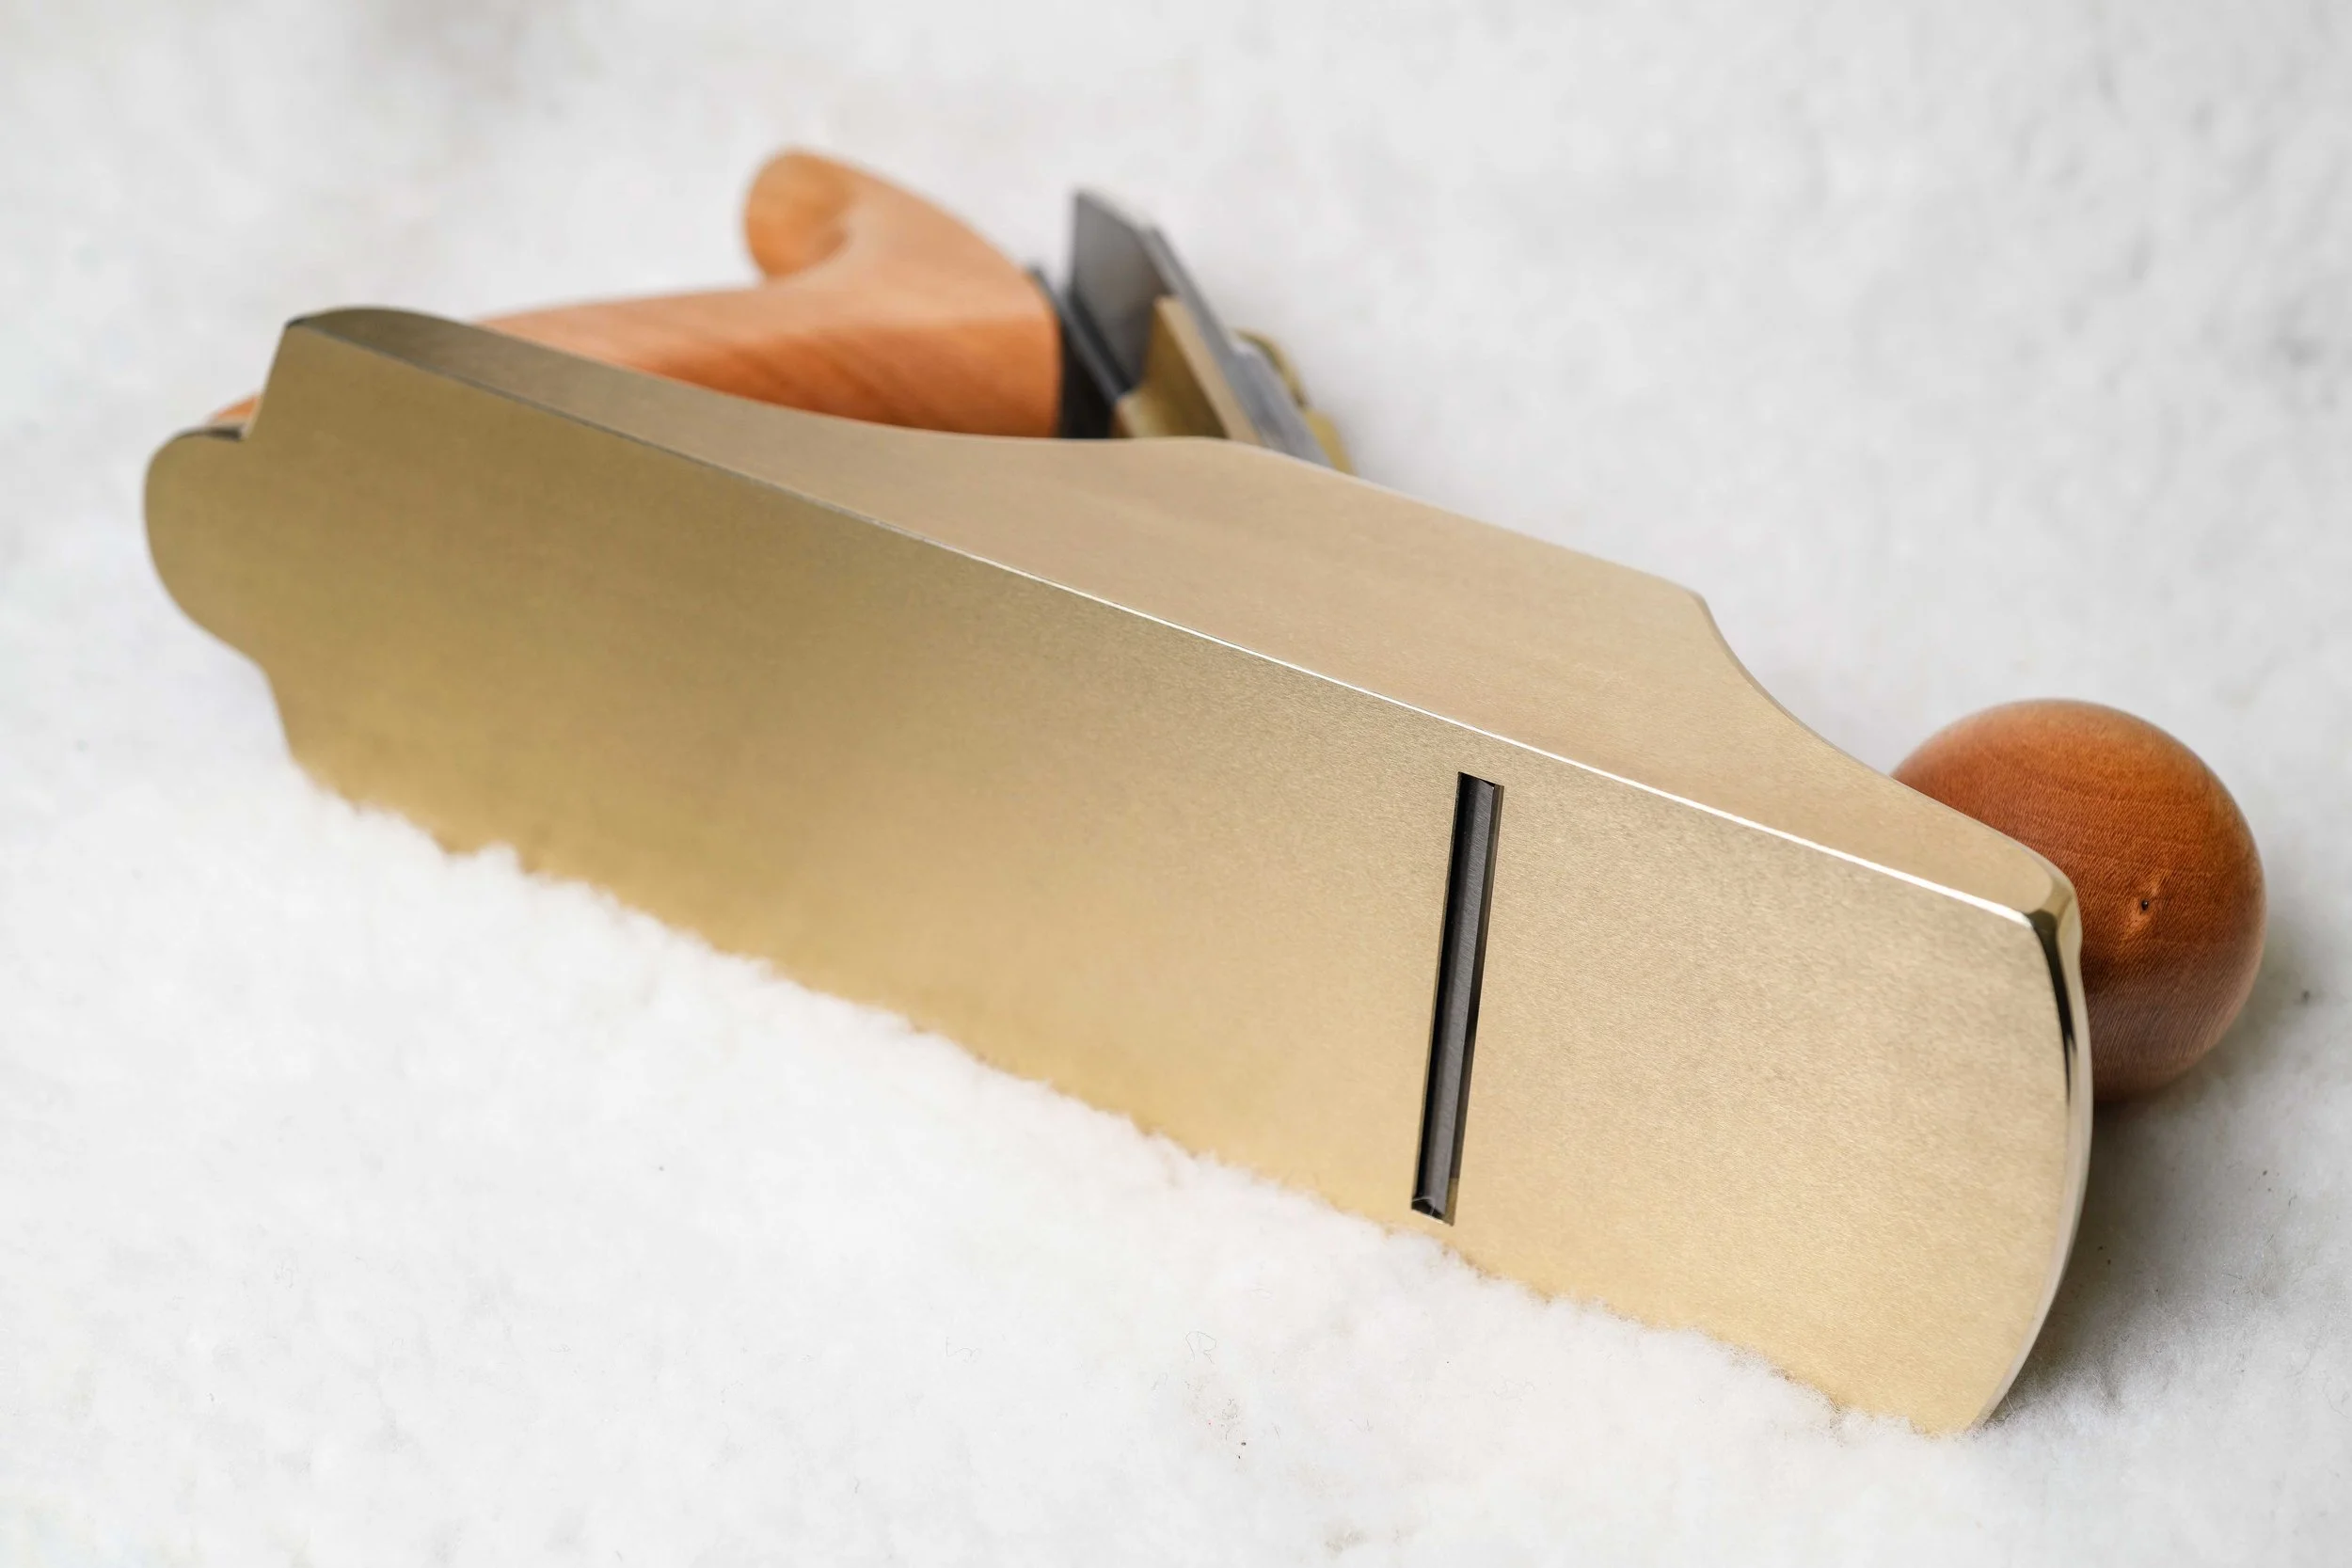
I also took about 22 high-quality photos of the plane and put together a small gallery here on the site so people can take a closer look. Good lighting, flash, the whole deal. The plane deserves it.
This post really isn't meant to be a technical review. There’s already plenty of information online about the specs and performance of this plane. This is more of a small story about finally getting one after a long wait.
By the time Ive finished this post ill probably have used it to smooth out this entry door I’m building for my place.
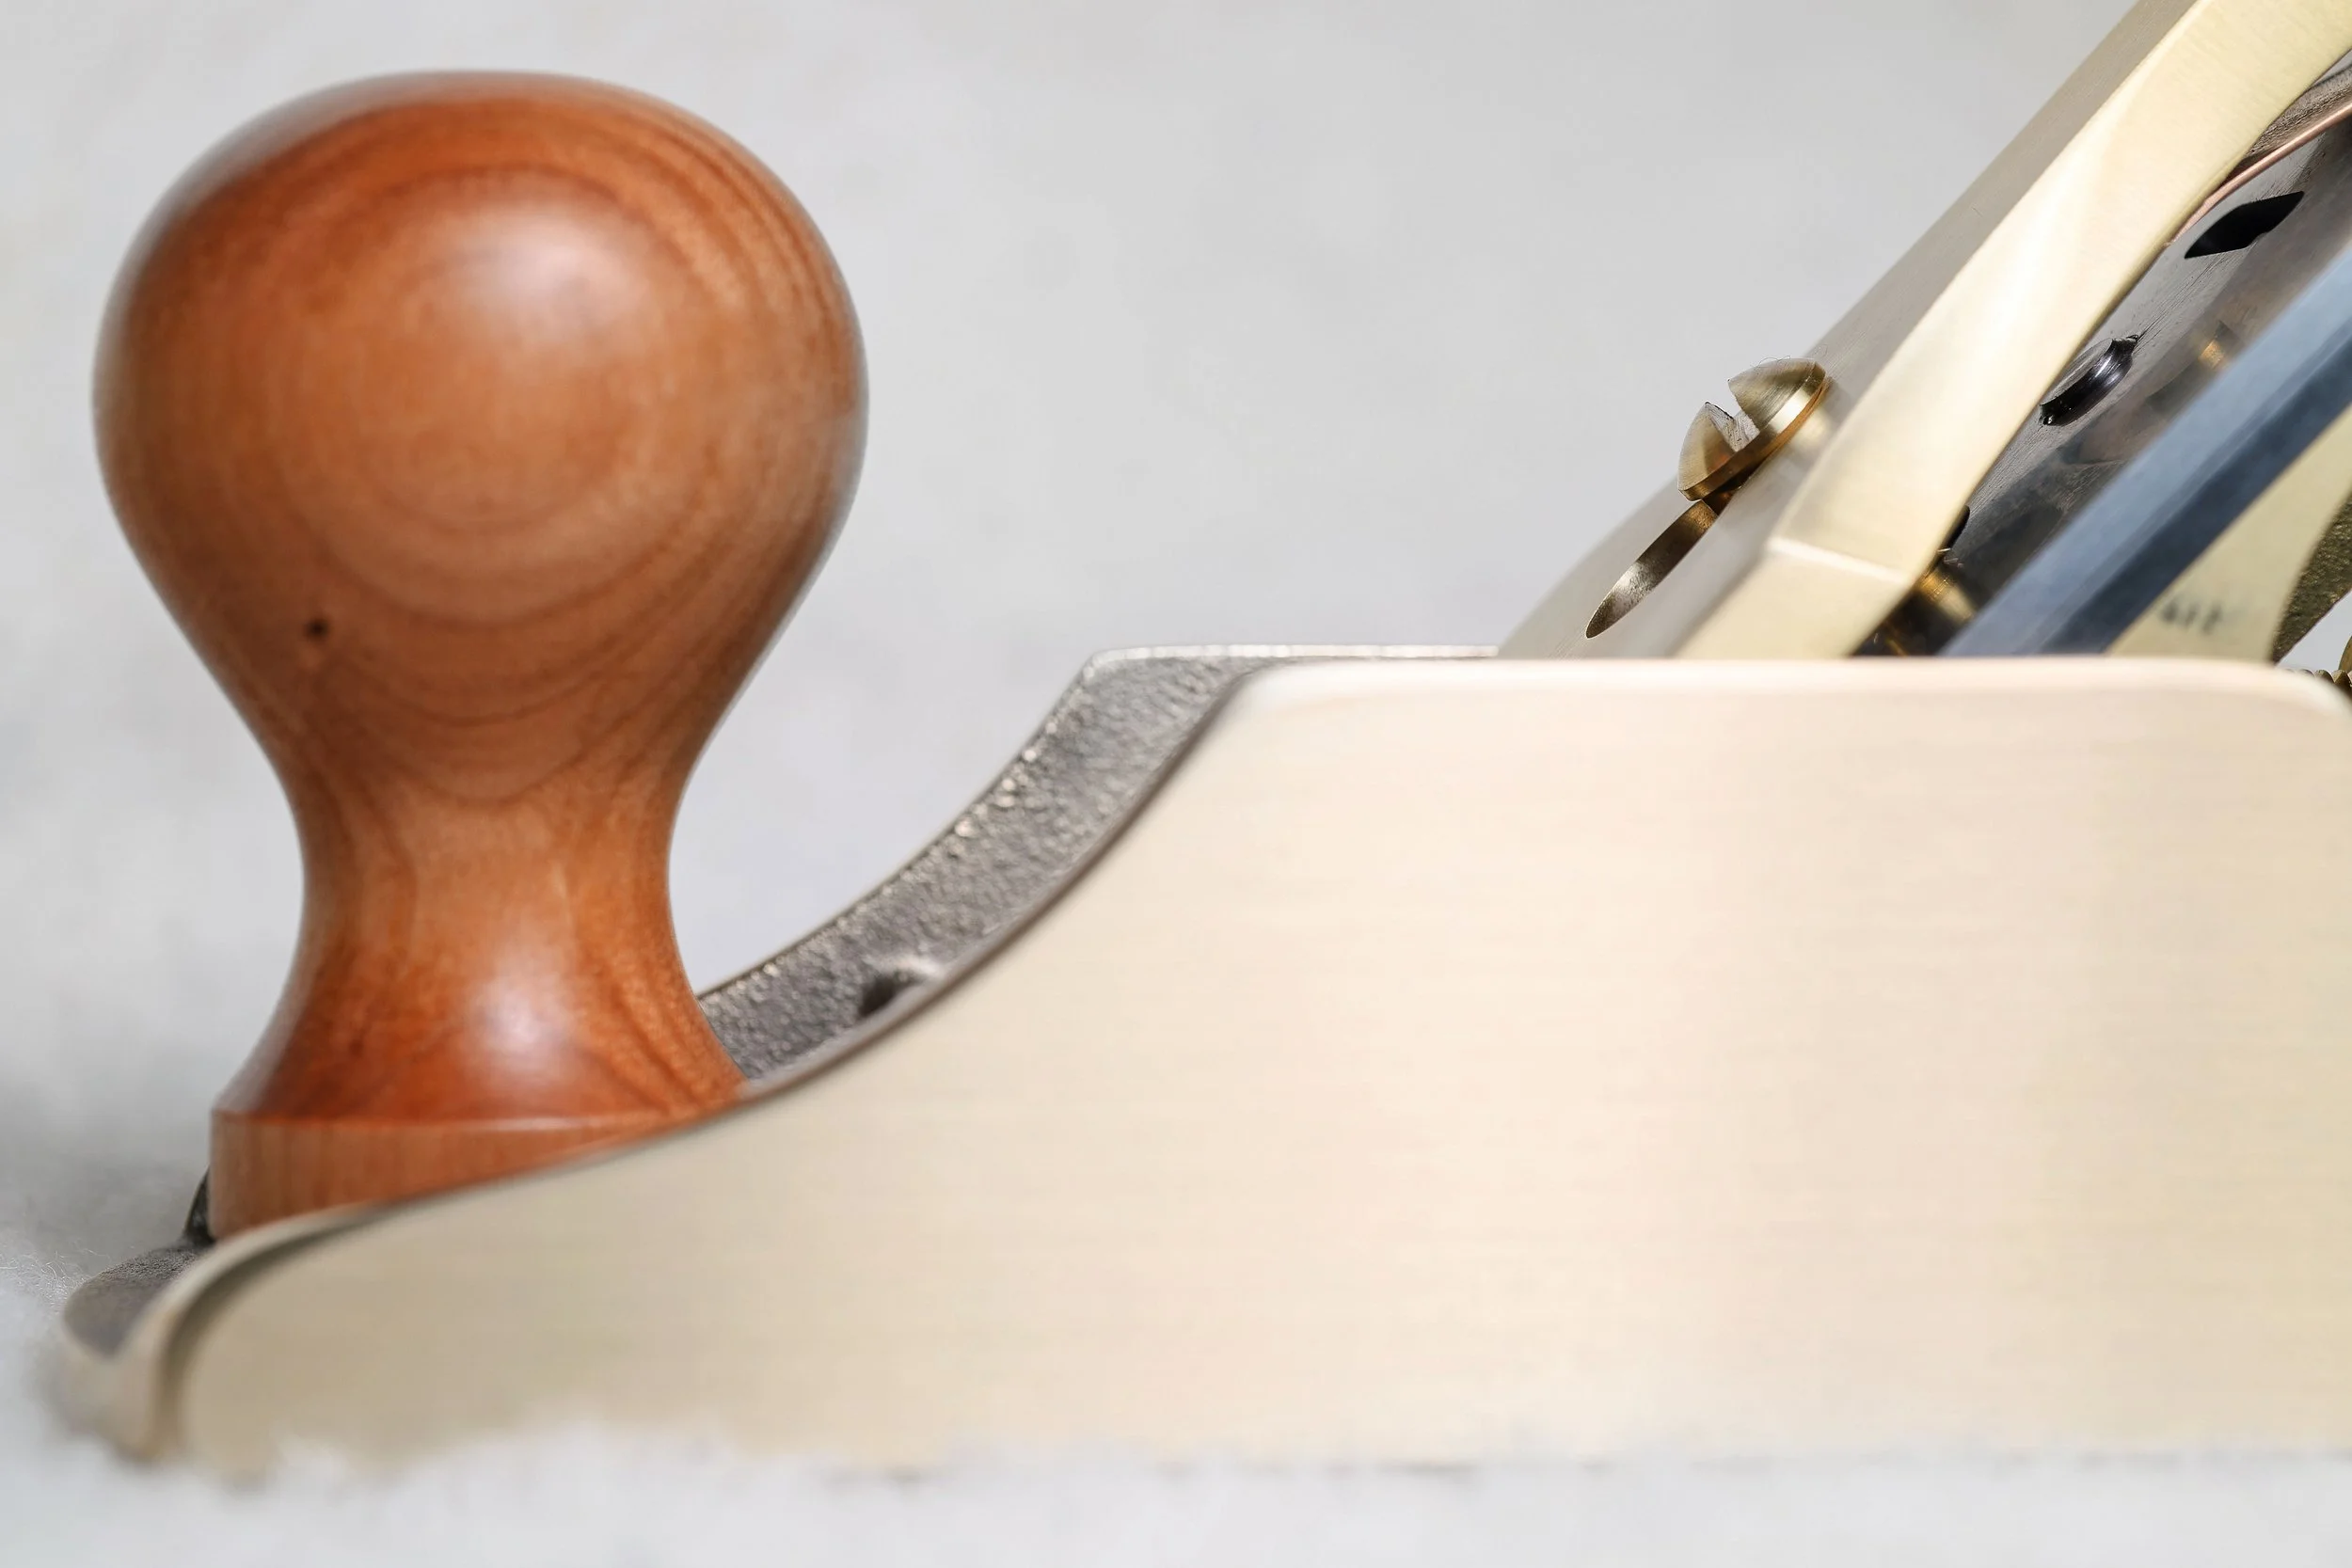
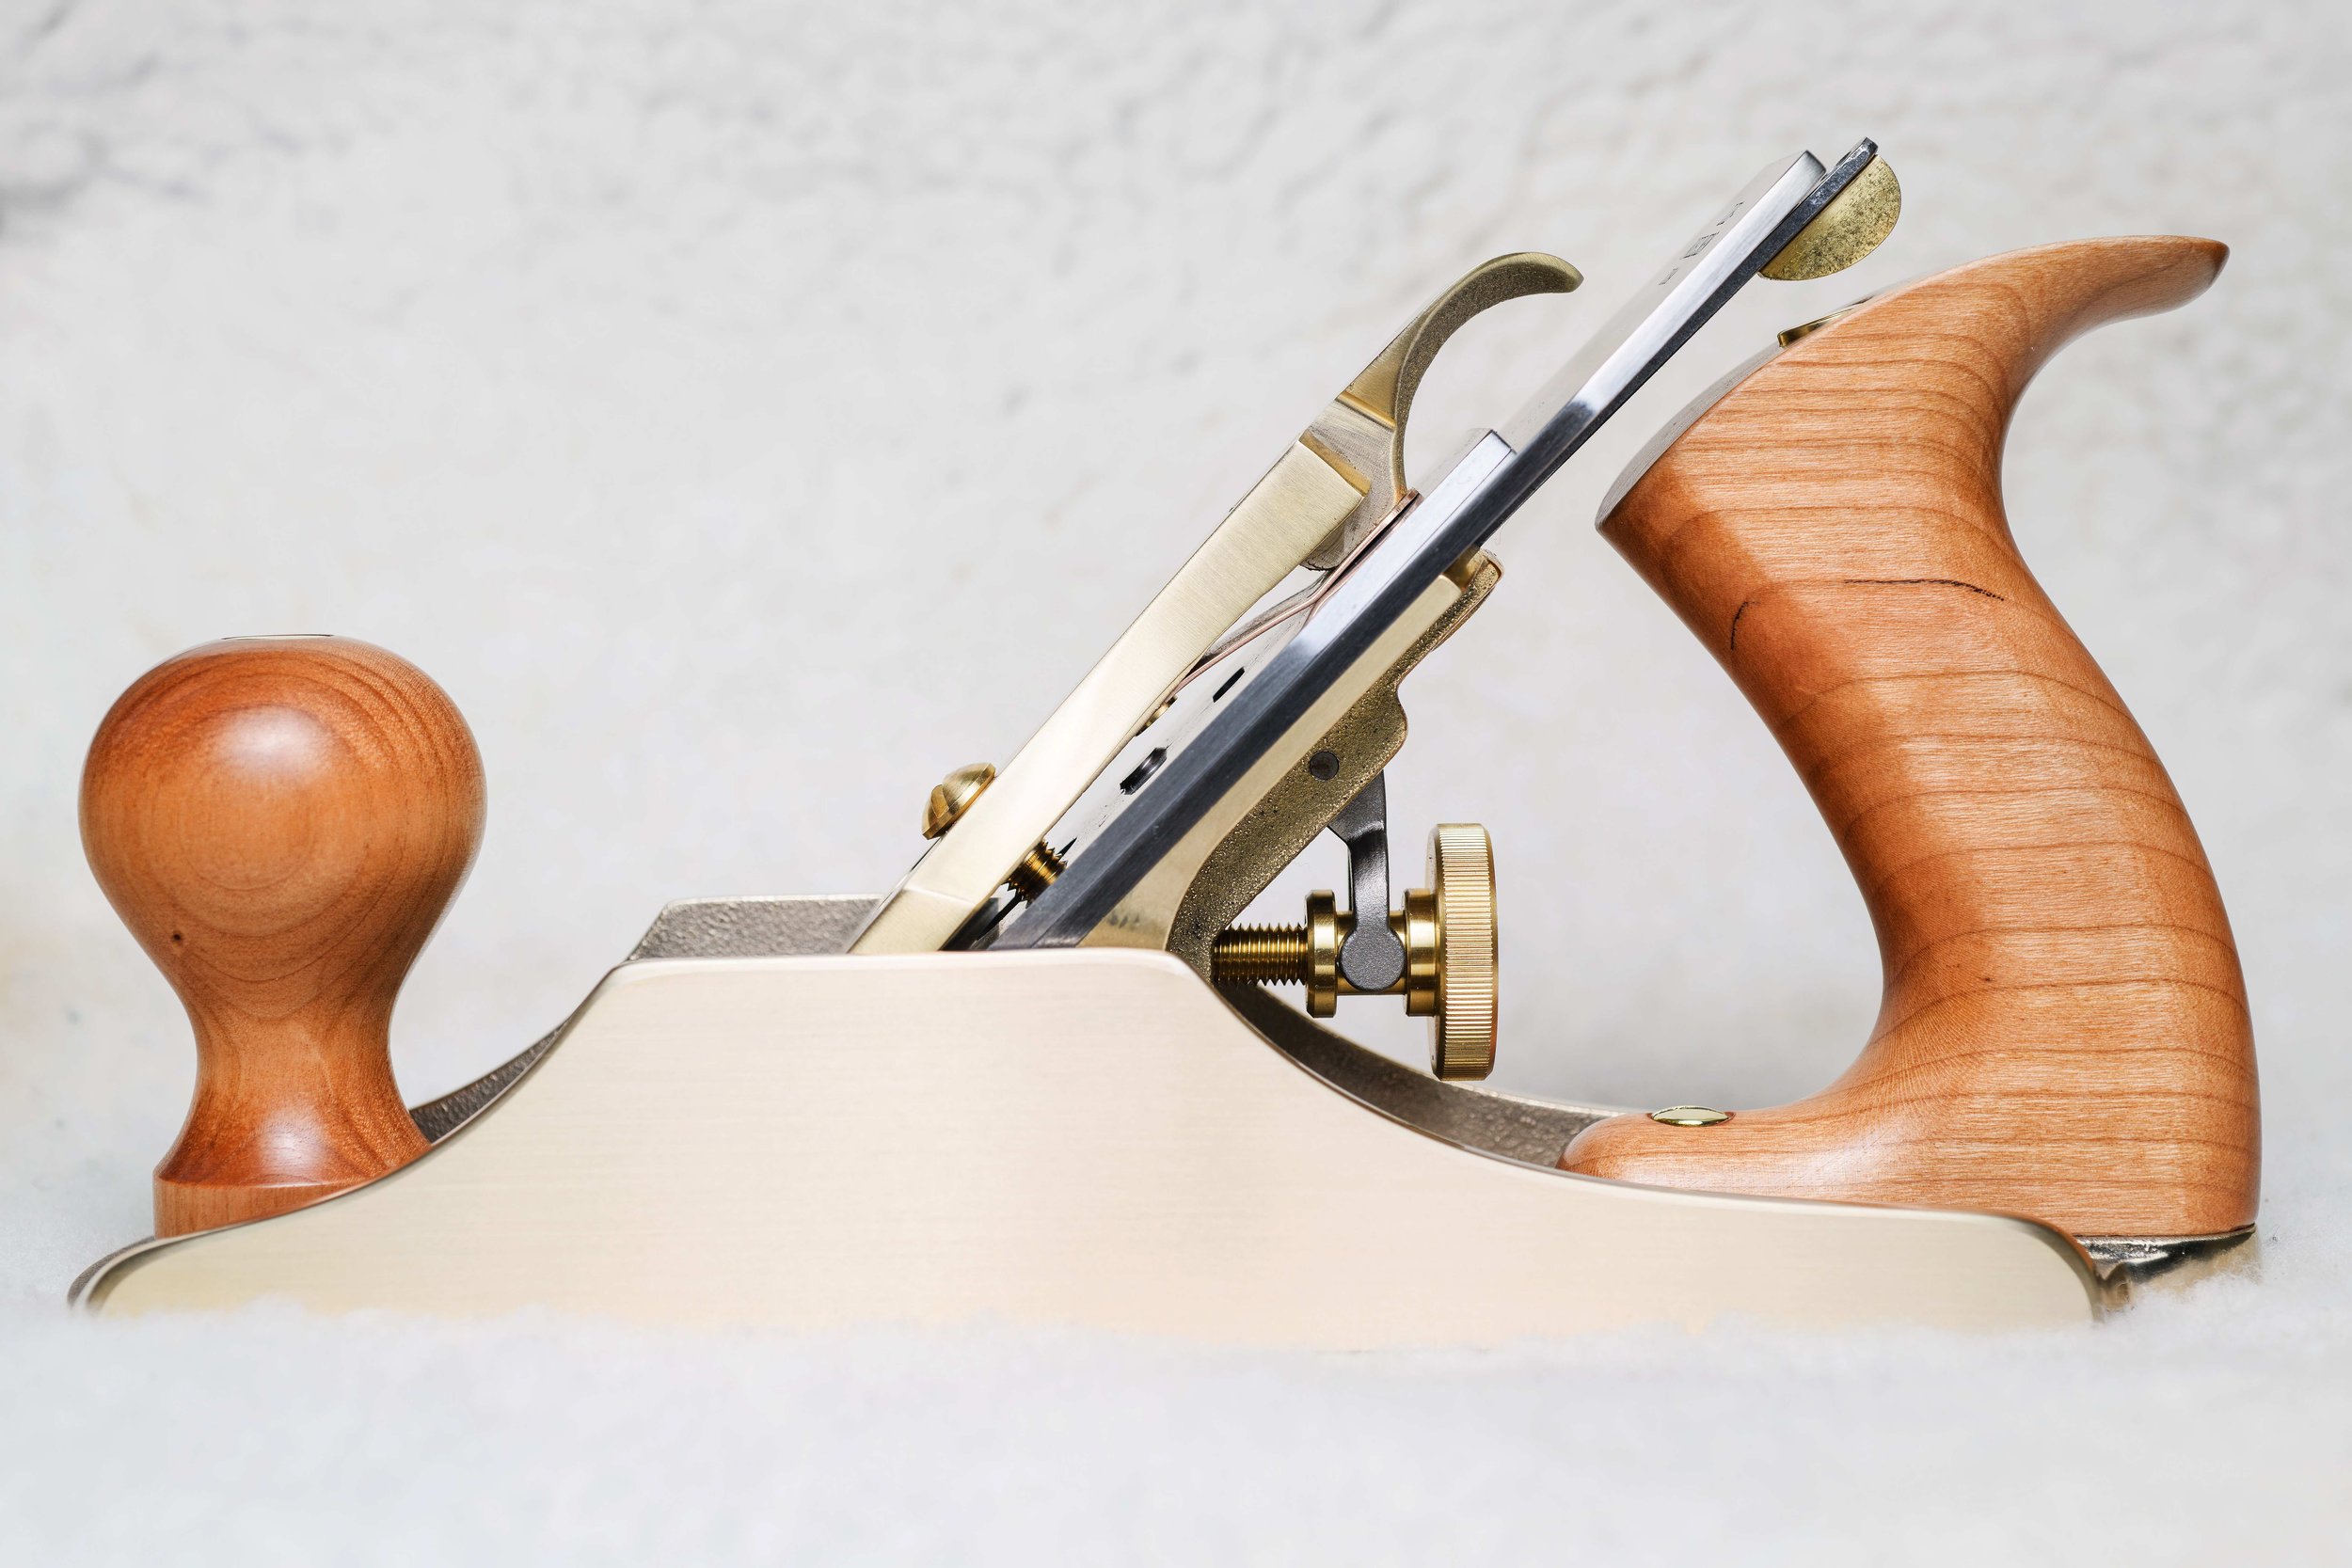
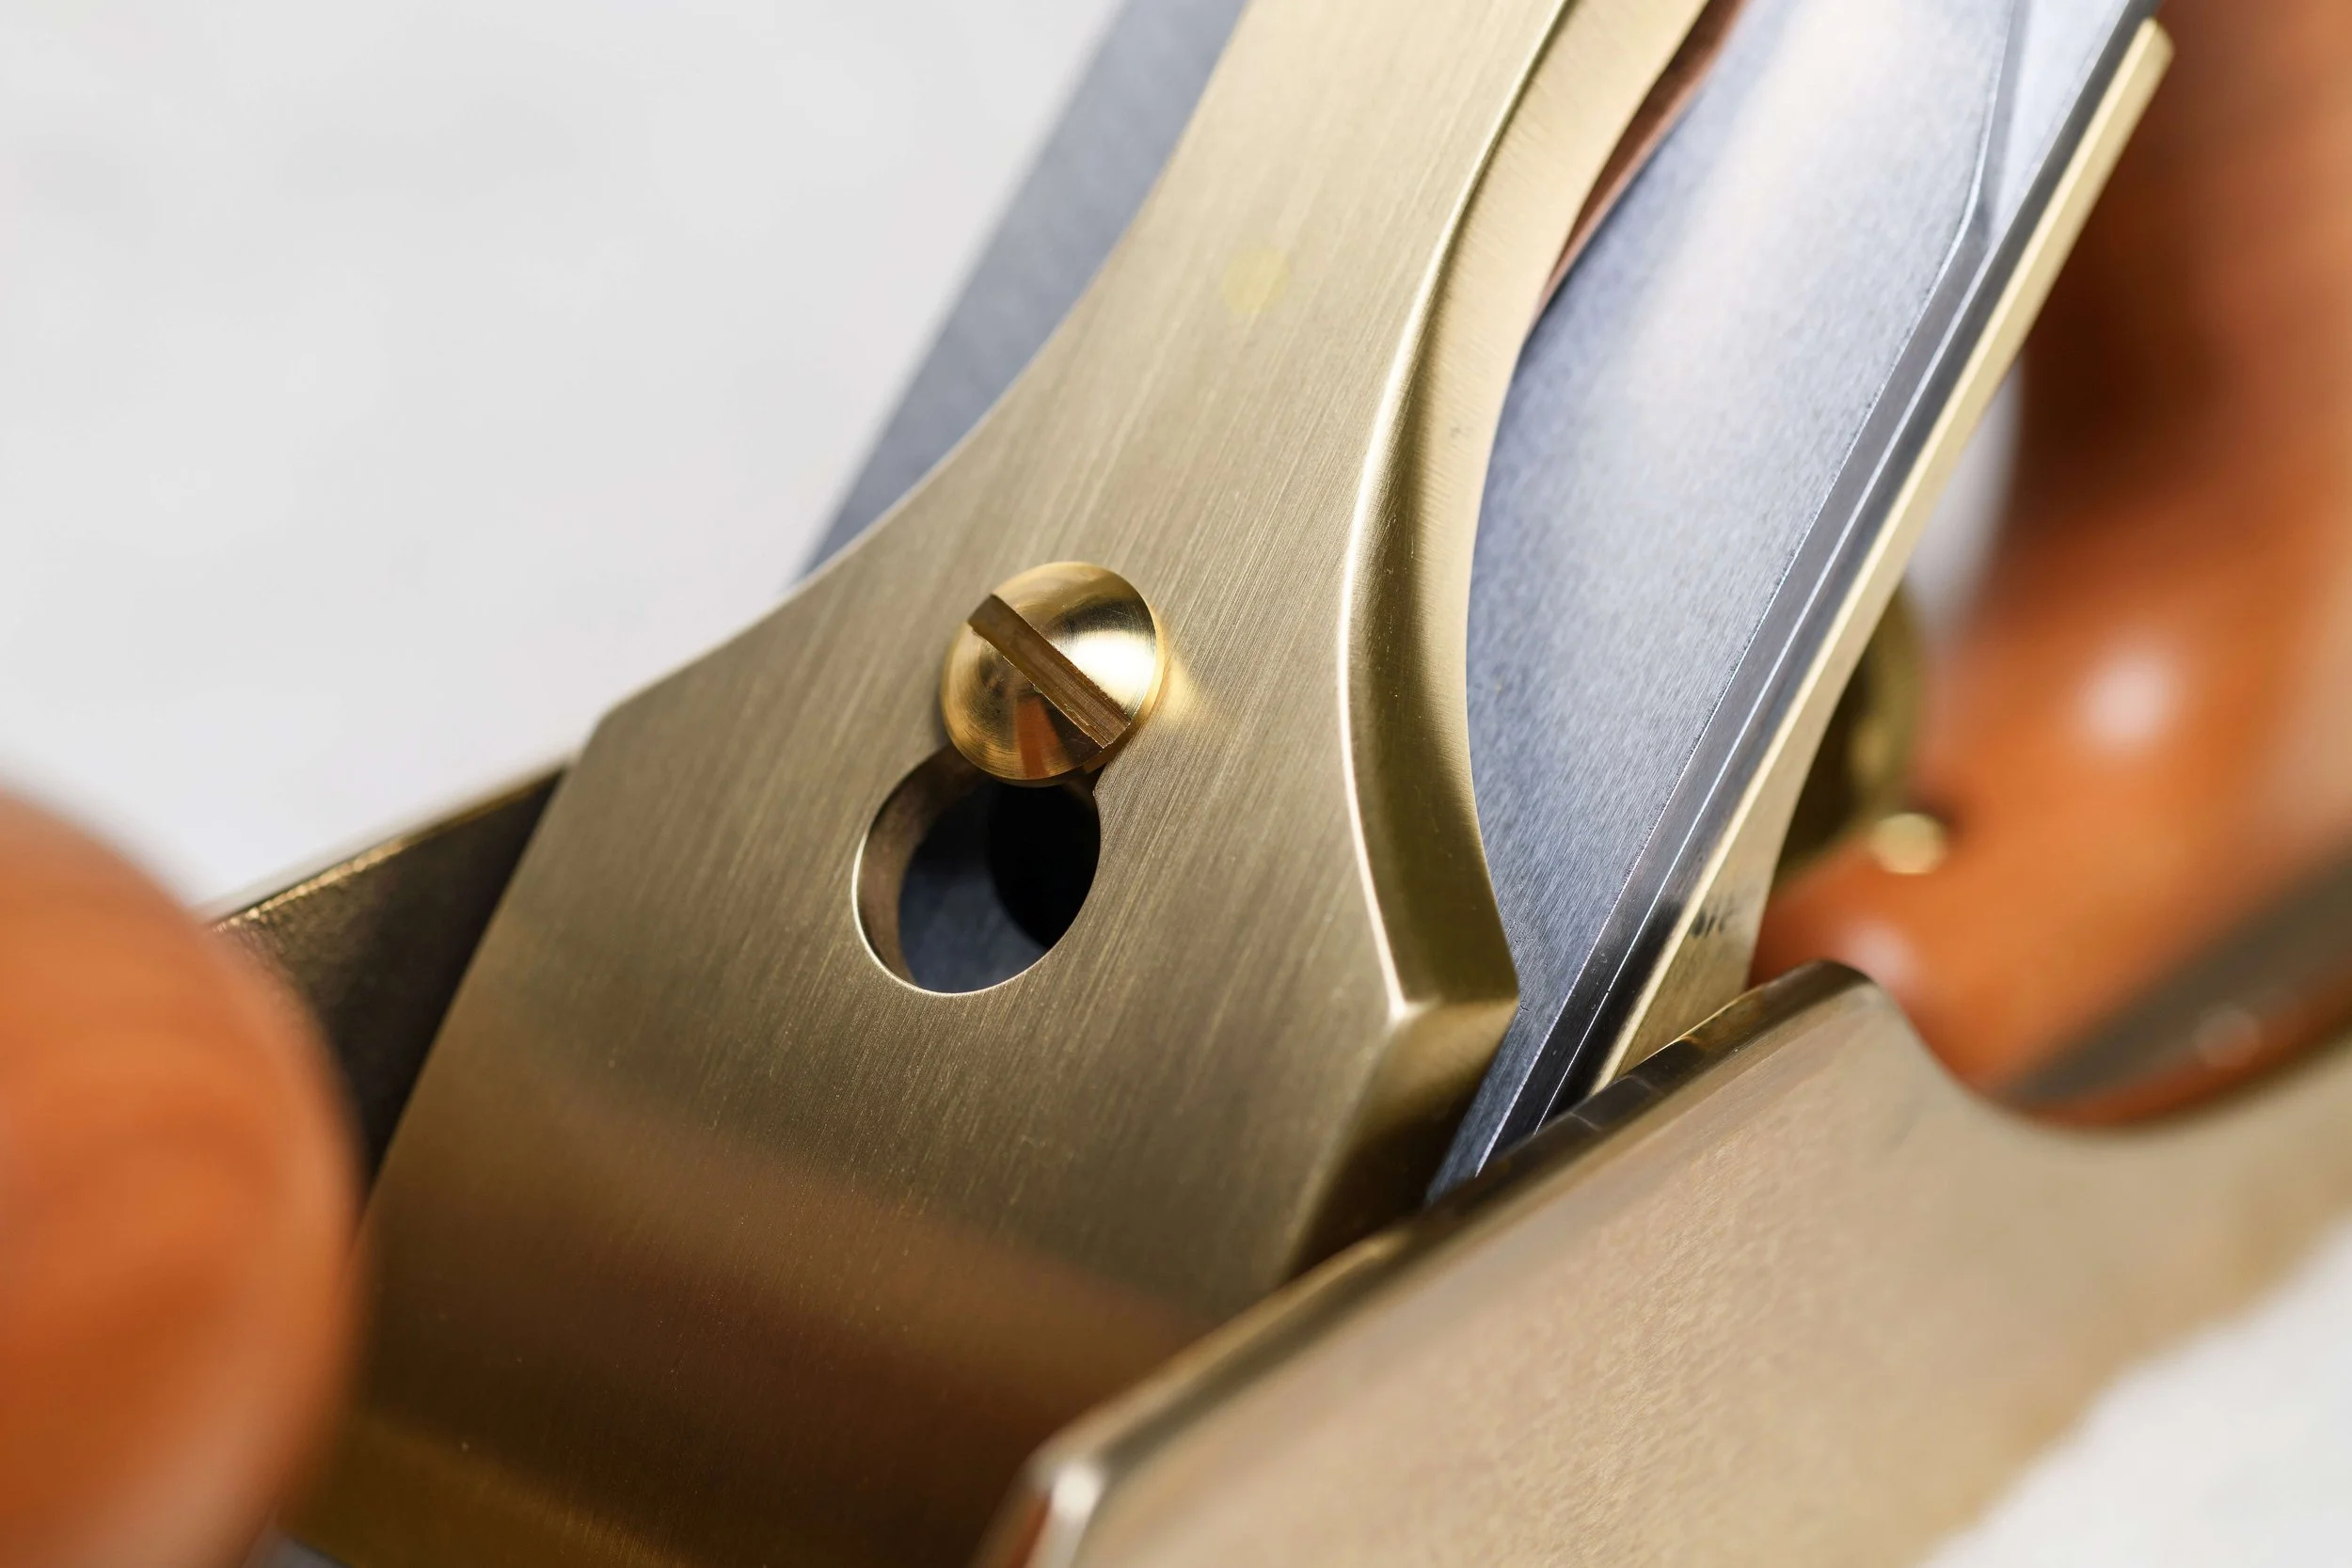
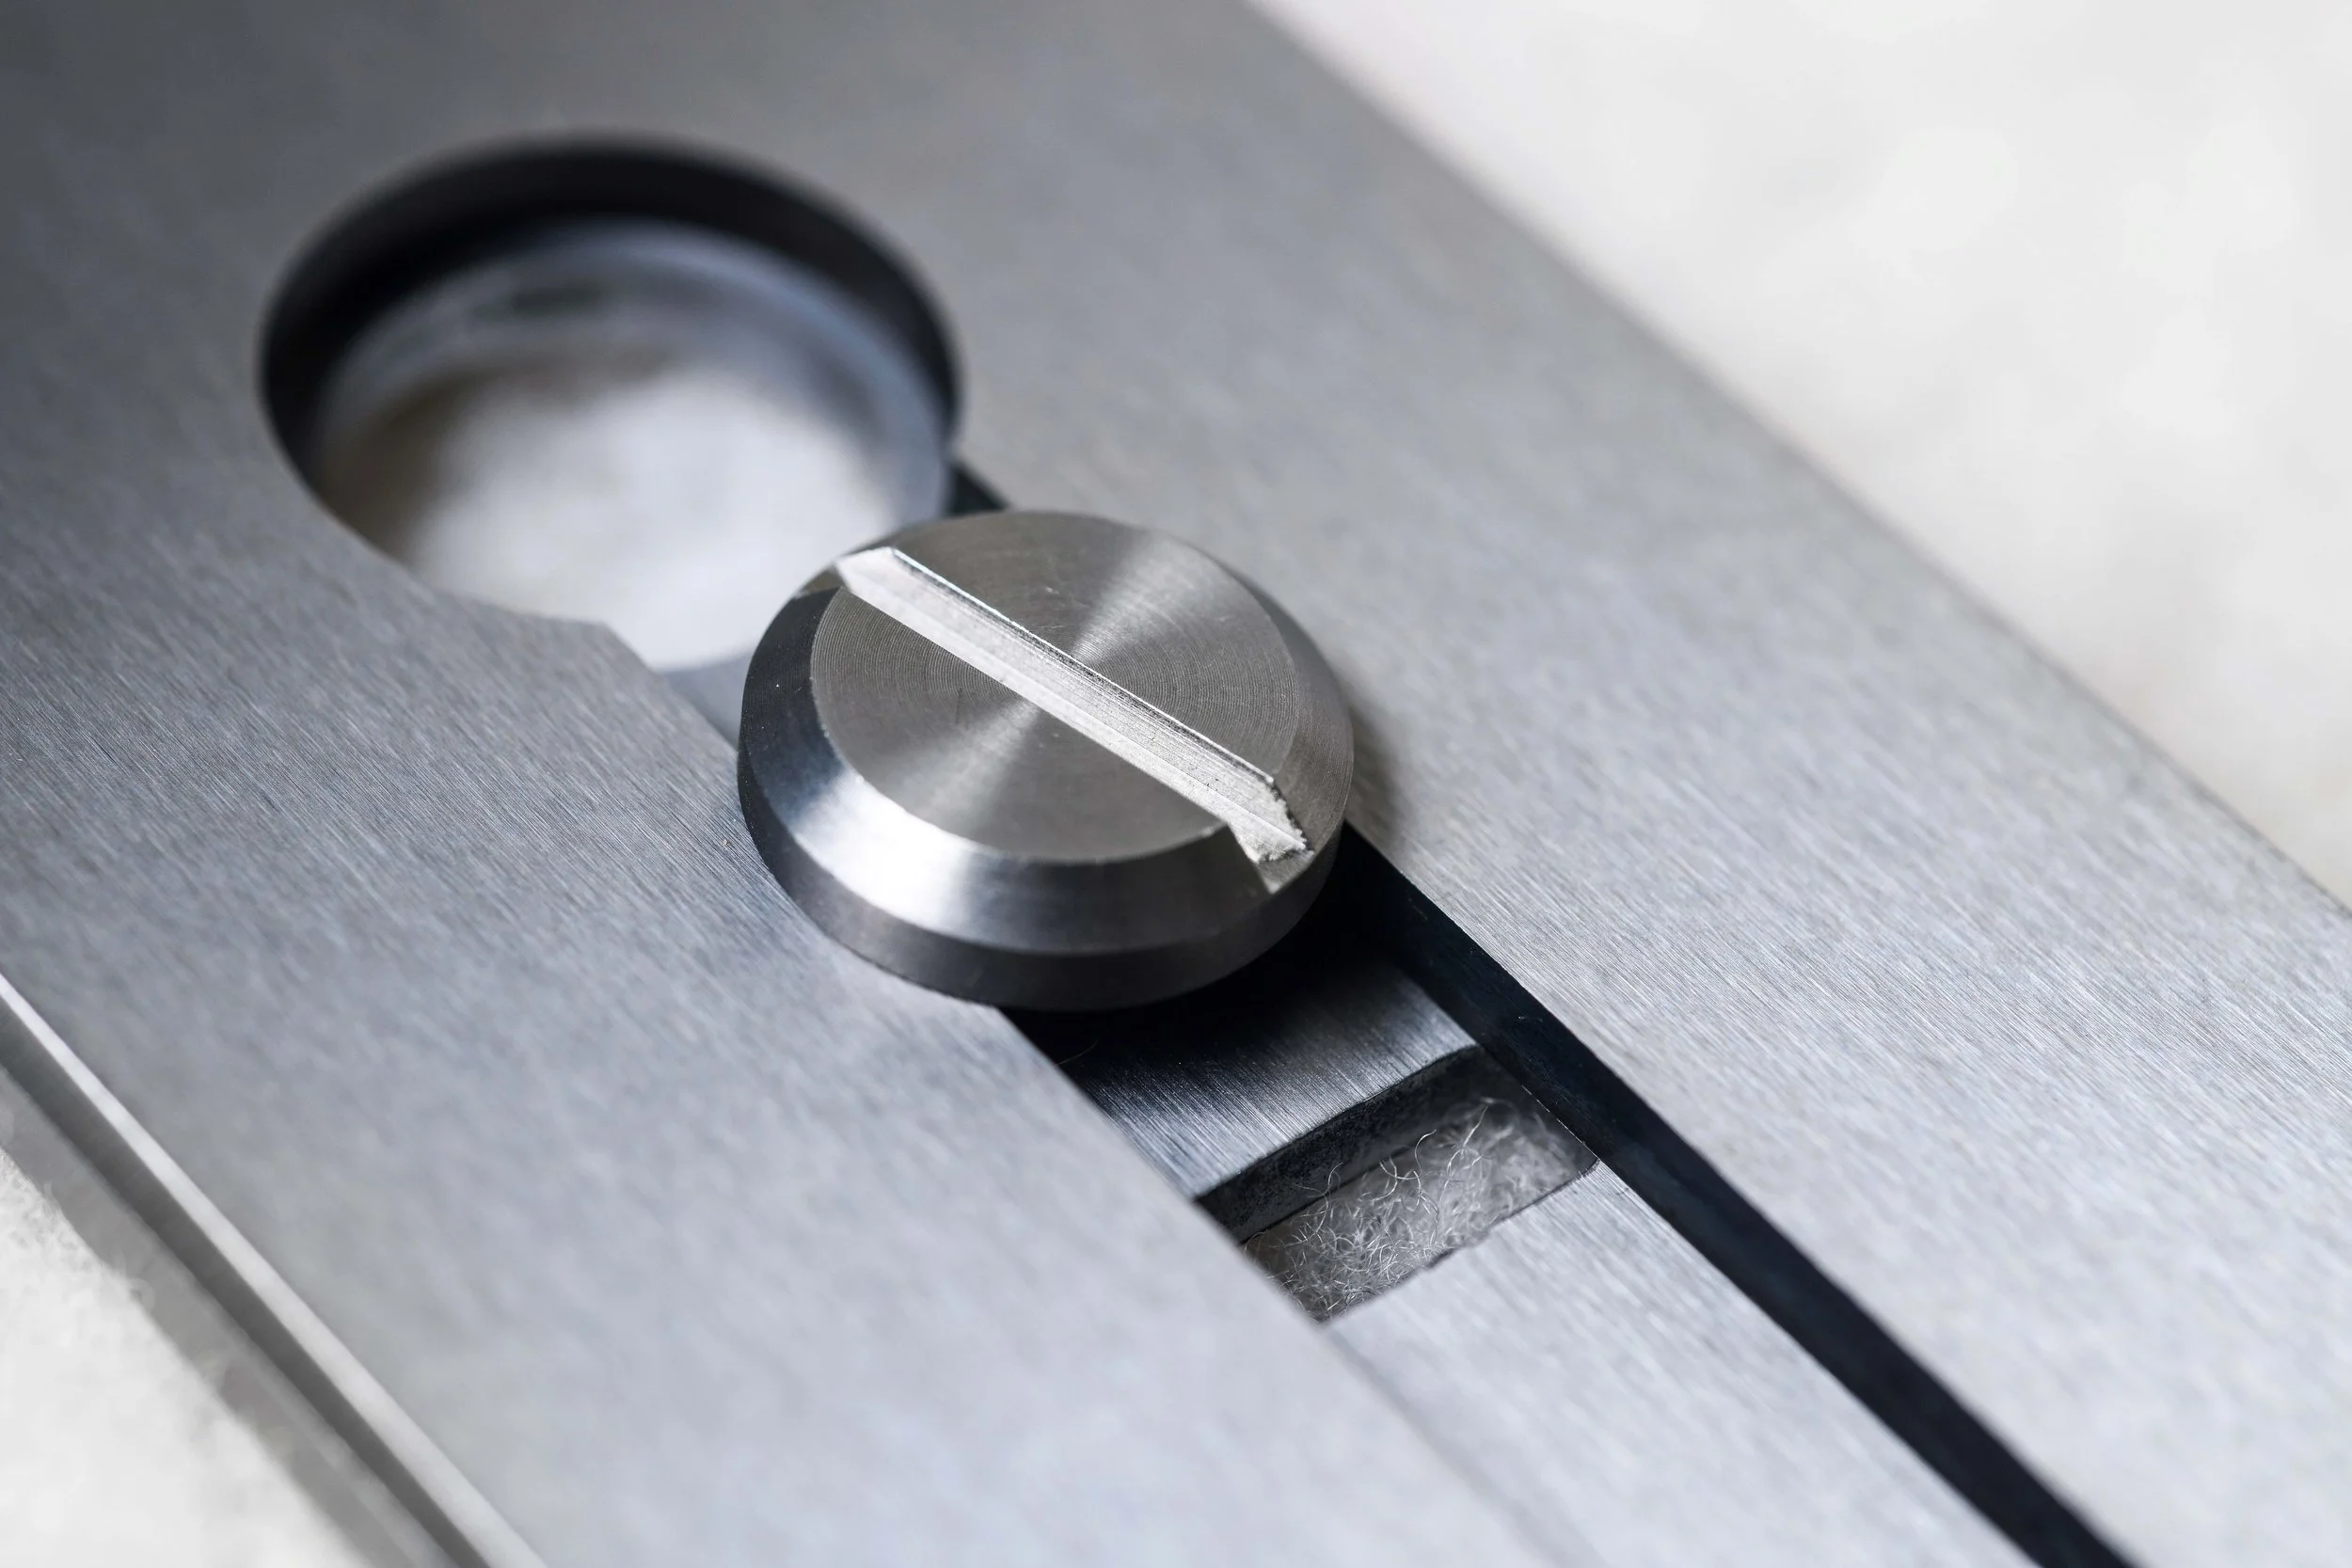
The Lie-Nielsen Bronze No. 4 smoothing plane is widely considered one of the finest modern hand planes available today.
Lie-Nielsen Bronze No. 4 Smoothing Plane
The Backstory
When I was leaving Maine years ago, I wanted to buy a gift for someone who had helped me out a lot — a friend and mentor.
At the time I was lucky enough to live about an hour and a half from Lie-Nielsen Toolworks, and I had visited their store several times. Not a lot of woodworkers get to say that.
If you're familiar with Lie-Nielsen tools, you probably already know that certain planes are rarely in stock. They're either back-ordered or produced in small batches.
One day I checked their website and saw that the bronze No. 4 smoothing plane was available.
So I bought one.
Not for myself — for him.
I figured I’d get one later.
Well… later ended up being about five years.
Every few months I would check the website or the email list, but I never managed to catch them while they were available.
Then in March 2026, I randomly checked the site again.
And there it was.
Available.
There was just one catch.
The price.
The first one I bought years ago was $350.
The new one was $545, plus tax and shipping. By the time everything was done it was somewhere around $600.
I’m not entirely sure why the price has gone up that much, but I went ahead and bought it anyway.
Some tools are worth it.
Why the Bronze No. 4 Is Hard to Get
If you’ve ever tried to buy a Lie-Nielsen bronze plane, you already know they’re often hard to find in stock.
The main reason is the bronze casting.
Unlike the standard ductile iron planes, the bronze versions require a more complex casting process and smaller foundry runs. The bodies are cast and then fully machined and finished at the Lie-Nielsen shop in Maine.
That slower production process — combined with high demand — means these planes often show up in limited batches and sell out quickly.
Which explains why it took me several years to finally catch one at the right time.
How I Plan to Use It
To be honest, the plane is so beautiful I almost don’t want to use it.
But tools are meant to work.
I’ll probably set this one up as my finishing plane — the last plane to touch the wood before finish goes on.
Light cuts. Sharp iron. Final passes.
That sort of plane.
What I use to sharpen my hand planes
Disclosure: As an Amazon Associate, I earn from qualifying purchases.
So I’ve used these Diamond stones For the better part of a decade to sharpen most of my woodworking tools. These basically last a life time for a non-professional.
For a 2" plane blade, I keep sharpening simple: coarse DMT diamond, fine DMT diamond, then a Shapton Glass 4000. If the edge is nicked, out of square, or just plain dull, I start on the coarse diamond stone to reestablish the primary bevel and get fresh steel at the edge. Once that shape is back, I move to the fine diamond stone to refine the scratch pattern and bring the edge much closer to finished. From there, a few controlled passes on the Shapton 4000 polish the bevel and leave a clean, sharp working edge that is more than good enough for fine hand tool work.
I usually hone with the blade in a guide to keep the angle consistent, especially on a plane iron this wide. The goal is not to spend forever on each stone. Stay on the coarse stone only long enough to raise a small burr across the full width of the b
lade. Once that burr is consistent, move on. The fine diamond cleans things up, and the 4000 stone is where the edge starts to feel smooth and precise rather than just sharp.
It also helps to flatten the back near the cutting edge, especially if the iron is newer or hasn’t been fully lapped yet. You do not need to polish the whole back forever, just the first bit behind the edge. Once both the bevel and back meet cleanly, remove the burr with a light final pass or two, and the iron should be ready to go back in the plane.
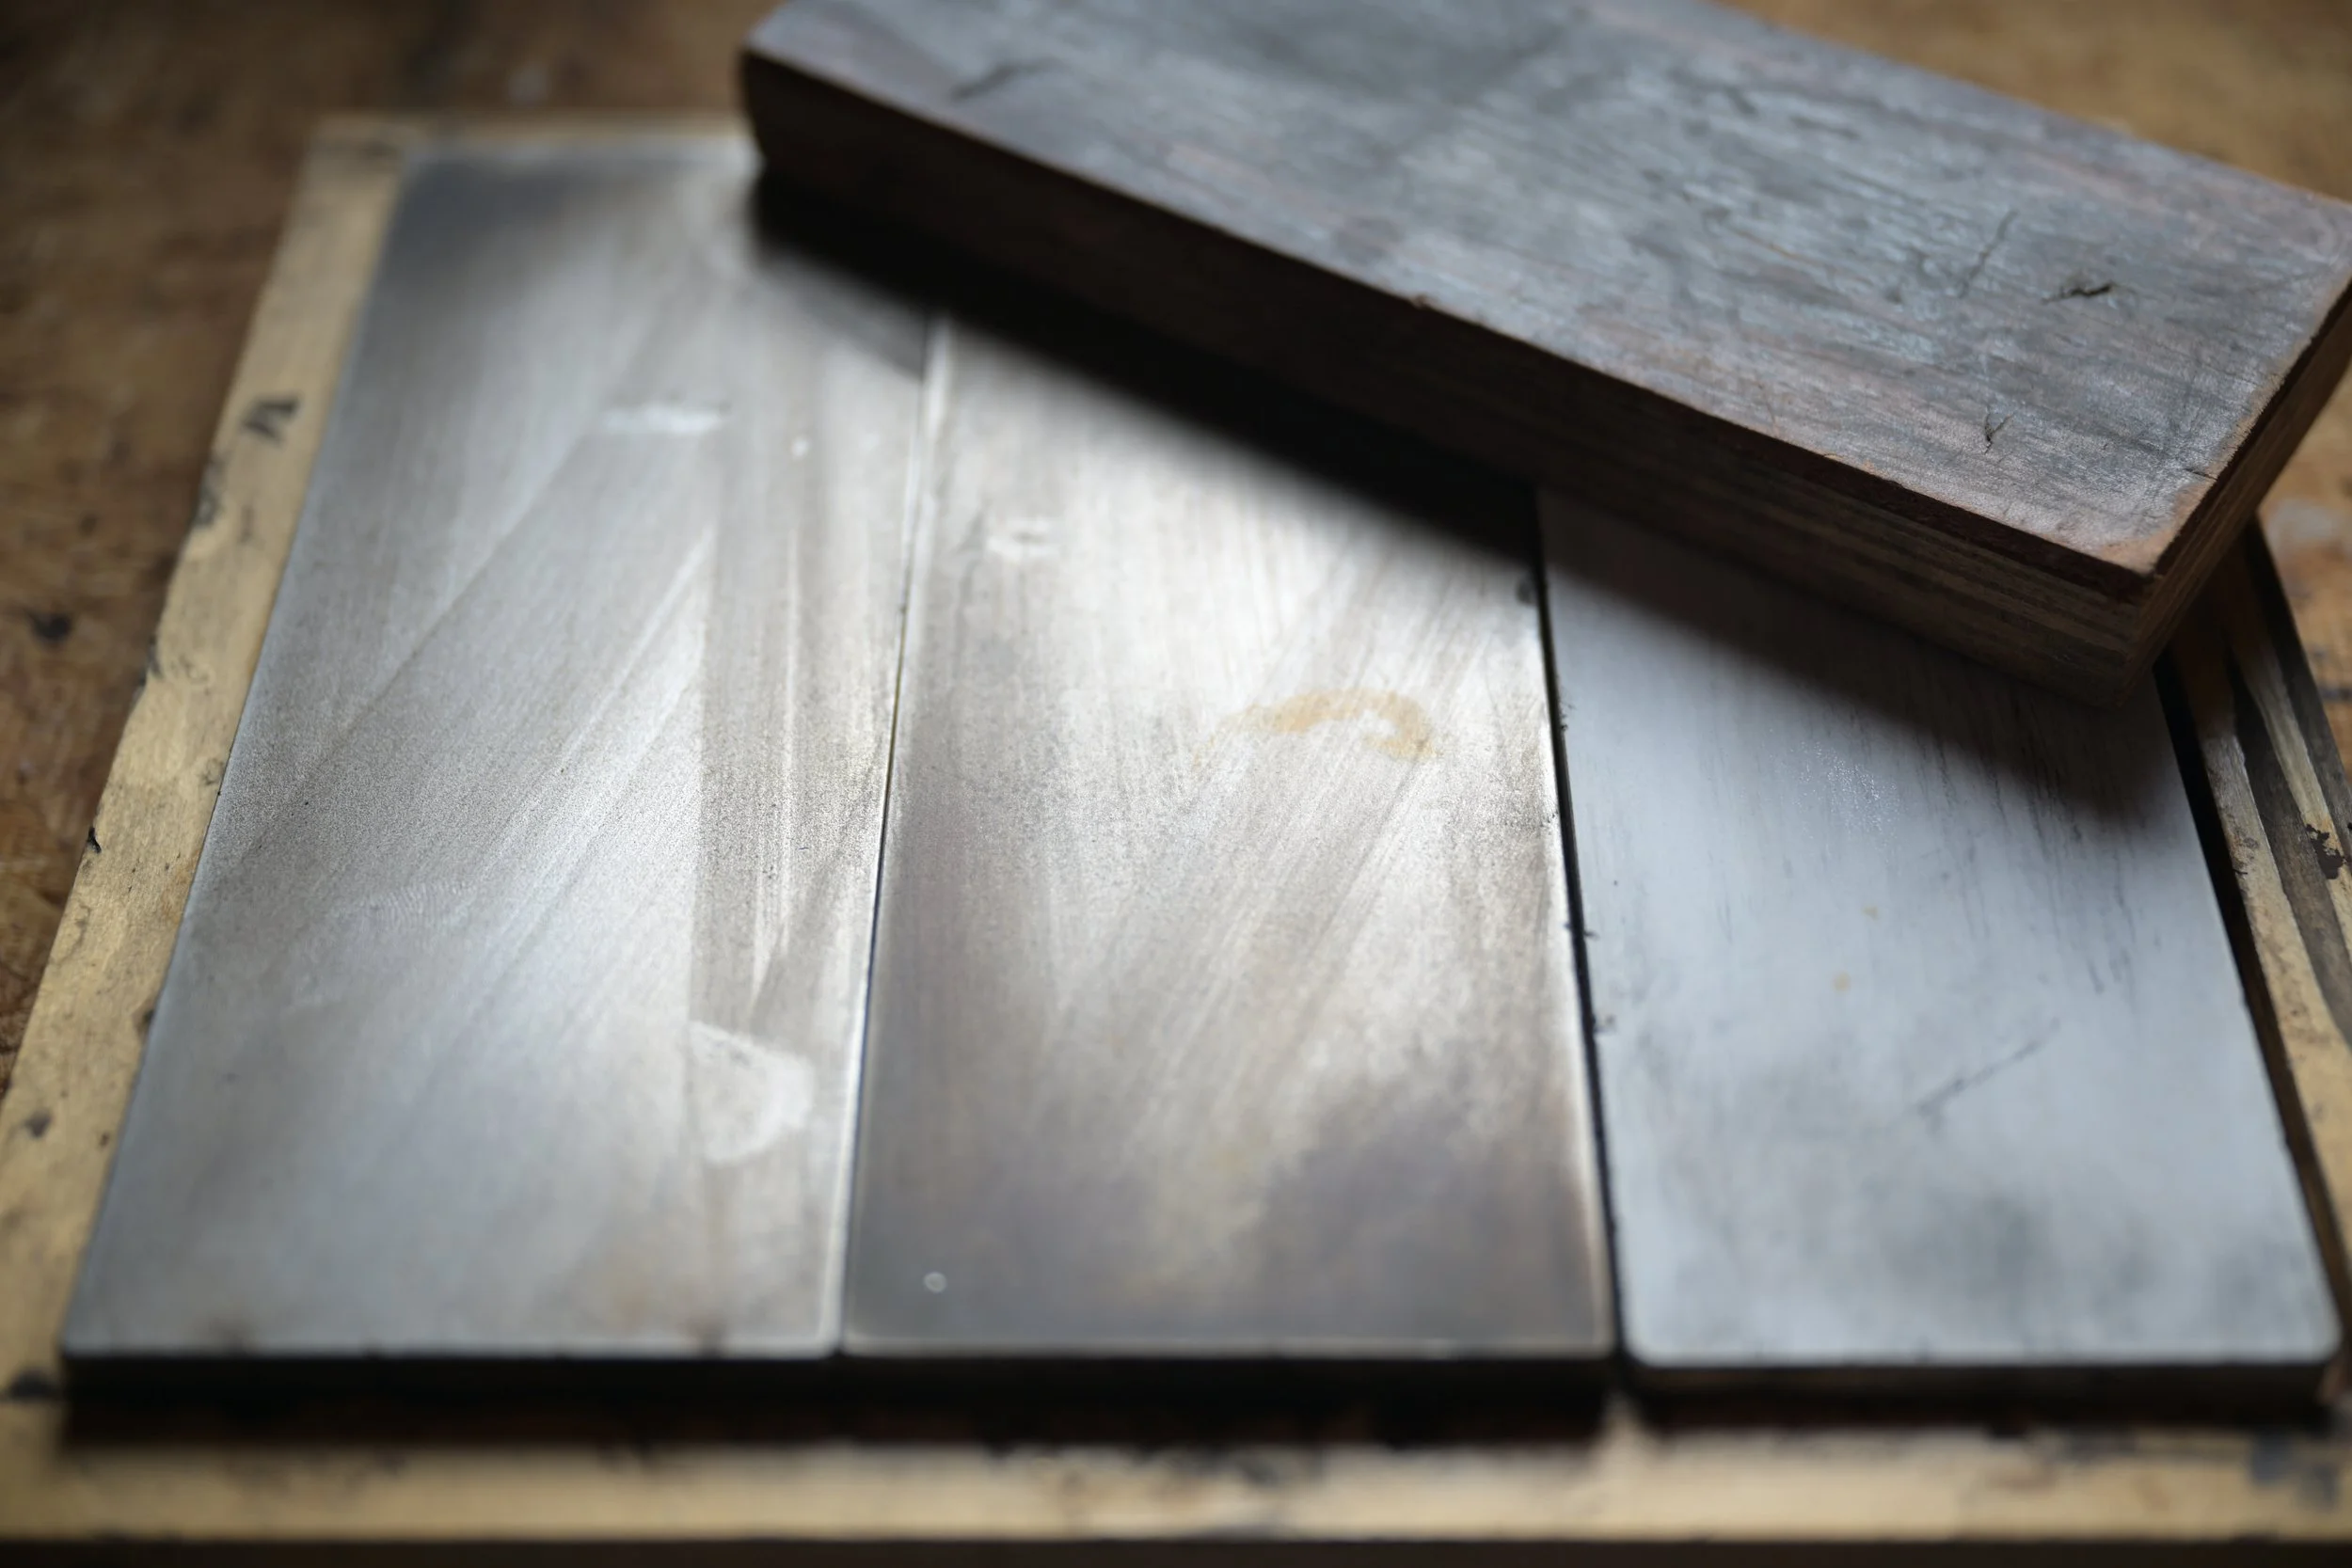
My 10 year old sharpening stone system
(Image)From Left to right
(TOP) Leather strop for curved tools- I used some thick VEG. tan leather glued to a piece of ¾ plywood.
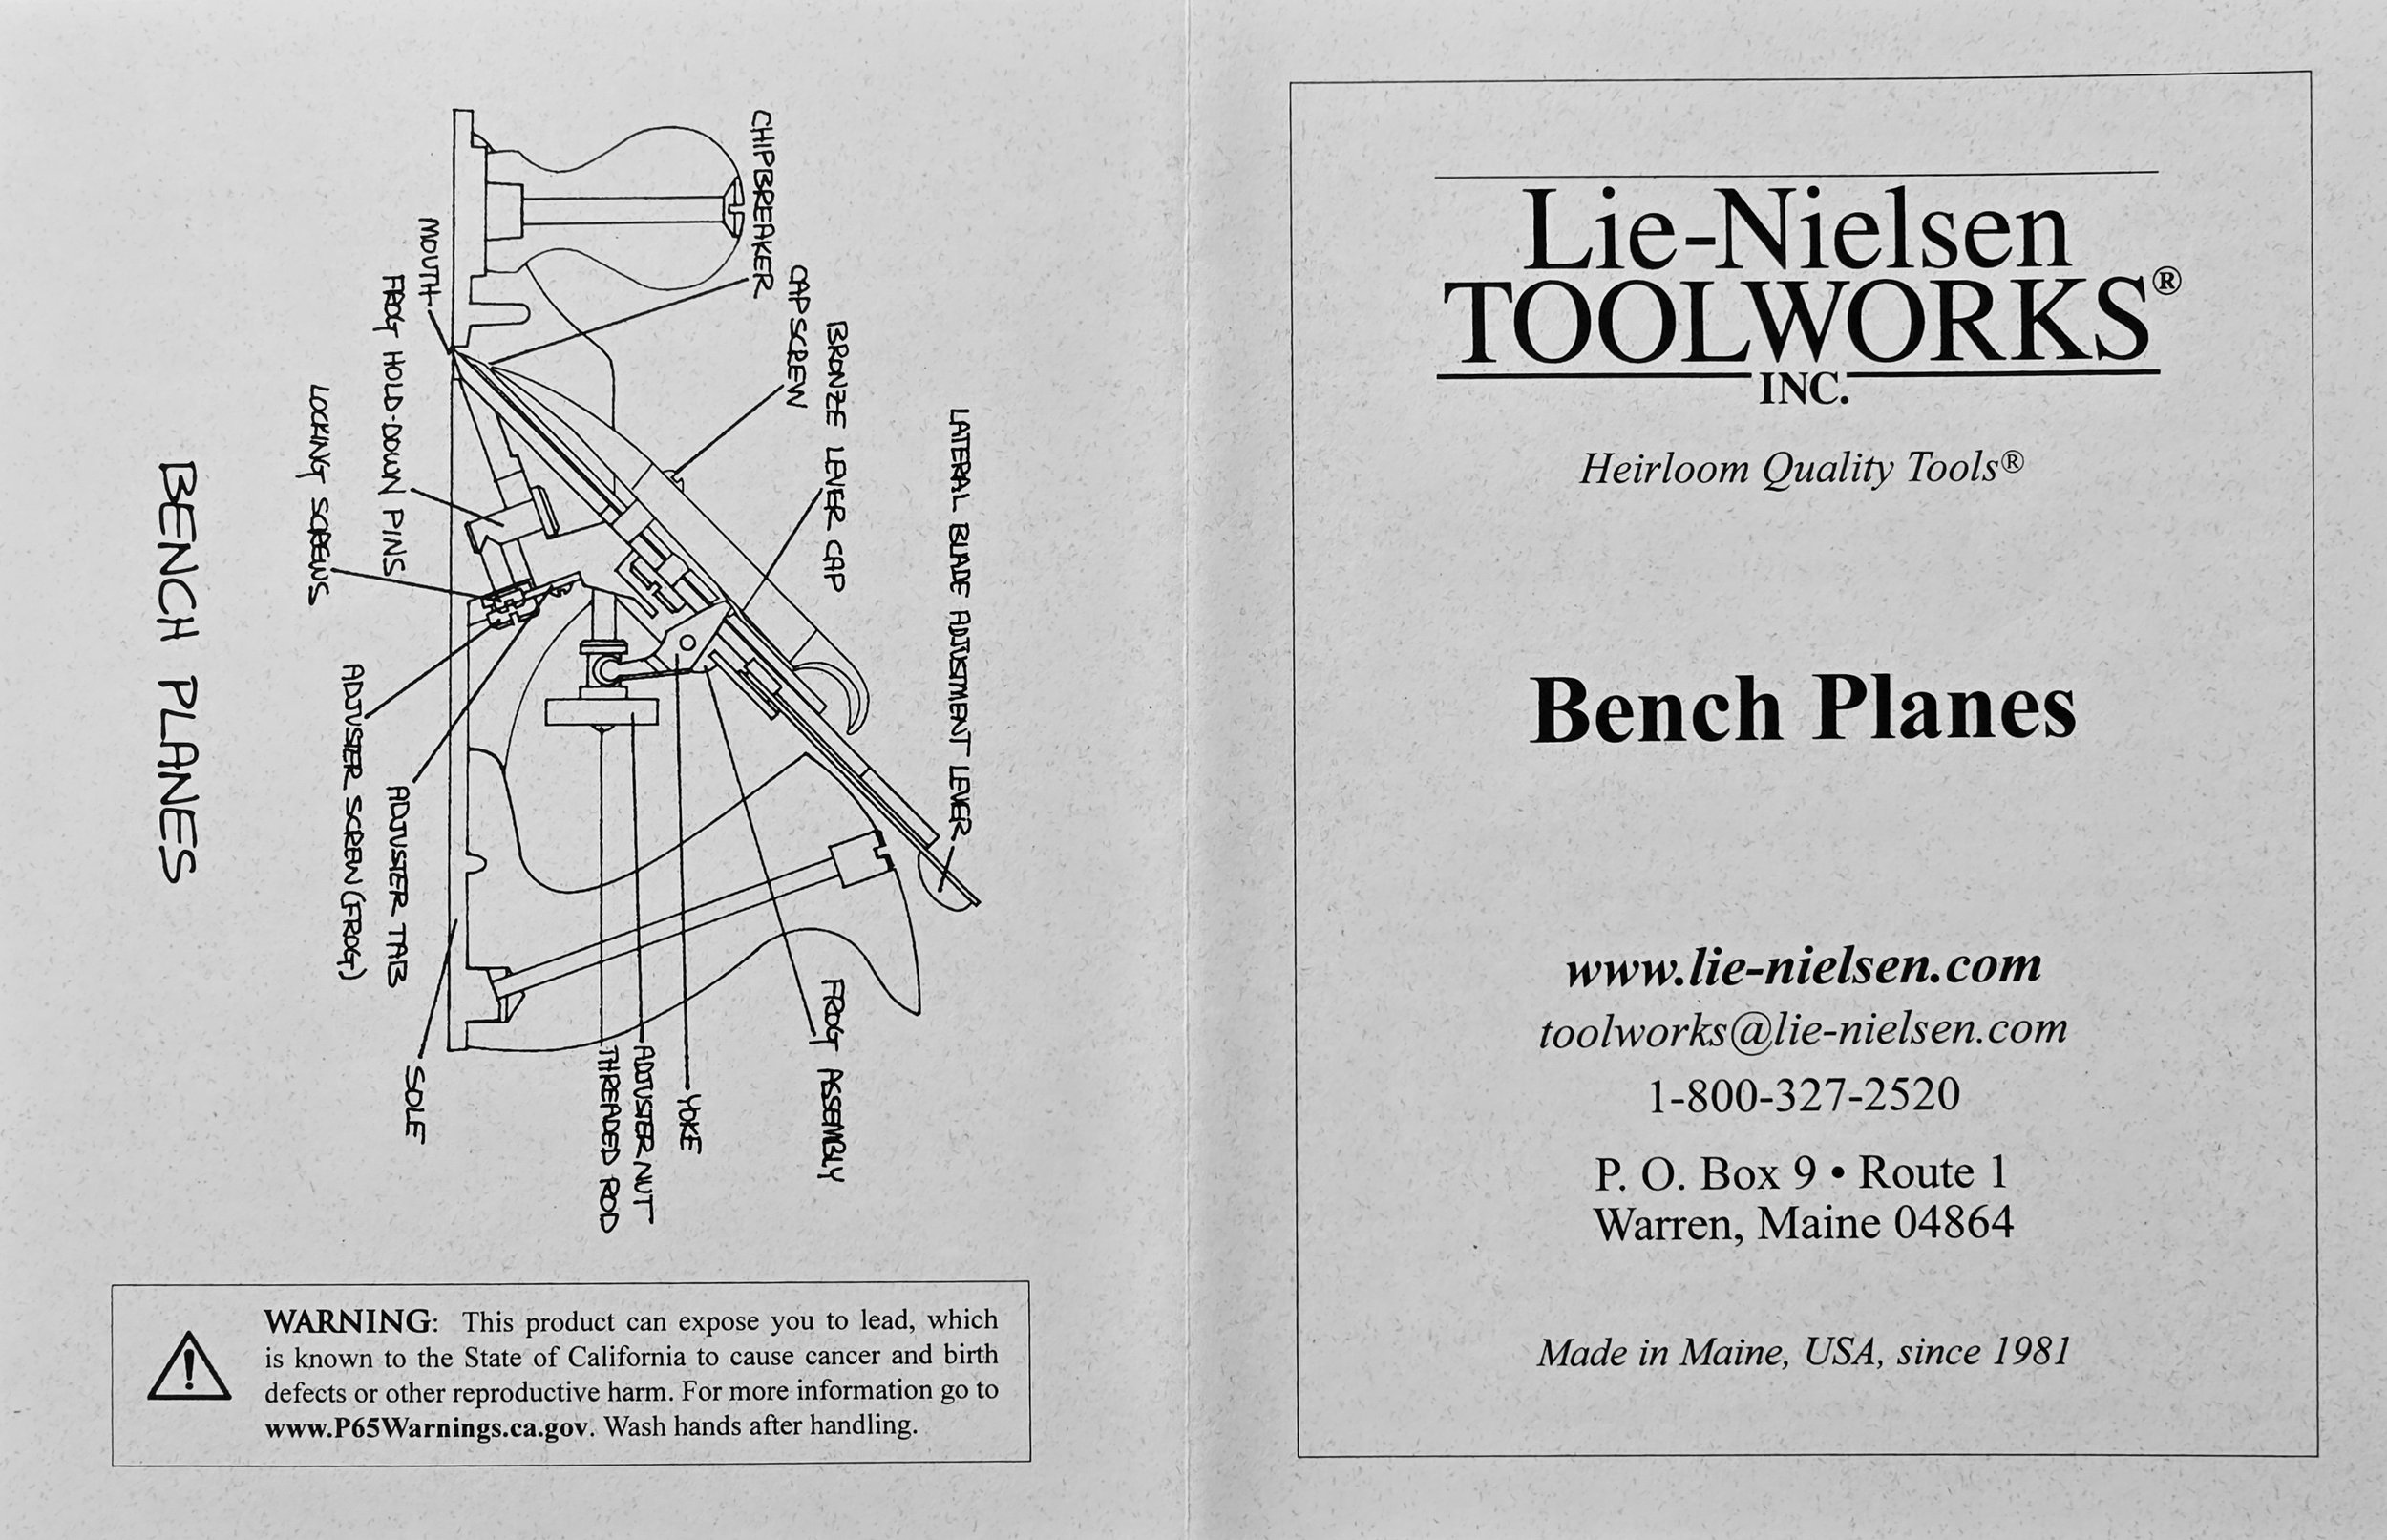
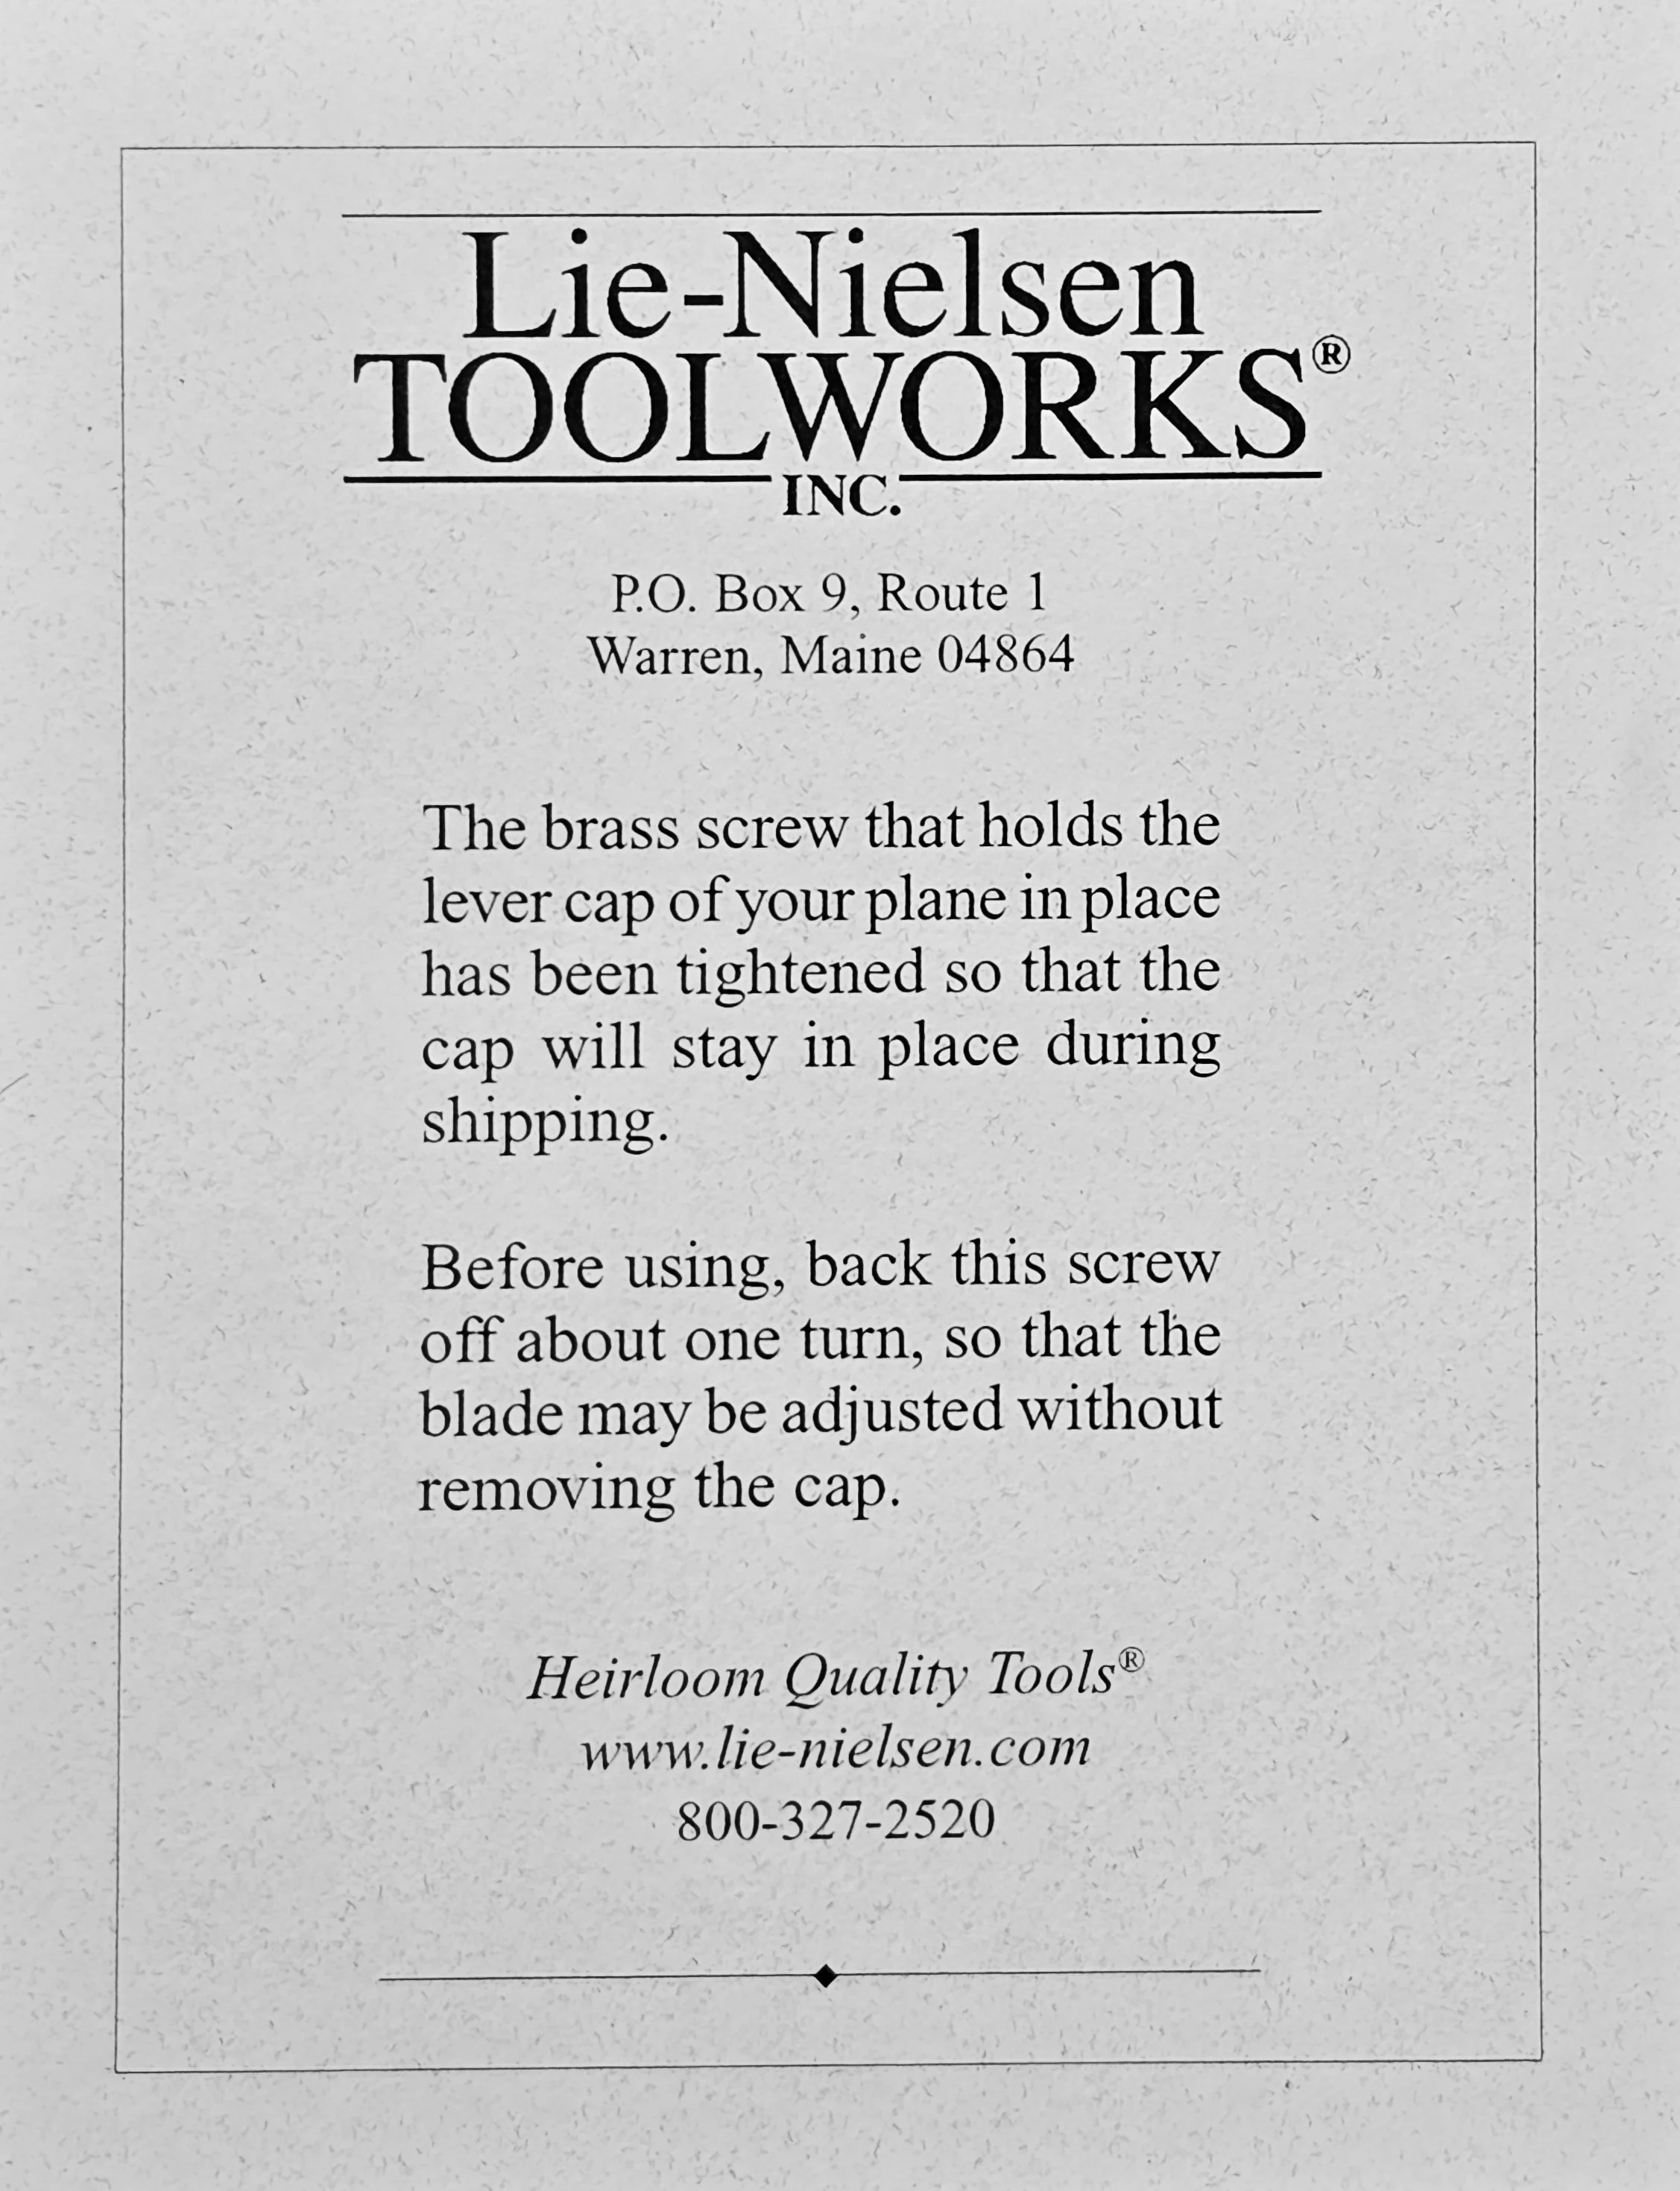
Included Literature
For your enjoyment, Ive included below the literature received with this plane.

Receipts
Just for fun, I’m also including:
• the receipt for the plane I bought years ago as a gift
• the receipt for the one I finally bought for myself
It’s kind of interesting to see how the price changed over time.